Fixing a car AC line leak at home can save you money and keep your ride comfortable, especially during hot months. Many car owners worry when the air conditioner stops blowing cold air. Often, the problem is a leak in one of the AC lines.
While some leaks need professional repair, many small leaks can be fixed at home with the right tools, patience, and safety steps. Knowing how to handle this repair not only saves costs but also helps you understand your vehicle better.
Why Car Ac Line Leaks Happen
Car AC systems use pressurized refrigerant to cool the air inside your vehicle. The refrigerant flows through a series of metal tubes and rubber hoses. Over time, these lines can develop leaks due to:
- Vibration and movement: As your car moves, AC lines can rub against other parts, causing wear.
- Corrosion: Salt, water, and road debris can corrode metal lines.
- Age and heat: Rubber hoses dry out and crack over years of use.
- Accidents or impacts: Even a small hit can damage a line.
Most leaks start small. If you catch them early, you can often fix them yourself before they lead to costly repairs.
Signs Your Car Ac Line Is Leaking
Spotting a leak early is key. Look for these warning signs:
- AC blows warm air: The most common sign.
- Hissing sound: Especially after turning off the engine.
- Oily spots or stains: Check under the hood, near AC lines.
- Low refrigerant levels: If you keep needing to top up.
- Visible cracks or holes: In hoses or metal lines.
If you notice any of these, it’s time to check your AC lines closely.

Credit: www.agcoauto.com
Tools And Materials You’ll Need
Before you start, gather these essential tools and supplies:
- UV dye and UV flashlight (to find leaks)
- Refrigerant recharge kit
- AC line repair kit or rubber hose clamps
- Wrenches and screwdrivers
- Clean rags and gloves
- Leak sealant (for small pinholes)
- Safety goggles
- Replacement O-rings (if needed)
- AC manifold gauge set (optional, for accurate measurement)
Having these items ready makes the process smoother and safer.
Safety Precautions Before You Begin
Working on your car’s AC involves high-pressure refrigerants. These can be dangerous if released suddenly or if they contact your skin or eyes. Follow these steps:
- Always wear gloves and safety goggles.
- Work in a well-ventilated area, ideally outdoors.
- Never open the AC system when it is under pressure.
- Only use tools designed for AC repair.
- Dispose of any old refrigerant safely and legally.
If you feel unsure at any step, consider seeking help from a professional.
Step-by-step Guide To Fixing A Car Ac Line Leak At Home
1. Locate The Leak
Most leaks are hard to see with the naked eye. Here’s how to find them:
- Add UV dye to your AC system following the instructions on the dye kit.
- Run the AC for 10-15 minutes.
- Use a UV flashlight to scan all AC lines, connections, and fittings. Leaking refrigerant mixed with dye will glow brightly.
Pay special attention to joints and bends, as these are common leak spots.
2. Assess The Size And Location Of The Leak
Leaks can range from tiny pinholes to larger cracks. Decide if your leak is:
- Small (pinholes, loose fittings)
- Medium (small cracks, worn O-rings)
- Large (split lines, major damage)
Small and medium leaks can often be handled at home. Large leaks or broken lines usually need professional replacement.
3. Tighten Loose Fittings And Replace O-rings
Many leaks are caused by loose connections or old O-rings:
- Use a wrench to gently tighten any loose AC line fittings.
- If you see a cracked or flattened O-ring, remove it and replace it with a new one.
Be careful not to over-tighten, as this can cause new leaks.
4. Repairing Small Leaks With Sealant
If you find a small pinhole or crack:
- Clean the area with a dry rag.
- Apply a specialized AC leak sealant (available at auto stores) to the affected area as per the product instructions.
- Wait for the sealant to cure, usually 30-60 minutes.
Sealants work best for very small leaks. They are not a permanent fix but can give you time until a full repair.
5. Repairing Rubber Hoses With Clamps Or Kits
If the leak is in a rubber hose:
- Cut out the damaged section using a sharp knife.
- Slip a new length of AC-rated hose onto the line, making sure it fits tightly.
- Secure both ends with hose clamps from an AC repair kit.
- Double-check that the clamps are tight and the hose is secure.
This method works for straight sections of hose, not curved or complex areas.
6. Replacing A Damaged Metal Line
For small cracks in metal lines:
- Use a line repair kit that includes a coupling and compression fittings.
- Cut out the cracked part with a pipe cutter.
- Slide the fittings onto both ends and tighten as instructed.
- Make sure the repaired section is straight and secure.
If the damage is near a bend or a joint, this repair may not be possible at home.
7. Vacuum And Recharge The Ac System
After repairs, the AC system must be vacuumed and recharged:
- Attach an AC manifold gauge set to the high and low-pressure ports.
- Use a vacuum pump to remove all air and moisture from the system (usually takes 30-60 minutes).
- Close the valves and disconnect the pump.
- Add the correct type and amount of refrigerant. Check your car manual for the right amount.
- Start the engine and run the AC. Watch the gauge readings to ensure proper pressure.
Skipping this step will cause poor cooling and can damage your compressor.
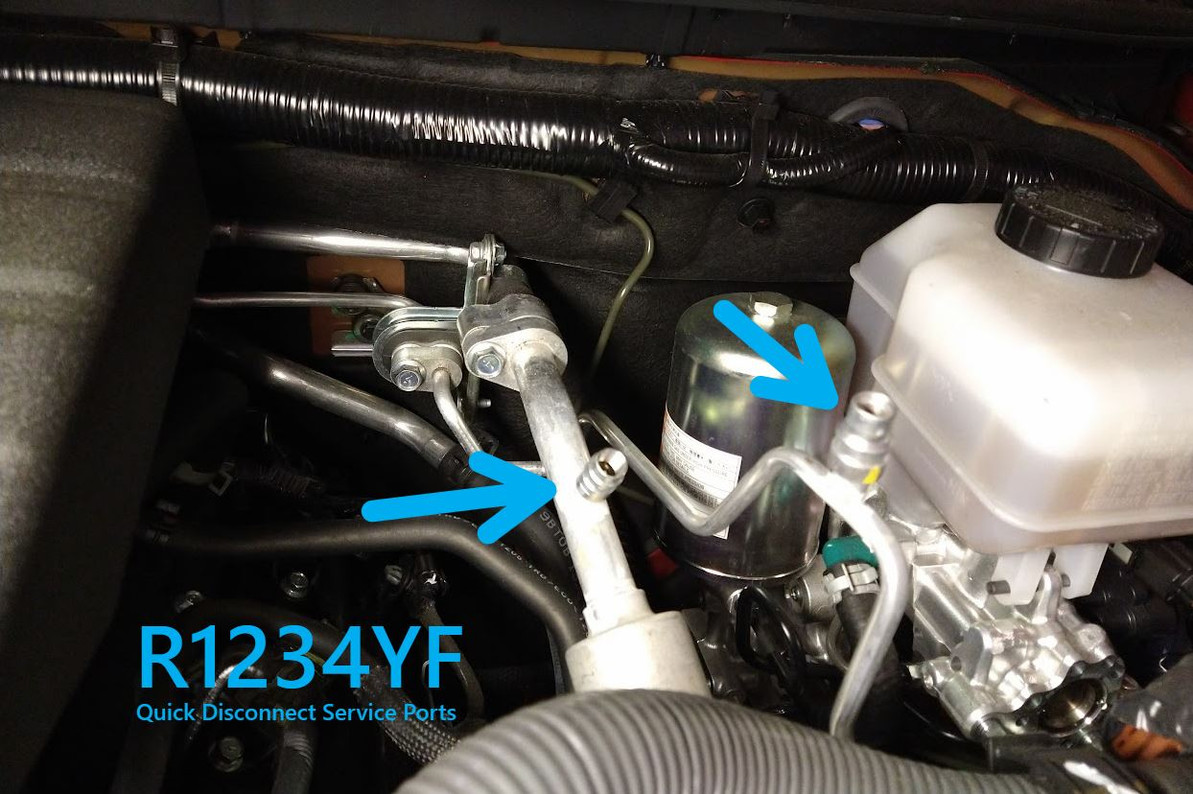
Example Pressure Readings For Common Refrigerants
| Refrigerant Type | Low Side (psi) | High Side (psi) |
|---|---|---|
| R134a | 25-45 | 200-250 |
| R1234yf | 22-38 | 180-210 |
Always use the readings that match your car’s refrigerant.
8. Check For Leaks Again
After recharging, run the AC and check all repair points:
- Use the UV light again to look for new dye leaks.
- Listen for hissing sounds.
- Feel for cold air from the vents.
If you still see leaks, repeat repairs or consider a professional inspection.
When You Should Not Repair At Home
Some AC line leaks are not safe or cost-effective to fix at home, such as:
- Large cracks or broken metal lines
- Damage near the compressor or evaporator
- Leaks inside the dashboard
- Systems with contaminated refrigerant
Attempting these repairs without proper tools can cause injury or bigger car problems. It’s best to seek an expert if you face these situations.
Common Mistakes And How To Avoid Them
Even careful DIYers make mistakes. Here are some to watch for:
- Using the wrong sealant: Only use sealant made for car AC systems.
- Over-tightening fittings: Can cause new leaks.
- Skipping the vacuum step: Trapped air reduces cooling and damages parts.
- Not replacing O-rings: Old rings can leak again soon after repair.
- Adding too much refrigerant: Can harm the compressor.
Take your time and double-check each step.
How Much Does It Cost To Fix An Ac Line Leak At Home?
Doing it yourself is much cheaper than a shop visit. Here’s a rough comparison:
| Repair Item | DIY Cost (USD) | Shop Cost (USD) |
|---|---|---|
| UV dye & flashlight kit | $25-$40 | $60-$100 |
| Sealant or hose repair kit | $10-$30 | $50-$120 |
| Refrigerant recharge | $30-$60 | $100-$300 |
You can often fix a leak for under $100 at home. In a shop, it’s common to pay $200 or more.

Credit: www.youtube.com
Tips For Preventing Future Ac Line Leaks
- Inspect AC lines every 6 months for cracks, stains, or loose fittings.
- Keep the engine bay clean to reduce dirt and corrosion.
- Run your AC regularly, even in winter, to keep seals lubricated.
- Replace O-rings during any AC repair, not just when they leak.
- Avoid DIY refrigerant “top-ups” without fixing leaks first.
Most people miss the importance of running the AC in the off-season. This simple habit keeps the system’s seals moist and prevents early leaks.
Another overlooked step is using the correct torque for fittings. Too tight or too loose can both cause problems. Always check your car’s repair guide for proper specifications.
Environmental Responsibility And Legal Points
Refrigerant is a greenhouse gas. Releasing it into the air is harmful and often illegal. Always:
- Use certified recovery equipment if you need to remove refrigerant.
- Dispose of old refrigerant at a proper recycling center.
- Never vent refrigerant into the atmosphere.
For more details on refrigerant handling and regulations, see the US EPA Mobile Air Conditioning page.
Credit: www.wiseautotools.com
Frequently Asked Questions
What Type Of Sealant Should I Use For A Car Ac Line Leak?
Always use a sealant made for automotive AC systems. These are designed to handle high pressure and temperature. Avoid general-purpose glues or tapes, as they won’t hold up and can damage the system.
Can I Fix A Metal Ac Line With Tape?
No, tape is not a safe or effective repair for metal AC lines. High pressure in the system will push tape off quickly. Use a proper line repair kit with compression fittings or replace the damaged line.
How Do I Know How Much Refrigerant To Add?
Check your car’s owner’s manual or the sticker under the hood. It will list the correct type and amount, usually in grams or ounces. Adding too much or too little can harm your AC system.
Is It Safe To Drive With A Leaking Ac Line?
Driving with a small leak is not dangerous, but your AC will not cool well. If the leak is large, or refrigerant is leaking onto other engine parts, it could cause damage or be a safety risk. Always fix leaks as soon as possible.
What If My Ac Still Doesn’t Work After Repairing The Leak?
If your AC is still not cooling after repairs, the issue could be:
- The leak was not fully fixed
- The compressor or other parts are damaged
- The system is not properly charged
In these cases, a professional AC technician should inspect your system.
Fixing a car AC line leak at home is possible for many small issues. With the right tools, attention to safety, and step-by-step care, you can get your AC blowing cold again and save money. Remember, take your time, double-check your work, and don’t hesitate to call a pro if the repair feels too complex.
Your comfort—and safety—are worth it.
