Every car owner knows the satisfaction of a clean, well-kept interior. But nothing ruins that feeling faster than a sagging headliner—the fabric on your car’s ceiling that starts to droop or hang loose. It’s a common problem, especially in older vehicles or in hot, humid climates.
But the good news? You don’t always need a professional or a big budget to fix it. With a bit of patience and the right approach, you can restore your car’s interior at home and make it feel fresh again.
Why Does A Car Headliner Sag?
The headliner is made up of a soft fabric glued to a foam backing board. Over time, heat, moisture, and age weaken the glue. The foam can also break down, turning into dust and causing the fabric to lose support. Once the glue fails, the fabric sags, bubbles, or even falls off completely.
This isn’t just about looks. A sagging headliner can block your view, lower your car’s value, and even become a safety hazard if it drops down while driving.
Tools And Materials You’ll Need
Before jumping in, gather these items. Having everything ready will save you time and headaches.
- Spray adhesive (high-temperature or automotive grade)
- Screwdriver set
- Scissors or utility knife
- Paint roller or plastic smoothing tool
- Brush or vacuum cleaner
- New headliner fabric (if replacing)
- Straight pins or twist pins (for temporary fixes)
- Gloves and mask (for safety)
Pro tip: Not all adhesives work on car headliners. Regular glue may fail in heat. Always choose adhesive made for automotive interiors.
Quick Fixes For Small Sagging Areas
Sometimes, only a small section of the headliner is sagging—like above the driver’s seat or near a door. These quick fixes can help you stretch the life of your headliner without a full replacement.
Using Twist Pins
Twist pins, also called headliner repair pins, are simple tools designed for this job. They have a clear head, so they’re less noticeable.
- Push the twist pin into the sagging area and twist until it holds.
- Use several pins, spaced evenly, to keep the fabric tight.
This method is fast, affordable, and doesn’t require removing anything. The downside? It’s a temporary fix, and the pins may leave tiny holes if you later decide to replace the fabric.
Applying Glue Without Removing The Headliner
If only the edges or corners are sagging, you can sometimes re-glue them without full removal.
- Carefully peel back the loose fabric.
- Spray a high-temperature adhesive on the board and the back of the fabric.
- Wait a few minutes for the glue to become tacky.
- Smooth the fabric back in place, working from the center outward.
Avoid using hot glue guns. The glue can melt in summer and make the problem worse.
Full Headliner Repair: Step-by-step
If most of your headliner is sagging, or you want a permanent fix, a full repair is best. This means removing the old headliner and either re-gluing or replacing it.
Step 1: Remove The Headliner Board
You’ll need to take out the entire headliner board. Here’s how:
- Disconnect the car battery (to avoid electrical issues).
- Remove all trim pieces, visors, dome lights, grab handles, and any clips holding the headliner in place. Keep screws and parts in a safe place.
- Gently lower the headliner board and slide it out through a door or the trunk.
Example Of Common Fasteners
| Part | How to Remove | Tools Needed |
|---|---|---|
| Sun Visor | Unscrew mounting screws | Phillips screwdriver |
| Dome Light | Pop off cover, unscrew base | Flathead screwdriver |
| Grab Handle | Remove covers, unscrew | T25 Torx driver |
Step 2: Remove Old Fabric And Foam
With the board out, peel off the old fabric. Most of the foam backing will stick to the board and turn into dust.
- Use a brush or vacuum to remove all old foam.
- Make sure the board is smooth and clean. Any old foam left behind can stop the new glue from sticking.
Step 3: Attach New Headliner Fabric
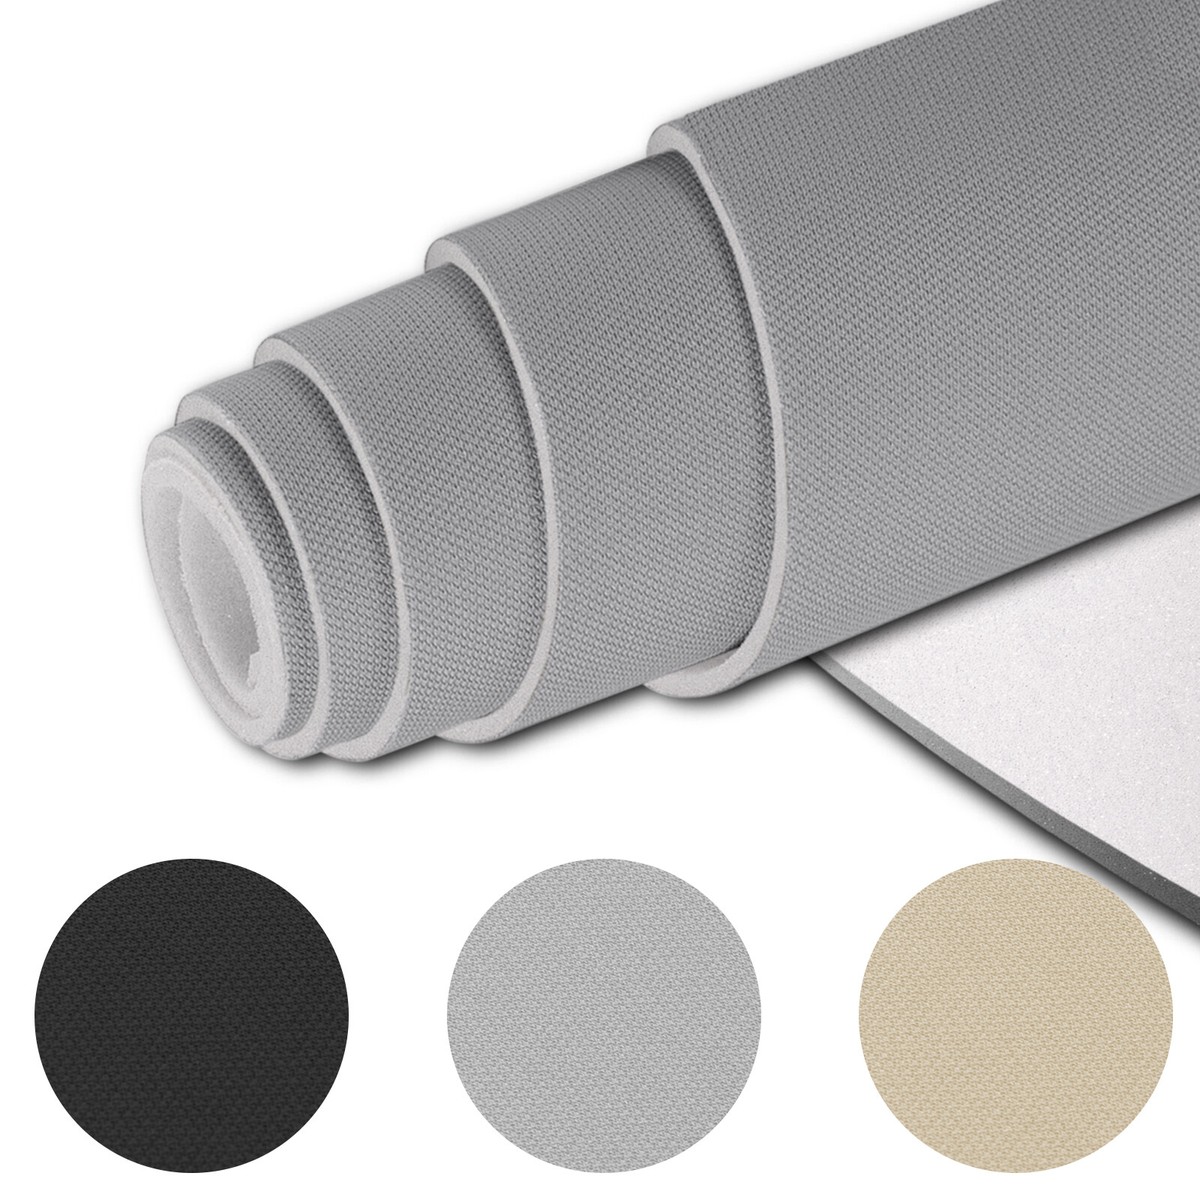
You can buy headliner fabric at auto parts stores or online. It’s important to get fabric with a thin foam backing, designed for high temperatures.
- Cut the new fabric, leaving about 2 inches extra on each side.
- Spray adhesive on half the board and the back of the fabric.
- Wait for the glue to become tacky (see adhesive instructions).
- Lay the fabric on the glued section, smoothing from the center outward with a roller.
- Repeat for the other half of the board.
- Trim the excess fabric, leaving enough to wrap around the edges.
Step 4: Reinstall The Headliner Board
Let the glue dry fully before putting the board back in your car. Carefully reverse the removal steps:
- Slide the board back into place.
- Reattach all trim, lights, visors, and handles.
- Double-check that nothing blocks airbags or electrical connections.
Common Mistakes To Avoid
A DIY headliner fix isn’t difficult, but there are some pitfalls.
- Using the wrong glue: Low-temperature glue or craft spray can fail quickly in hot weather.
- Not cleaning the board: Any leftover foam or dust will stop the new fabric from sticking.
- Rushing the process: If you don’t wait for the adhesive to become tacky, the fabric may bubble or fall.
- Skipping edge wrapping: Not wrapping fabric around the edges can cause peeling.
Should You Replace Or Repair The Headliner?
Sometimes, a quick repair is enough. Other times, replacing the fabric is the only way to get a clean, long-lasting result. Here’s a comparison to help you decide:
| Method | Cost | Time Needed | Durability |
|---|---|---|---|
| Twist Pins | $5–$10 | 10 min | Temporary |
| Edge Gluing | $10–$20 | 30–60 min | Several months |
| Full Replacement | $40–$100 | 2–3 hours | 5+ years |
If you plan to keep your car for several years, a full replacement is usually worth the effort.

Credit: www.amazon.com
How Long Does A Diy Headliner Fix Last?
A well-done repair with the right materials can last as long as the original—up to 10 years or more. Quick fixes like pins or edge gluing may only last a few months, especially in hot climates.
Two extra tips most beginners miss:
- Work on a cool, dry day. High humidity or heat can make glue take longer to set and increase the chance of wrinkles.
- Take photos as you remove parts. This makes reassembly much easier, especially if you need to remember where screws or clips go.
What About Professional Repair?
A pro headliner replacement usually costs between $150 and $400, depending on your car. It’s a good choice if you don’t have time or feel unsure about DIY. But with patience, most car owners can do it themselves for a fraction of the price.
If you want to see more about professional options and techniques, you can check out Wikipedia’s headliner material article.
Credit: www.ebay.com
Care And Prevention After Repair
Once you’ve fixed your headliner, you’ll want to keep it in good shape. Here are some ways to extend its life:
- Park in the shade or use sunshades to reduce heat.
- Avoid smoking in the car—smoke can weaken glue and stain fabric.
- Clean the headliner gently with a soft brush or vacuum (never soak with water).
- Fix leaks around windows or sunroofs to prevent moisture damage.
Frequently Asked Questions
Why Is My Headliner Sagging Even Though My Car Is Only A Few Years Old?
Even newer cars can have sagging headliners if they’re exposed to lots of heat or humidity. Sometimes, manufacturers use lower-quality adhesives to save costs.
Can I Use Regular Fabric Or A Bed Sheet Instead Of Headliner Fabric?
It’s not recommended. Regular fabric doesn’t stretch well, and it lacks the foam backing that hides board imperfections. Headliner fabric is designed to handle heat and humidity.
Is Spray Adhesive From The Hardware Store Good Enough?
Most general-purpose spray adhesives are not made for high temperatures. For best results, use automotive headliner spray adhesive. These are made to survive hot summers inside closed cars.
How Much Does It Cost To Fix A Sagging Headliner At Home?
A full DIY repair usually costs between $40 and $100, including fabric, adhesive, and basic tools. Temporary fixes like pins can cost under $10.
Can I Repair The Headliner Without Removing It From The Car?
You can try edge gluing or using twist pins for small areas. But for a full, smooth repair, removing the board is the only way to do a professional-quality job.
Bringing your car’s headliner back to life isn’t just about looks—it’s about comfort, safety, and pride in your ride. With the right approach, you can tackle sagging fabric at home and enjoy a refreshed interior for years to come.

Credit: www.youtube.com
