Upgrading your car’s sway bar can completely change the way your vehicle handles corners and bumps. Many drivers look for a sway bar upgrade to get tighter control, reduce body roll, and improve safety—especially if they drive aggressively or on winding roads.
But how do you actually install a sway bar upgrade yourself? While the process sounds technical, it’s manageable with some basic tools, a bit of patience, and the right guidance. This article will walk you through everything you need to know about installing a car sway bar upgrade, including preparation, step-by-step instructions, and tips for getting the best results.
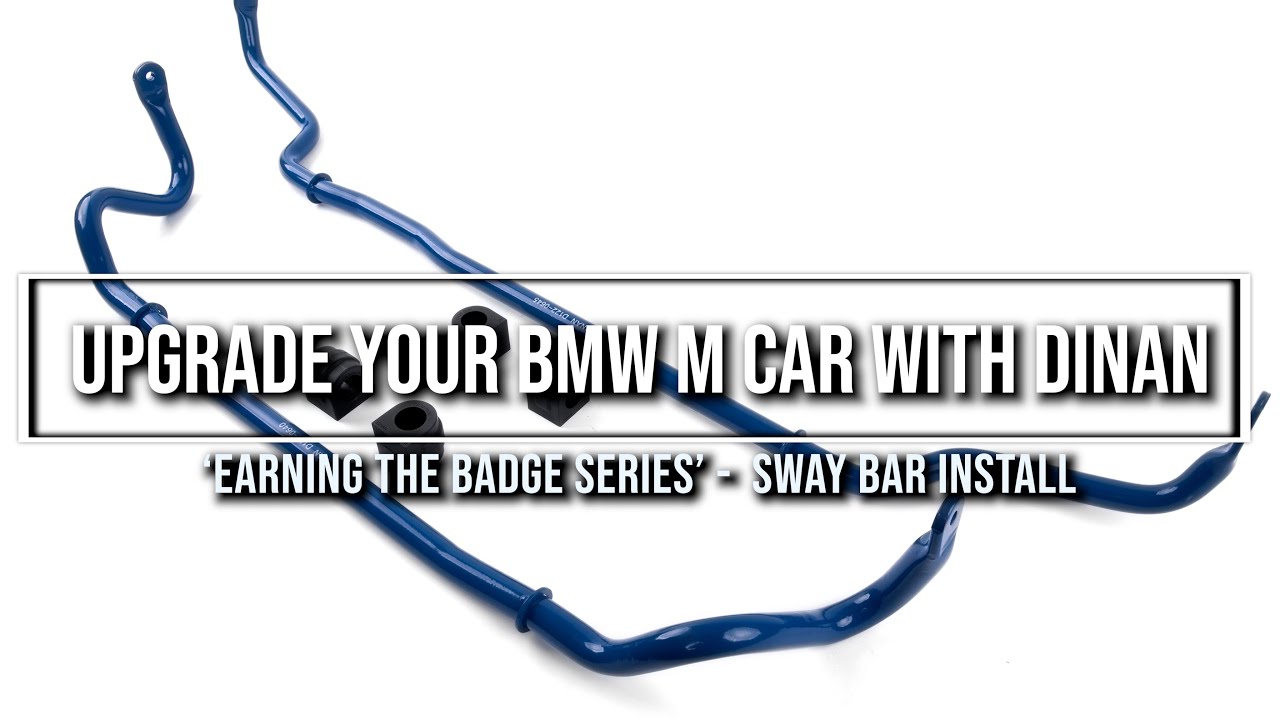
What Is A Sway Bar Upgrade?
A sway bar (also called an anti-roll bar or stabilizer bar) is a metal bar connecting the left and right suspension components. Its main job is to reduce the amount your car leans or “rolls” when you turn. Upgrading to a thicker or stiffer sway bar means your car stays flatter during turns, which feels more stable and predictable.
Not all sway bars are the same. Some are solid, others are hollow, and the thickness varies. Upgrading often means choosing a bar with a larger diameter or made of stronger material.
Why Upgrade Your Sway Bar?
Many factory-installed sway bars are designed for comfort, not performance. Here’s why car owners upgrade:
- Less body roll during cornering
- Sharper steering response
- Improved tire contact with the road
- Better handling in emergency maneuvers
- Customization for track or spirited driving
A sway bar upgrade doesn’t add power, but it can make your car feel faster and safer by giving you more control.
Credit: www.youtube.com
Tools And Parts You’ll Need
Before you start, gather all the tools and parts. This will save time and frustration.
Basic Tools:
- Jack and sturdy jack stands
- Socket set (metric and standard)
- Wrenches (usually 12mm–19mm)
- Torque wrench
- Penetrating oil (like WD-40)
- Pry bar or flathead screwdriver
- Safety glasses and gloves
Parts:
- The new sway bar (front or rear, depending on your upgrade)
- New bushings (often polyurethane for performance)
- New end links (recommended, especially for older cars)
- Grease (for bushings, if required)
- Manufacturer’s instructions
Not all cars use the same hardware. Always check your sway bar kit contents and compare them with your car’s setup.
Preparing Your Car For Installation
Preparation is key for a smooth install. Here’s what to do:
- Work on a level surface. A flat driveway or garage is safest.
- Lift the car using a jack. Place it on jack stands under secure points. Never rely on the jack alone.
- Remove the wheels for better access. You’ll usually need to take off the front or rear wheels, depending on which sway bar you’re upgrading.
- Spray bolts with penetrating oil. Sway bar bolts can rust and seize. Spray them and let it soak for a few minutes.
Pro Tip: Take pictures of the current setup before removal, especially the orientation of the end links and bushings. This helps during reassembly.

Credit: shawthingmanagement.com
Step-by-step Sway Bar Upgrade Installation
1. Locate The Sway Bar
Find the sway bar under your car. The front sway bar is behind the engine, connecting the left and right control arms. The rear sway bar is near the back axle, connecting the suspension arms.
2. Remove Old Sway Bar Components
- Disconnect the end links first. These are small rods connecting the sway bar to the suspension. Use a wrench to hold one side and a socket on the other.
- Remove the bushing brackets. Two brackets hold the sway bar to the car’s chassis. Remove the bolts (they may be tight; use a breaker bar if needed).
- Carefully slide out the old sway bar. You may need to twist it to clear obstacles.
3. Compare Old And New Parts
Lay the old and new sway bars side by side. Compare:
- Length
- Bend angles
- End link attachment points
Also, compare bushing size and style. Some cars use different bushings for left and right sides.
4. Prepare New Bushings And Sway Bar
If your kit includes polyurethane bushings, grease them before installation to prevent squeaks. Slide the bushings onto the new sway bar in the correct positions.
5. Install The New Sway Bar
- Carefully slide the new sway bar into place. Match the orientation with your pictures.
- Loosely attach the bushing brackets with new or cleaned bolts. Do not fully tighten yet.
- Attach the end links to the sway bar and suspension arms. Finger-tighten bolts at first.
6. Tighten Everything To Specification
Use a torque wrench to tighten all bolts to the manufacturer’s recommended settings. Overtightening can damage bushings, while undertightening leads to noise and unsafe handling.
Check the table below for typical torque values (always confirm with your vehicle’s manual):
| Component | Torque Range (ft-lb) | Notes |
|---|---|---|
| Bushing Bracket Bolts | 25–40 | Do not crush bushings |
| End Link Bolts | 35–55 | Both sides evenly |
7. Double-check And Reassemble
- Make sure all bolts are tight and bushings are seated properly.
- Reinstall the wheels and lower the car to the ground.
- Bounce the car a few times to settle the suspension.
- Re-torque sway bar bolts after the car is on the ground. Suspension load can affect torque readings.
Front Vs Rear Sway Bar Upgrades
Not sure which sway bar to upgrade? Here’s a quick comparison:
| Upgrade Location | Typical Benefit | Best For |
|---|---|---|
| Front Sway Bar | Reduces understeer (car pushes wide) | Most front-wheel-drive cars |
| Rear Sway Bar | Reduces oversteer (car rotates more) | Rear-wheel-drive or balanced handling |
Insight: Upgrading both bars at once can be too stiff for daily driving. Many drivers start with the rear bar for a more “lively” feel, then adjust as needed.
Common Mistakes To Avoid
- Skipping the torque wrench: Hand-tightening is not enough. Always use the correct torque.
- Not greasing polyurethane bushings: Dry bushings squeak and wear out faster.
- Mixing old and new parts: Always use new end links if possible for best results.
- Ignoring bushing orientation: Some bushings have a specific direction—install them as shown in your instructions.
- Driving hard immediately: Let the bushings settle for a few days before aggressive driving.
Real-world Example: Sway Bar Upgrade Impact
After upgrading to a stiffer rear sway bar on a Honda Civic, many drivers report:
- 30–40% less body roll during hard turns
- Sharper steering response, especially in quick lane changes
- No major comfort loss on normal roads with quality bushings
But remember, every car and every driver is different. Test drive your car in a safe area after the upgrade to get used to the new handling.
After-installation Checklist
Once you’ve installed your sway bar, don’t skip these steps:
- Check for clearance: Make sure the sway bar and end links don’t touch the exhaust, brake lines, or suspension arms.
- Listen for noises: Any clunking or squeaking means something is loose or dry.
- Inspect after 100 miles: Retorque all bolts, as bushings can settle and loosen slightly.
- Drive cautiously: Handling will feel different, so ease into fast driving.
Sway Bar Upgrade Vs Other Suspension Mods
Is a sway bar upgrade the best first step? Here’s a quick comparison with other common suspension mods:
| Upgrade | Cost | Main Benefit | DIY Difficulty |
|---|---|---|---|
| Sway Bar | $$ | Less body roll, sharper handling | Moderate |
| Springs | $$$ | Lowers car, firmer ride | Advanced |
| Shocks/Struts | $$$ | Improved ride control | Advanced |
| Bracing | $ | Stiffens chassis | Easy |
A sway bar is a great first upgrade because it gives noticeable improvements without making the ride too harsh or lowering your car.
Safety Tips For Diy Sway Bar Installation
- Always use quality jack stands and never work under a car supported only by a jack.
- Wear safety glasses when loosening old bolts.
- Double-check your car’s manual for torque specs and jacking points.
- If you’re not sure about a step, consult a mechanic or a trusted car forum.
- Test drive carefully after the upgrade to ensure everything feels right.
Non-obvious Insights For Beginners
- Sway bar preload matters: If you tighten end links with the suspension hanging, you can add unwanted preload. Always do final tightening with the car’s weight on the wheels.
- End link angle is important: End links should be nearly vertical when the car is on the ground. If they’re angled, the sway bar won’t work efficiently and may wear out parts faster.

Credit: charlotte-skeel.dk
Frequently Asked Questions
What Are The Signs That I Need A Sway Bar Upgrade?
If your car leans a lot during turns, feels unstable in quick maneuvers, or you want sharper handling for performance or safety, a sway bar upgrade can help. Many drivers notice the biggest difference during emergency lane changes or on winding roads.
Can I Install A Sway Bar Upgrade Without Special Tools?
Most installs only require basic tools like a jack, jack stands, and wrenches. A torque wrench is highly recommended for safety. In some cases, stuck bolts may need a breaker bar or impact gun.
Will A Sway Bar Upgrade Make My Ride Harsher?
A thicker sway bar increases roll stiffness but usually doesn’t affect ride comfort over small bumps much, especially if you use quality bushings. It’s less harsh than stiffer springs or coilovers.
Do I Need An Alignment After Installing A Sway Bar?
Usually, a sway bar upgrade does not change your alignment angles. But if you replace other suspension parts at the same time, an alignment check is a good idea.
Where Can I Learn More About Sway Bar Upgrades And Car Handling?
For more technical information and detailed guides, check the Wikipedia Anti-Roll Bar page.
Upgrading your car’s sway bar is one of the most effective ways to improve handling, safety, and driving enjoyment. By following the right steps and paying attention to details, you can complete the installation yourself and enjoy a better driving experience every time you hit the road.
