Parking your car under trees often brings an unwanted surprise: sticky tree sap clinging to the paint. Sap is not just a cosmetic issue—it can damage the clear coat, dull the color, and make your car look neglected. Removing sap is not as simple as a quick wash. If you try to scrape it off, you may scratch your car. Using the wrong chemicals can also harm the paint. So, how do you remove tree sap from car paint safely, without causing more problems?
Let’s walk through everything you need to know to get rid of tree sap effectively. You’ll learn why sap is a threat, what works (and what doesn’t), step-by-step removal methods, and pro tips to prevent future sap problems. Even if you’re not a car expert, these simple, safe methods will help keep your car looking its best.
Why Tree Sap Is Harmful To Car Paint
At first, tree sap might look like just a sticky spot. But tree sap is a mix of sugars, acids, and other chemicals that can eat into your car’s clear coat. Over time, especially under sunlight, sap hardens and bonds with the paint. This can lead to:
- Stains that are hard to remove
- Etching or “scars” in the clear coat
- Loss of shine and paint fading
A study from the Automotive Paint Institute found that cars exposed to sap are 30% more likely to need polishing or paint correction within a year. The longer sap sits, the harder it is to remove. Acting fast is key.
Common Mistakes When Removing Tree Sap
Many car owners try the wrong methods first, which can cause more harm than good. Here are mistakes to avoid:
- Scrubbing with rough tools: Using a kitchen sponge or brush can scratch your paint.
- Using hot water: Heat can “bake” the sap onto the surface, making it harder.
- Applying harsh chemicals: Paint thinners or strong solvents can strip the clear coat.
- Waiting too long: Old sap is much harder to clean than fresh sap.
If you’ve already made one of these mistakes, don’t worry. There are safe ways to fix it.
Tools And Materials Needed
Before you start, gather the right supplies. Using the correct tools will make the job easier and safer.
You will need:
- Microfiber towels (soft, lint-free)
- Mild car wash soap
- Warm water (not hot)
- Isopropyl alcohol (70% or 90%)
- Bug and tar remover (car-safe formula)
- Clay bar kit (optional, for stubborn sap)
- Wax or sealant (for protection afterward)
- Spray bottle (for controlled application)
- Plastic razor blade (optional, for thick sap)
Did you know? Many people skip the clay bar, but it’s one of the most effective ways to remove sap residue without harming the paint.
How To Remove Fresh Tree Sap (step-by-step)
If the sap is fresh (still sticky and soft), it’s easier to remove. Here’s how:
1. Wash The Area
Rinse the sap spot with clean water. Use car wash soap and a microfiber towel to gently clean the area. This removes loose dirt that can scratch your paint.
2. Soften The Sap
Soak a microfiber towel in warm water. Lay it over the sap for 2–3 minutes. This softens the sap and makes it easier to remove.
3. Apply Isopropyl Alcohol
Put a little isopropyl alcohol (70% or 90%) on a clean towel. Dab it onto the sap—don’t rub hard. Let it sit for 30 seconds. Alcohol breaks down the sticky sugars in sap.
4. Wipe Away Gently
Use a circular motion to wipe the area. If some sap remains, repeat the alcohol step. Never use force.
5. Rinse And Inspect
Wash the spot again with soap and water. Dry with a clean towel. Check for any residue.
Pro tip: Always test alcohol or remover on a small, hidden area first. This checks for any paint reaction.
How To Remove Hardened Sap Safely
Older, dried sap is tougher to clean. You’ll need a bit more patience and the right approach.
1. Soften The Sap First
Place a damp, warm microfiber towel over the sap for 5–10 minutes. This helps loosen the bond.
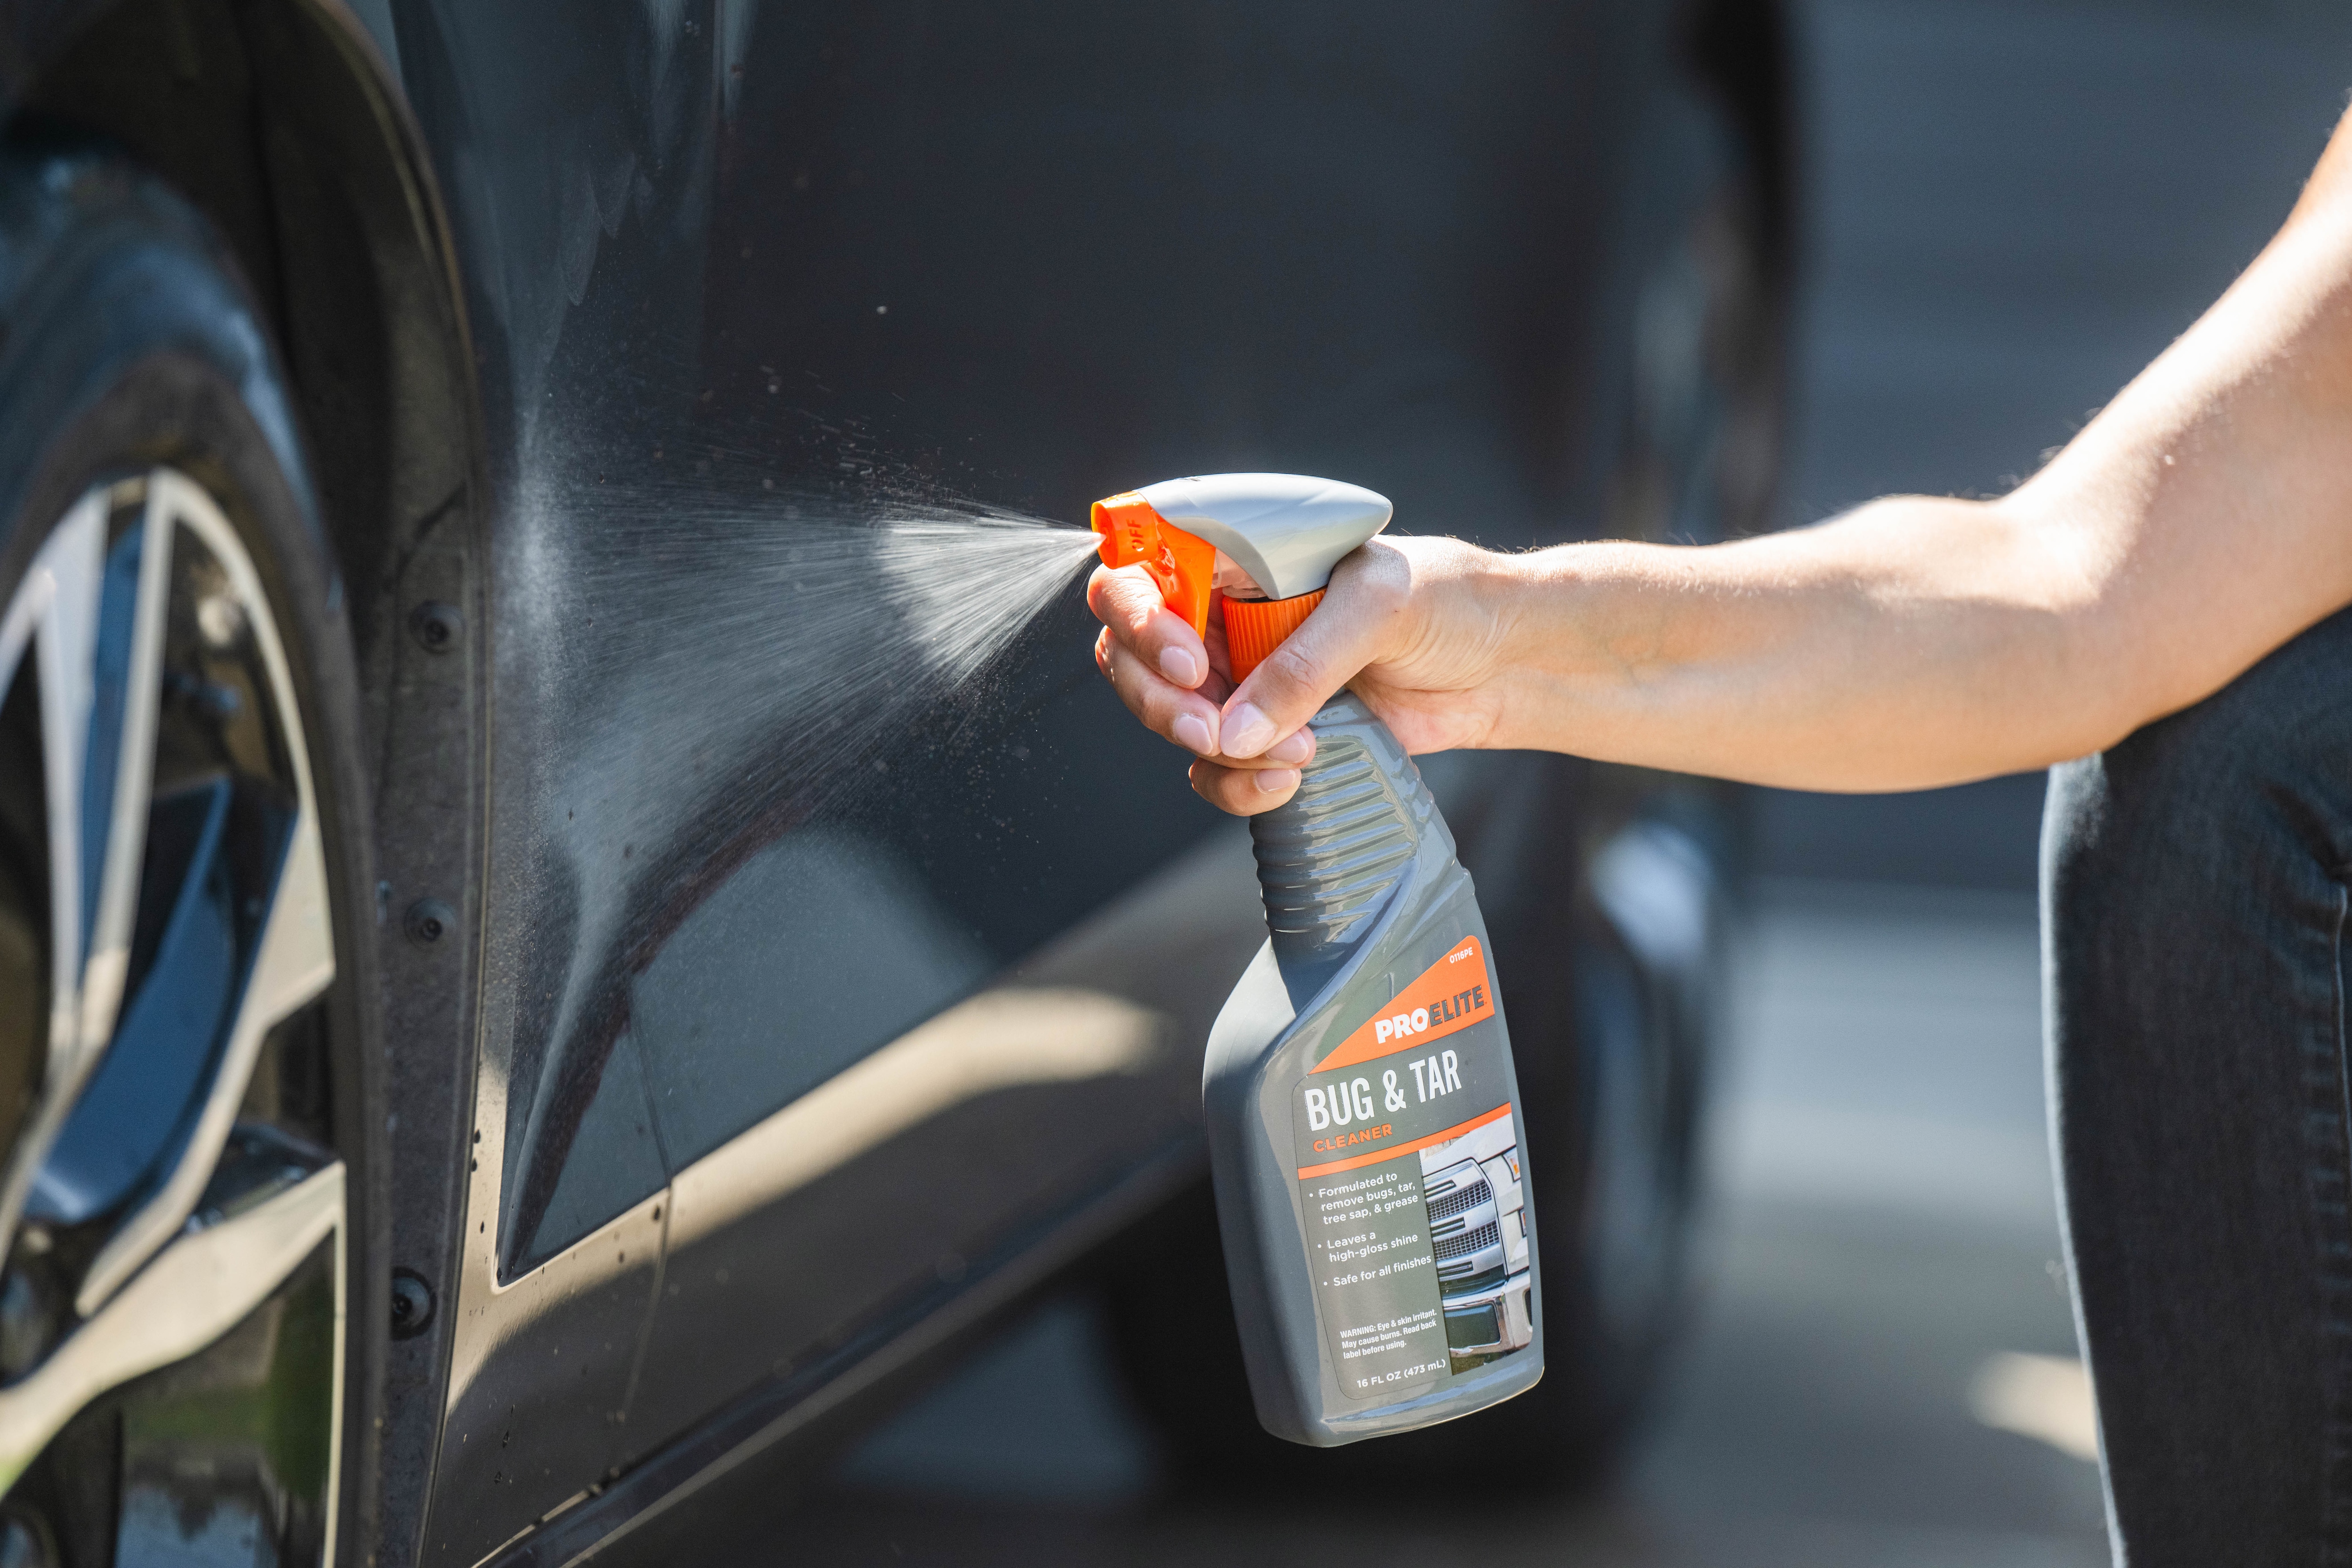
2. Use A Bug And Tar Remover
Spray a car-safe bug and tar remover on the sap. Let it sit for the time suggested on the label (usually 1–2 minutes). These products are designed to break down sticky residue without damaging paint.
3. Gently Scrape (if Needed)
For thick sap, use a plastic razor blade. Hold it at a low angle and gently lift the sap. Never use a metal blade—this will scratch your car.
4. Wipe With Microfiber Towel
Clean the area with a microfiber towel. Repeat the remover if needed.
5. Finish With A Clay Bar
A clay bar can remove any last bits of sap or residue. Spray lubricant (included in the kit), then gently rub the clay bar over the area. You’ll feel the surface get smooth.
6. Wash And Dry
Clean the area with soap and water again to remove any chemical residue.
Non-obvious insight: Clay bars not only remove sap but also other invisible contaminants, leaving your paint glassy-smooth.
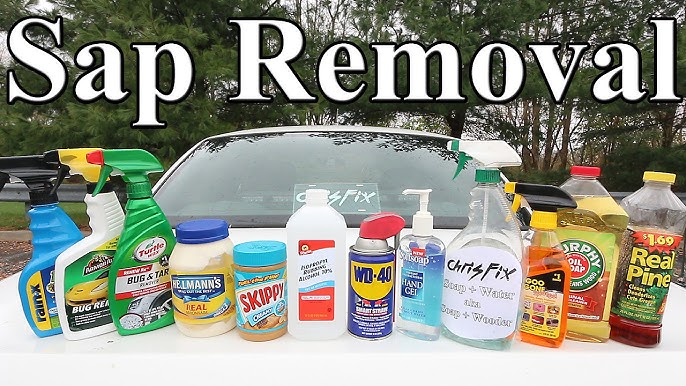
Comparing Sap Removal Products
Choosing the right product matters. Here’s a quick comparison of common sap removers:
| Product | Main Ingredient | Safe for Paint? | Effectiveness |
|---|---|---|---|
| Isopropyl Alcohol | Alcohol | Yes (if diluted) | Good for fresh sap |
| Bug & Tar Remover | Mild solvent | Yes (car-specific) | Best for dried sap |
| WD-40 | Petroleum distillates | Usually (test first) | Good for stubborn sap |
| Nail Polish Remover | Acetone | No (can harm paint) | Not recommended |

Credit: stonercarcare.com
When To Use A Clay Bar
A clay bar is a special cleaning tool for car paint. It’s not just for sap—you can use it to remove tar, bug residue, and other stubborn spots. You’ll know you need a clay bar if:
- The paint feels rough after cleaning
- You see or feel tiny bumps (sap residue)
- Regular washing doesn’t make the area smooth
How to use a clay bar:
- Wash and dry the car first.
- Spray lubricant on a small section.
- Rub the clay bar gently in straight lines.
- Wipe with a clean towel.
Clay bars can be used 2–3 times before replacing. Don’t drop the clay—if it touches the ground, throw it away.
Should You Use Home Remedies?
Many people suggest home remedies like mayonnaise, baking soda, or vinegar for removing tree sap. But do they work, and are they safe?
| Home Remedy | Effectiveness | Paint Safety |
|---|---|---|
| Mayonnaise | So-so (softens sap) | Safe, but messy |
| Baking Soda | Weak (abrasive) | Can scratch paint |
| Vinegar | Weak (dissolves sap slowly) | Safe if diluted |
Insight: While home remedies are cheap, they’re usually less effective. Store-bought removers are safer and faster.
Aftercare: Protecting Your Car Paint
Removing sap is only part of the process. After cleaning, your paint may have lost some of its protective wax or sealant. To keep your car looking good:
1. Apply Car Wax Or Sealant
This restores shine and provides a barrier against future sap.
2. Inspect For Damage
Look closely for etching or dull spots. If you see any, a light polish may be needed.
3. Wash Regularly
Frequent washing removes new sap before it hardens.
Tip: Wax your car every 3–4 months if you park under trees often.
How To Prevent Tree Sap On Car Paint
Prevention is always easier than removal. Here’s how to avoid sap problems:
1. Avoid Parking Under Trees
This is the simplest way to stay sap-free.
2. Use A Car Cover
Car covers protect against sap, bird droppings, and more. Choose one with a soft inner lining.
3. Wax Regularly
A good wax makes it harder for sap to bond to paint.
4. Clean Sap Immediately
The sooner you act, the easier it is.
5. Check Parking Spots
Look for sap drips or sticky spots before choosing a space.
Not obvious: Some trees produce sap seasonally. For example, pines and maples often drip most in spring and early summer.
Credit: www.autozone.com
When To Seek Professional Help
Sometimes, sap has already etched the paint or covered a large area. Here’s when it’s best to see a pro:
- The sap has been on the car for months
- DIY methods didn’t work
- You see white marks or dull spots under the sap
- Your car has a special paint finish (matte or custom)
Professional detailers have tools and products that are not available to the public. They can polish out damage and restore shine.
Cost Comparison: Diy Vs. Professional Sap Removal
Here’s a look at what you might spend:
| Method | Average Cost | Includes |
|---|---|---|
| DIY (at home) | $10–$40 | Remover, towels, clay bar |
| Professional detailer | $75–$200 | Deep cleaning, polish, wax |
Tip: For one or two small sap spots, DIY is usually enough. For large, old, or stubborn sap, a detailer may save time and prevent damage.
Credit: www.youtube.com
Extra Tips For Non-native English Readers
- “Microfiber” means a very soft, synthetic cloth. It’s gentle on paint.
- “Etching” means a small scar or mark that can be felt on the paint.
- “Clay bar” is a soft, putty-like cleaner for paint.
If you’re unsure about a word, check trusted sources like the Wikipedia Tree Sap page.
Frequently Asked Questions
What Is The Fastest Way To Remove Fresh Tree Sap From Car Paint?
Soak a microfiber towel in warm water and lay it over the sap for a few minutes. Then dab the spot with isopropyl alcohol and gently wipe it away. Always finish by washing the area with car soap.
Can I Use Nail Polish Remover To Clean Sap Off My Car?
No, nail polish remover usually contains acetone, which can damage your car’s paint. Stick with alcohol, bug and tar remover, or car-safe products.
How Do I Know If Sap Has Damaged My Car Paint?
If you see dull spots, discoloration, or feel rough patches after removing sap, the paint may be etched. Minor etching can sometimes be polished out with a car polish and microfiber towel.
Is It Okay To Use Wd-40 On Tree Sap?
Yes, WD-40 can help soften stubborn sap. Spray a small amount on the sap, wait a few minutes, and wipe gently with a microfiber towel. Wash the area after to remove any oily residue.
How Can I Stop Sap From Getting On My Car?
Try to avoid parking under trees, especially in spring and early summer. Use a car cover if you must park outside. Wax your car regularly to make future sap easier to remove.
Car paint is a big investment. With these steps, you can safely remove tree sap, protect your car’s appearance, and avoid costly repairs. A little care now saves a lot of trouble later—keep your car clean, and sap won’t stand a chance.
