Replacing a car’s purge valve yourself can save money and give you more control over your vehicle’s maintenance. The purge valve is a key part of the evaporative emission control system (EVAP), which helps reduce pollution by controlling fuel vapors. When the purge valve fails, it can cause rough idling, poor fuel economy, or even trigger the check engine light. Many drivers feel nervous about DIY car repairs, but with the right tools and steps, changing the purge valve is a manageable task—even for beginners.
This guide will walk you through everything you need to know about replacing a purge valve at home. You’ll find practical tips, common mistakes to avoid, and a step-by-step process that keeps things simple and safe. By the end, you’ll feel confident tackling this repair and understanding why the purge valve is so important for your car’s performance.
What Is A Car Purge Valve?
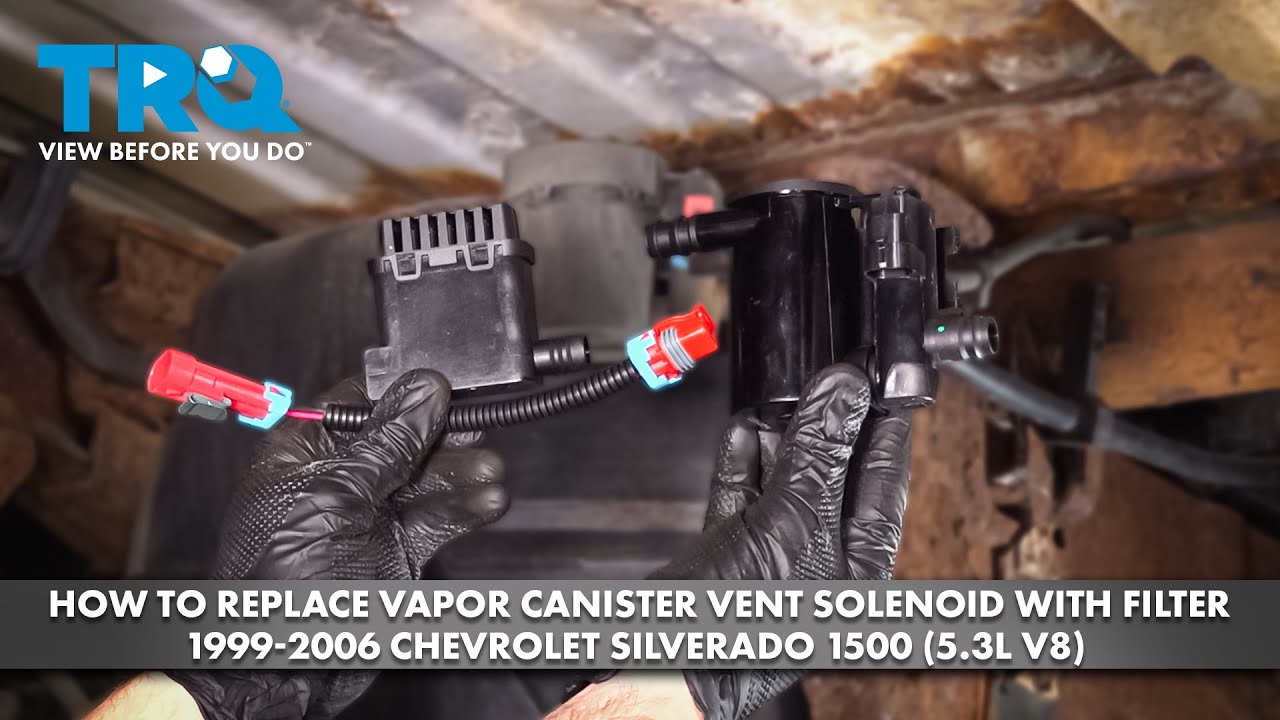
The purge valve is a solenoid that controls when and how much fuel vapor from the gas tank enters the engine to be burned. It’s usually found in the engine bay, connected to the charcoal canister and the intake manifold. The engine control unit (ECU) tells it when to open and close. If it sticks open or closed, you may notice problems such as trouble starting, failed emissions tests, or engine warning lights.
Many drivers confuse the purge valve with the vent valve, but they work differently. The purge valve moves vapors into the engine, while the vent valve controls air entering the system. Both matter, but this guide focuses on the purge valve.
Signs Your Purge Valve Needs Replacement
Before you start, make sure you’re replacing the right part. Here are common symptoms of a bad purge valve:
- Check engine light: Often triggered by a faulty purge valve. A diagnostic scanner may show codes like P0441 or P0443.
- Rough idle or stalling: The engine may run unevenly, especially when stopped.
- Difficulty starting: The engine may crank longer than normal or not start at all.
- Poor fuel economy: You may notice more trips to the gas station.
- Strong fuel smell: Leaking vapors can create a noticeable gasoline smell near the car.
If you see one or more of these signs, a failed purge valve could be the cause. For certainty, use an OBD-II scanner or ask a mechanic for a quick diagnostic.
Tools And Materials Needed
Gather these items before starting the replacement:
- New purge valve: Make sure it matches your car’s year, make, and model.
- Socket set and ratchet: Most purge valves use 8mm or 10mm bolts.
- Screwdrivers: Both flathead and Phillips.
- Pliers: For hose clamps.
- Gloves: To protect your hands from chemicals and sharp parts.
- Shop towels: For wiping up spills.
- OBD-II scanner: Helpful for clearing error codes after replacement.
- Safety glasses: Protect your eyes from debris.
Buying a quality purge valve matters. Cheap parts can fail early and cause more problems. Stick with OEM (Original Equipment Manufacturer) or a trusted brand.
Safety Tips Before You Begin
Safety is always first, even for a small job like this. Here’s how to stay safe:
- Work in a ventilated area: Gasoline vapors can build up and are dangerous.
- Let the engine cool down: Hot parts can burn your skin.
- Disconnect the battery: This prevents electrical shorts.
- Wear gloves and safety glasses: Protect yourself from fuel and sharp edges.
Never smoke or use open flames near the car when working on the fuel system.
Credit: www.1aauto.com
Step-by-step Guide To Replacing The Purge Valve
Changing the purge valve is often a straightforward job. The process may vary slightly depending on your car’s make and model, but the main steps are similar.
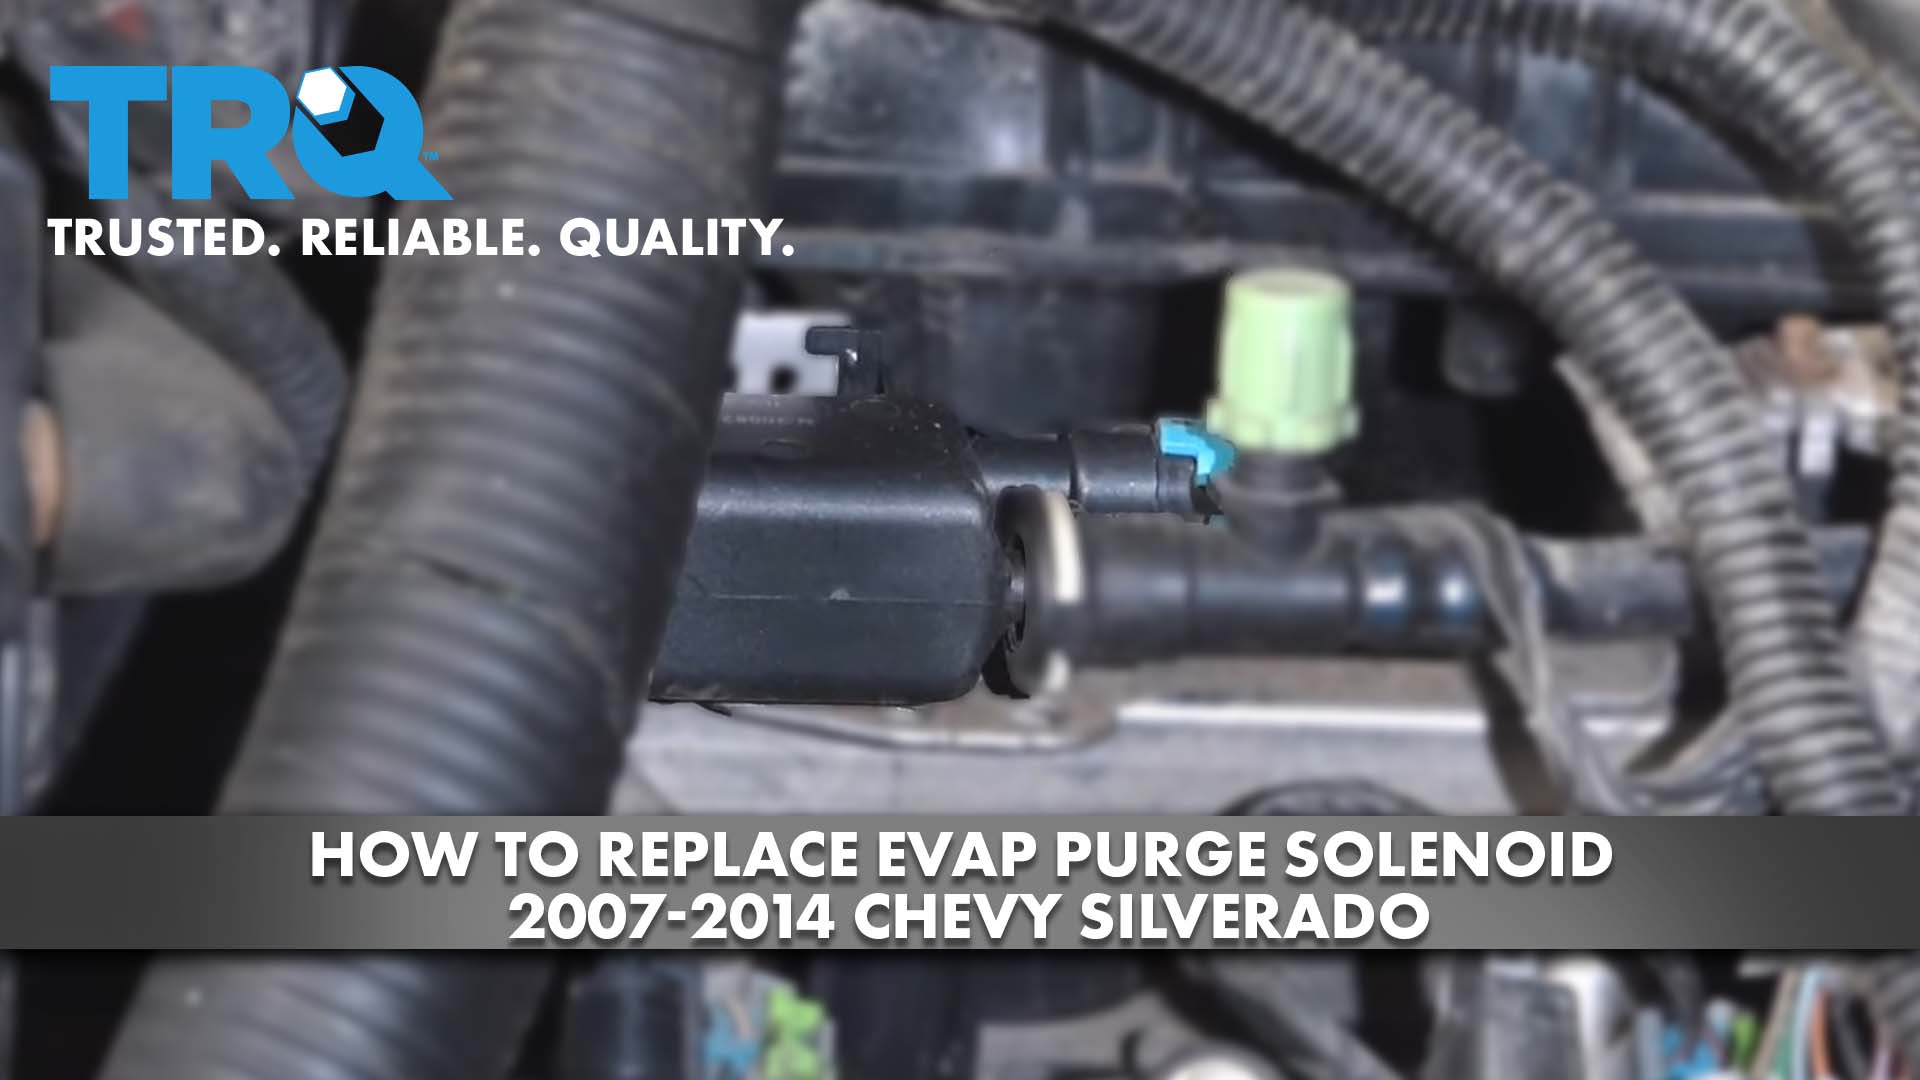
1. Locate The Purge Valve
Most purge valves are found near the intake manifold or the firewall. Check your owner’s manual or search online for your specific engine layout. If you’re unsure, look for a small, cylinder-shaped part with vacuum hoses and an electrical connector.
2. Disconnect The Battery
Always disconnect the negative battery cable before touching the valve. This prevents electrical shocks and accidental airbag deployment.
3. Remove Engine Cover (if Needed)
Some vehicles have a plastic engine cover. Remove it by loosening a few bolts or clips. This gives you better access to the purge valve.
4. Unplug The Electrical Connector
Press the locking tab and gently pull the connector off the purge valve. Never yank the wires, as this can cause expensive electrical damage.
5. Disconnect The Vacuum Hoses
Use pliers to loosen hose clamps, then twist and pull the hoses off the valve. Some hoses can be stubborn—if they’re stuck, gently twist them back and forth instead of pulling straight.
6. Remove The Old Purge Valve
Most purge valves are secured with one or two bolts. Use your socket set to remove them. Keep the bolts—you’ll need them for the new valve.
7. Install The New Purge Valve
Place the new valve in the same position as the old one. Secure it with the original bolts, but do not overtighten. A snug fit is enough.
8. Reconnect The Hoses And Connector
Push the vacuum hoses onto the new valve’s ports. Reattach the hose clamps with pliers. Plug in the electrical connector until it clicks.
9. Reinstall Engine Cover And Reconnect Battery
If you removed an engine cover, reinstall it now. Finally, reconnect the negative battery cable.
10. Start The Engine And Check For Issues
Turn on the car and let it idle. Watch for any warning lights or rough running. If you have an OBD-II scanner, clear any old error codes.
11. Test Drive
Take your car for a short drive. Check if the check engine light stays off and the car runs smoothly. If the light returns, double-check all connections.
Common Mistakes And How To Avoid Them
Even simple jobs can go wrong. Here’s how to avoid common pitfalls:
- Forgetting to disconnect the battery: This risks electrical damage or triggering warning lights.
- Mixing up hoses: Label them with tape before removal.
- Using the wrong part: Always match the new valve to your car’s specs.
- Overtightening bolts: This can crack plastic parts or strip threads.
- Not clearing error codes: Old codes can trigger the check engine light even after a successful repair.
If you hear hissing noises or smell fuel after the repair, turn off the engine and check for leaks or loose hoses.
Credit: www.1aauto.com
Purge Valve Replacement: Dealer Vs. Diy
Let’s compare the cost and time involved with DIY vs. dealer service.
| Replacement Option | Estimated Cost | Time Needed | Warranty |
|---|---|---|---|
| Dealership | $150-$300 | 2-3 hours (including wait time) | 12 months typical |
| Independent Mechanic | $100-$200 | 1-2 hours | Varies |
| DIY | $20-$70 (part only) | 30-60 minutes | Parts only |
DIY is much cheaper and usually takes less than an hour for most vehicles. However, a dealer or mechanic may offer a longer warranty and can handle unexpected problems.
Choosing The Right Purge Valve
Not all purge valves are equal. Here’s what matters when choosing a replacement:
- Compatibility: Match your car’s year, make, and model.
- OEM vs. aftermarket: OEM parts fit perfectly but can cost more. Quality aftermarket brands can save money but check reviews.
- Warranty: A 12-month warranty is standard.
- Return policy: In case you order the wrong part.
Here’s a quick comparison of OEM and aftermarket options:
| Type | Price Range | Reliability | Warranty |
|---|---|---|---|
| OEM | High | Excellent | 12-24 months |
| Aftermarket | Low to Medium | Varies | 6-12 months |
For most drivers, OEM is safest, but trusted aftermarket brands can be a good choice if you’re on a budget.
Practical Tips And Insights
- Label hoses and connectors with masking tape before disconnecting. This prevents confusion during reassembly.
- Check for recalls: Some cars have purge valve recalls. Search your VIN online for free repairs.
- Clear error codes with an OBD-II scanner after replacement. Some codes won’t disappear until you do.
- Inspect hoses for cracks or leaks. Replace damaged hoses to avoid repeat problems.
- Double-check fit: Before installing, compare the old and new valves side-by-side.
A common mistake is ignoring the “Check Engine” light after replacement. If it returns, scan for codes—sometimes, a loose hose is the real problem.
When To Call A Professional
While most DIYers can replace a purge valve, sometimes it’s better to get help:
- If you smell strong fuel odors after repair
- If you cannot clear the check engine light
- If the valve is hard to reach without removing many other parts
- If you’re unsure about the diagnosis
Spending $100–$200 on a professional repair is better than risking more expensive engine damage.

Credit: www.youtube.com
How Long Does A Purge Valve Last?
Most purge valves last between 50,000 and 100,000 miles. Some fail sooner, especially with frequent short trips or low-quality fuel. Regular maintenance and quick repairs can keep your emission system healthy and your car running smoothly.
Real-world Example
Imagine your check engine light comes on, and the car idles roughly. You check the code (P0441) and research your symptoms. The problem points to the purge valve. After buying a new valve and following the steps above, you finish the job in under an hour.
The car runs smoothly again, and you save about $150 compared to the dealership.
Many drivers miss the step of clearing old error codes, which can make it seem like the problem remains. Using an OBD-II scanner after the repair is a simple but critical step.
Frequently Asked Questions
What Happens If I Drive With A Bad Purge Valve?
A bad purge valve can cause rough idling, poor fuel economy, and failed emissions tests. Over time, it may damage the catalytic converter or other emission parts. It’s best to replace it as soon as possible.
Is It Safe To Replace The Purge Valve Myself?
Yes, for most cars, it’s a safe and straightforward repair. Just remember to disconnect the battery and work in a well-ventilated area. If you feel unsure, ask a friend with car repair experience or consult a professional.
How Do I Know If My Purge Valve Is Really The Problem?
A check engine light with codes like P0441 or P0443 often points to the purge valve. Other symptoms include rough idling and a strong fuel smell. Use an OBD-II scanner to confirm before replacing.
Can I Clean The Purge Valve Instead Of Replacing It?
Sometimes, you can clean a sticky purge valve with electrical contact cleaner, but this is usually a temporary fix. If the valve is faulty, replacement is the best long-term solution.
Where Can I Learn More About The Evap System?
For deeper technical details, visit the Wikipedia EVAP System page to understand how all the components work together.
Replacing a car purge valve yourself is a rewarding, practical repair that saves money and boosts your DIY confidence. With careful steps, the right tools, and attention to detail, you can complete this job in under an hour and keep your car running at its best.
