Replacing a car radiator hose might sound intimidating, but with some patience and the right tools, many car owners can do it themselves. A radiator hose is a crucial part of your vehicle’s cooling system—it moves coolant between the engine and the radiator, helping to keep your engine from overheating.
When a hose cracks or leaks, ignoring it can lead to major engine trouble and expensive repairs. Doing the job yourself not only saves money but also gives you confidence in maintaining your car. This guide will take you through every step, from identifying a bad hose to installing a new one, all in simple, clear language.
Why Replacing A Radiator Hose Matters
A radiator hose under your hood is more than just a piece of rubber. It handles high temperatures, pressure, and constant movement. Over time, these stresses can cause a hose to become brittle, swollen, or cracked. A leak in the hose can quickly lead to coolant loss, which may overheat and seriously damage the engine. By changing a worn hose yourself, you stop problems before they start.
Some beginners think a small leak is harmless, but even a little coolant loss can make your engine run hotter than normal. Replacing hoses early is far cheaper than repairing an overheated engine later.
How To Tell If A Radiator Hose Needs Replacement
Spotting a bad radiator hose early is key. Look for these signs:
- Visible cracks or splits: Check the hose for any lines or breaks.
- Bulges or soft spots: Squeeze the hose gently. A good hose feels firm, not mushy or lumpy.
- Coolant leaks under the car: Puddles or wet spots can mean trouble.
- Hose age: Most hoses last about 5 years or 60,000 miles, but hot climates can shorten their life.
Many car owners miss that a hose might look fine on the outside but be weak inside. Always check the full length and both ends, especially near clamps where leaks often start.
Tools And Supplies You’ll Need
Gathering the right tools before you start will make the job smoother. Here’s what you’ll need:
- New radiator hose (upper or lower, as needed)
- Correct amount and type of coolant
- Flathead or Phillips screwdriver (for clamps)
- Pliers (some clamps need these)
- Drain pan or bucket (to catch old coolant)
- Rags or paper towels
- Gloves (protects your hands from hot surfaces and chemicals)
- Safety glasses
Optional but helpful:
- Hose removal tool or pick
- Garden hose (for flushing)
- Funnel (for pouring coolant)
Having everything ready saves you from running to the store mid-job.
Safety First: Prepare Your Car
Before touching anything, safety comes first. Never open the radiator cap or touch the cooling system when the engine is hot—the coolant can spray out and cause burns.
- Let your engine cool for at least 30–45 minutes.
- Wear gloves and safety glasses.
- Make sure your car is parked on a flat surface with the parking brake set.
Many people skip the cooling step and get burned by hot steam or coolant. Patience here prevents injury.
Credit: www.autozone.com
Step-by-step Guide To Replacing A Radiator Hose
Follow these steps carefully to replace your radiator hose:
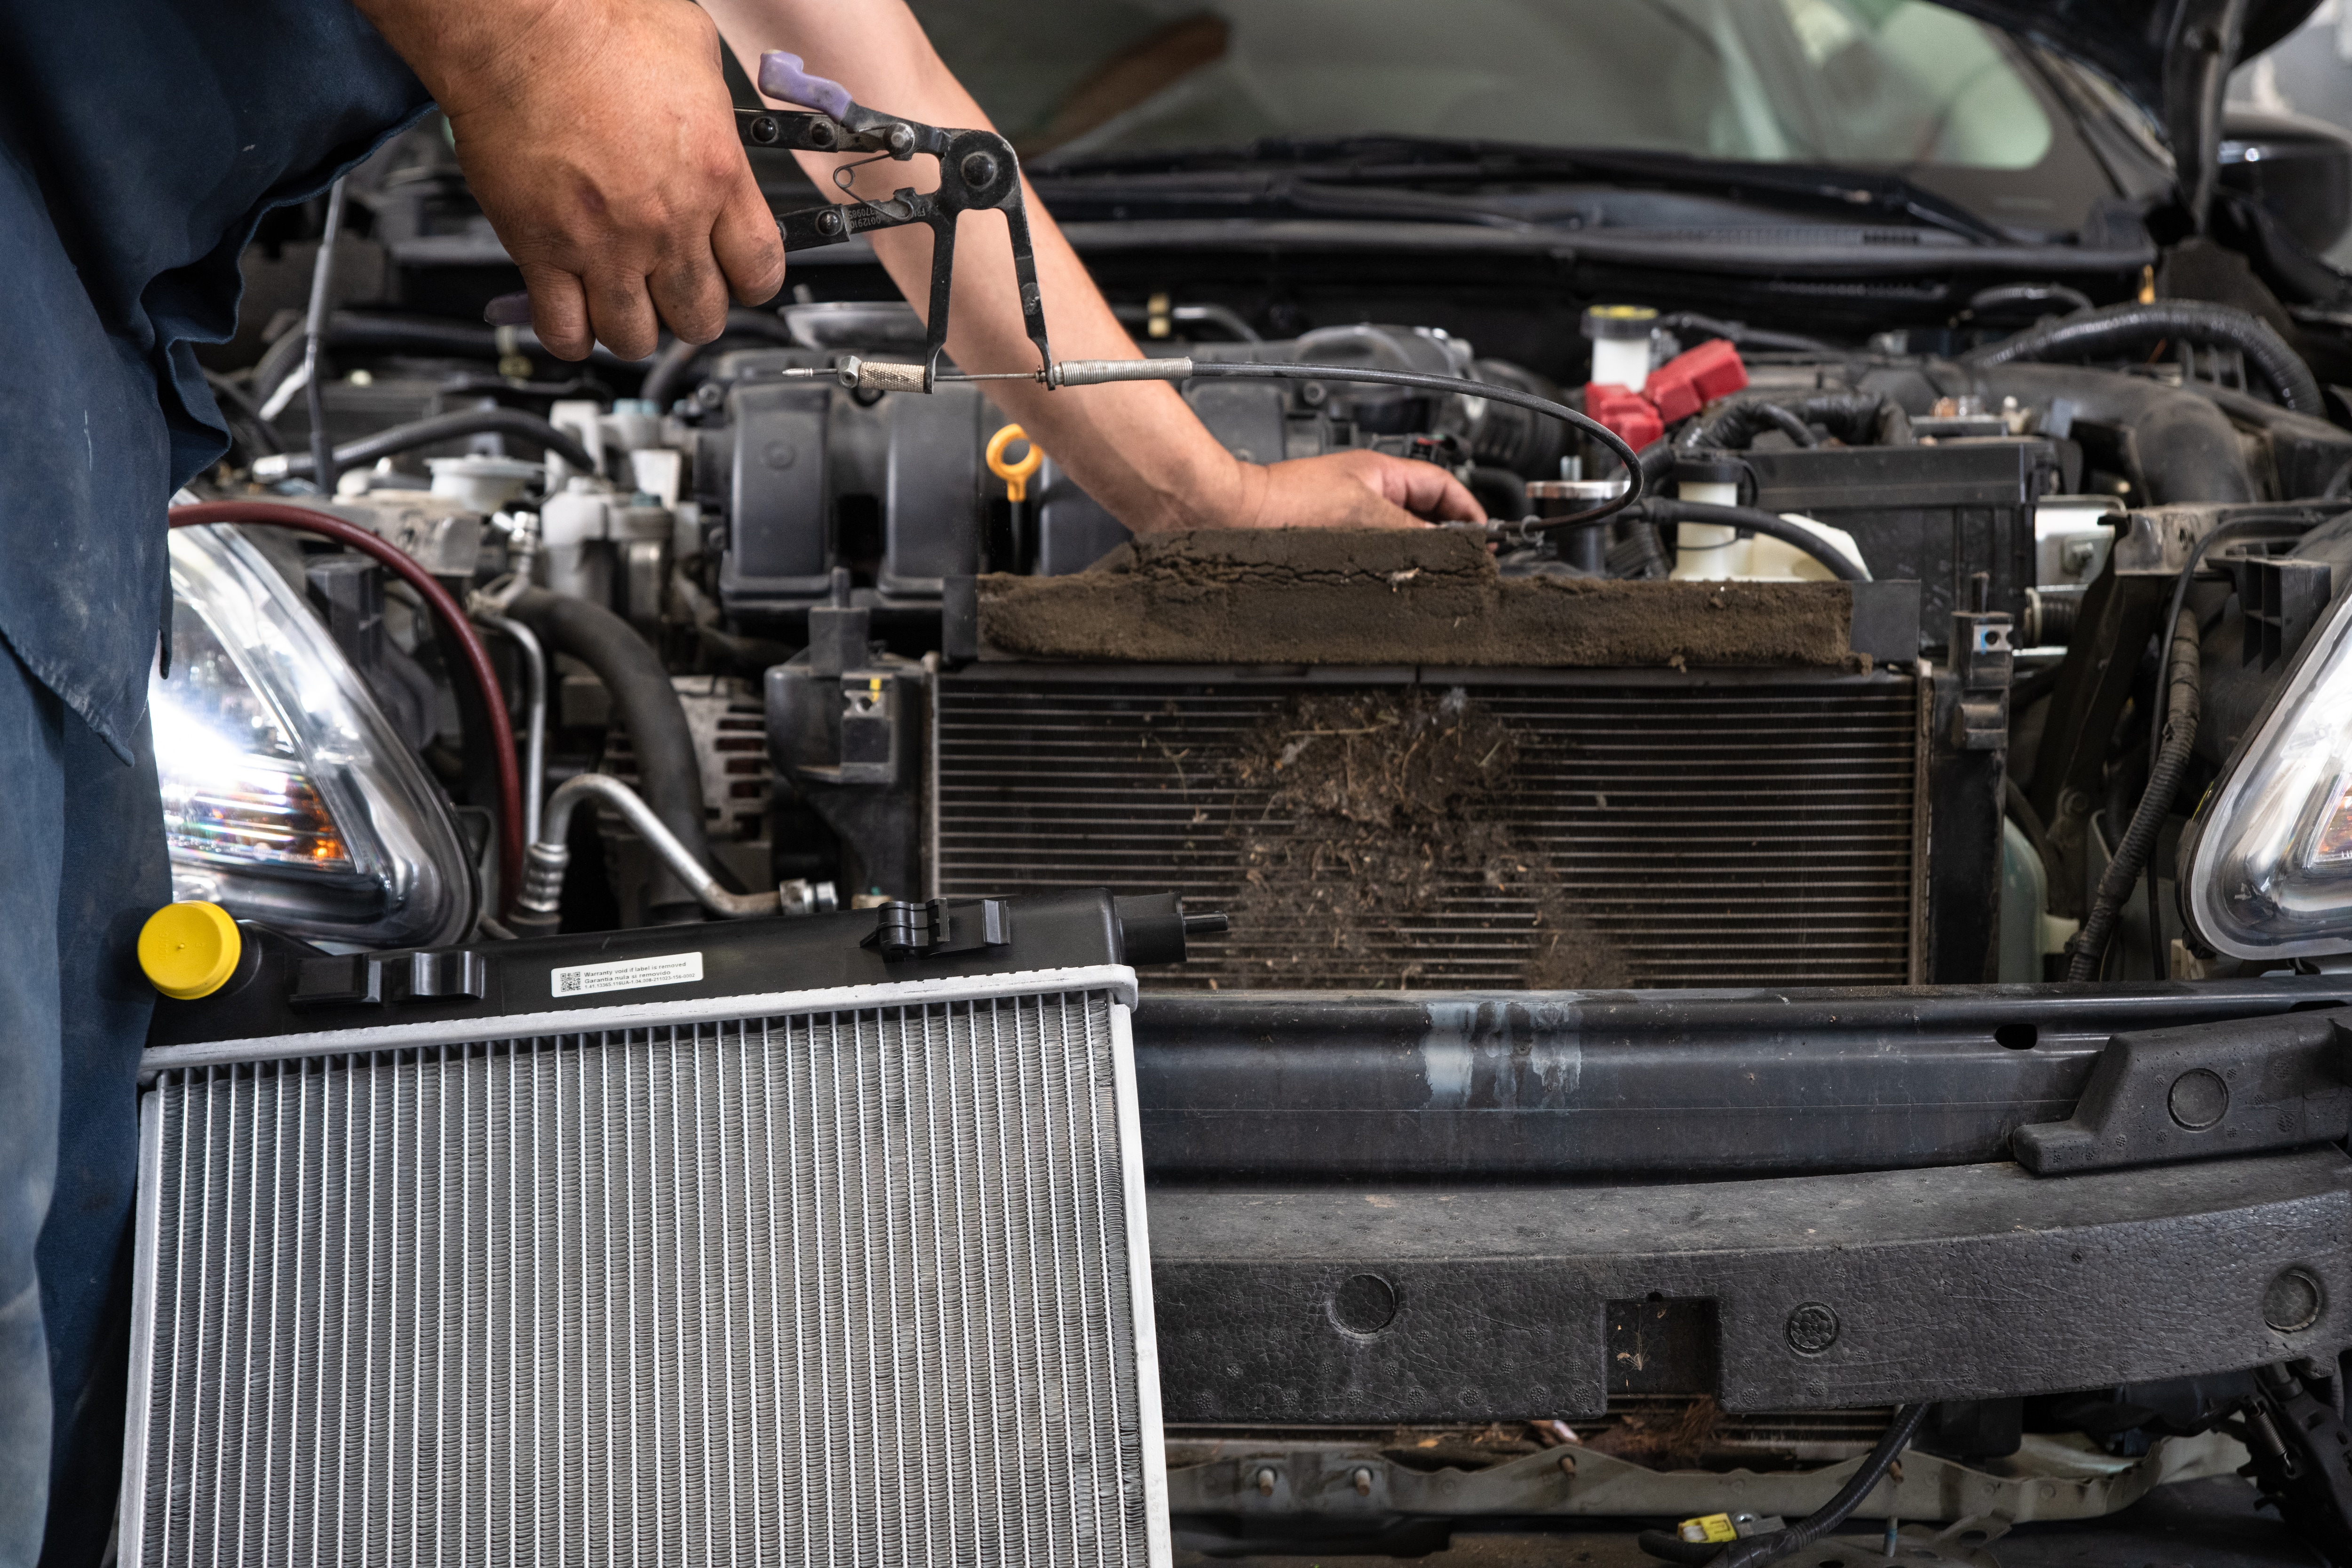
1. Locate The Hose
Most cars have two radiator hoses:
- Upper hose: Connects the top of the radiator to the engine.
- Lower hose: Connects the bottom of the radiator to the engine.
Identify which hose needs replacement. Check your car’s manual if you’re unsure.
2. Drain The Coolant
Place your drain pan under the radiator. Open the radiator drain valve (petcock) if there is one, or carefully remove the lower hose to let coolant flow out. If your car doesn’t have a drain valve, loosening the lower hose clamp will also drain the system.
Dispose of old coolant properly. Don’t pour it down a drain—it’s toxic to animals and the environment.
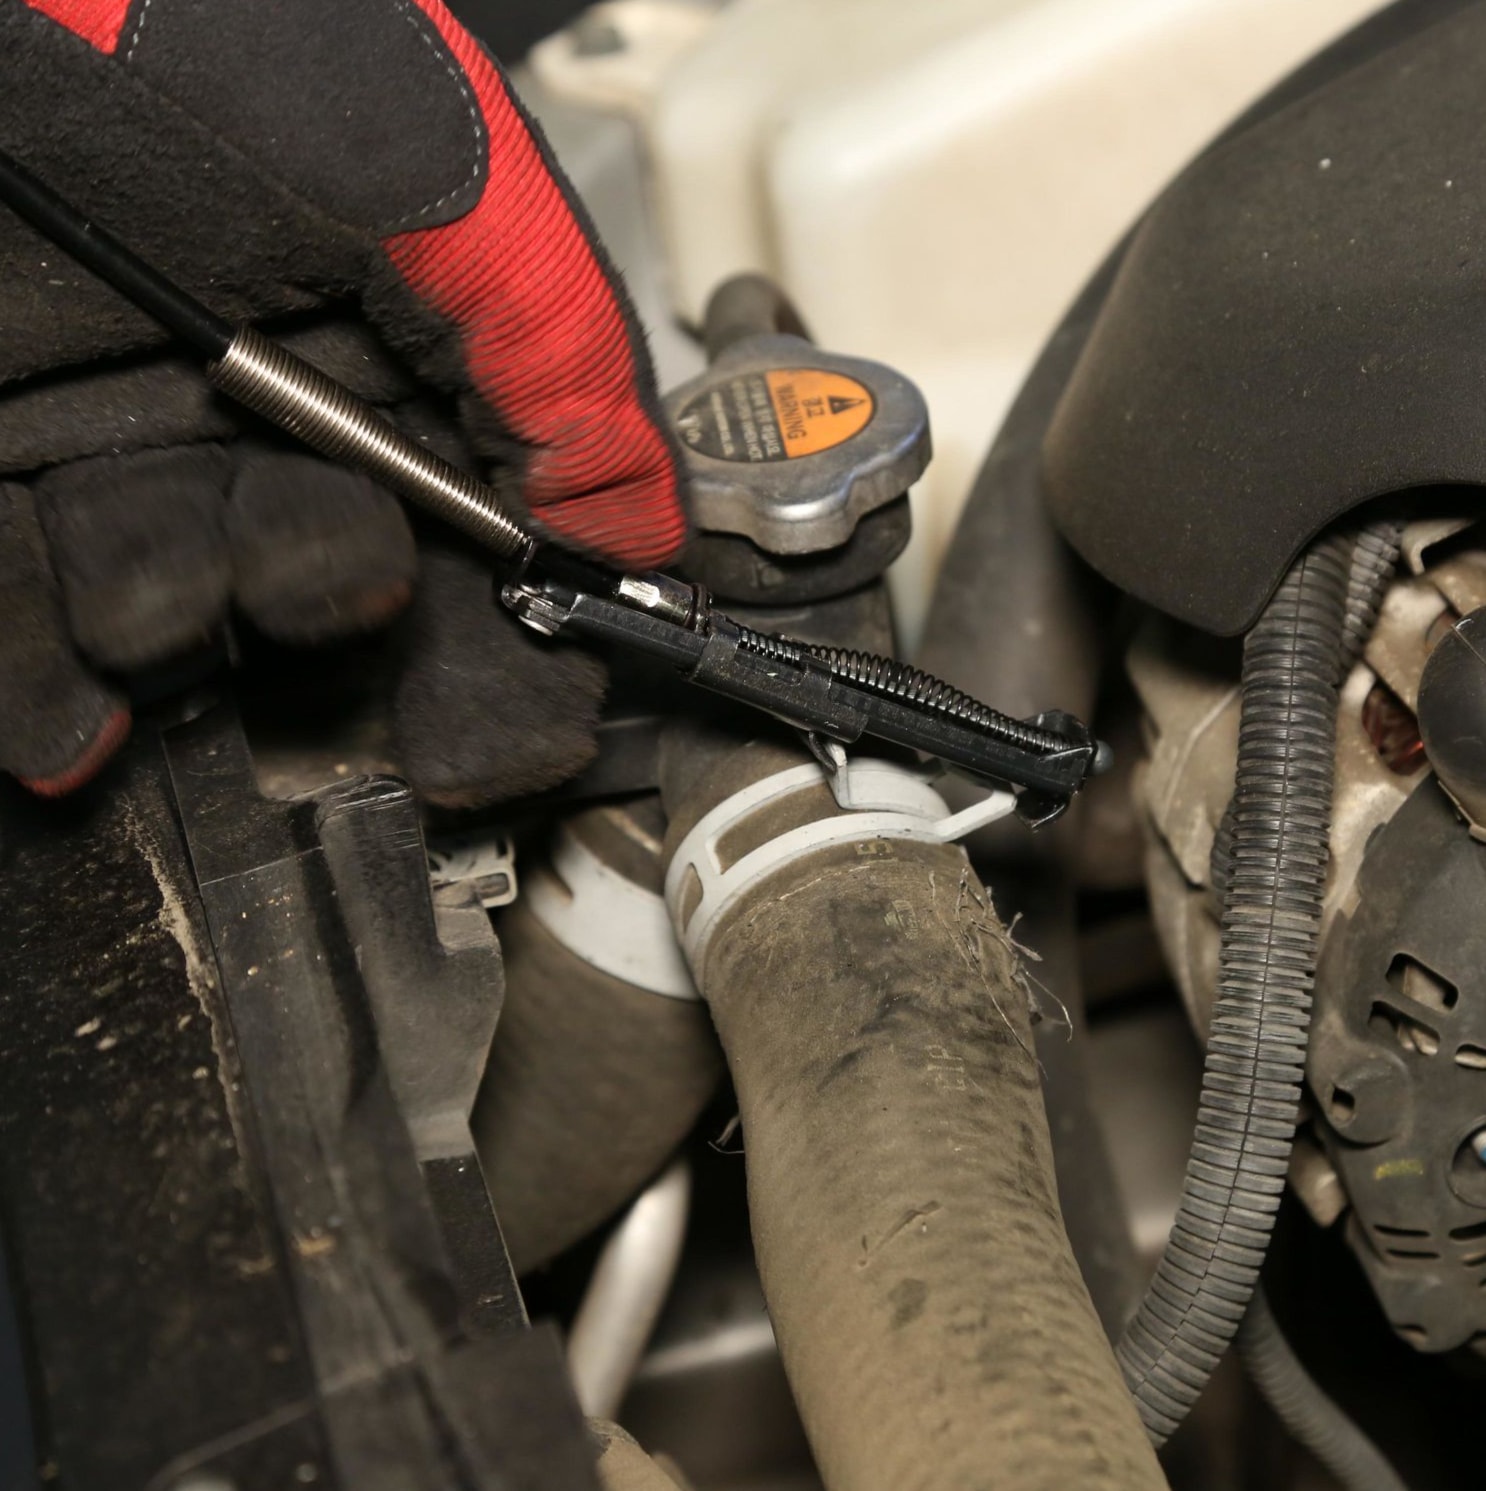
3. Remove The Old Hose
Use a screwdriver or pliers to loosen the clamps on each end of the hose. Slide the clamps away from the connection points. Twist the hose gently to break the seal, then pull it off. If it’s stuck, a hose pick tool can help.
Watch for leftover coolant. Some might spill out—keep rags handy.
4. Clean The Fittings
Wipe the metal connections (fittings) on the radiator and engine. Make sure there’s no old rubber or debris. A clean surface means a better seal.
Many beginners skip this cleaning step. Dirt or leftover rubber can cause leaks later.
5. Install The New Hose
Slide new clamps onto the hose (if they’re not already on). Push the hose ends onto the fittings until they’re fully seated. Position the clamps near—but not over—the edge of the hose, then tighten them securely.
Don’t overtighten. Too much force can damage the hose or fitting.
6. Refill Coolant
Close the drain valve if you opened it. Using a funnel, slowly pour new coolant into the radiator until it’s full. Top off the coolant reservoir as well.
7. Remove Air Pockets (bleeding The System)
Start the engine and let it idle with the radiator cap off. As the engine warms, trapped air bubbles will escape. Watch for the coolant level to drop; add more as needed. When bubbles stop, replace the radiator cap.
Some cars have a bleed screw for this—check your manual.
8. Check For Leaks
While the engine runs, look for drips around the new hose and clamps. Tighten clamps if needed. Once the engine reaches normal temperature, check the coolant level again and top off if necessary.
9. Dispose Of Old Coolant Safely
Take old coolant to a recycling center or auto parts store. Never pour it on the ground or down a drain.
Comparing Hose Types: Oem Vs. Aftermarket
Choosing the right replacement hose is important. Here’s a quick comparison:
| Type | Advantages | Disadvantages |
|---|---|---|
| OEM (Original Equipment Manufacturer) | Perfect fit, high quality, reliable | More expensive |
| Aftermarket | Less expensive, more options | Fit may vary, quality depends on brand |
For most drivers, OEM hoses are the safest choice, especially if you want a guaranteed fit. Good aftermarket brands can work well but always check reviews and fitment details.

Credit: natrad.com.au
Common Mistakes When Replacing Radiator Hoses
Many first-time DIYers make these errors:
- Not waiting for the engine to cool: Can cause burns or injury.
- Forgetting to clean the fittings: Leads to leaks.
- Not tightening clamps enough—or overtightening: Both can cause leaks or hose damage.
- Using the wrong hose size or type: Causes poor fit or early failure.
- Not removing air from the system: Leads to overheating.
Taking your time and double-checking each step helps you avoid these problems.
How Much Does A Diy Radiator Hose Replacement Cost?
Replacing a radiator hose yourself is much cheaper than going to a shop.
| Item | DIY Cost (USD) | Shop Cost (USD) |
|---|---|---|
| Radiator Hose | $10–$40 | Included |
| Coolant | $10–$25 | Included |
| Labor | $0 | $80–$150 |
| Total | $20–$65 | $90–$215 |
You can often save over $100 by doing the job yourself.
How To Choose The Right Coolant
Not all coolants are the same. Your car might need a special type. Check the owner’s manual for the recommended coolant, or ask a parts store. Never mix different coolant types—they don’t always work well together and can harm your car.
| Coolant Type | Color | Common Vehicles |
|---|---|---|
| Inorganic Additive Technology (IAT) | Green | Older cars (pre-1990s) |
| Organic Acid Technology (OAT) | Orange/Red | Many GM, VW, Honda |
| Hybrid Organic Acid Technology (HOAT) | Yellow/Orange | Ford, Chrysler, some European |
Practical Tips And Extra Insights
- Always replace both upper and lower hoses if one is worn—the other may fail soon.
- Check hose clamps; old or rusty clamps can leak. Replace them if needed.
- Keep a close eye on your temperature gauge for several days after the job.
- Some cars have extra hoses for the heater or overflow tank. Inspect them while you’re under the hood.
- If your car overheats after replacing the hose, double-check for trapped air or leaks.
A detail many miss: the hose might be fine, but a loose or corroded clamp can be the true cause of leaks. Inspect and replace clamps if you see any rust or damage.
Credit: www.autozone.com
When To See A Mechanic
If you notice any of these issues, professional help is best:
- Hose connections are hard to reach or blocked by other parts.
- Coolant leaks continue after new hose and clamps.
- Coolant looks rusty or oily (may be bigger engine problem).
- Radiator or thermostat also needs work.
Sometimes, a “simple” job uncovers bigger problems. If you feel unsure, it’s wise to ask for help.
Where To Find Detailed Instructions And Videos
Many car brands and models have specific steps. It’s helpful to check your vehicle’s service manual or look for video guides. A trusted source for car repair info is Wikipedia.
Frequently Asked Questions
How Often Should I Replace My Radiator Hoses?
Most hoses last about 5 years or 60,000 miles. But check them at every oil change, especially if you drive in hot weather or stop-and-go traffic.
Can I Drive With A Leaking Radiator Hose?
It’s risky. Even a small leak can lead to sudden overheating and engine damage. Replace a leaking hose as soon as possible, and always carry extra coolant in your trunk just in case.
Do I Need To Replace Both Upper And Lower Hoses?
If one hose is worn or cracked, the other may not be far behind. It’s smart to replace both at the same time to avoid future breakdowns.
What If I Spill Coolant On The Ground?
Coolant is toxic. Clean it up right away and keep pets and children away. Dispose of all old coolant at a recycling center or auto parts store.
Can I Use Water Instead Of Coolant In An Emergency?
In a pinch, plain water can get you to a repair shop, but it’s not a long-term fix. Water lacks the anti-corrosion and boiling point protection that coolant provides. Always refill with the correct coolant as soon as possible.
Replacing your radiator hose is a practical way to maintain your car and save money. With the right tools and careful attention to each step, you’ll keep your engine cool and running reliably for many miles ahead.
