Adding an auxiliary fuel tank to your vehicle can be a smart move if you travel long distances, tow heavy loads, or explore remote places. These tanks give you extra fuel capacity, letting you drive farther between stops and avoid running out of fuel in the middle of nowhere. But installing one is not a simple bolt-on job. You need to plan carefully, follow safety rules, and make sure everything fits your specific vehicle. This guide will walk you through how to install a car auxiliary fuel tank, highlighting common mistakes and sharing practical tips that even experienced DIYers sometimes overlook.
Understanding Auxiliary Fuel Tanks
Auxiliary fuel tanks are secondary fuel containers that work alongside your vehicle’s main tank. They are popular among truck owners, RV drivers, and anyone who needs extra fuel on the road. Usually made of aluminum or steel, these tanks come in different shapes and sizes. Some sit in the truck bed; others fit under the vehicle.
There are two main types:
- Transfer tanks: These let you transfer fuel into the main tank, usually with an electric pump or gravity feed.
- Direct-feed tanks: These connect straight to the engine’s fuel system, automatically supplying fuel as needed.
Before you buy, check your local laws. Some places restrict certain tank types on public roads, especially for gasoline. Diesel tanks are more widely accepted, but always double-check.
Tools And Materials You Will Need
Before starting, gather all the necessary tools and materials. Having everything on hand saves time and avoids frustration.
- Auxiliary fuel tank (matched to your vehicle’s make/model)
- Fuel transfer pump (if not included with the tank)
- Fuel lines and fittings (diesel-rated or gasoline-rated, as needed)
- Fuel filter
- Drill and drill bits
- Wrenches and sockets
- Screwdrivers
- Measuring tape
- Marker
- Hose clamps
- Electrical wiring kit (for electric pumps)
- Sealant or thread tape
- Protective gloves and eyewear
- Fire extinguisher (keep nearby for safety)
- Jack and jack stands (if you need to work under the vehicle)
Many people forget to use a fuel filter between the auxiliary tank and the main system. This is crucial to stop dirt or rust from damaging your engine.

Credit: www.reddit.com
Choosing The Right Auxiliary Fuel Tank
Picking the correct tank is more than just choosing the biggest one. Here’s what to consider:
| Factor | Why It Matters | Typical Range |
|---|---|---|
| Capacity | More fuel means longer range, but adds weight and takes up space. | 30–100+ gallons |
| Material | Aluminum is lighter and resists rust; steel is stronger but heavier. | Aluminum or steel |
| Shape | Must fit your truck bed or undercarriage without blocking other gear. | Rectangular, L-shaped, wedge |
| Legal Compliance | Some tanks are “transfer only” and not legal for direct engine feed. | Check local laws |
A common beginner mistake is ignoring the weight of a full tank. Fuel weighs about 6 to 7 pounds per gallon (2.7 to 3.2 kg). A 50-gallon tank can add more than 300 pounds (136 kg) to your vehicle. This can affect handling and fuel economy.
Preparing For Installation
Preparation is key. Park your vehicle on a level surface, away from open flames or sparks. Disconnect the battery to prevent accidental sparks. If you’ll be working under the vehicle, use jack stands for safety. Remove all items from your truck bed or work area.
Measure the available space carefully. Mark the tank’s planned location with a marker. Double-check that the tank won’t block your view, tailgate, or access to spare tires.
Review your tank’s instruction manual. Manufacturers often include diagrams or tips specific to their products.

Credit: www.amazon.sg
Step-by-step Installation Process
Now let’s go through the process of installing an auxiliary fuel tank, step by step.
1. Position The Tank
Place the tank in your marked spot. Make sure it sits flat and does not touch any sharp edges. Most tanks use brackets or mounting feet. Mark where you need to drill holes for bolts.
2. Drill Mounting Holes
Using a drill and the correct bit, make holes for the mounting bolts. Always check under the bed before drilling to avoid hitting wires, brake lines, or the main tank.
3. Secure The Tank
Bolt the tank securely using the provided hardware. Tighten all nuts, but do not over-tighten, which can damage the tank or bed. Use rubber washers or spacers if recommended to reduce vibration.
4. Install The Fuel Transfer System
Most auxiliary tanks use a fuel transfer pump or a gravity feed system.
- Electric pump: Mount the pump near the tank or under the bed. Run the fuel line from the tank’s outlet to the pump’s inlet. From the pump’s outlet, connect a line to your main tank’s fill neck or a dedicated port (some vehicles have an extra port for this purpose).
- Gravity feed: Use a valve and hose to connect the auxiliary tank directly to the main tank. A check valve is important to prevent backflow.
Install a fuel filter between the auxiliary tank and the main tank to catch debris.
5. Connect The Fuel Lines
Run fuel-rated hoses from the auxiliary tank to the main tank (or to the transfer pump, if used). Use hose clamps to secure all connections. Check that hoses do not touch hot parts or sharp edges. Protect hoses with sleeves if they pass near moving parts.
6. Electrical Wiring (for Electric Pumps)
If using an electric pump, wire it to a switched power source (like the ignition or a dedicated switch on the dash). Use a relay and a fuse for safety. Follow the pump’s wiring diagram closely.
7. Test For Leaks
Before adding fuel, fill the tank with a few gallons of water to check for leaks. Inspect all connections. If you see any drips, tighten the fittings or use more thread sealant.
8. Final Checks
Drain the water completely (water is not good for engines). Re-check all bolts and fittings. Reconnect the vehicle battery.
Refill the auxiliary tank with fuel. Test the system by running the transfer pump or opening the gravity valve. Watch your main tank’s fuel level to confirm transfer. Look for leaks again.
Common Mistakes To Avoid
- Skipping the fuel filter: Even new tanks can have metal shavings or dust inside.
- Not using thread sealant: This can lead to leaks and fuel odors.
- Routing hoses too close to exhaust or moving parts: Heat or friction can cause hose failure.
- Overloading the truck: Extra fuel means extra weight. Stay within your vehicle’s payload limit.
- Poor electrical work: Bad wiring can cause fires. Use relays and proper fuses.
- No venting: Tanks need a vent to let air in as fuel leaves, or you’ll get slow flow or vacuum lock.
Safety Tips You Shouldn’t Ignore
- Always wear gloves and eye protection when working with fuel.
- Never smoke or use open flames near fuel.
- Keep a fire extinguisher within reach.
- Work in a well-ventilated area.
- Dispose of old fuel and water safely.
- Check for leaks regularly, especially after your first few trips.
Here’s a quick comparison of pump types:
| Pump Type | Pros | Cons |
|---|---|---|
| Electric Pump | Fast, easy to use from the cab | Needs wiring, possible failure points |
| Gravity Feed | No moving parts, simple | Slower, requires good height difference |
Real-world Example: Installing On A Pickup Truck
Imagine you own a Ford F-250 and want to install a 50-gallon aluminum transfer tank. You check your truck’s payload and confirm you have about 1,500 pounds (680 kg) of spare capacity. You choose a tank that fits behind the cab without blocking your rear window.
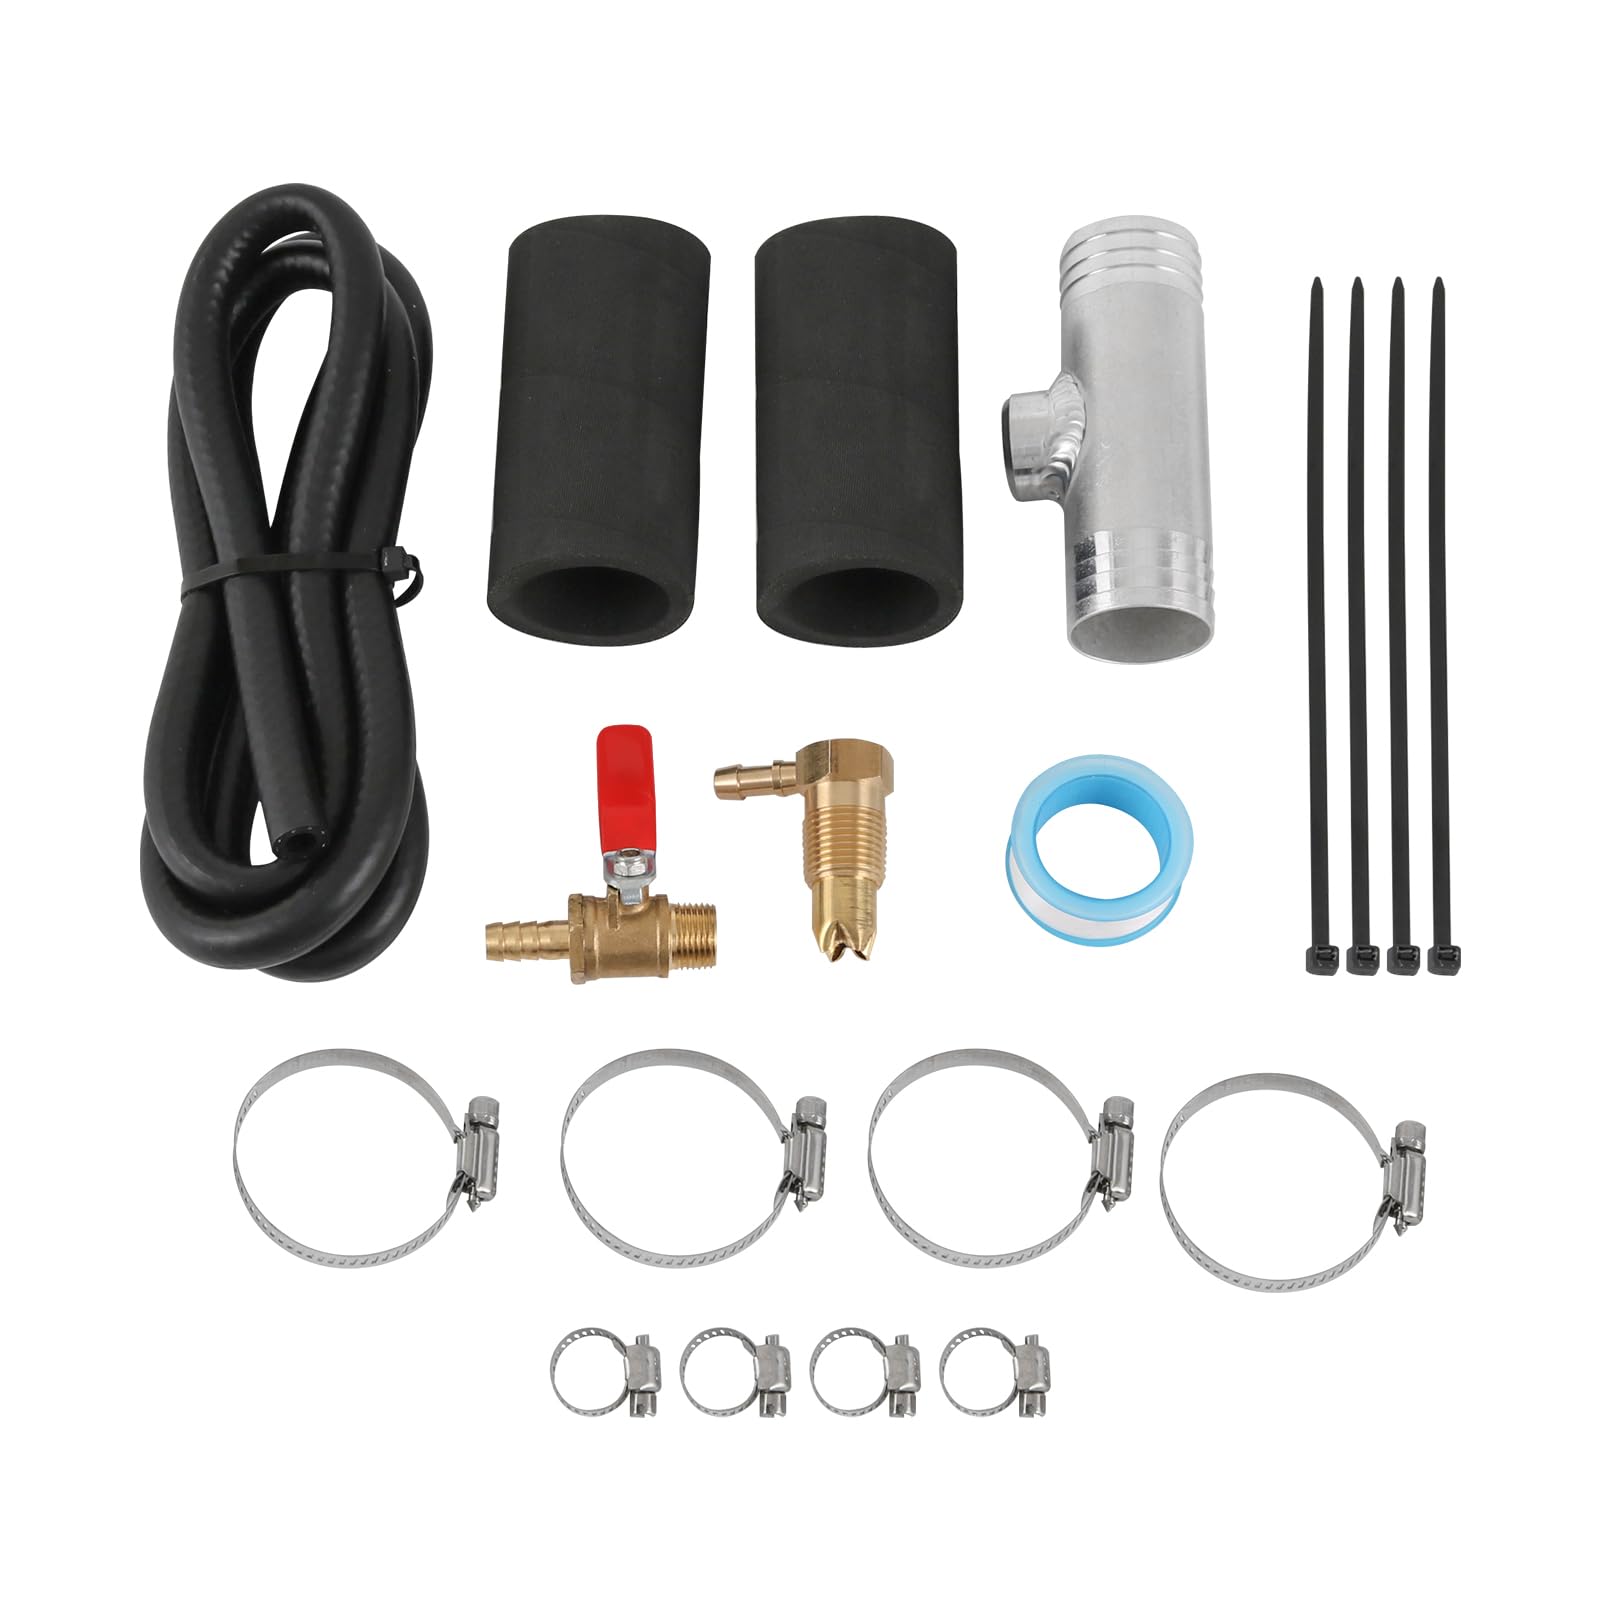
You install rubber washers under the feet to reduce vibration. You use a gravity feed kit with a ball valve and a check valve to connect to your main tank’s fill neck. A fuel filter goes just before the valve.
You wire a simple indicator light to remind you when the valve is open.
After everything is in place, you add 5 gallons of water to test for leaks. Satisfied, you drain the water, fill with diesel, and hit the road. On your next trip, you drive 800 miles between fuel stops—almost double your old range.
Maintenance And Troubleshooting
Auxiliary tanks need regular checks. Inspect all hoses, fittings, and bolts for signs of wear or leaks every month. Replace filters every 6–12 months, depending on fuel quality.
If you notice a fuel smell or see drips under your truck, stop and fix the issue immediately. Most leaks happen at hose connections or where the tank was drilled.
Some people ignore the vent line. If you hear a “whoosh” when opening the cap, your vent might be blocked.
When To Call A Professional
If you’re not confident with wiring, fuel systems, or drilling into your vehicle, consider hiring a professional installer. A bad installation can risk your safety, void warranties, or break the law. Many shops specialize in auxiliary tank installations and can guide you through legal requirements.
For more technical details about fuel tanks and safety regulations, visit the Wikipedia Fuel Tank Page.
Credit: cityofharrah.com
Frequently Asked Questions
What Is The Difference Between A Transfer Tank And An Auxiliary Tank?
A transfer tank is mainly for moving fuel into other containers or equipment, not for direct engine use. An auxiliary tank is designed to add fuel directly to your vehicle’s main system, usually while driving.
Is It Legal To Install An Auxiliary Fuel Tank In My Car Or Truck?
It depends on local laws and the type of fuel. Diesel auxiliary tanks are usually legal, but gasoline tanks have more restrictions. Always check your state or country’s rules before buying or installing a tank.
How Much Does It Cost To Install An Auxiliary Fuel Tank?
The cost varies. The tank itself might cost $300–$1,000. Professional installation can add another $200–$500. Doing it yourself will be cheaper, but only if you have the right tools and skills.
Can I Install An Auxiliary Fuel Tank Myself?
Yes, if you have basic mechanical and wiring skills. Always follow the manufacturer’s instructions and safety rules. If you are unsure, hire a professional.
How Do I Know If My Auxiliary Tank Is Working Correctly?
Regularly check for leaks, make sure the fuel transfer system operates smoothly, and monitor your main tank’s fuel level after using the auxiliary tank. If you notice problems, stop and inspect the system.
Adding an auxiliary fuel tank takes planning, patience, and care, but the rewards are worth it for anyone who needs extra range or peace of mind on long journeys. By following these steps and safety tips, you’ll be ready to travel farther without worry.
