Car wind deflectors, also known as rain guards, are a practical addition for any vehicle. They help keep rain out when the windows are cracked open, reduce wind noise, and improve ventilation. For drivers who smoke, want fresh air, or dislike foggy windows, these accessories can make a big difference.
Installing them is a simple DIY job, but doing it wrong can cause problems like leaks, rattles, or even broken deflectors. This guide explains every step to install car wind deflectors rain guards, points out common mistakes, and offers tips many beginners overlook.
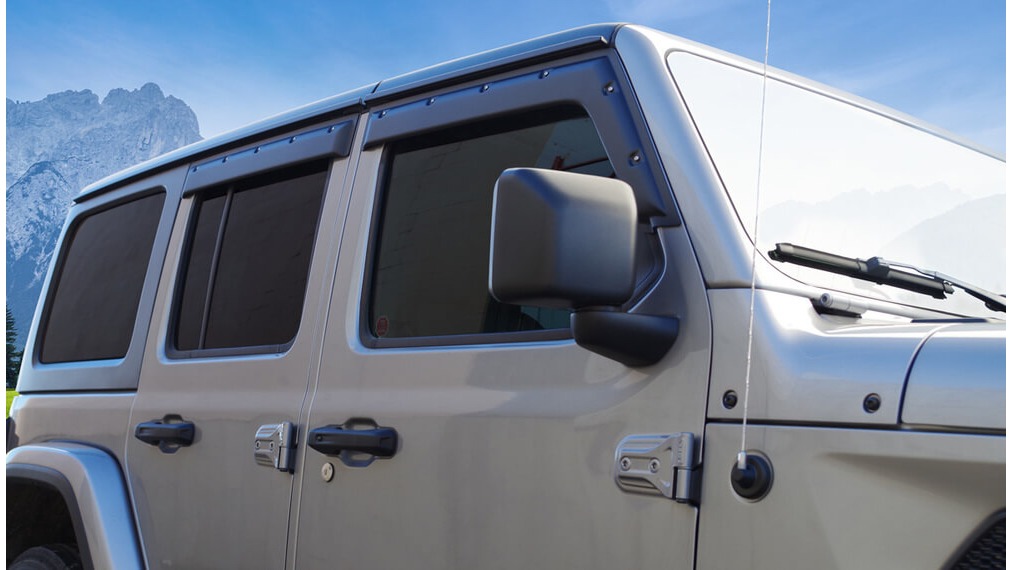
What Are Car Wind Deflectors Rain Guards?
Car wind deflectors are slim, shaped pieces of plastic or acrylic that fit above your car’s windows. Their main job is to deflect rain and wind so you can keep your windows slightly open in bad weather. They also help reduce the sun’s glare and keep your car cooler.
Benefits Of Using Wind Deflectors
- Keep rain out: You can open your window slightly for fresh air even when it rains.
- Reduce wind noise: Less buffeting at high speeds.
- Prevent window fogging: Fresh air helps remove moisture.
- Improve comfort: Cooler air in summer without strong wind.
- Enhance style: Many drivers like the sleek look.
Wind deflectors are popular for both daily drivers and long-distance travelers. They’re also useful in humid or rainy climates.
Types Of Wind Deflectors
Choosing the right type matters for installation. There are two main types:
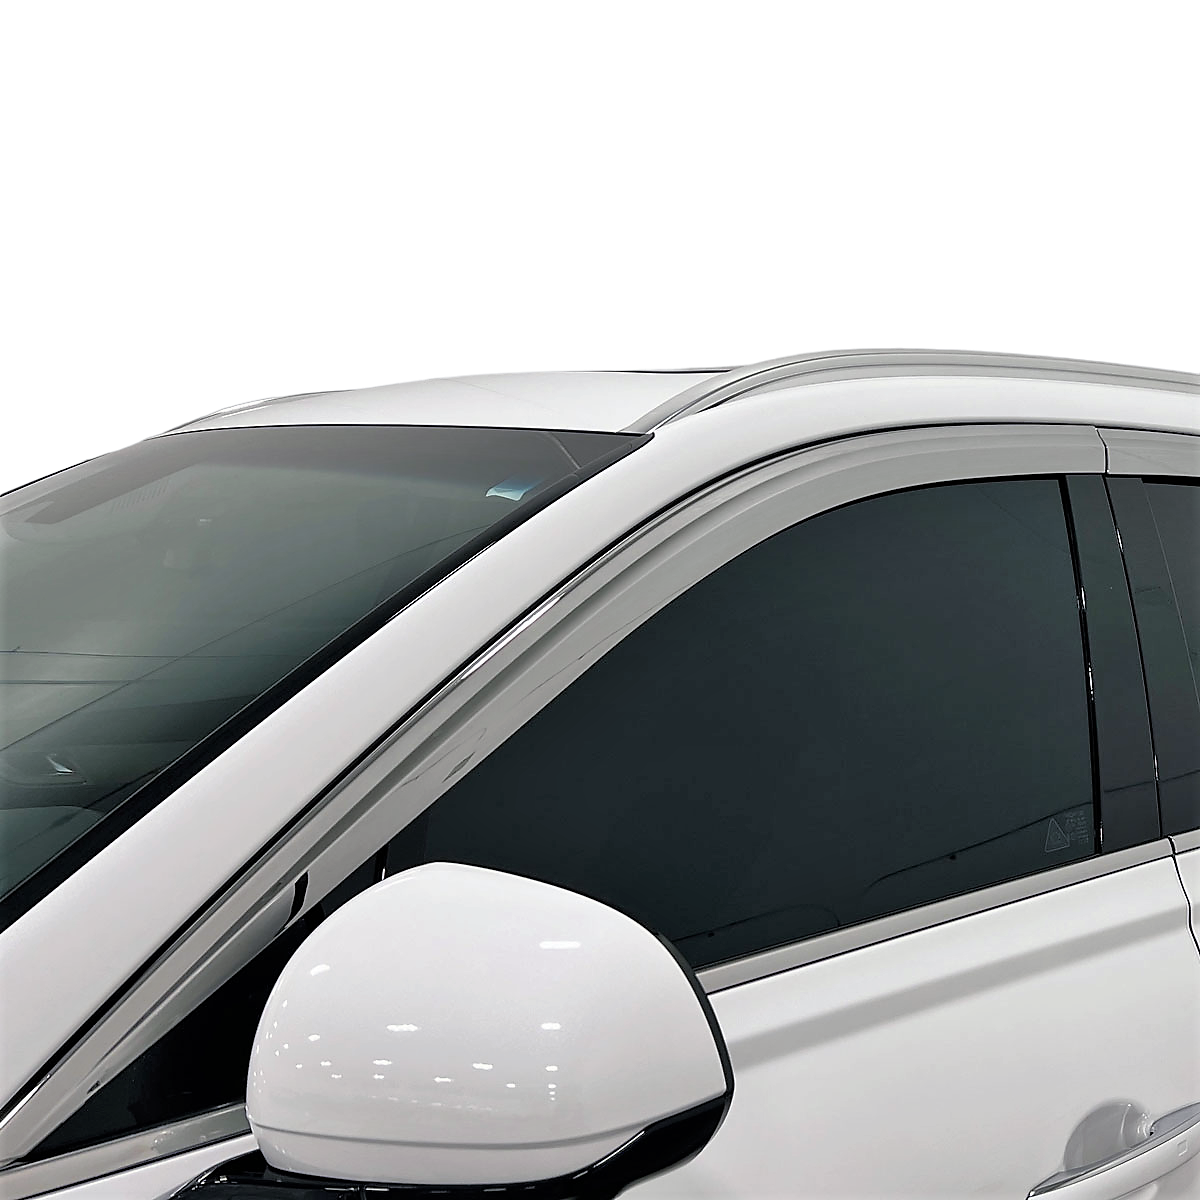
In-channel Wind Deflectors
These fit into the window channel, the groove where your window glass slides up and down.
Pros:
- Sleeker look
- No sticky tape on the paint
Cons:
- May be trickier to install
- Can interfere with automatic windows if installed incorrectly
Stick-on (tape-on) Wind Deflectors
These use strong double-sided tape to stick to the outside edge above the window.
Pros:
- Easier for beginners
- No chance of blocking window glass
Cons:
- Tape can weaken over time
- Not as seamless as in-channel type
Here’s a quick comparison:
| Type | Installation Difficulty | Appearance | Window Interference |
|---|---|---|---|
| In-Channel | Moderate | Sleek | Possible if not fitted well |
| Stick-On | Easy | Visible tape edge | None |
Tip: Always buy wind deflectors made specifically for your car’s make and model.
Credit: www.strictlyautoparts.ca
Tools And Materials Needed
Installing wind deflectors does not require many tools, but having the right supplies makes the job smoother.
- Car wind deflectors/rain guards (matched to your vehicle)
- Alcohol wipes or glass cleaner
- Clean, dry cloth
- Plastic trim tool (for in-channel type)
- Masking tape (optional, for alignment)
- Double-sided automotive tape (if replacement needed)
- Small step stool (for tall vehicles)
- Gloves (optional, for grip and cleanliness)
Preparation Before Installation
Many people rush to install rain guards and miss critical steps. Proper preparation is essential to avoid peeling, leaks, or damage.
- Check the package: Confirm you have all pieces. Wind deflectors usually come in a set for all four windows.
- Test fit: Hold each deflector up to its spot before removing any tape. Make sure it matches the window shape and size.
- Clean the surface: Use alcohol wipes or glass cleaner to remove dust, oil, and wax from the area where the wind deflector will attach. If the surface is dirty, the tape will not stick well.
- Dry completely: Let the area dry for at least five minutes before moving on.
- Work in warm, dry weather: Tape sticks best when temperatures are above 15°C (60°F). Avoid wet or freezing days.
Non-obvious insight: Some car waxes and coatings can make tape lose grip. Always clean thoroughly, even if your car looks clean.
Step-by-step Guide: Installing Stick-on Wind Deflectors
Stick-on types are the most common for DIY installation. Here’s how to do it right.
1. Dry Fit And Mark
Hold the wind deflector against the window frame to check the fit. Use masking tape to mark the start and end points, so you’ll know exactly where to place it later.
2. Peel And Position
Peel back a small part (2–3 inches) of the tape backing at each end of the deflector. Do not remove all the tape at once—this prevents the tape from touching the wrong spot.
3. Align And Attach
Hold the deflector in place using your masking tape marks. Once satisfied, press the exposed tape ends to the car. Slowly pull off the rest of the tape backing while pressing the deflector along the window frame.
4. Press Firmly
Go over the entire length, pressing hard with your fingers or a soft cloth for at least 30 seconds. This helps the tape bond well.
5. Let The Tape Cure
Wait at least one hour before driving. For the strongest bond, avoid washing the car or opening the windows for 24 hours.
Common mistake: Touching the sticky tape with oily hands or letting dust get on it. This weakens the bond.
Step-by-step Guide: Installing In-channel Wind Deflectors
These require a bit more care but deliver a factory look.
1. Lower The Window
Make sure the window is all the way down.
2. Insert The Deflector
Starting at the front, gently slide the edge of the deflector into the window channel. Work your way along, using a plastic trim tool to help if needed. Avoid forcing or bending the deflector too much.
3. Seat The Deflector
Once in, check that the deflector sits evenly in the channel. It should not stick out or bulge.
4. Test The Window
Slowly raise the window. If it meets resistance, lower it and check for misalignment. Sometimes the window’s anti-pinch feature may push the glass down—this is normal. Try again, applying gentle pressure to keep the deflector in place.
5. Let It Settle
Leave the window closed for at least 12 hours. This helps the deflector take the right shape and reduces the chance of the window catching on it later.
Non-obvious insight: If your window motor senses too much resistance, the glass may drop automatically. Try raising the window in short bursts. If the problem continues, re-install the deflector.

Credit: superautousa.com
Aftercare: Keeping Wind Deflectors Secure
Proper care ensures your rain guards last for years.
- Check tape edges: Every few weeks, run your finger along the tape. If you feel any loose spots, press down firmly.
- Hand wash preferred: High-pressure car washes can loosen tape after installation. Avoid them for the first month.
- Inspect after storms: Heavy rain or hail can sometimes loosen stick-on types. Check after severe weather.
- Re-tape if necessary: If a deflector peels off, do not try to reuse the old tape. Remove it, clean the surface, and apply fresh automotive tape.
Practical tip: Carry a small roll of double-sided tape in your glove box on long trips. It’s a quick fix for emergency re-attachment.
Troubleshooting: Common Issues And Fixes
Most installation problems have simple solutions.
| Problem | Possible Cause | Solution |
|---|---|---|
| Deflector falls off | Dirty surface or weak tape | Clean area, use new tape |
| Window won’t close | Misaligned in-channel deflector | Re-seat deflector, try again |
| Rattling noise | Loose installation | Press tape, check fit |
| Water leaks | Wrong placement | Remove and reinstall correctly |
Safety And Legal Considerations
Some regions have rules about car modifications. Wind deflectors are legal in most places, but:
- Check local laws: Some countries or states limit how far deflectors can extend, especially on front windows.
- Avoid blocking mirrors: Make sure rain guards do not reduce your side mirror view.
- Do not cover registration stickers: In some places, window stickers must remain visible.
Example: In the UK, wind deflectors should not stick out more than 30mm from the car’s body. Always check before installing.
Real-world Example: Installing On A Toyota Corolla
Let’s look at a typical install on a popular car.
John owns a 2018 Toyota Corolla and wants to install stick-on wind deflectors. He follows these steps:
- He washes the window frame area and dries it with a clean towel.
- He test-fits the deflector, marking the start and end with masking tape.
- He peels two inches of tape at each end, aligns the deflector, and presses it onto the marked spots.
- He slowly peels off the rest of the tape backing while pressing the deflector in place.
- He presses hard along the whole length for 30 seconds.
- He waits 24 hours before washing the car or opening the windows.
A month later, John checks the tape and finds everything secure. His car is quieter, and he can open the windows for fresh air even in the rain.
Credit: www.putco.com
Cost And Value
Wind deflectors are affordable and provide good value for money.
- Basic sets: $25–$50 for most cars
- Premium brands: $60–$100, sometimes more for SUVs or trucks
Professional installation can add $50–$100, but most people can do it themselves in under 30 minutes.
Key value: For a small investment, you get better comfort, protection, and style.
When To Replace Wind Deflectors
Wind deflectors usually last for years, but it’s time to replace them if:
- The plastic is cracked or faded
- Tape no longer sticks, even after cleaning and retaping
- They rattle or fall off regularly
- You change your car
Always buy replacements made for your specific vehicle.
Environmental Effects
Quality wind deflectors can help with fuel efficiency by reducing drag when windows are open a little. They also let you use less air conditioning, lowering energy use. However, poor-quality or badly fitted deflectors can increase noise or drag.
If you want more details about how wind deflectors affect vehicle aerodynamics, see this Wikipedia article on Aerodynamics.
Frequently Asked Questions
How Do I Know If My Car Is Compatible With Wind Deflectors?
Most cars, SUVs, and trucks have wind deflectors made just for their make and model. Check the product’s compatibility list or ask the seller before buying.
Can I Reuse Old Wind Deflectors On A New Car?
Usually not. Wind deflectors are shaped for specific window frames. Even if they fit, old tape will not stick as well, and the fit may not be perfect.
Do Wind Deflectors Affect Power Windows?
If installed correctly, they should not. In-channel types can trigger anti-pinch sensors during the first few uses. After the deflector settles, windows work normally.
How Do I Remove Wind Deflectors Without Damaging My Car?
For stick-on types, gently heat the tape with a hair dryer and peel slowly. Remove leftover adhesive with alcohol. For in-channel types, gently pull down and out. Never force or twist hard.
Will Wind Deflectors Increase Road Noise?
They usually reduce wind noise with windows slightly open. However, poorly fitted deflectors can cause whistling or rattling. Correct installation is the key.
Installing car wind deflectors rain guards is a simple upgrade that delivers real comfort, protection, and style. With careful preparation and the right technique, you can enjoy all their benefits—and avoid common mistakes—whether you’re a DIY beginner or an experienced car owner.
