Replacing the crankshaft position sensor in your car can solve a range of engine problems. This small part plays a big role in engine performance, fuel efficiency, and even starting your vehicle. If you’re noticing engine misfires, rough idling, or trouble starting, the crankshaft position sensor could be failing.
Learning how to replace this sensor yourself saves money and helps you understand your car better. Many beginners think this task is complex, but with the right approach, it’s manageable. Let’s explore the complete process, step-by-step, with practical advice and clear explanations.
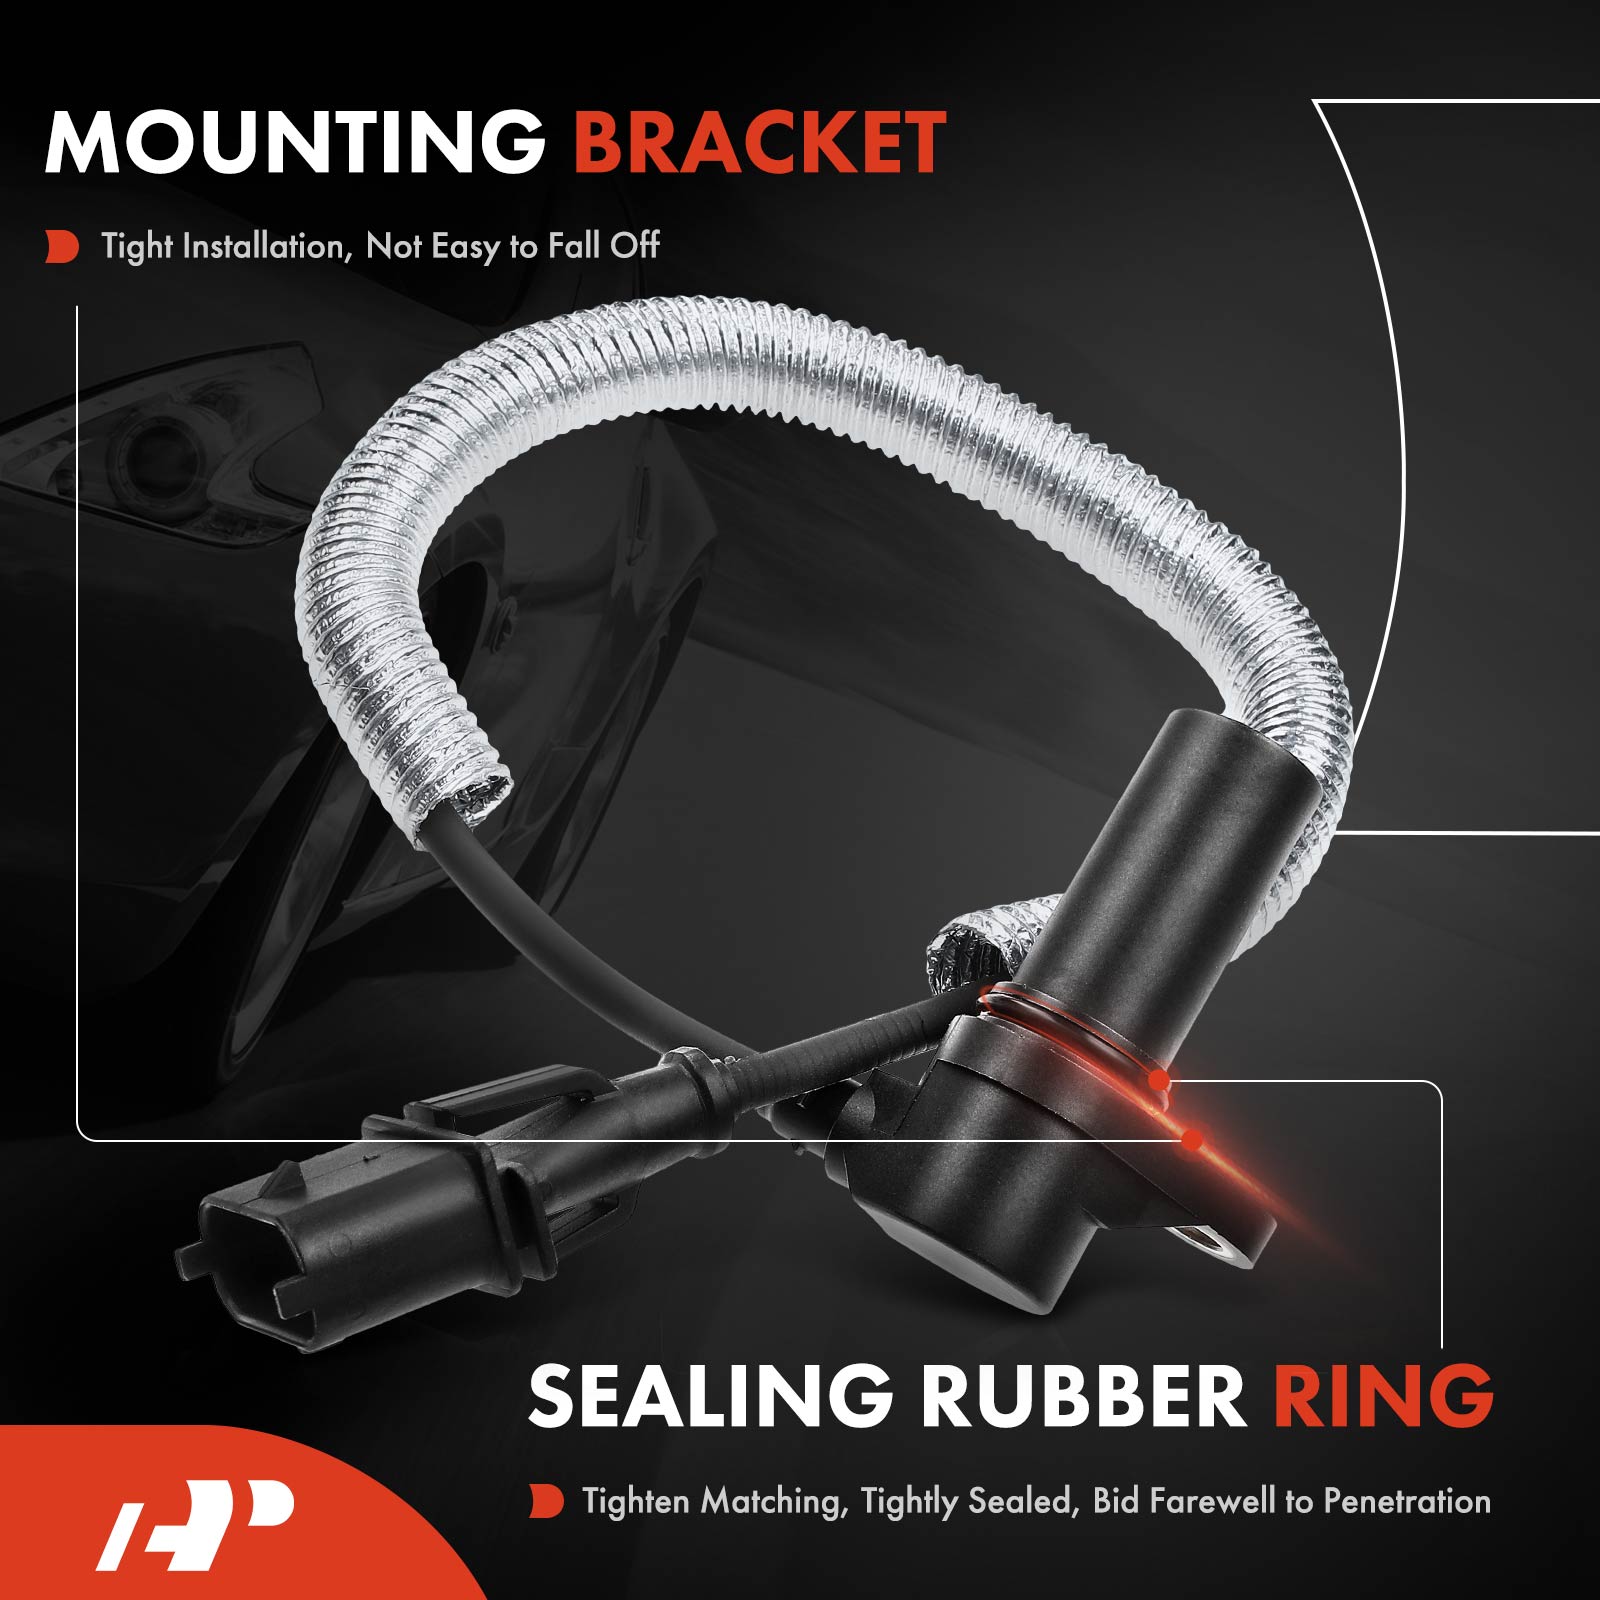
What Is A Crankshaft Position Sensor?
The crankshaft position sensor is an electronic device that monitors the position and speed of the crankshaft. It sends this data to the car’s engine control unit (ECU). The ECU uses this information to adjust fuel injection, ignition timing, and other important engine functions. Without a working sensor, your car may stall, run poorly, or not start at all.
Common symptoms of a bad sensor:
- Engine misfires
- Difficulty starting
- Loss of power
- Poor fuel economy
- Check engine light comes on
A faulty sensor can lead to bigger problems if ignored. Many modern cars cannot run properly without it, making replacement essential.
Tools And Materials Needed
Before starting, gather the right tools and parts. Preparation makes the job smoother and safer. Here’s what you’ll need:
- Replacement crankshaft position sensor
- Socket set (usually 8mm, 10mm, or 13mm sockets)
- Ratchet and extensions
- Screwdrivers (flathead and Phillips)
- Jack and jack stands (or ramps)
- Safety gloves
- Protective eyewear
- Torque wrench (for proper tightening)
- Work light (for visibility)
- Shop towels (for cleaning)
- Service manual (for your car model)
Most sensors cost between $20-$80, depending on the vehicle. Labor charges at a shop can reach $200 or more, so DIY can save a lot.

Credit: miltonmeatshop.com
Locating The Crankshaft Position Sensor
The sensor’s location depends on your car’s make and model. Usually, it’s found near the bottom of the engine, close to the crankshaft pulley or flywheel. Some vehicles have it behind the engine block or near the transmission bell housing.
How to find it:
- Check your car’s service manual for exact location.
- Look for a small, cylindrical part with a wire harness attached.
- If unsure, search online for diagrams or videos specific to your car.
Many beginners overlook the importance of proper identification. Removing the wrong sensor can cause further issues.
Step-by-step Removal Process
Once you’ve found the sensor, follow these steps to remove it safely and efficiently. Take your time to avoid damaging surrounding parts.
1. Disconnect The Battery
Always disconnect the negative terminal of the battery before working with electrical parts. This prevents short circuits and accidental shocks.
2. Lift The Car (if Needed)
If the sensor is under the engine, use a jack and jack stands to raise the car. Make sure it’s stable before crawling underneath. Never rely on a jack alone.
3. Locate The Sensor
Use your work light to spot the sensor. Clean the area with a shop towel if it’s dirty, so you can see bolts and connectors clearly.
4. Unplug The Electrical Connector
Carefully unplug the sensor’s wiring harness. Some connectors have clips; press or slide them gently to release. Avoid pulling on the wires directly.
5. Remove Mounting Bolts
Using the correct socket, remove the bolts that secure the sensor. Keep the bolts in a safe spot—many sensors use special bolts, so you’ll need them for reinstallation.
6. Extract The Sensor
Gently wiggle the sensor free. If it’s stuck due to dirt or corrosion, spray a bit of penetrating oil and wait a few minutes. Never force it, as this can break the sensor or damage the engine.
Common Mistakes To Avoid
- Forgetting to disconnect the battery
- Using the wrong socket size
- Pulling too hard on the connector
- Losing mounting bolts
Installing The New Sensor
Installation is mostly the reverse of removal, but attention to detail matters. Here’s how to install the new crankshaft position sensor correctly:
1. Match The New Sensor
Compare the new sensor to the old one. Check:
- Connector type
- Mounting holes
- Sensor length and shape
If something doesn’t match, contact your parts supplier. Installing the wrong sensor can cause engine errors.
2. Insert The Sensor
Align the sensor with the mounting hole and gently push it into place. Make sure it sits flush against the engine surface.
3. Secure With Bolts
Use your socket set to tighten the mounting bolts. If the service manual lists a torque value, use your torque wrench for accuracy. Overtightening can crack the sensor or strip threads.
4. Reconnect The Wiring Harness
Plug the connector back in. You should hear or feel a click, confirming it’s secure.
5. Lower The Car
If you lifted the car, carefully remove the jack stands and lower it back to the ground.
6. Reconnect The Battery
Attach the negative terminal and tighten it. Now your car’s electrical system is ready.
7. Clear Error Codes (if Needed)
Some cars store error codes when the sensor fails. If the check engine light remains, use an OBD-II scanner to clear codes. In some cases, driving the car for a few minutes resets the system.
Testing The New Sensor
After replacement, it’s important to test your car. This ensures everything works as expected and helps catch any installation mistakes.
Steps to test:
- Start the engine. It should turn on smoothly.
- Listen for abnormal noises or vibrations.
- Check if the check engine light disappears.
- Drive for 10-15 minutes. Observe engine performance.
- Use an OBD-II scanner to check for new error codes.
If the engine still struggles, double-check the sensor’s connection and bolts. It’s also possible that another part is faulty.
Credit: www.fiberforce.it
Comparing Professional Vs Diy Replacement
Choosing between professional service and DIY depends on your skills, budget, and confidence. Here’s a comparison to help decide:
| Factor | DIY | Professional Service |
|---|---|---|
| Cost | $20–$80 (parts only) | $200–$350 (parts + labor) |
| Time Required | 1–2 hours | 30–60 minutes |
| Skill Level | Beginner to intermediate | Expert |
| Warranty | No labor warranty | Usually includes warranty |
| Learning Experience | High | Low |
Most beginners succeed if they follow instructions carefully. However, if you lack basic tools or confidence, a mechanic may be safer.
Choosing The Right Replacement Sensor
Picking the right sensor is critical. Not all sensors are universal, even for similar car models. Here are key factors to consider:
| Factor | Why It Matters |
|---|---|
| OEM vs Aftermarket | OEM sensors fit perfectly; aftermarket options are cheaper but may vary in quality. |
| Compatibility | Check year, make, model, and engine type. Wrong sensor can cause engine errors. |
| Brand Reputation | Trusted brands reduce risk of failure. |
| Warranty | Look for at least 1-year warranty. |
| Sensor Type | Some cars use Hall effect sensors, others use magnetic. Match with original. |
Common buyer mistakes:
- Buying based only on price
- Ignoring compatibility
- Choosing low-quality brands
Always check your car’s manual or ask a trusted auto parts supplier.
Practical Tips For A Smooth Replacement
Many beginners miss these practical tips. Following them can save time and prevent mistakes.
- Take photos of the sensor and connector before removal. This helps during reassembly.
- Label bolts and connectors if you remove multiple parts.
- Clean the sensor area before installation. Dirt can cause poor connections.
- If the sensor is hard to reach, use flexible tools or extension bars.
- Always check for leaks or loose wires after installation.
- Test drive in safe conditions before regular use.
If you’re unsure at any step, watch video tutorials or check the Wikipedia guide for more information.
When To Seek Professional Help
Replacing the crankshaft position sensor is usually straightforward. However, seek help if:
- The sensor is in a hard-to-reach location
- You notice broken wires or connectors
- You have no experience with car repairs
- The car still shows error codes after replacement
A mechanic can diagnose deeper issues, such as wiring faults or ECU problems. Don’t risk further damage if you’re unsure.

Credit: www.youtube.com
Frequently Asked Questions
How Long Does It Take To Replace A Crankshaft Position Sensor?
Most replacements take 1 to 2 hours for beginners. Experienced mechanics can finish in 30–60 minutes. The time depends on sensor location and ease of access.
Is It Safe To Drive With A Bad Crankshaft Position Sensor?
It’s not safe. Your engine may stall, misfire, or fail to start. Ignoring the problem can cause damage to other parts, including the catalytic converter.
Can I Use An Aftermarket Sensor Instead Of An Oem Sensor?
Yes, but choose reputable brands. Poor-quality aftermarket sensors may fail quickly or cause engine errors. Always check compatibility before buying.
What Should I Do If The Check Engine Light Stays On After Replacement?
Use an OBD-II scanner to clear error codes. If the light remains, check sensor installation and wiring. Sometimes, other engine problems trigger the light.
Are Crankshaft Position Sensors Expensive?
Most cost $20–$80. Some luxury or rare models may have sensors costing over $100. Labor charges at a shop can add $150–$250 more.
Replacing your car’s crankshaft position sensor is a practical job for most drivers. With careful preparation and attention to detail, you can solve common engine problems and save money. Take your time, follow each step, and don’t hesitate to seek help if needed.
This repair not only restores your car’s performance but gives you valuable skills for future maintenance.
