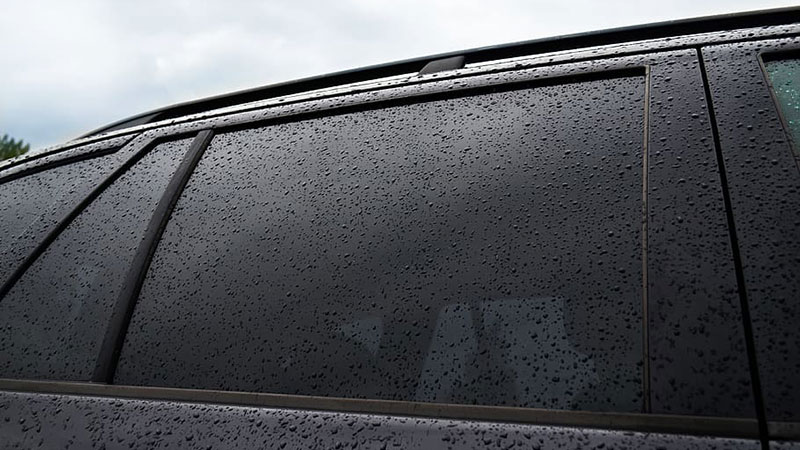
Car window tinting is a popular modification that not only enhances the appearance of a vehicle but also provides numerous benefits, such as privacy, UV protection, and reduced glare. While there are DIY tinting options available, a professional window tinting service ensures top-quality results and long-lasting performance. In this detailed guide, we’ll explore the ins and outs of professional car window tinting, including the types of tint, the installation process, and how to choose the right tint for your vehicle.
Contents
Professional Car Window Tinting Guide
Different Types of Car Window Tint
There are several types of car window tint available, each offering unique advantages and characteristics:
Dyed window tint
- Inexpensive and provides privacy due to its dark appearance
- Offers minimal heat rejection and may fade over time
Metalized window tint
- Reflective appearance and high heat rejection
- More durable than dyed tint, but may interfere with electronic signals
Carbon window tint
- High heat rejection without signal interference
- No metallic appearance and does not fade over time
Ceramic window tint
- Superior heat rejection and UV protection
- Non-reflective, does not interfere with electronic signals, and highly durable
The Professional Tinting Process
A professional car window tinting service involves several crucial steps to ensure a flawless and long-lasting result:
Pre-installation consultation
- Assessing the vehicle’s windows and discussing tint options
- Providing a cost estimate and scheduling the installation appointment
Window preparation
- Thoroughly cleaning the windows to remove dirt, debris, and residue
- Carefully removing any stickers or adhesives
Tint measurement and cutting
- Measuring the windows and cutting the tint film to size
- Using a plotter or hand-cutting techniques to ensure a precise fit
Film application
- Applying an application solution to the window
- Carefully positioning the tint film and using a squeegee to remove air bubbles and excess solution
Trimming and final inspection
- Trimming any excess film and checking for imperfections
- Ensuring proper adhesion and alignment of the tint
Post-installation care
- Providing the customer with care instructions and a warranty (if applicable)
- Discussing any follow-up appointments or maintenance requirements
Choosing the Right Tint for Your Vehicle
Selecting the appropriate tint for your vehicle depends on your preferences, budget, and local regulations. Consider the following factors when making your decision:
- Heat rejection: If reducing heat is a priority, opt for metalized, carbon, or ceramic window tints.
- Privacy and appearance: Dyed window tints offer the most privacy, while metalized and ceramic tints provide a more reflective or subtle appearance.
- UV protection: All window tints offer some degree of UV protection, but ceramic tints provide the highest level.
- Electronic signal interference: If you’re concerned about potential signal interference, choose carbon or ceramic tints.
- Budget: Dyed tints are the most affordable option, while ceramic tints are the most expensive but offer the best performance.
Legal Considerations and Regulations
Window tinting laws vary by region, so it’s essential to familiarize yourself with local regulations before tinting your car windows. Key factors to consider include:
- Visible Light Transmission (VLT): This refers to the percentage of light allowed to pass through the window tint. Different regions have specific VLT requirements for each window, which must be adhered to.
- Tint color: Certain colors may be prohibited, such as red, amber, or blue, which can be mistaken for emergency vehicle lights.
- Reflectivity: Some regions restrict the level of reflectivity permitted in window tints.
- Medical exemptions: In some cases, medical exemptions may allow for darker tints, but proper documentation is typically required.
- To ensure compliance with local regulations, consult a professional window tinting service familiar with the laws in your area.
Caring for Your Tinted Windows
Proper care and maintenance will help prolong the life of your window tint and maintain its appearance. Follow these tips to keep your tinted windows in top condition:
- Wait before rolling down windows: After tint installation, wait at least 48 hours before rolling down your windows to allow the adhesive to cure properly.
- Clean with care: Use an ammonia-free glass cleaner and a microfiber cloth to clean your tinted windows. Avoid abrasive cleaners or tools that could scratch the film.
- Avoid direct sunlight during curing: Park your vehicle in a shaded area during the first few days after tint installation to prevent uneven curing or damage to the tint.
- Inspect your tint regularly: Check for signs of wear, such as bubbling, peeling, or discoloration, and address any issues promptly to prevent further damage.
Final Words
Professional car window tinting offers numerous benefits, including improved appearance, privacy, and UV protection. By understanding the different types of window tints, the installation process, and how to choose the right tint for your vehicle, you can make an informed decision and enjoy the advantages of professionally tinted windows. Be sure to familiarize yourself with local regulations and properly care for your tinted windows to ensure they remain in excellent condition for years to come.
