
Replacing your car’s tail light assembly is a skill that can save money, time, and frustration. Many drivers think this job is difficult, but with the right approach, even beginners can do it safely. Whether your tail light is broken, not working, or you just want to upgrade, learning how to replace the assembly can make your car safer and more reliable.
This guide will walk you step-by-step through the process, highlight common mistakes, and share practical tips that most beginners miss. You’ll understand not just the “how,” but also the “why” behind each step.
Understanding Car Tail Light Assemblies
Your car’s tail light assembly is more than just a bulb. It’s a unit that holds several lights—brake, reverse, turn signals, and sometimes fog lights. The assembly protects these bulbs and wiring from weather and damage. If the assembly cracks or gets cloudy, it can reduce visibility and make your car less safe. Some modern cars use LED tail lights, which last longer but can be harder to replace.
Signs Your Tail Light Assembly Needs Replacement
Many people wait until their tail light stops working completely. But there are signs you should watch for:
- Cracks or chips in the plastic cover
- Moisture or fog inside the lens
- Faded or cloudy appearance
- Lights not working even after replacing bulbs
- Loose or rattling assembly
Ignoring these signs can lead to fines or accidents, especially at night or in bad weather.
Preparing For Replacement
Before starting, gather the right tools and materials. This step is often rushed, but careful preparation prevents mistakes.
Tools And Materials You’ll Need
- New tail light assembly (compatible with your car model)
- Screwdrivers (usually Phillips and flathead)
- Socket wrench set (most common sizes: 8mm, 10mm)
- Gloves (to protect your hands and avoid fingerprints on bulbs)
- Clean cloth or towel
- Electrical tape (for wiring repairs)
- Owner’s manual (for specific instructions)
Finding The Right Tail Light Assembly
Choosing the correct assembly is critical. Not all parts fit every car. Check your car’s model, year, and trim. Online stores and auto shops often have databases—enter your vehicle details to get the right part. Look for reviews and quality ratings.
OEM (Original Equipment Manufacturer) parts are usually more reliable than aftermarket.
Here’s a comparison of OEM vs. aftermarket assemblies:
| Feature | OEM Assembly | Aftermarket Assembly |
|---|---|---|
| Fit | Perfect match | Varies |
| Warranty | Usually included | Sometimes included |
| Price | Higher | Lower |
| Quality | Consistent | Can be inconsistent |
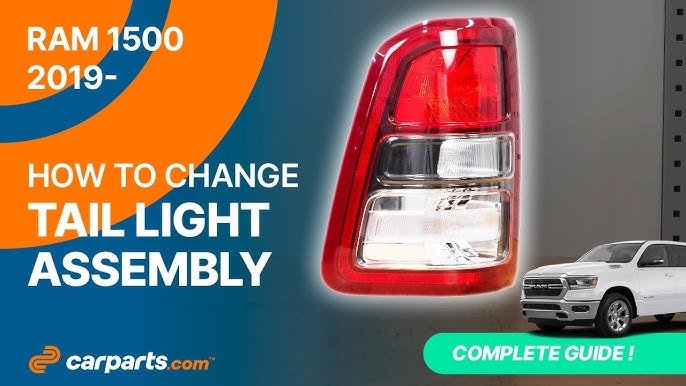
Credit: www.youtube.com
Step-by-step Tail Light Assembly Replacement
Most cars have similar tail light replacement steps, but some details change by model. Always check your owner’s manual for specifics.
1. Safety First
Before you begin, turn off your car and remove the key. If possible, disconnect the battery. This prevents electrical shocks and accidental short circuits.
2. Accessing The Tail Light Assembly
Open your car’s trunk or rear hatch. In many cars, the assembly is held by screws or bolts hidden behind panels. Gently remove these panels using a screwdriver or your hands. Don’t force them—plastic clips can break easily.
3. Removing The Old Assembly
Find the screws or bolts holding the assembly in place. Unscrew them, keeping each screw safe (you’ll need them for the new assembly). Carefully pull the assembly away from the car. If it’s stuck, check for missed screws or clips.
Some cars have wiring harnesses attached directly to the assembly. Unclip these connectors by pressing the small tab and pulling gently. Do not yank the wires—this can damage your car’s electrical system.
4. Inspecting And Preparing The Area
Before installing the new assembly, check the wiring and bulb sockets. Look for signs of corrosion, loose wires, or dirt. Clean the area with a dry cloth. If wires are damaged, repair them with electrical tape or replace them.
Non-obvious insight: Many beginners forget to check the gasket or seal around the tail light. If this seal is damaged, water can leak into your trunk or wiring. Replace the seal if needed.
5. Installing The New Assembly
Align the new tail light assembly with the mounting holes. Connect the wiring harness to the new unit. Make sure each connector clicks into place. Slide the assembly gently into position.
Replace the screws or bolts and tighten them. Do not over-tighten—this can crack the plastic or strip the threads.
6. Testing The Tail Lights
Turn on your car and test each function:
- Tail lights (with headlights on)
- Brake lights (press the brake pedal)
- Turn signals (left and right)
- Reverse lights (shift to reverse)
- Fog lights (if equipped)
Check from different angles. Ask a friend to confirm all lights work. If something doesn’t work, check the wiring and bulb connections.
7. Reinstalling Panels And Cleaning Up
Once everything works, reinstall any panels or covers you removed. Wipe the new assembly with a clean cloth to remove fingerprints or dust.
Common Mistakes And How To Avoid Them
Even simple jobs can go wrong. Here are mistakes to watch for:
- Forgetting to disconnect the battery: This can cause shocks or short circuits.
- Using the wrong part: Double-check the assembly’s compatibility.
- Rushing the job: Take your time to avoid breaking clips or stripping screws.
- Not testing the lights: Always check all functions before finishing.
- Ignoring the seal: Water leaks can ruin wiring and cause expensive damage.
Non-obvious insight: Some tail light assemblies have small alignment pins. These must fit into matching holes. Missing this detail can cause the assembly to sit unevenly, leading to leaks or rattling.
Upgrading Your Tail Light Assembly
Some drivers replace their tail lights to upgrade to LED or smoked assemblies for style. Upgrading can improve brightness and reduce energy use. However, check local laws—some custom assemblies are not street-legal.
LED tail lights last longer and react faster than halogen bulbs. They use less power and are often brighter. But, LED assemblies can be more expensive and may require rewiring.
Here’s a quick data table comparing halogen vs. LED tail light assemblies:
| Type | Lifespan (Hours) | Brightness (Lumens) | Energy Use | Cost Range |
|---|---|---|---|---|
| Halogen | 500–1,000 | 300–400 | Higher | $20–$80 |
| LED | 10,000+ | 800–1,200 | Lower | $60–$300 |
Troubleshooting After Replacement
If your new tail light assembly does not work, don’t panic. Check these areas:
- Wiring connectors: Make sure they are fully plugged in.
- Bulbs: Sometimes bulbs are loose or defective.
- Fuses: If all tail lights fail, check the fuse box.
- Wrong assembly: Some aftermarket units have different pin layouts. Compare with your old assembly.
Example: Fuse Box Issue
In many cars, tail lights share a fuse with other lights. If none work, check the fuse box under the hood or inside the cabin. Replace a blown fuse with one of the same rating. This simple fix solves many problems.
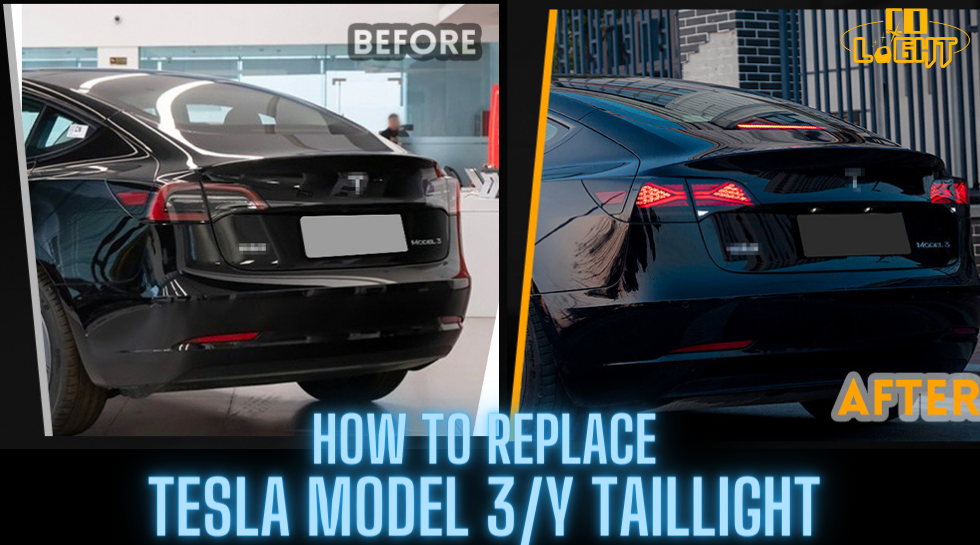
Credit: www.led-colight.com
Practical Tips For Beginners
Replacing a tail light may seem easy, but attention to detail matters:
- Take photos during each step. If you forget where a wire or clip goes, your photos will help.
- Use a magnetic tray to hold screws and bolts. Losing small parts is common.
- Wear gloves to keep bulbs clean. Oil from your skin can shorten bulb life.
- Double-check all connections before closing panels.
- If your assembly uses LED, check if resistors or adapters are needed for your car.
Non-obvious insight: Some cars have a “bulb out” warning system. After replacement, this system may trigger if the assembly uses different bulbs or LEDs. Check your manual for solutions.
Cost And Time Estimates
Replacing a tail light assembly is usually affordable and takes less than an hour. Here’s a quick overview:
| Car Type | Assembly Cost | Labor Cost (Mechanic) | DIY Time Estimate |
|---|---|---|---|
| Sedan | $40–$120 | $60–$150 | 30–45 min |
| SUV | $60–$200 | $80–$180 | 45–60 min |
| Luxury | $150–$400 | $200–$350 | 60–90 min |
Doing the job yourself saves labor costs and builds confidence.
When To Ask A Professional
Some tail light replacements are easy, but others need expert help. If your assembly is built into the body, or if there’s complex wiring (like for adaptive brake lights), see a mechanic. If you’re unsure or see signs of electrical problems, professional help is safest.
For more advanced information, the Automotive Lighting article on Wikipedia is a trusted resource.
Frequently Asked Questions
What If My Tail Light Assembly Is Sealed With Glue?
Some cars use adhesive or sealant instead of screws. You’ll need a plastic pry tool and patience to remove the assembly. Heat from a hair dryer can soften glue, making removal easier.
Is It Legal To Use Custom Tail Light Assemblies?
Check your local laws before installing custom or smoked assemblies. Some countries and states ban non-standard colors or brightness. Using illegal assemblies can lead to fines.
Do I Need To Disconnect The Battery Every Time?
It’s safest to disconnect the battery when working with electrical parts. For simple bulb changes, it’s optional, but for full assembly replacement, always disconnect to prevent short circuits.
Can I Replace Just The Lens Instead Of The Whole Assembly?
If only the lens is damaged and the rest is fine, some models allow lens-only replacement. But often, the assembly is sealed and must be replaced as a whole unit.
Why Do My Tail Lights Still Not Work After Replacement?
If new tail lights do not work, check the wiring, bulb type, and fuses. Some aftermarket assemblies require adapters or resistors. Compare wiring diagrams and ask for help if needed.
Replacing your car’s tail light assembly is a manageable task for most people, and it improves both safety and style. Careful preparation and attention to detail ensure a smooth process. Remember, even small mistakes can lead to bigger problems, so take your time and follow each step closely.
With this guide, you’re ready to tackle the job confidently and keep your car shining bright.
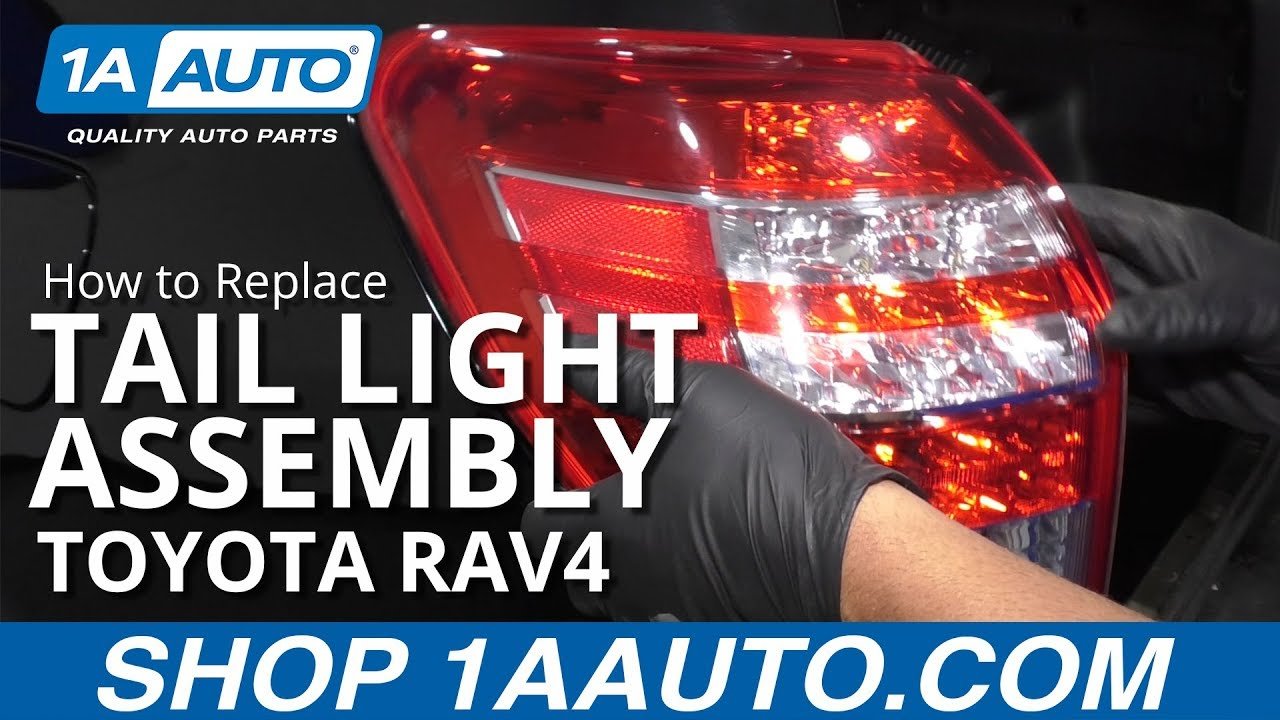
Credit: www.youtube.com
