
If your car’s check engine light is on and you’ve noticed lower fuel efficiency or rough idling, your oxygen sensor might be the cause. Many car owners think this repair means a trip to the mechanic, but with the right tools and guidance, you can often replace an oxygen sensor yourself. Doing this can save you money, teach you more about your vehicle, and keep your car running smoothly. In this guide, you’ll learn every step to replace a car oxygen sensor DIY, with clear instructions, practical tips, and answers to common questions.
What Is A Car Oxygen Sensor And Why Does It Matter?
An oxygen sensor is a small device that measures how much oxygen is in your car’s exhaust gases. This information helps the engine computer adjust the fuel mixture for the best performance and efficiency. Most modern cars have two to four sensors, often placed before and after the catalytic converter.
If a sensor fails, the engine may burn too much fuel, pollute more, or even damage the catalytic converter. Replacing a faulty oxygen sensor quickly is important to avoid bigger problems and keep your car running well.
Signs Your Oxygen Sensor Needs Replacement
A bad oxygen sensor can cause several symptoms, but these can sometimes look like other problems. Watch for these signs:
- Check Engine Light: This is the most common sign. The car’s computer detects an error and warns you.
- Poor Fuel Economy: If you’re visiting the gas station more often, a faulty sensor could be causing extra fuel use.
- Rough Engine Idle or Misfire: The engine may run unevenly, especially when stopped.
- Failed Emissions Test: A bad oxygen sensor will cause high pollution levels.
- Engine Performance Problems: Slower acceleration or power loss can happen.
It’s smart to confirm the problem with a diagnostic tool before replacing the sensor.
Credit: www.studioghielmetti.com
Tools And Materials Needed
Replacing an oxygen sensor doesn’t require advanced tools, but a few items will make the job easier and safer:
- Oxygen sensor socket (or open-end wrench)
- Ratchet and extension
- Penetrating oil (like WD-40)
- Gloves and safety glasses
- Jack and jack stands (if sensor is hard to reach)
- OBD-II scanner (to check and clear codes)
- New oxygen sensor (right part for your car)
- Anti-seize compound (sometimes comes with new sensors)
Don’t forget to check your car’s manual for the sensor’s location and part number.
How To Replace A Car Oxygen Sensor: Step-by-step
Step 1: Safety First
Always work on a cold engine. Exhaust pipes and sensors can get extremely hot. Park your car on a flat surface and let it cool for at least 30 minutes. Wear gloves and safety glasses.
Step 2: Locate The Faulty Sensor
Use an OBD-II scanner to read the error code. Codes like P0130–P0167 usually point to an oxygen sensor issue. The code should tell you if the problem is with the upstream (before the catalytic converter) or downstream (after) sensor.
Step 3: Disconnect The Battery
To avoid electrical shorts, disconnect the negative battery terminal. This step is often skipped, but it’s a key safety practice.
Step 4: Access The Sensor
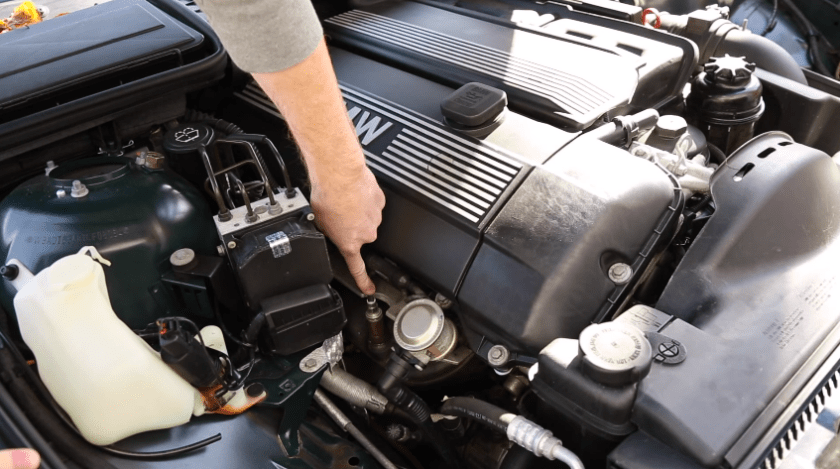
Most sensors are screwed into the exhaust pipe. Some are easy to see under the hood; others may need you to jack up the car. Use jack stands, not just the jack, for safety.
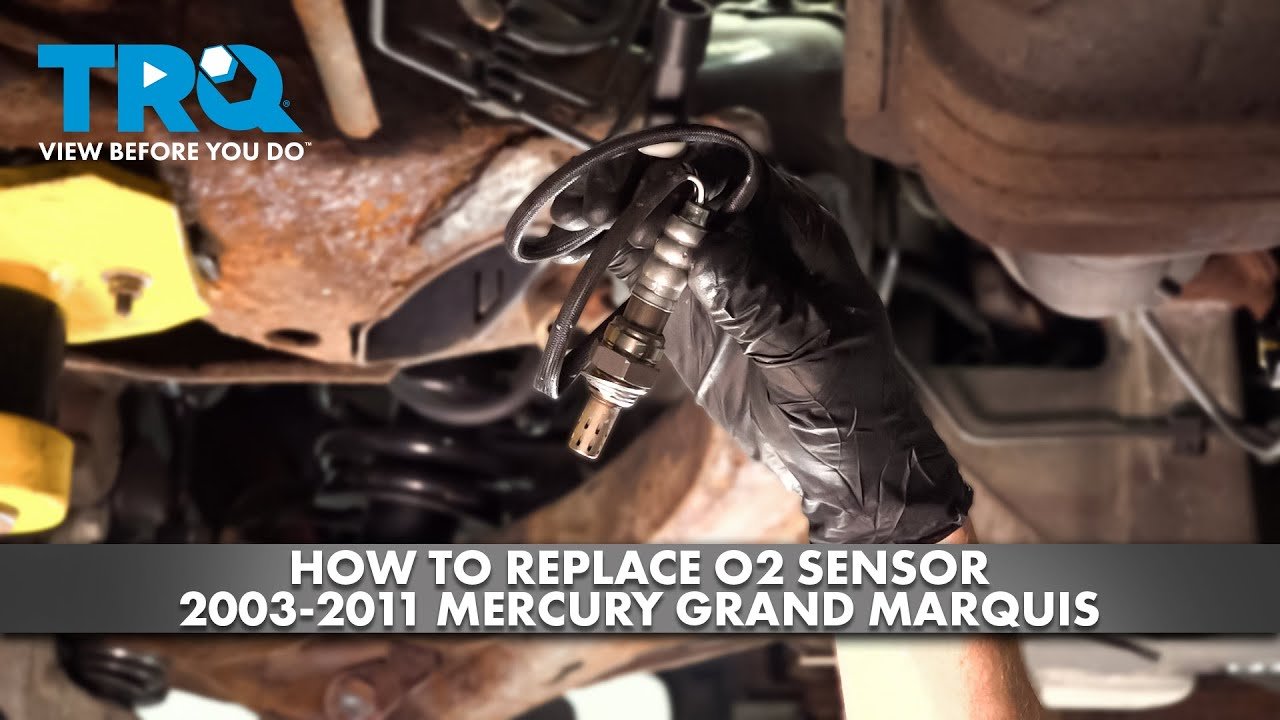
Step 5: Remove The Old Sensor
Spray penetrating oil on the sensor threads and let it sit for 5–10 minutes. This will help loosen any rust. Use the oxygen sensor socket and ratchet to turn the sensor counterclockwise. If it’s stuck, avoid using too much force—repeated sprays and patience usually work.
Step 6: Unplug The Sensor
Follow the wire from the sensor to the connector. Carefully release any clips and unplug the sensor. Don’t pull on the wires.
Step 7: Prepare The New Sensor
Check that your new sensor matches the old one. Some sensors come with anti-seize compound on the threads. If not, apply a small amount to make future removal easier. Avoid getting any on the sensor tip.
Step 8: Install The New Sensor
Thread the new sensor into the exhaust pipe by hand first, then tighten with the socket and ratchet. Don’t overtighten—just snug.
Step 9: Plug In The Connector
Connect the wire harness, making sure it clicks into place. Secure any clips or ties so the wire doesn’t touch hot parts.
Step 10: Reconnect The Battery And Test
Reconnect the negative battery terminal. Start the car and check for warning lights. Use the OBD-II scanner to clear any error codes. If the code comes back, recheck your work.
Comparing Oxygen Sensor Types
There are several types of sensors. Choosing the right one is important for proper function.
| Type | Common Location | Features | Car Models |
|---|---|---|---|
| Narrowband | Before/After Catalytic Converter | Simple, cheaper, less precise | Older vehicles (before 2000s) |
| Wideband | Mainly Before Catalytic Converter | More accurate, supports better fuel control | Most cars after 2000s |
Not all sensors are interchangeable. Always match the sensor to your car’s year, make, and model.
Upstream Vs. Downstream Sensors
Your car may have both upstream and downstream oxygen sensors. Here’s a simple comparison:
| Sensor Location | Role | Symptoms When Failing |
|---|---|---|
| Upstream (Sensor 1) | Measures exhaust before catalytic converter | Poor fuel economy, engine misfire, rough idle |
| Downstream (Sensor 2) | Measures exhaust after catalytic converter | Emissions test failure, check engine light |
Diagnosing which sensor to replace is easier with a code reader.
Credit: bimmerzeit.com
Common Mistakes To Avoid
Many beginners make small errors that can turn a simple job into a headache. Here are some to watch for:
- Not letting the exhaust cool: Trying to remove a sensor from a hot exhaust can cause burns.
- Using the wrong tools: A standard wrench may round off the sensor. Always use a proper sensor socket.
- Overtightening: This can damage the threads or sensor. Tighten just until snug.
- Skipping anti-seize: This can make future replacement much harder.
- Disconnecting the wrong sensor: Some cars have several sensors. Double-check with your code reader and repair manual.
How Much Does It Cost To Replace An Oxygen Sensor Diy?
Doing it yourself is much cheaper than visiting a mechanic. Here’s a quick cost comparison:
| Item | DIY Cost | Mechanic Cost |
|---|---|---|
| Oxygen Sensor | $20–$100 | $20–$100 |
| Labor | $0 | $100–$200 |
| Total | $20–$100 | $120–$300 |
You can save up to 80% by doing this job yourself.
Practical Tips For A Smoother Job
- Photograph the connector before unplugging, so you remember how it fits.
- Label sensor wires if you have multiple sensors close together.
- Use a floor mat to protect your knees if working under the car.
- If the sensor is stuck, gently tap the wrench with a hammer—but never forcefully.
- Double-check that the new sensor’s wire is clear from the exhaust and moving parts.
When To Avoid Diy And Call A Professional
Replacing an oxygen sensor is usually simple, but there are times when it’s better to call a mechanic:
- Sensor is hard to reach: Some cars have sensors in tight spaces or high on the exhaust.
- Rusty or seized sensor: Forcing it can break the exhaust pipe.
- Electrical connector is damaged: Wiring repairs can be tricky.
If you’re not sure, ask a friend with experience or a trusted mechanic for advice.
What To Do After Replacing The Oxygen Sensor
Once the new sensor is in place:
- Check for warning lights: Start the car and watch the dashboard.
- Clear codes: Use the OBD-II scanner to reset any error codes.
- Test drive: Drive for at least 10–15 minutes. Watch for any new issues and make sure the check engine light stays off.
- Inspect for exhaust leaks: Listen for hissing sounds around the sensor area. If you hear any, tighten the sensor a little more.
Environmental Benefits Of A Working Oxygen Sensor
A properly working oxygen sensor helps your car burn fuel efficiently and reduces harmful emissions. This means less air pollution and better fuel economy. Regular replacement can help your car pass emissions tests and protect the environment.
Credit: www.youtube.com
Where To Learn More
If you want more details about how oxygen sensors work and their impact on emissions, you can visit the Wikipedia page on oxygen sensors for in-depth information.
Frequently Asked Questions
What Happens If I Don’t Replace A Bad Oxygen Sensor?
A failing sensor can cause poor fuel economy, higher emissions, and engine problems. It can also damage your catalytic converter, which is very expensive to replace.
How Often Should Oxygen Sensors Be Replaced?
Most sensors last between 60,000 and 100,000 miles, but check your car’s manual for the recommended interval.
Can I Drive With A Faulty Oxygen Sensor?
You can drive for a short time, but it’s not safe for your car or the environment. Replace the sensor as soon as possible.
Are All Oxygen Sensors The Same?
No. There are narrowband and wideband sensors, and you must buy the correct type for your car’s make, model, and year.
Do I Need A Special Tool For This Job?
A special oxygen sensor socket makes removal much easier. It’s a good investment if you plan to do more car repairs.
Replacing your car’s oxygen sensor is a practical DIY job that can save you money and keep your vehicle healthy. With patience, the right tools, and careful steps, you’ll gain confidence and learn more about your car’s engine. Whether you’re a first-timer or want to improve your skills, taking on this project is a smart move for any car owner.
