
Replacing a car’s coolant bypass hose may seem tricky, but with careful steps and some patience, it’s a job that many car owners can tackle themselves. The coolant bypass hose is a small but essential part of your engine’s cooling system.
If this hose fails, it can lead to overheating and engine damage. Replacing it before it bursts is a smart way to avoid costly repairs. This guide walks you through every step, explains the tools you need, highlights common mistakes, and offers tips to make the process easier.
Whether you’re a beginner or have some experience, you’ll find clear instructions and insights that will help you finish the job confidently.
Understanding The Coolant Bypass Hose
The coolant bypass hose is a flexible tube that allows coolant to circulate through the engine even when the thermostat is closed. It prevents hot spots and ensures your engine heats up evenly. If this hose cracks or leaks, coolant can escape quickly, causing the engine to overheat. The bypass hose is typically smaller than the main radiator hoses and often sits in a tight spot near the engine block.
Most car owners don’t notice this hose until there’s a problem. Look for signs like coolant leaks under your car, low coolant levels, or overheating on your dashboard gauge. These symptoms often mean the hose is aging or has split.
Tools And Materials Needed
Having the right tools and materials makes the job much smoother and reduces the risk of damaging your car. Here’s what you’ll need:
- New coolant bypass hose (specific to your car model)
- Two new hose clamps (replace old ones for safety)
- Flathead screwdriver or socket set
- Pliers (for stubborn clamps)
- Coolant (pre-mixed or concentrate plus distilled water)
- Drain pan (for old coolant)
- Funnel
- Rags or shop towels
- Gloves and safety glasses
- Jack and jack stands (if access is tight)
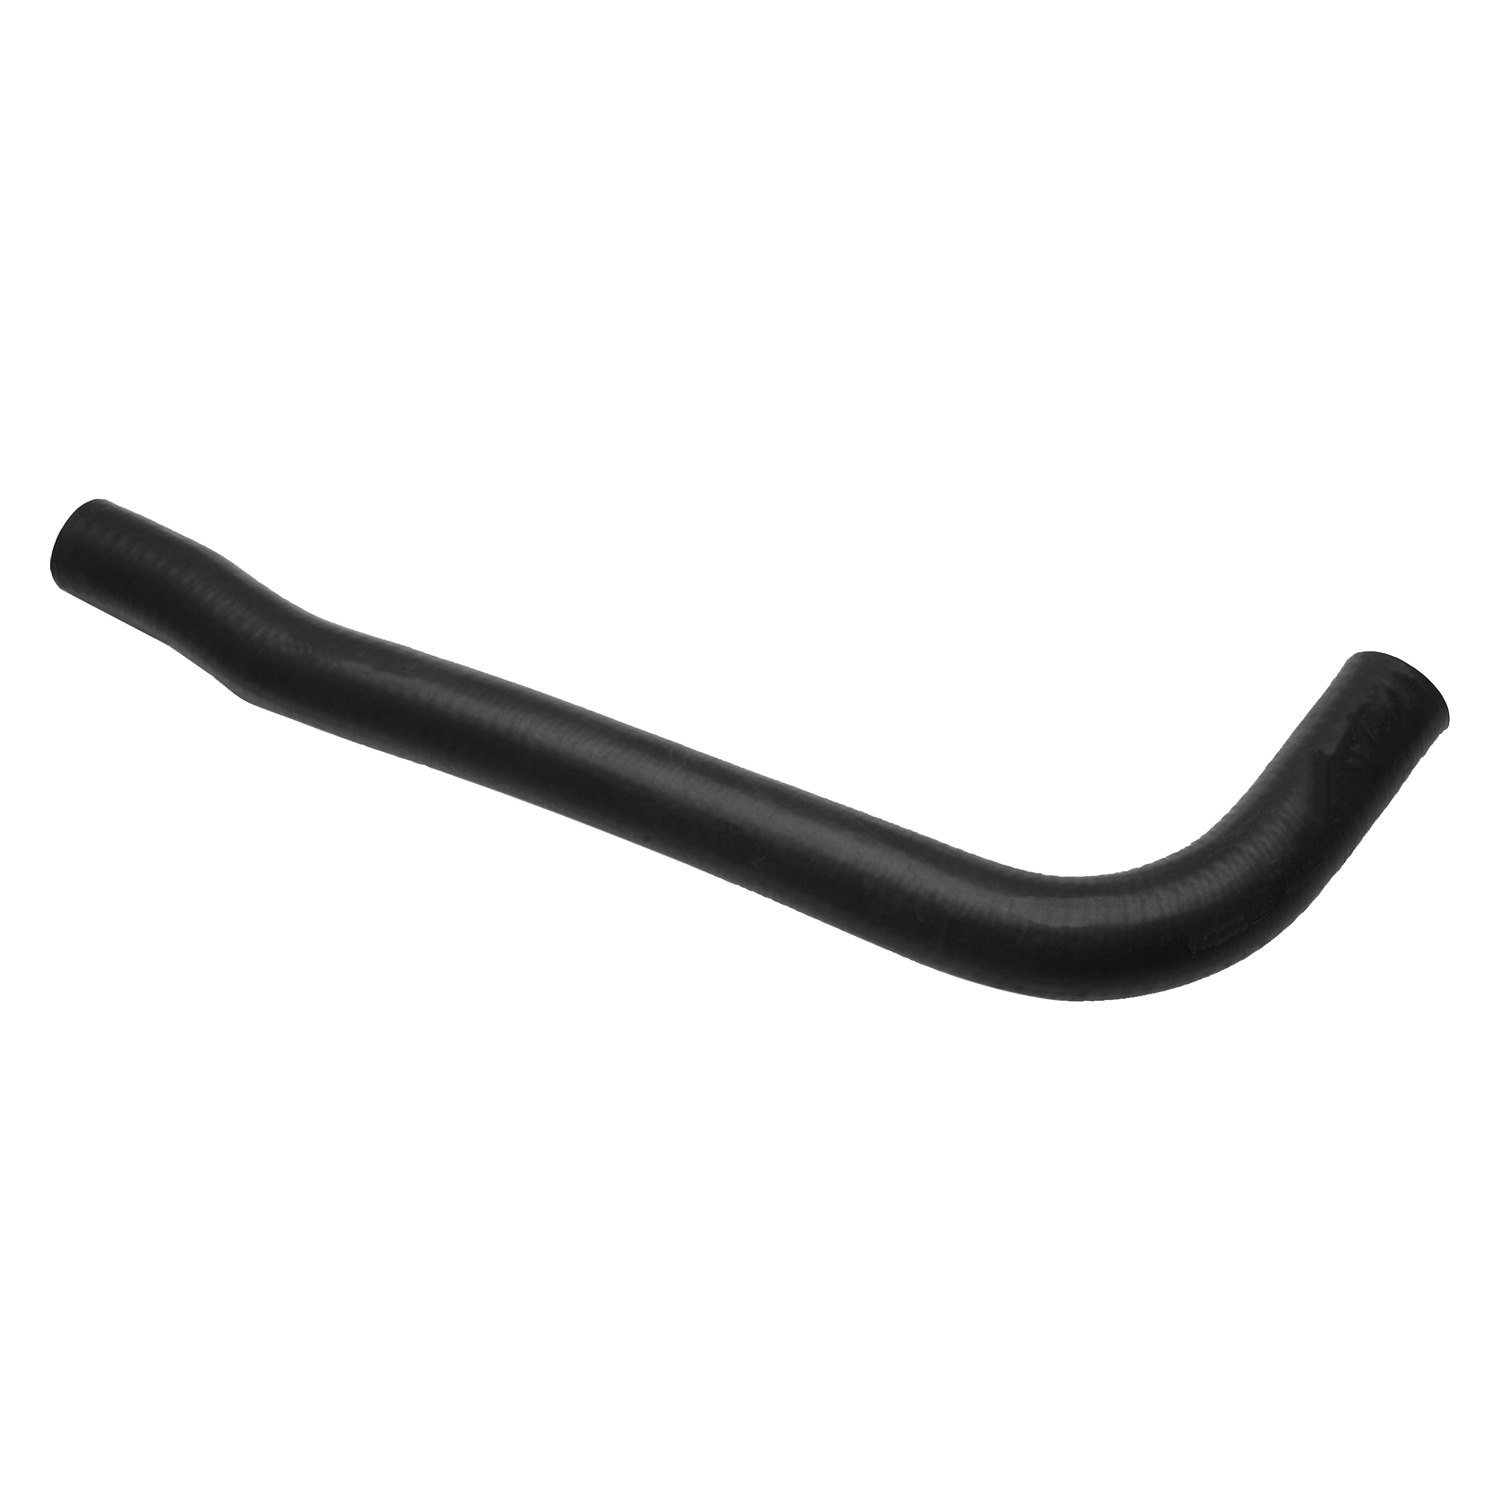
A non-obvious tip: Always get the exact hose shape for your car. Universal hoses may kink or block coolant flow, leading to overheating.
Credit: lasttouchllc.com
Safety Precautions
Before you start, make sure your engine is cool. Working on a hot cooling system is dangerous—hot coolant can spray out and cause burns. Wear gloves and safety glasses to protect your hands and eyes. Always support your car safely on level ground and use jack stands if you need to raise it.
Never open the radiator cap or coolant reservoir when the engine is hot. The system is under pressure, and you risk serious injury.
Locating The Coolant Bypass Hose
Finding the coolant bypass hose is often the hardest part for beginners. It’s usually a small-diameter hose connected from the engine block (near the thermostat housing) to another part of the engine or the water pump. Check your owner’s manual or a repair guide for your vehicle’s exact location. Some hoses are easy to see; others may require removing air boxes or covers.
Here’s a comparison of common locations in different car types:
| Car Type | Bypass Hose Location |
|---|---|
| Inline-4 Engine | Front of block, near thermostat |
| V6/V8 Engine | Top or side of engine block |
| Transverse Engine | Back of engine, near firewall |
If you’re unsure, search online forums or ask a trusted mechanic for guidance.
Draining The Coolant
Before removing the hose, you must drain the coolant to prevent spills. Place a drain pan under the radiator drain plug or petcock. Carefully open the plug and let the coolant flow into the pan. If your car doesn’t have a drain plug, you may need to loosen the lower radiator hose to let coolant out.
Never dump old coolant down the drain—it’s toxic to people and animals. Take it to a recycling center or a mechanic for safe disposal.
Removing The Old Bypass Hose
Once the coolant is drained and the engine is cool, locate the hose clamps at each end of the bypass hose. Most cars use either spring clamps or screw-type clamps. Use pliers to compress spring clamps, or a screwdriver/socket for screw clamps.
Slide the clamp away from the hose end, then gently twist the hose to break the seal. If it’s stuck, avoid using sharp tools that could scratch the metal. Instead, gently work the hose back and forth until it comes off.
A key insight: If the hose is very old, it can weld itself to the fitting. Cutting the hose lengthwise with a utility knife (carefully, without damaging the metal stub) can help release it.
Preparing For The New Hose
Before installing the new hose, inspect the metal fittings for corrosion or debris. Clean them with a rag or a soft brush. If you see pitting or heavy rust, address it before installing the new hose to prevent leaks.
Compare the old hose to the new one side by side. Make sure the length, bends, and diameter match exactly. Even a small difference can cause problems.
Here’s a side-by-side table to help you check:
| Feature | Old Hose | New Hose |
|---|---|---|
| Length | Should match | Should match |
| Bends/Shape | Identical curves | Identical curves |
| Diameter | Snug fit | Snug fit |
If the new hose feels loose, do not install it—get the correct one.
Installing The New Bypass Hose
- Slide the new hose clamps onto the hose before fitting it onto the engine.
- Push one end of the hose onto the first fitting. Make sure it’s fully seated.
- Move the clamp into place, just behind the raised edge of the fitting, and tighten it securely.
- Repeat for the other end.
A practical tip: Position the clamps so you can reach them easily if you need to re-tighten later.
Don’t use lubricant or grease on the hose—it can cause it to slip off under pressure.
Refilling The Cooling System
Once the hose is in place, you’ll need to refill the system with coolant. If you drained all the coolant, use a funnel to pour in new coolant slowly. Most cars need a 50/50 mix of coolant and distilled water, but check your manual for the right ratio.
Fill the radiator first, then the reservoir. Some cars have a bleeder valve near the thermostat to let out trapped air—open it as you fill if your car has one.
Start the engine and let it run with the radiator cap off. Watch for bubbles (air escaping) and keep adding coolant as the level drops. Once the engine warms up and the coolant stops dropping, replace the cap.
Checking For Leaks And Final Steps
Run the engine and look carefully at the new hose connections. Watch for any drips or wet spots. If you see a leak, turn off the engine and re-tighten the clamps.
Monitor your coolant level over the next few days. Sometimes small air bubbles work their way out and you need to top off the reservoir.
Here’s a checklist to finish:
- Check for leaks at both ends of the new hose
- Confirm the coolant level is correct
- Clean up any spilled coolant (it’s dangerous for pets)
- Dispose of old coolant safely
A common mistake: Forgetting to check the coolant level after a test drive. Always check again after the first trip to catch any settling.
When To Replace A Coolant Bypass Hose
Not all hoses need replacement at the same time as the radiator hoses. Replace the coolant bypass hose if:
- You see visible cracks, bulges, or leaks
- The hose feels soft or spongy when squeezed
- Your car has more than 60,000 miles (100,000 km), especially in hot climates
Preventive replacement can save you from a breakdown. Many mechanics suggest changing all small cooling hoses when you do a major coolant service.
How Much Does It Cost?
The cost varies by car, but here’s a typical breakdown:
| Item | Typical Cost (USD) |
|---|---|
| Coolant bypass hose | $10 – $40 |
| Coolant (1 gallon) | $15 – $30 |
| Hose clamps (pair) | $3 – $8 |
| Labor (if done by mechanic) | $50 – $120 |
DIY replacement usually costs under $50, while a shop may charge $100–$200 depending on labor rates and how hard the hose is to reach.
Credit: miltonmeatshop.com
Non-obvious Tips For Success
- Photograph hose routing before removal, especially on complex engines. This helps avoid mistakes during installation.
- When removing the old hose, use a small pick to gently break the seal if twisting doesn’t work. Avoid prying tools that can damage soft aluminum parts.
- If your car has multiple bypass hoses, replace them all at once to save time and effort.
- Use only distilled water if mixing your own coolant—tap water can leave deposits and cause corrosion.
- Store leftover coolant in a sealed, labeled container, out of reach of children and pets.
Signs Of A Bad Coolant Bypass Hose
It’s important to catch problems early to avoid more serious engine damage. Watch for:
- Sweet smell from the engine bay (coolant leak)
- White or green crust near hose ends (dried coolant)
- Sudden drops in coolant level
- Steam from under the hood
If you notice these, check the hose as soon as possible.
Credit: www.youtube.com
Frequently Asked Questions
How Long Does It Take To Replace A Coolant Bypass Hose?
For most cars, the job takes about 1–2 hours. Some compact engines or vans may take longer due to limited access. Extra time may be needed if parts must be removed for better access.
Can I Drive My Car With A Leaking Bypass Hose?
No. Even a small leak can quickly become serious. Loss of coolant leads to engine overheating and can cause severe engine damage. Replace the hose as soon as you notice a problem.
What Type Of Coolant Should I Use After Replacing The Hose?
Always use the coolant type specified in your owner’s manual. Most cars need a 50/50 mix of antifreeze and distilled water. Using the wrong type can cause corrosion or reduced cooling efficiency. For more details, see Wikipedia’s antifreeze page.
Do I Need To Replace Both Clamps With The Hose?
Yes. Old clamps can lose tension and fail to hold the new hose securely. Always use new, good-quality hose clamps for a reliable seal.
How Often Should I Check My Coolant Bypass Hose?
Check all cooling hoses, including the bypass hose, at least twice a year—especially before summer and winter. Look for cracks, leaks, or signs of aging.
Replacing your car’s coolant bypass hose is a valuable skill that can save you money and prevent engine problems. With the right tools, careful attention, and these tips, you’ll complete the job confidently. Remember to double-check your work, use quality parts, and keep safety first.
Your car—and your wallet—will thank you.