
If you’re looking to get faster, more accurate gear changes in your car, upgrading to performance shifter cables can make a big difference. These cables connect your shifter to your transmission, and high-quality versions reduce play, boost precision, and help you shift with confidence. But installing them can feel intimidating if you haven’t done it before. This guide will take you through the entire process, step by step, and give you real-world tips most beginners miss. Whether you drive a manual or automatic, you’ll find practical advice here to get the job done right.
Understanding Performance Shifter Cables
Before you start, it’s important to know what performance shifter cables do and why they matter. Factory cables are often made for comfort, not speed. They’re designed to be soft and reduce vibration, but this can make shifting feel loose or imprecise—especially as cables wear out.
Performance cables are usually stiffer and have reinforced materials. This means less stretch, more direct movement, and a stronger connection between your hand and the transmission. Drivers often notice quicker shifts, fewer missed gears, and a sportier feel.
Some high-end cables use stainless steel, upgraded bushings, or even spherical rod ends. These parts are built to last and handle racing or spirited driving better than stock cables.
Tools And Materials You’ll Need
Preparation is key for a smooth installation. Having the right tools on hand will save you frustration and reduce the risk of damaging parts. Here’s what you’ll need for most cars:
- Performance shifter cable kit (check your car’s make and model)
- Socket set (metric and SAE sizes)
- Wrenches (open-ended and box)
- Screwdrivers (flathead and Phillips)
- Pliers (regular and needle-nose)
- Jack and jack stands or ramps
- Creeper or mat (for sliding under the car)
- Flashlight or headlamp
- Replacement bushings (if not included)
- Grease or lubricant
- Gloves and safety glasses
Every car is a bit different, so check your service manual for any special tools you might need.
Removing The Old Shifter Cables
The first step is to get the old cables out. This can be tricky, because they often snake through tight spaces. Take your time and follow these steps:
- Disconnect the battery. This prevents electrical shorts if you bump a wire.
- Remove interior trim. Carefully pry up the center console and shifter boot using a trim tool or screwdriver. Set aside screws and clips.
- Locate the shifter cables. They’re attached to the base of the shifter and run through the firewall to the engine bay.
- Disconnect cables from the shifter. Use pliers to remove retaining clips or cotter pins. Some cars use plastic bushings—handle these gently to avoid breaking them.
- Raise the car. Use a jack and stands to lift the front. Make sure it’s secure before crawling underneath.
- Find the cable ends at the transmission. They’re usually held by clips or pins. Remove these and slide the cables off the shift levers.
- Unclip any cable brackets or guides. These support the cables along the firewall or frame.
- Pull the cables out through the engine bay. Feed them gently to avoid catching on wiring or hoses.
Hidden Challenges
A common beginner mistake is forcing stuck clips or ignoring hidden fasteners. If something won’t budge, double-check for extra screws or tabs. Take pictures as you go—they’ll help you remember how everything fits back together.
Some cars route the cables under heat shields or behind other parts. Mark these locations with tape or notes so you can reinstall everything correctly.
Preparing For New Cable Installation
Before installing the new cables, clean the shifter area and transmission levers. Dirt or old grease can cause premature wear. Check that all bushings, clips, and brackets are in good shape. If anything feels loose or brittle, replace it now.
Lay the new performance cables next to the old ones and compare them. Make sure:
- Lengths match
- End fittings are the same type
- Bends and mounting points line up
If your cables have adjustable ends, measure and set them to the same length as the originals. This avoids misalignment and shifting issues later.
Installing The New Shifter Cables
Now it’s time to fit the new cables. Work slowly and follow these steps for the best results:
- Feed cables through the engine bay. Insert the transmission ends first, guiding them along the same path as the originals. Don’t force them—gentle twists help them snake through.
- Attach to transmission levers. Slide the cable ends onto the shift levers and secure with new or cleaned clips. Make sure they snap in fully.
- Clip cables into support brackets. This prevents movement and protects against heat or abrasion. Reinstall any heat shields.
- Route cables through the firewall. Seal any grommets tightly to keep out water and fumes.
- Connect to the shifter. Attach the cable ends to the shifter base. Use new bushings if available—they reduce play and last longer.
- Secure with clips or pins. Double-check that every connection is tight. Loose clips can pop off during hard shifting.
- Test fit before reassembling trim. Move the shifter through all gears. It should feel smooth, with no sticking or grinding.
Pro Tips
One detail beginners often miss: lubricate the cable ends and bushings with a small amount of high-temp grease. This reduces friction and extends life.
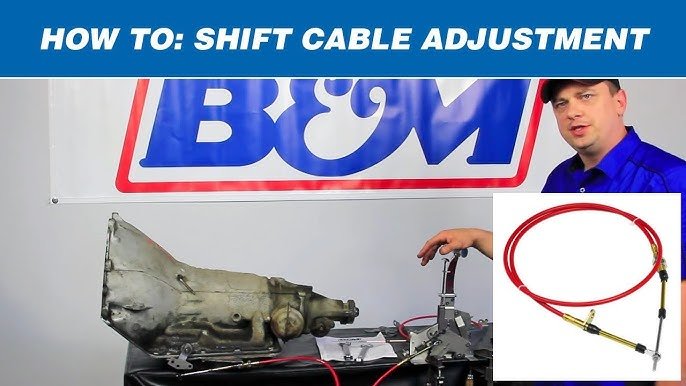
If your cables are adjustable, set the shifter in neutral and check alignment at both ends. Some high-performance setups require fine-tuning after installation for perfect gear engagement.
Adjusting And Testing The New Cables
Proper adjustment is critical. If the cables are too long or short, you might miss gears or damage the transmission.
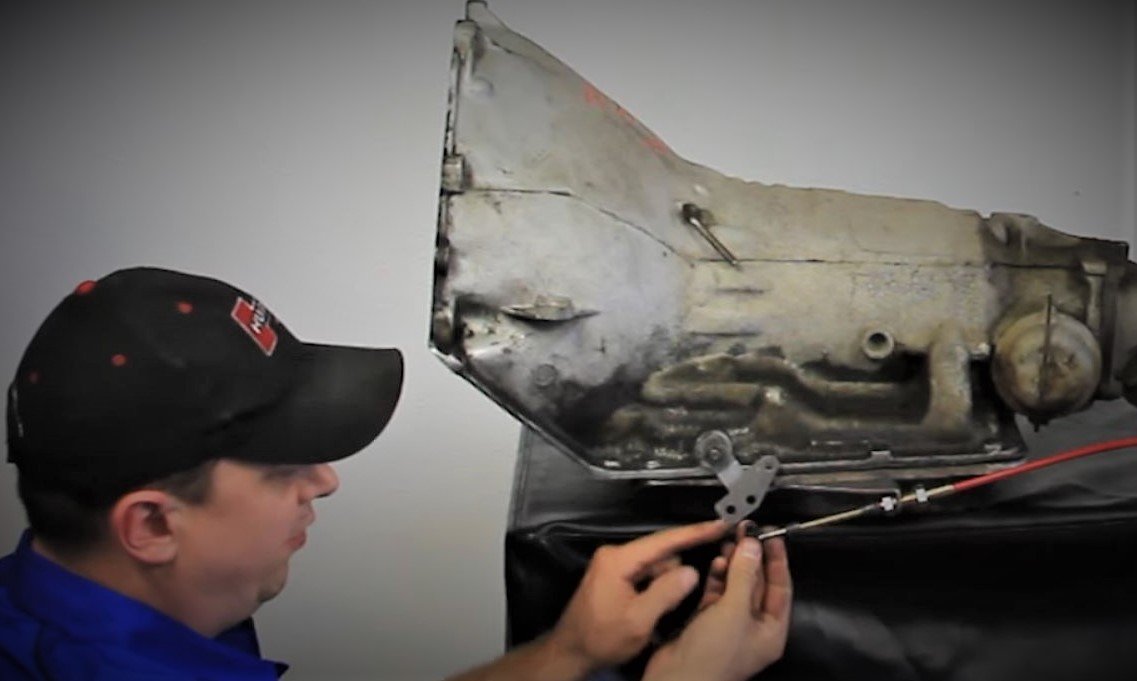
How To Adjust
- Set the car to neutral. This is your reference point.
- Loosen adjustment nuts or collars on the cable ends (if your kit has them).
- Align the shifter with the transmission. Both should be in the neutral position.
- Tighten adjustment nuts. Make sure there’s no slack, but avoid pre-loading the cables.
- Test all gears. Move the shifter through each gear position. Look for smooth engagement, especially in reverse and first gear.
Troubleshooting
If gears are hard to select or the shifter feels stiff, double-check cable routing and adjust again. Sometimes cables can get pinched or twisted—reroute as needed.
A useful tip: If your shifter moves but transmission gears don’t engage, the cable ends may be reversed or not fully seated. Check both sides carefully.
Credit: www.onallcylinders.com
Comparing Performance And Oem Shifter Cables
Here’s a quick look at how performance shifter cables compare to standard OEM cables:
| Feature | OEM Cables | Performance Cables |
|---|---|---|
| Material | Plastic/Basic Steel | Reinforced Steel/Stainless |
| Shift Feel | Softer, more play | Direct, precise |
| Longevity | 5-8 years (average) | 8-12 years (with care) |
| Heat Resistance | Standard | High, less fade |
Common Mistakes To Avoid
Many first-time installers run into the same problems. Avoid these pitfalls for a smoother experience:
- Skipping the alignment step. Even a small misalignment can cause missed shifts.
- Reusing old bushings. Worn bushings create slop in the shifter. Always install new ones if possible.
- Forgetting to secure clips. Loose clips can pop off, leaving you stranded.
- Not checking for cable kinks. Twisted or pinched cables wear out fast and make shifting stiff.
- Ignoring small parts. Some kits include tiny washers or spacers. Missing these can lead to noise or vibration.

Credit: cityofharrah.com
Real-world Installation Example
Let’s walk through a simplified example on a Honda Civic—a popular car for shifter upgrades.
- After removing the console and old cables, the installer compared the new performance kit to the originals. They noticed the new cables had spherical rod ends, providing less flex.
- The installer lubricated the cable ends, carefully routed them through the engine bay, and attached them with new bushings.
- Upon testing, they found reverse gear was hard to engage. A small adjustment at the cable end fixed the issue, resulting in crisp, accurate shifts.
This shows the importance of careful alignment and testing before final assembly.
Cost And Time Estimate
Installing performance shifter cables is a moderate DIY job. Here’s what to expect:
| Step | Time (approx.) | Difficulty |
|---|---|---|
| Removing old cables | 1-2 hours | Medium |
| Installing new cables | 1-2 hours | Medium |
| Adjustment & testing | 30-60 min | Medium |
Total cost for most cars (parts only) ranges from $100 to $300. Labor at a shop can add $200–$400, depending on the car’s complexity.
When To Upgrade Shifter Cables
Not sure if you need new cables? Here are signs it’s time to upgrade:
- Sloppy shifter movement
- Difficulty engaging gears
- Grinding or popping out of gear
- Visible wear or broken cable housing
- Upgrading for racing or track use
If you drive aggressively or have a modified engine, performance cables are a smart investment for reliability and feel.
Practical Tips For A Better Result
- Take detailed photos during disassembly. This makes reassembly much easier.
- Label all fasteners and small parts. Use zip bags and masking tape.
- Replace shifter bushings at the same time. This doubles the improvement in shift feel.
- Check for recalls or technical service bulletins for your car’s shifter system. Some models have known issues.
- Consult forums and guides specific to your car. Real-world advice can save hours of trial and error.
For more in-depth information on manual transmissions and shifting systems, you can visit this Wikipedia page.
Credit: www.youtube.com
Frequently Asked Questions
What Are The Benefits Of Installing Performance Shifter Cables?
Performance shifter cables give you a more direct, precise shift feel. They reduce looseness, improve gear engagement, and often last longer than OEM cables. You’ll notice a big difference if you drive fast or have a tuned engine.
Can I Install Shifter Cables Myself, Or Do I Need A Mechanic?
Most car owners with basic tools and patience can install shifter cables themselves. The job takes 2–4 hours for most vehicles. However, if you’re not comfortable working under your car or adjusting cables, a mechanic can help.
Do I Need To Adjust The Cables After Installation?
Yes, adjustment is very important. Set the shifter and transmission in neutral, then fine-tune cable ends as needed. Proper adjustment prevents shifting problems and protects your transmission.
Will Performance Cables Make My Car Shift Faster?
Yes, especially when combined with upgraded bushings or a short shifter. The cables alone reduce play and make shifts more accurate, but the overall system works best when all parts are in good condition.
How Do I Know If My Shifter Cables Need Replacement?
Common signs include sloppy shifting, grinding gears, difficulty engaging gears, or visible cable damage. If your car pops out of gear or the shifter feels loose, check the cables first.
Upgrading your car performance shifter cables can transform your driving experience. With the right tools, careful steps, and a bit of patience, you’ll enjoy faster, smoother gear changes every time you hit the road.