
Car vinyl wraps are a popular way to change your vehicle’s look without a permanent paint job. They protect the original paint and let you experiment with colors and designs. But if you notice bubbles forming under the vinyl, it can spoil the appearance and even lead to peeling or early wear.
Fortunately, with patience and the right approach, you can fix these bubbles yourself and restore your car’s smooth finish.
This guide will walk you through every step of repairing vinyl wrap bubbles, from understanding why they happen to practical methods for fixing them. You’ll also find real examples, helpful tables, and answers to common questions. Whether you wrapped your car yourself or had it done professionally, these tips will help you achieve a flawless look.
Why Do Bubbles Form In Car Vinyl Wrap?
Bubbles are a common problem with vinyl wraps, especially for beginners or in challenging conditions. Knowing the causes helps you prevent future issues.
- Trapped Air: The most frequent cause is air trapped between the vinyl and the car surface during installation.
- Dirty Surface: Dust, grease, or tiny debris on the car paint can cause uneven sticking, making bubbles form later.
- Poor Application Technique: Stretching the vinyl too much or not using a squeegee properly allows pockets of air to stay underneath.
- Temperature and Humidity: Wrapping in cold, hot, or humid conditions can make the adhesive behave differently, increasing the risk of bubbles.
- Low-Quality Vinyl: Cheap or old vinyl may not stick well and can be less flexible.
Understanding these causes is the first step to a successful repair.
Tools And Materials You’ll Need
Before starting the repair, gather the right tools. Having everything ready makes the process smoother and helps prevent mistakes.
| Tool/Material | Purpose | Recommended? |
|---|---|---|
| Pin or Needle | To puncture small bubbles | Yes |
| Sharp Blade (X-Acto knife) | For larger bubbles or cuts | Yes |
| Squeegee (felt edge) | To smooth out the vinyl | Essential |
| Heat Gun or Hair Dryer | To soften vinyl and activate adhesive | Yes |
| Isopropyl Alcohol & Microfiber Cloth | Cleaning the area | Highly Recommended |
| Gloves | Protects hands and avoids fingerprints | Optional |
Tip: Always use clean, high-quality tools. Even a dirty squeegee can scratch or damage the vinyl.
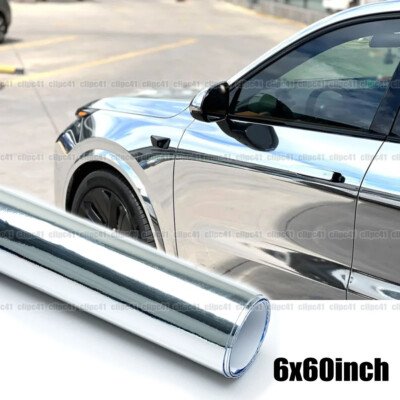
Credit: www.ebay.com
Step-by-step Guide: How To Fix Car Vinyl Wrap Bubbles
Now, let’s fix those bubbles. The process changes a little depending on bubble size and location.
1. Inspect And Identify Bubble Types
Start by carefully checking the affected area. Bubbles usually fall into two groups:
- Small bubbles: Less than 1 cm across, usually caused by air.
- Large bubbles: More than 1 cm, often from trapped air or debris.
Understanding the size and cause helps you choose the right fix.
2. Clean The Surface
Before working, wipe the area with isopropyl alcohol and a microfiber cloth. This removes any oil, dirt, or wax. Even a small amount of dust can make bubbles come back after repair.
3. Use The Needle Method For Small Bubbles
For bubbles smaller than a coin, the needle method is safest.
- Heat the area gently with a heat gun or hair dryer. Keep the heat moving and don’t hold it too close—about 6 to 8 inches away is best.
- Use a clean pin or needle to make a tiny hole at the bubble’s edge. Don’t poke in the center; the edge allows air to escape without stretching the vinyl.
- Press the bubble flat using your finger or a felt-edge squeegee. Move from the edge toward the hole.
- If needed, apply a bit more heat and gently smooth again.
This method is effective because it avoids cutting the vinyl. Tiny needle holes are nearly invisible and don’t weaken the wrap.
4. Fixing Large Bubbles Or Wrinkles
If the bubble is bigger, or if it has a wrinkle, you need a stronger approach.
- Heat the area with a heat gun until the vinyl becomes softer and more flexible.
- Using a sharp blade, make a small slit along the bubble’s edge—never across the middle, as this can cause tearing.
- Gently lift the vinyl just enough to let the trapped air escape or remove any debris.
- Press the vinyl back down while applying more heat. Use a squeegee to smooth out from the center.
- Hold the vinyl in place for a few seconds until the adhesive bonds again.
For very large bubbles, you may need to peel back and reapply a small section. Take your time—rushing increases the chance of creases or new bubbles.
5. Dealing With Debris Under The Vinyl
Sometimes, a bubble is caused by dust or a tiny stone trapped under the vinyl.
- Use a blade to open the bubble’s edge.
- Carefully pull back the vinyl just enough to remove the debris with tweezers.
- Clean underneath with alcohol if needed.
- Reapply the vinyl, heating and smoothing as above.
If the debris is sharp or has scratched the paint, it’s best to address that before resealing the vinyl.
6. Post-repair Finishing
After repair, gently heat the area and use the squeegee to ensure a strong bond. Avoid washing the car or exposing it to rain for at least 24 hours.
Tips For Preventing Vinyl Wrap Bubbles
Prevention is always better than repair. Here’s how to reduce the chance of bubbles in the first place.
- Prep the Surface Well: Clean the car thoroughly. Even invisible oil or dust can cause bubbles later.
- Work Slowly: Don’t rush the installation. Apply the vinyl slowly, pressing out air as you go.
- Use Correct Tools: A felt-edge squeegee and a heat gun are your best friends.
- Watch the Temperature: Ideal conditions are 18–24°C (65–75°F) and low humidity.
- Choose Quality Vinyl: Brands like 3M and Avery Dennison have better adhesives and flexibility.
Here’s a quick comparison of popular vinyl wrap brands:
| Brand | Adhesion Quality | Bubble Resistance | Price Range |
|---|---|---|---|
| 3M | Excellent | High | $$$ |
| Avery Dennison | Very Good | High | $$$ |
| Vvivid | Good | Medium | $$ |
| Cheap Brands | Poor | Low | $ |
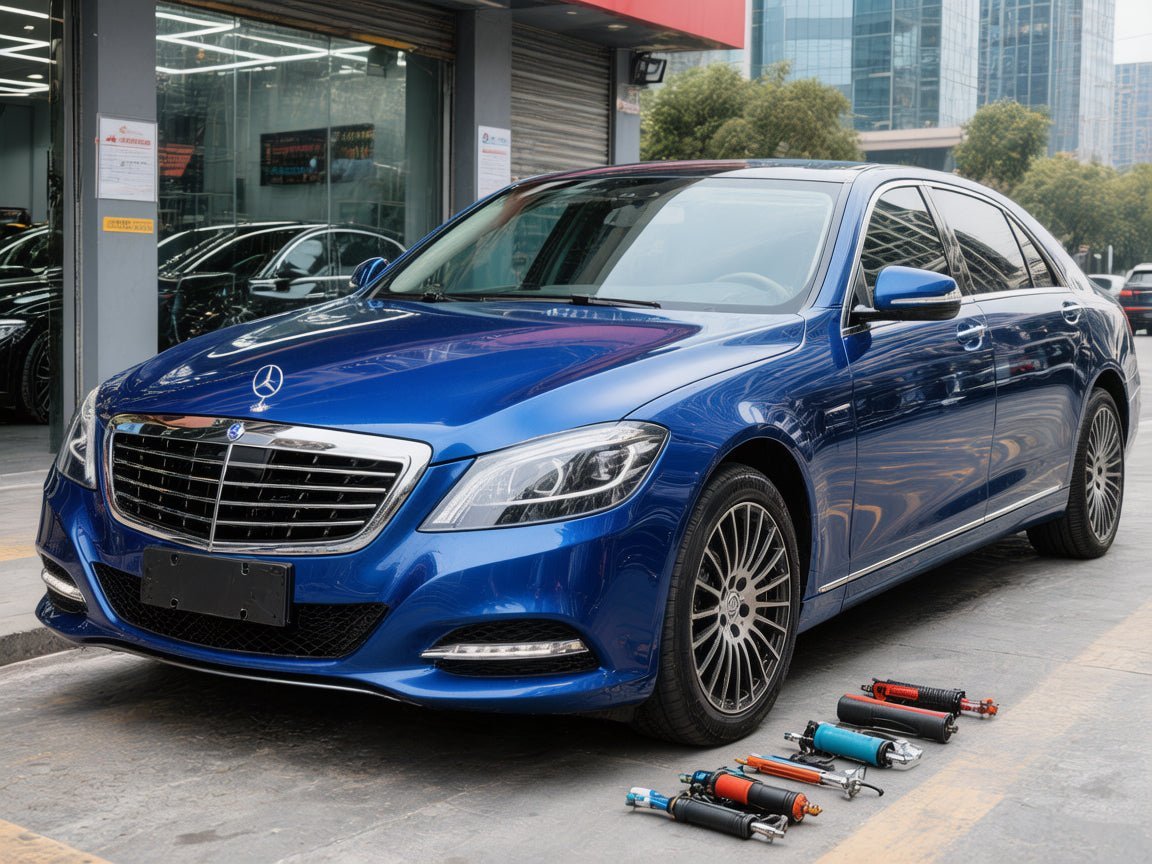
Credit: carlikewrap.com
When Should You Seek Professional Help?
DIY fixes solve most small and medium bubble problems. But sometimes, it’s better to get help.
- Large Areas: If an entire panel is covered in bubbles, re-wrapping may be easier.
- Peeling Edges: If the vinyl is lifting at the edges, the adhesive may be too weak.
- Old or Brittle Vinyl: Older wraps crack or tear easily—replacement is best.
- Complex Graphics: If your wrap has custom designs, color matching can be tricky.
Professionals have access to better tools and can redo sections without visible seams.
Common Mistakes To Avoid
Many beginners repeat the same errors when fixing vinyl wrap bubbles. Avoiding these can save you time and money.
- Using too much heat: Overheating can melt or shrink the vinyl, making it worse.
- Cutting too deep: A deep cut can slice through the vinyl and scratch the paint below.
- Ignoring surface prep: Not cleaning the area before repair often leads to new bubbles.
- Working too fast: Rushing can create new wrinkles or leave air behind.
- Not letting vinyl rest: Always let the repaired area settle for a day before washing or exposing to rain.
Real Examples: Diy Success And Challenges
Let’s look at two real-world examples for context.
Example 1: Small Bubble On Door Panel
A car owner notices a few tiny bubbles on a newly wrapped door. Using a sewing needle and hair dryer, they heat the area, poke the edge of each bubble, and smooth with a squeegee. The bubbles vanish, and the repair is invisible even up close.
Example 2: Large Bubble With Debris
Another owner finds a large bubble with grit trapped inside after a road trip. They use a blade to lift the vinyl, clean the area, and reapply with heat. The repair works, but a faint line remains where the vinyl was lifted.
Next time, they plan to clean the wrap more often to prevent debris.
How Long Do Repairs Last?
A good repair can last as long as the rest of your vinyl wrap. Most quality wraps last 3–7 years if cared for properly. Small needle-hole repairs are almost permanent. Larger cuts or lifted areas might weaken over time, especially with frequent washing or sun exposure.
This table compares repair types and durability:
| Repair Method | Visibility | Durability | Skill Needed |
|---|---|---|---|
| Needle Method | Nearly Invisible | High (3–7 years) | Low |
| Blade/Slit Method | Low (with care) | Medium (2–5 years) | Medium |
| Peel and Reapply | Possible lines | Medium | High |
| Professional Re-wrap | Invisible | Highest | Expert |
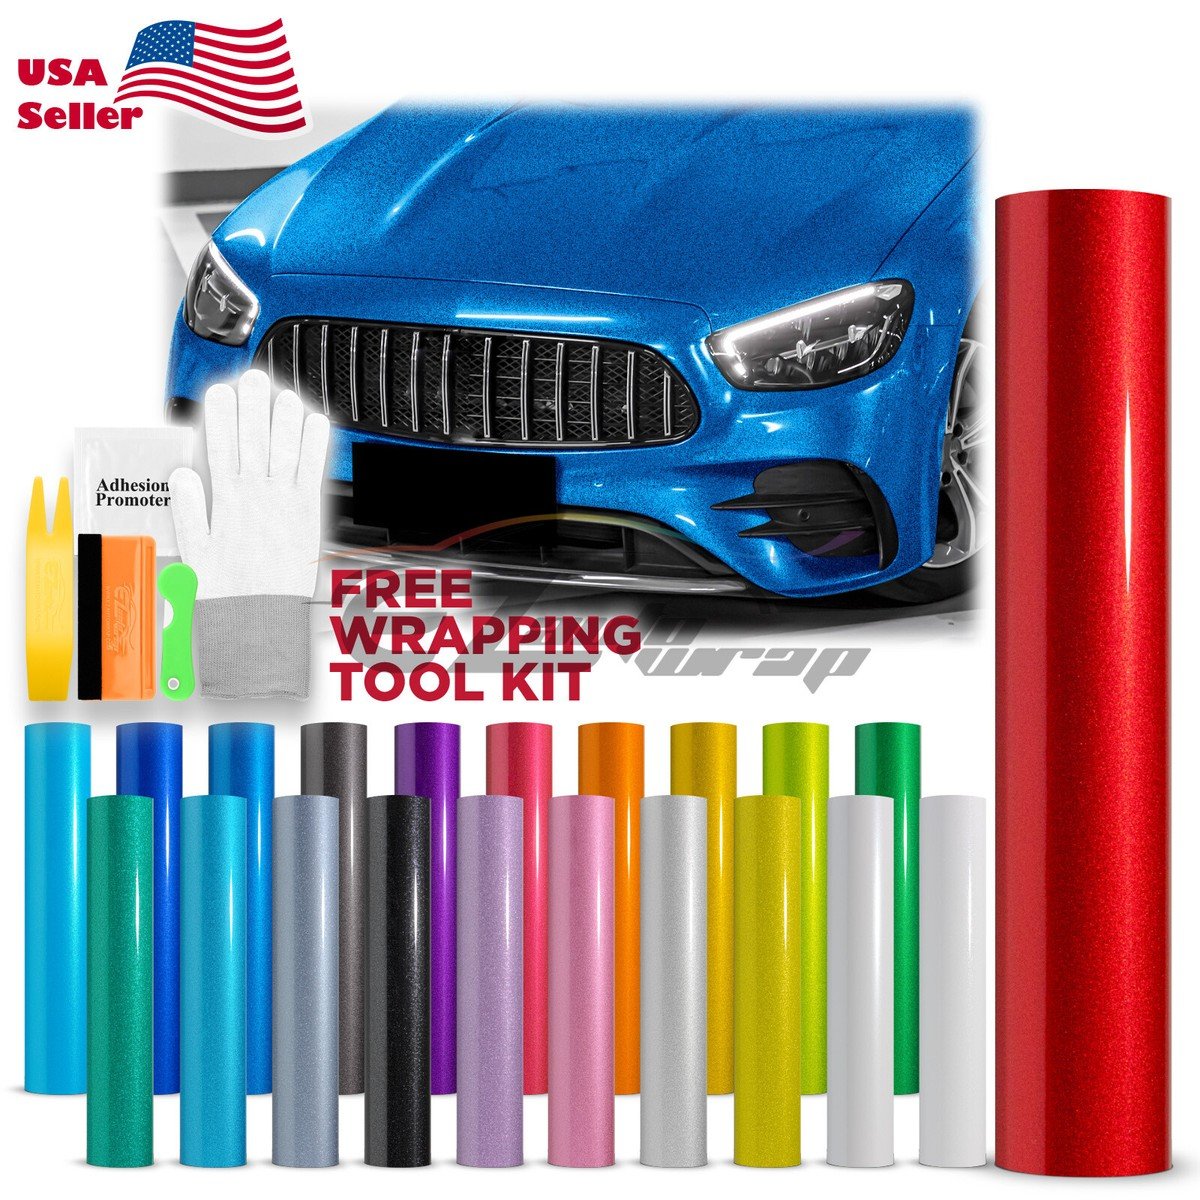
Credit: www.ebay.com
Two Insights Most Beginners Miss
First, the angle of squeegee pressure matters. Always press outwards from the center of the bubble, not in random directions. This prevents stretching and new bubbles.
Second, the waiting period after repair is critical. Avoid car washes, rain, or direct sunlight for at least 24–48 hours. This lets the adhesive reset and gives a longer-lasting repair.
For even more in-depth tips, check out this Vehicle Vinyl Wrap Guide.
Frequently Asked Questions
What Causes Bubbles In Vinyl Wrap After Installation?
Most bubbles form because of trapped air or dirt under the vinyl. Rushing, not cleaning the surface, or wrapping in the wrong temperature can also cause bubbles days or even weeks later.
Can I Pop Bubbles In Vinyl Wrap Without Damaging It?
Yes. For small bubbles, use a needle at the edge and smooth out air with gentle pressure. Avoid using sharp objects for large bubbles without proper technique to prevent tearing.
How Do I Prevent Bubbles From Coming Back?
Proper surface cleaning, slow application, quality vinyl, and careful use of heat all help prevent bubbles. After fixing, keep the area dry and let it rest before washing or driving in rain.
Is It Better To Repair Or Replace A Vinyl Wrap With Many Bubbles?
If bubbles cover a large section or the vinyl is old, replacement is better. For a few bubbles, repair is faster and cheaper. For complex designs or old wraps, a professional may be the best choice.
Does Temperature Affect Vinyl Wrap Bubble Repair?
Yes, vinyl and adhesive are sensitive to temperature. Too cold and the vinyl gets stiff; too hot and it stretches or melts. Aim for moderate temperatures, and always use heat with caution.
Repairing car vinyl wrap bubbles is a skill anyone can learn. With patience, the right tools, and attention to detail, you can restore your car’s finish and keep it looking sharp for years. Whether you’re a DIY fan or just want to protect your investment, these steps will help you handle bubbles with confidence.