
Keeping your car in top shape isn’t just about oil changes and tire rotations. Many car owners overlook one critical part: the fuel injectors. These tiny parts spray fuel into the engine, making sure your car runs smoothly and efficiently. If they get dirty, your car can lose power, use more fuel, and even stall. Luckily, you don’t always need a mechanic to solve this problem. With the right tools and approach, you can clean your car fuel injectors at home—even if you have little experience.
Understanding why and how to clean your injectors will save you money and keep your car running longer. You’ll also learn to spot common mistakes that can harm your engine. By following a step-by-step process and knowing what to watch for, you’ll feel confident about tackling this important maintenance task.
Why Clean Fuel Injectors?
Fuel injectors are crucial for proper engine function. Over time, they can become clogged by dirt, carbon, and fuel residue. This can lead to:
- Poor acceleration
- Rough idle
- Engine misfires
- Reduced fuel economy
- Hard starting
A dirty injector can spray fuel unevenly or not at all. The result? Your engine works harder and wears out faster.
Experts recommend cleaning fuel injectors every 30,000 miles or once a year, depending on your driving habits and fuel quality. If you notice a sudden drop in performance or increased fuel use, cleaning may be overdue.
Tools And Materials You’ll Need
Before you begin, gather all the necessary tools. Having everything ready will make the process smoother and safer.
- Fuel injector cleaning kit (available at auto parts stores)
- Fuel injector cleaner solution
- Basic hand tools (wrenches, screwdrivers, pliers)
- Protective gloves and eye protection
- Rags or paper towels
- Fuel pressure gauge (optional, but helpful)
- Owner’s manual for your vehicle (for reference)
- New O-rings or seals (in case the old ones are worn out)
Using the correct tools prevents damage and ensures you don’t miss any steps.
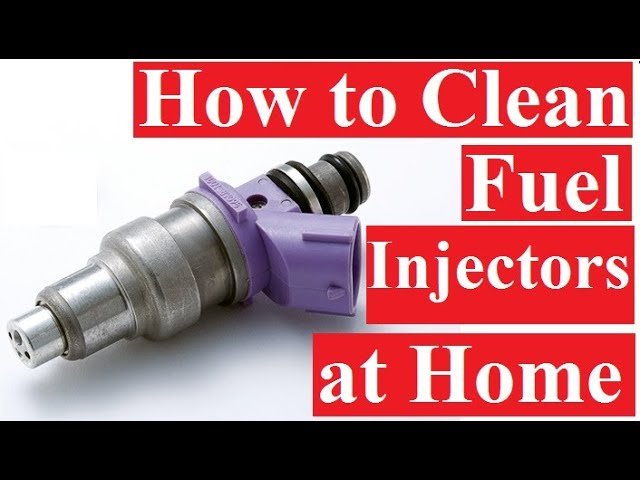
Credit: www.youtube.com
Methods For Cleaning Fuel Injectors At Home
There are two main ways to clean injectors yourself:
- On-car cleaning: Using a cleaning kit and solution, you clean the injectors while they’re still attached to the engine.
- Off-car cleaning: Removing the injectors and cleaning them separately.
Each method has its pros and cons. The on-car method is easier and safer for beginners. Off-car cleaning is more thorough but requires more skill.
Here’s a quick comparison to help you choose:
| Method | Difficulty | Effectiveness | Time Needed | Tools Required |
|---|---|---|---|---|
| On-Car Cleaning | Easy | Moderate | 30-60 minutes | Basic kit |
| Off-Car Cleaning | Moderate/Advanced | High | 2-3 hours | Extra tools |
For most people, on-car cleaning is the best starting point.
Step-by-step: On-car Fuel Injector Cleaning
Follow these steps for a safe and effective cleaning. Take your time, and don’t rush any part.
1. Prepare The Vehicle
- Park your car in a well-ventilated area.
- Turn off the engine and let it cool completely.
- Disconnect the negative battery terminal to avoid electrical accidents.
- Read your car’s manual for any specific instructions.
2. Locate The Fuel Injectors
Most injectors are near the engine intake manifold. You may need to remove the air filter or engine cover for better access. If you’re unsure, look up a diagram for your car model.
3. Disconnect The Fuel Pump
To avoid fuel spillage, locate and remove the fuel pump fuse or relay. Start the engine and let it run until it stalls. This relieves fuel pressure safely.
4. Connect The Cleaning Kit
- Attach the cleaning kit’s hose to the fuel rail (where injectors connect).
- Make sure all connections are tight—leaks are dangerous.
- Fill the kit’s canister with the proper amount of injector cleaner solution (read the kit instructions).
5. Run The Engine
- Reconnect the battery.
- Start the engine and let it run on the cleaning solution (not regular fuel).
- The engine will run for about 10-15 minutes until the cleaner is used up.
- Do not rev the engine or drive during this step.
6. Reassemble Everything
- Remove the cleaning kit.
- Reconnect the fuel pump fuse/relay.
- Double-check all connections.
- Reinstall any parts you removed.
7. Test Drive
Start the car and take a short drive. Notice smoother acceleration and steadier idling. If problems remain, you may need off-car cleaning or professional help.
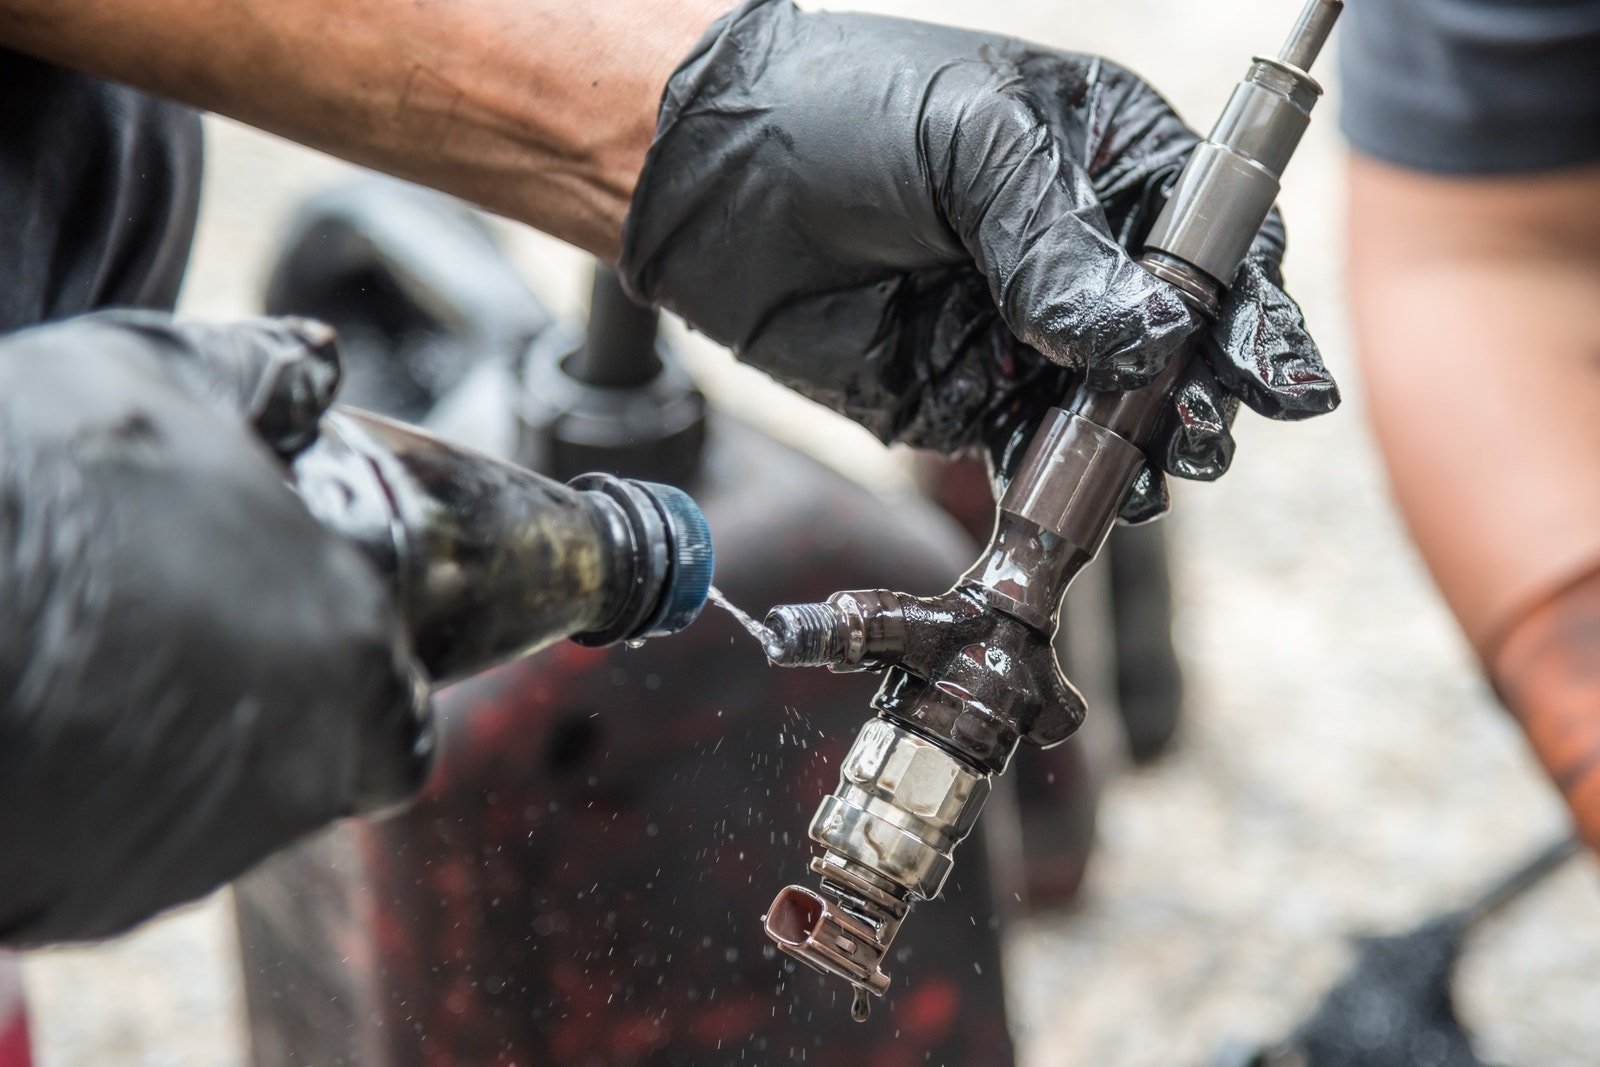
Credit: www.edmunds.com
Step-by-step: Off-car Fuel Injector Cleaning
If you want a deeper clean or your injectors are very clogged, consider removing them.
1. Remove The Injectors
- Disconnect the battery and relieve fuel pressure (as above).
- Remove fuel rail bolts and gently pull out the injectors.
- Be careful—injectors are fragile, and the seals can break.
2. Inspect And Clean The Injectors
- Check for cracks or damage. Replace any faulty injector.
- Soak the injectors in a fuel injector cleaner solution for several hours.
- Use a small brush to remove heavy deposits.
- For best results, use an ultrasonic cleaner (optional but more effective).
3. Flush The Injectors
- Attach the injector to a simple test rig (many kits include this).
- Force cleaner through the injector using compressed air or a pressurized canister.
- Repeat until the spray pattern is even and strong.
4. Replace Seals And Reinstall
- Install new O-rings or seals.
- Reinstall injectors and fuel rail.
- Reconnect all wiring and hoses.
5. Final Checks
- Start the car and check for leaks.
- Test drive for smoother performance.
Common Mistakes To Avoid
Many car owners make simple errors that can cause damage or reduce cleaning effectiveness. Watch out for these:
- Skipping fuel pressure relief: This can lead to fuel spray and injury.
- Using the wrong cleaner: Only use products made for fuel injectors.
- Forgetting to check for leaks: Even a small leak is dangerous.
- Not replacing old O-rings: Worn seals can cause fuel leaks.
- Rushing the process: Take your time. Rushed work often means missed steps.
One non-obvious tip: If you live in a humid area, moisture in the fuel can cause more rapid injector fouling. Cleaning more often can prevent engine issues.

Credit: expertdieselparts.com
How Often Should You Clean Fuel Injectors?
There’s no single answer. It depends on:
- Driving habits: Short trips and city driving cause more buildup.
- Fuel quality: Cheap fuel often contains more contaminants.
- Vehicle age: Older cars are more prone to injector problems.
As a rule of thumb, clean injectors every 30,000 miles. If you notice reduced performance, don’t wait—clean them sooner.
Signs Your Fuel Injectors Need Cleaning
Recognizing the symptoms early can save you time and repair costs. Look for:
- Hard starts
- Loss of power
- Engine knocks or pings
- Poor acceleration
- Increased emissions or failed emissions test
If these symptoms appear soon after a fill-up, you may have picked up dirty fuel. Clean your injectors and switch to higher-quality gas.
Choosing The Right Fuel Injector Cleaner
Not all cleaners are equal. Here’s what matters:
- Compatibility: Make sure the cleaner is safe for your engine type (gasoline or diesel).
- Brand reputation: Stick with well-known brands.
- Additives: Some cleaners include detergents that help with carbon removal.
- Reviews and tests: Look for products with proven results.
Here’s a quick comparison of popular brands:
| Brand | Effectiveness | Safe for Catalytic Converters? | Price |
|---|---|---|---|
| Techron | High | Yes | $$ |
| STP | Moderate | Yes | $ |
| Sea Foam | High | Yes | $$$ |
Always follow the instructions on the product label.
What If Cleaning Doesn’t Work?
Sometimes, cleaning isn’t enough. If your car still runs poorly:
- The injector may be damaged and need replacement.
- You may have a deeper engine problem (like a faulty spark plug or sensor).
- Dirty injectors can mimic other issues.
If in doubt, consult a trusted mechanic for diagnosis.
Extra Tips From Experience
Here are two insights beginners often miss:
- Don’t clean injectors right before a long trip. If something goes wrong (like a leak), you’ll want to be near home to fix it.
- Always keep a fire extinguisher nearby. Working with fuel is risky, even if you’re careful.
Also, if you spill cleaner, wipe it up immediately. The chemicals can damage paint and rubber parts.
Are Fuel Additives A Substitute For Cleaning?
Many people ask if pouring a cleaner into the gas tank is enough. While this can help keep injectors clean, it won’t fix severe clogs. Physical cleaning (on-car or off-car) is more effective for heavy deposits.
However, using a fuel system cleaner every few months can prevent major buildup. Think of it as a supplement, not a cure.
For detailed information on fuel injectors and maintenance, check the Wikipedia page on fuel injectors.
Frequently Asked Questions
How Do I Know If My Fuel Injectors Are Clogged?
Common signs are rough idling, poor acceleration, increased fuel use, and engine misfires. A mechanic can confirm with a diagnostic test.
Can I Use Regular Household Cleaners To Clean Injectors?
No. Only use fuel injector cleaner made for cars. Household cleaners can damage engine parts and create safety risks.
Is Off-car Cleaning Better Than On-car Cleaning?
Off-car cleaning is more thorough and can fix heavy clogs. On-car cleaning is faster and easier for light to moderate buildup.
How Long Does It Take To Clean Fuel Injectors At Home?
On-car cleaning takes about 30-60 minutes. Off-car cleaning may take 2-3 hours, including removal and reinstallation.
How Much Does It Cost To Clean Fuel Injectors Yourself?
DIY cleaning usually costs $10-$40 for the cleaner, plus the price of a cleaning kit (about $20-$50). This is much cheaper than professional service.
Keeping your fuel injectors clean is one of the best ways to protect your engine and enjoy smooth driving. With the right approach and tools, you can do this important maintenance at home and avoid costly repairs. Take your time, follow safety steps, and your car will thank you with better performance for years to come.