
Changing the mass air flow sensor (MAF sensor) in your car can solve many engine problems and help your vehicle run smoothly. Many drivers ignore this small part, but it plays a big role in your engine’s performance and fuel efficiency. If your car’s check engine light is on, or if you notice trouble with acceleration or fuel economy, the MAF sensor could be the issue. Replacing it yourself can save money and restore your car’s power. This guide explains everything you need to know, from what a mass air flow sensor does to step-by-step replacement instructions. Even if you’re not an expert, you’ll find the process clear and manageable.
What Is A Mass Air Flow Sensor?
The mass air flow sensor measures how much air enters your engine. The engine control unit (ECU) uses this data to balance the air-fuel mixture, which is critical for combustion. If the sensor gives wrong information, your engine could run too rich (too much fuel) or too lean (too little fuel). Both situations reduce performance and can damage your engine.
There are two main types of MAF sensors:
- Hot wire sensors: Use a heated wire and measure how much the wire cools as air passes over it.
- Vane meter sensors: Use a flap that moves when air flows through, measuring the volume.
Most modern cars use the hot wire type because it is more accurate and reliable.
Signs Your Mass Air Flow Sensor Needs Replacing
Before you start buying parts, it’s important to recognize if the MAF sensor is actually the problem. Here are common signs:
- Check Engine Light: This is often the first sign. The computer detects an irregular reading and triggers the warning.
- Poor Acceleration: If your car hesitates or jerks when you press the gas, the air-fuel mix may be off.
- Rough Idle: The engine shakes or idles unevenly.
- Reduced Fuel Efficiency: More trips to the gas station suggest the engine is using more fuel.
- Hard Starting or Stalling: Trouble starting or random stalls can indicate sensor failure.
Other issues, such as a clogged air filter or a vacuum leak, can cause similar symptoms. It’s smart to check these before replacing the sensor.
Credit: www.youtube.com
Tools And Materials Needed
You don’t need many tools to replace a MAF sensor, but having the right ones makes the job easier and safer.
- New mass air flow sensor (make sure it matches your car’s make and model)
- Screwdrivers (flat and Phillips head)
- Socket set or wrench (usually 8mm or 10mm)
- Torx bit (some cars use Torx screws)
- Gloves (to keep hands clean and avoid fingerprints on the sensor)
- Safety glasses
- Clean rag
- Mass air flow sensor cleaner (optional, for cleaning the area around the sensor)
It’s a good idea to check your car manual for specific tool sizes and sensor location.
How To Replace A Car Mass Air Flow Sensor: Step-by-step
Changing the MAF sensor is not complex, but following the right steps is essential to avoid damage.
1. Locate The Mass Air Flow Sensor
Open the hood and look for the air intake system. The MAF sensor is usually attached between the air filter box and the throttle body. It’s a small device with an electrical connector.
Tip: Take a picture of the setup with your phone before removing anything. This helps with reassembly.
2. Disconnect The Battery
Unplugging the negative battery cable keeps you safe and resets the computer. Use a wrench to loosen the clamp and set the cable aside.
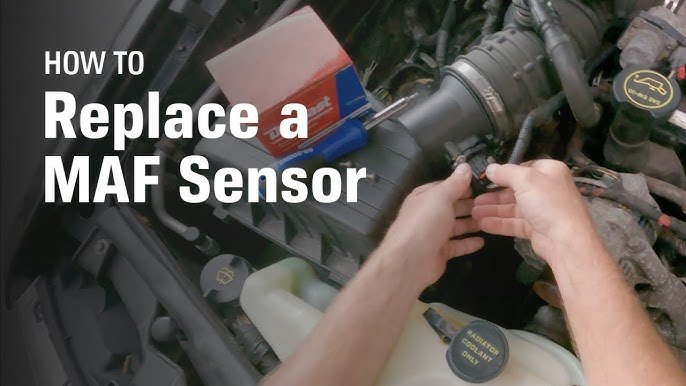
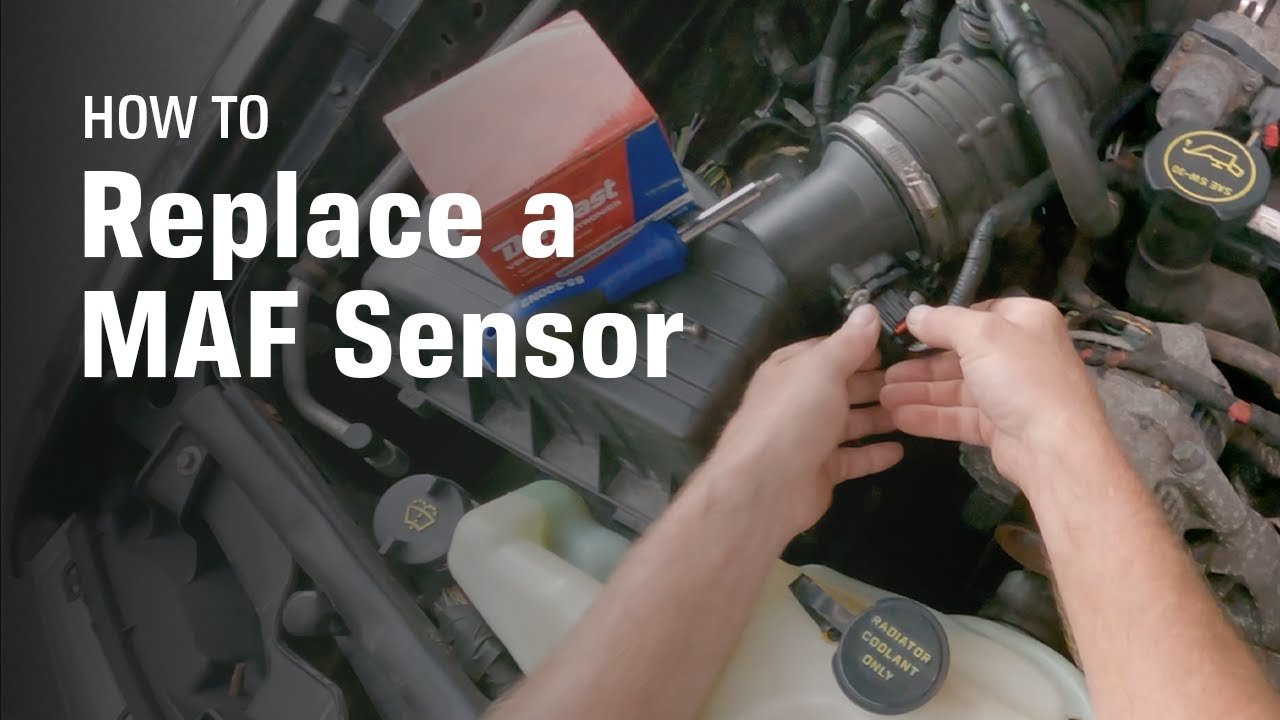
3. Remove The Electrical Connector
Find the wiring harness connected to the sensor. Press the tab and pull gently. Do not force it; the connector should come off easily.
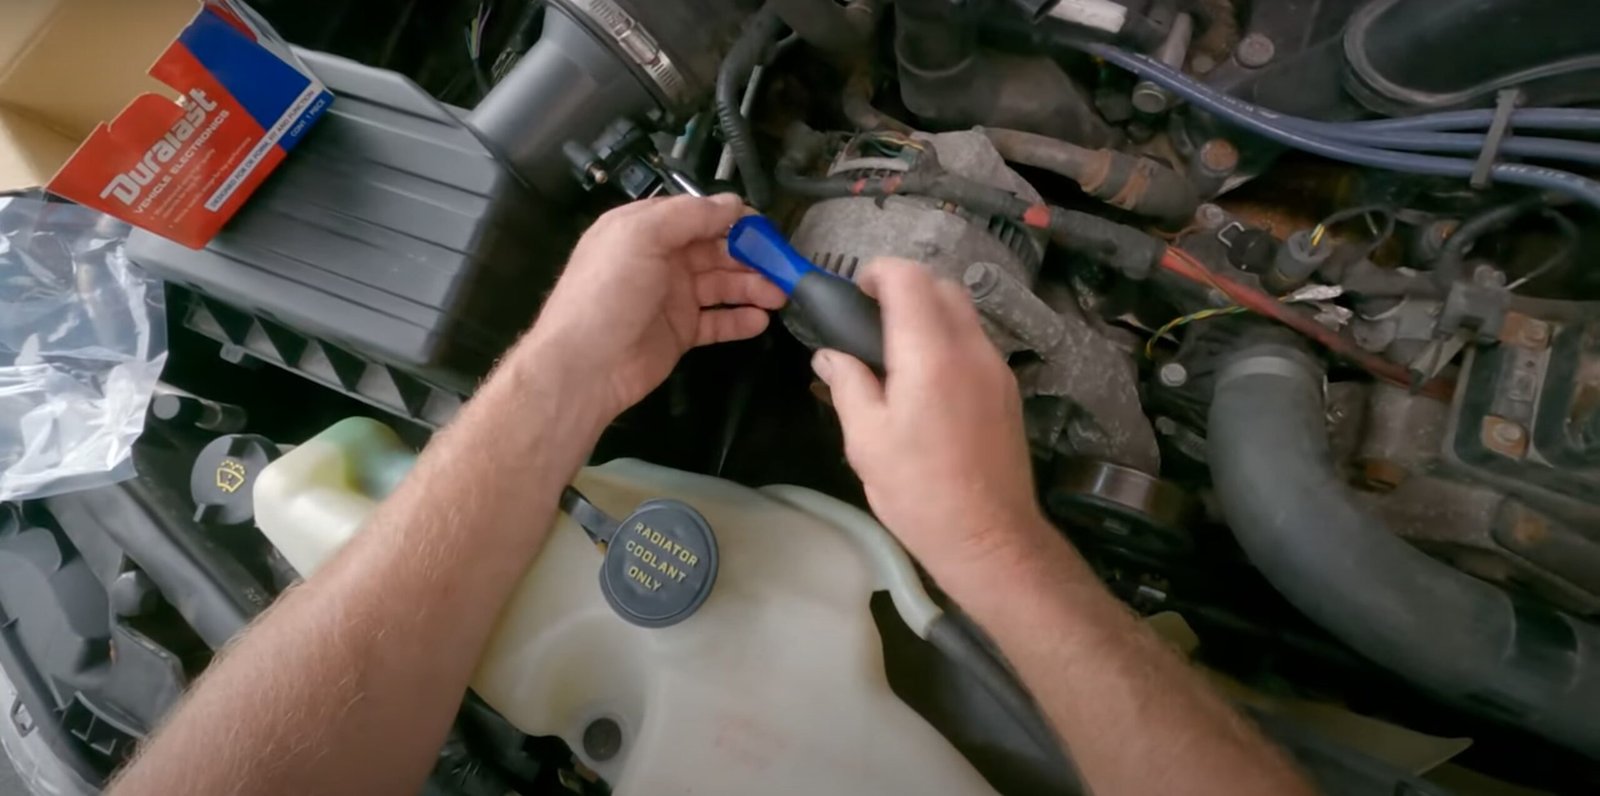
4. Loosen And Remove The Sensor
Most sensors are held by screws or clamps. Use the right screwdriver or socket to loosen them. Carefully slide the sensor out. Avoid dropping it, as old sensors may contain fragile parts.
5. Clean The Area (optional)
Dirt can build up around the sensor opening. Wipe the area with a clean rag or use mass air flow sensor cleaner. Do not spray cleaner directly into the intake.
6. Install The New Sensor
Take the new MAF sensor out of its packaging. Hold it by the edges—do not touch the sensor element, as oil from your fingers can cause errors. Slide the sensor into place and tighten the screws or clamps until snug.
Do not overtighten.
7. Reconnect The Electrical Connector
Plug the wiring harness back in. You should hear a click when it’s locked in.
8. Reconnect The Battery
Attach the negative cable to the battery and tighten it.
9. Double-check Your Work
Inspect your installation. Make sure everything is tight and nothing is left inside the engine bay.
10. Start The Engine
Start your car and let it idle for a few minutes. The check engine light should turn off if the problem was the sensor. If it stays on, you may need to clear the code with an OBD2 scanner or let the car’s computer reset over a few drives.
Credit: www.autozone.com
What To Know Before Buying A New Mass Air Flow Sensor
Not all MAF sensors are the same. Here’s what really matters:
- Compatibility: Always match the part number. Even small differences can cause problems.
- OEM vs Aftermarket: Original parts are more expensive, but often more reliable. Some aftermarket sensors work well, but others may not last as long.
- Warranty: Good sensors come with a warranty, usually 1 year or more.
- Supplier Reputation: Buy from trusted sources. Cheap, poor-quality sensors can cause even more issues.
Here is a simple comparison to help you decide:
| Factor | OEM Sensor | Aftermarket Sensor |
|---|---|---|
| Price | Higher | Lower |
| Reliability | Very reliable | Varies by brand |
| Warranty | Usually 1-3 years | 6 months to 1 year |
| Fitment | Perfect match | Sometimes needs adjustment |
Non-obvious insight: Many car owners forget to check the sensor’s connector shape and number of pins. Always double-check these details to avoid buying the wrong sensor.
Common Mistakes To Avoid
Even a simple job like changing a MAF sensor has common pitfalls:
- Touching the Sensor Wires: The hot wire is very sensitive. Touching it can add oil or dirt, ruining the reading.
- Forgetting to Disconnect the Battery: Skipping this step can cause electrical problems or even trigger new error codes.
- Using the Wrong Sensor: Many sensors look similar but have different calibrations.
- Not Clearing Error Codes: Sometimes, the check engine light will stay on until you clear old codes.
- Overtightening Screws: This can crack the sensor housing or the air intake tube.
Extra tip: If you have an OBD2 scanner, use it to check for error codes before and after replacement. This gives you proof that the problem is fixed.
Credit: www.youtube.com
When To Clean Instead Of Replace
Sometimes, the MAF sensor is just dirty, not broken. Try cleaning before buying a new part if:
- The sensor is not physically damaged.
- You see dust or oil buildup on the sensor wires.
Use a special mass air flow sensor cleaner (never use regular cleaners). Spray the sensor element gently and let it dry completely before reinstalling. If cleaning doesn’t help, replace the sensor.
How A New Mass Air Flow Sensor Improves Performance
Many drivers are surprised by the difference a working MAF sensor makes. Here are some benefits:
- Better Fuel Efficiency: The right air-fuel mix means less wasted gas.
- Smoother Acceleration: No more jerking or hesitation when you press the pedal.
- Stable Idle: The engine runs more evenly at stoplights.
- Lower Emissions: Your car passes inspections more easily.
If you track your fuel usage, you may see a 5-10% improvement after replacing a bad sensor.
How Much Does It Cost To Replace A Mass Air Flow Sensor?
The cost depends on your car and where you buy the part. Here’s a basic breakdown:
| Item | Typical Price Range (USD) |
|---|---|
| OEM Mass Air Flow Sensor | $80 – $250 |
| Aftermarket Mass Air Flow Sensor | $40 – $120 |
| Professional Labor (if not DIY) | $50 – $100 |
Doing the work yourself usually cuts the price in half compared to a shop.
How Long Does It Take To Replace A Mass Air Flow Sensor?
Most people finish this job in 20-40 minutes. If you are new to car repair, plan for about an hour. Allow extra time to check for error codes and test drive the car afterward.
Is It Safe To Drive With A Faulty Mass Air Flow Sensor?
You can usually drive for a short time, but it’s not recommended. The engine may run poorly, use more fuel, or stall. Long-term driving with a bad sensor can damage your catalytic converter and other parts, leading to expensive repairs.
After Replacement: What To Expect
After installing the new sensor, your car’s computer may need a little time to adjust. Here are a few things that may happen:
- The check engine light should turn off after a few miles.
- Engine idle and acceleration should improve.
- If the light stays on, double-check your installation or scan for new codes.
If problems continue, make sure there are no air leaks in the intake or other damaged sensors.
Frequently Asked Questions
What Happens If I Install The Wrong Mass Air Flow Sensor?
Using the wrong sensor can make your car run worse. You may get more error codes, rough idle, or poor fuel economy. Always match the part number, connector shape, and pin count before buying.
Can I Drive My Car Without A Mass Air Flow Sensor?
Some cars can run in “limp mode” using default settings, but performance will be poor. It’s not safe or smart for long trips. Replace the sensor as soon as possible.
How Often Should I Replace My Mass Air Flow Sensor?
MAF sensors can last over 100,000 miles, but it depends on your driving conditions. Dusty roads or dirty air filters shorten their life. Clean or check the sensor every 30,000 miles.
Will Replacing The Mass Air Flow Sensor Improve My Car’s Performance?
If the sensor was faulty, you’ll notice better acceleration, smoother idle, and improved fuel efficiency. If there was no problem with the sensor, you won’t see a change.
Where Can I Learn More About Mass Air Flow Sensors?
For more technical details, you can visit the Wikipedia page on mass flow sensors.
Replacing your car’s mass air flow sensor is a smart DIY project that can quickly solve engine problems and save you money. With the right tools, careful steps, and a little patience, you’ll have your car running like new in less than an hour. Remember to check the part number, handle the sensor gently, and clear any old error codes for the best results.