
Replacing a car radiator at home is possible on some vehicles, but the job is not identical from one model to another. Radiator mounting, cooling-fan layout, transmission-cooler connections, active grille shutters, air-conditioning condenser placement, coolant type, and air-bleeding procedure can all vary.
Use this as a safe replacement framework, then follow the service information for your exact vehicle. Never open or disconnect a hot pressurized cooling system.
Confirm the Radiator Is Actually the Fault
A coolant leak or overheating problem does not automatically mean the radiator needs replacement. Hoses, thermostat housing, water pump, reservoir, cap, heater circuit, head gasket, cooling fan, or another part may be responsible.
Locate the leak or fault before buying a radiator. If the engine has severely overheated, diagnose the cause rather than assuming a new radiator alone will solve it.
Verify the Exact Replacement Radiator
Match the radiator to the vehicle’s year, engine, transmission, cooling package, and any model-specific equipment. Compare the mounting points, hose necks, fan mounting provisions, drain arrangement, sensor ports, and any cooler fittings before removing the old unit.
Prepare the Vehicle Safely
Park on stable, level ground and let the engine cool completely. Follow the vehicle procedure for battery isolation if electrical fan connectors or other powered components require it. Do not assume every vehicle should be disconnected the same way, especially where battery monitoring or learned settings are involved.
If the vehicle must be raised for access, use its approved lifting and support points and suitable rated stands. Never work underneath a vehicle supported only by a jack.
Drain the Coolant According to the Vehicle Procedure
Place a suitable drain container under the vehicle and use the specified drain point or hose-removal procedure. Coolant is toxic and should be kept away from children and animals and collected for proper disposal or recycling.
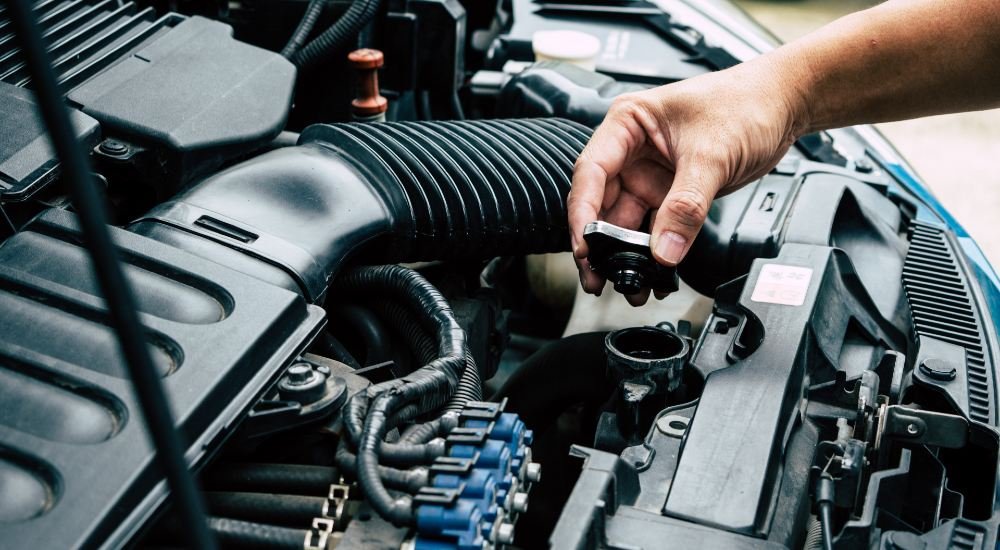
Do not open the radiator cap, expansion tank, or another pressure point until the system is fully cool and depressurized.
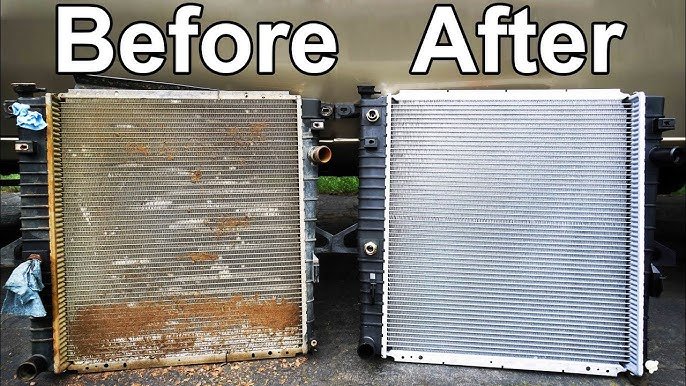
Credit: www.youtube.com
Remove Only the Components Needed for Access
Depending on the vehicle, access may require removing covers, an intake duct, upper support pieces, cooling fans, a fan shroud, active grille shutters, splash panels, or other parts. Photograph connector and clip locations before disassembly.
Do not force electrical connectors or plastic clips. Cooling-system plastic becomes brittle with age and heat.
Disconnect Hoses and Any Cooler Lines Carefully
Disconnect the radiator hoses using the correct clamp method. Some automatic-transmission vehicles also route a fluid cooler through or near the radiator; others use a separate cooler. If cooler lines are present, use the specified disconnection procedure and prevent contamination.
Cap or protect open fittings when appropriate. Do not guess whether a line carries coolant, transmission fluid, or another fluid.
Separate the Radiator From Nearby Components Without Damage
The air-conditioning condenser is often mounted directly in front of the radiator. In many vehicles it can remain sealed and be supported while the radiator is removed, but the exact arrangement varies.
Do not disconnect refrigerant lines just to gain room. Refrigerant work requires appropriate equipment and qualified service. Avoid bending, puncturing, or placing weight on the condenser.
Remove the Old Radiator and Compare It With the New One
Once the radiator is free, lift or remove it in the direction specified for the vehicle. Compare both units before installation. Transfer only the mounts, grommets, brackets, sensors, drain components, or fittings that the replacement instructions require.
Credit: natrad.com.au
Install the New Radiator Without Forcing It
Seat the radiator into its mounts and confirm it is not contacting the fan, condenser, bodywork, or other components incorrectly. Reinstall brackets and fasteners using the specified tightening procedure.
Reconnect hoses and cooler lines using compatible seals, clips, clamps, or fittings. Replace damaged hoses or clamps based on condition and service guidance rather than automatically replacing every nearby part.
Refill With the Correct Coolant
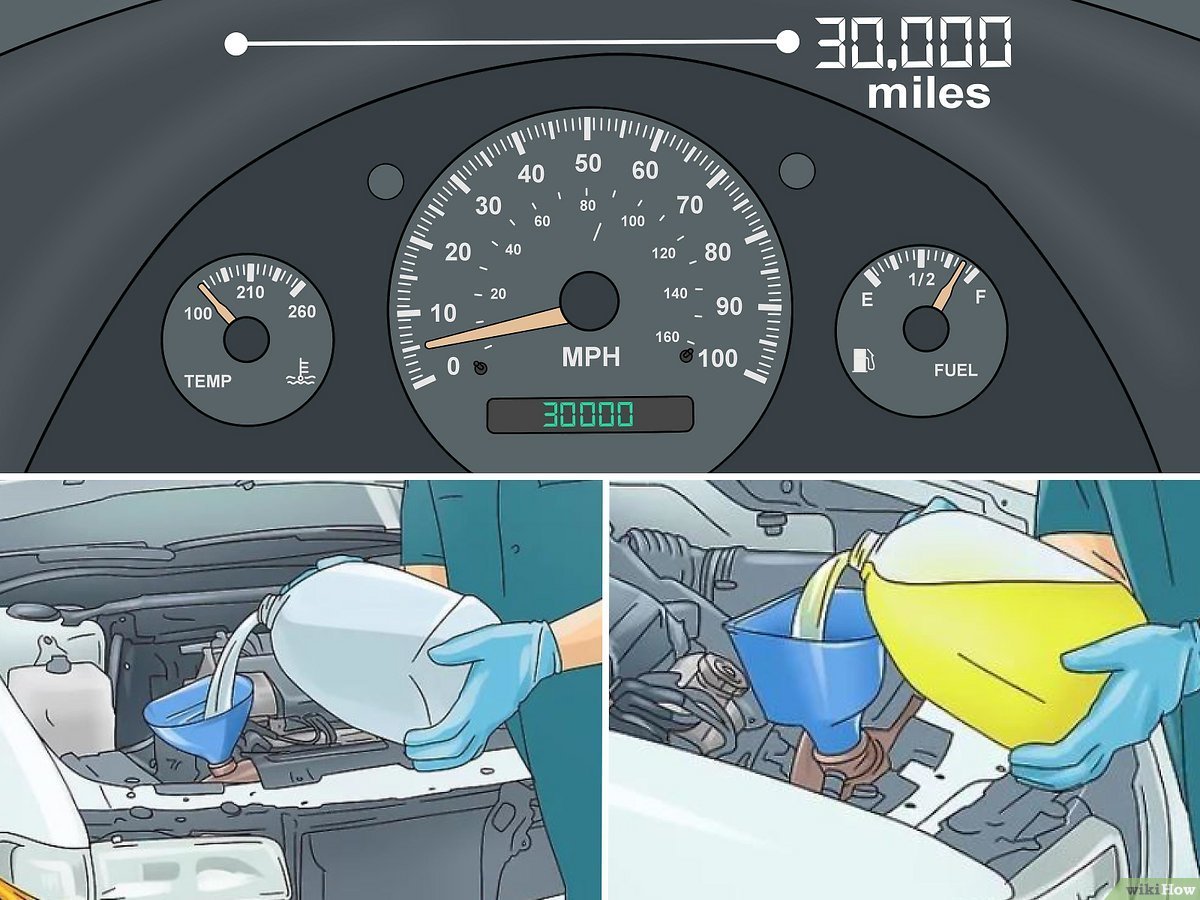
Use the exact coolant specification and concentration required by the vehicle. Coolant color alone does not prove compatibility, and a generic 50/50 rule is not a substitute for manufacturer instructions. Some vehicles use premixed coolant; others specify a particular concentrate and water quality.
Do not mix coolant types unless the manufacturer explicitly allows it.
Bleed or Vacuum-Fill the System Using the Correct Procedure
Air-removal procedures vary widely. Some systems are self-bleeding, some use bleed screws, some require a specific fill point or heater-control setting, and some are best filled with vacuum equipment.
Do not default to running every engine with the cap removed. Follow the applicable fill and bleeding instructions so trapped air does not cause overheating or false coolant-level readings.
Credit: www.wikihow.com
Verify the Repair Before Normal Driving
After filling, inspect every disturbed connection for leaks and verify cooling-fan operation, coolant level, heater function where relevant, and engine temperature according to the service procedure. Recheck the level again after the system has cooled if the manufacturer instructs you to do so.
If the temperature rises abnormally, coolant is lost, the heater suddenly blows cold when it should be hot, or a warning appears, stop and diagnose the problem rather than continuing to drive.
When This Job Is Better Left to a Professional
Professional help is appropriate when radiator removal requires refrigerant-system work, major front-end disassembly, hybrid or EV high-voltage precautions, complex transmission-cooler service, or when the overheating cause is not confirmed.
Frequently Asked Questions
Do I always need to flush the cooling system when replacing a radiator?
No. A flush depends on contamination, coolant condition, failure mode, and manufacturer procedure. Do not introduce a flush chemical or aggressive cleaning process without evidence it is appropriate.
Can I use universal coolant?
Use only a coolant that meets the exact vehicle specification. A broad “universal” label does not by itself prove compatibility.
Can I drive with a leaking radiator?
A leak can lead to coolant loss and overheating, and the rate can change quickly. Do not rely on a promised safe driving distance; address the leak and use roadside assistance when continued driving would risk overheating.
Takeaway
A successful radiator replacement depends on confirming the fault, matching the exact radiator, keeping the cooling and nearby systems uncontaminated, using the specified coolant and bleeding procedure, and verifying temperature and leaks afterward. The vehicle’s service information controls the details.