
Replacing car tie rods is a job many home mechanics try on their own. While it may seem simple, making mistakes during this process can lead to dangerous situations, expensive repairs, or poor vehicle performance. Tie rods play a critical role in steering and wheel alignment, so it’s important to get the replacement right.
Whether you’re a DIY enthusiast or just curious about the process, understanding the common mistakes can save you time, money, and stress.
Why Tie Rods Matter
Tie rods connect your steering rack to the steering knuckle on each front wheel. When you turn the steering wheel, the tie rods push and pull the wheels so your car changes direction. Worn tie rods can cause loose steering, uneven tire wear, and even loss of control. Because of their role in safety, replacing them correctly is essential.
Most Common Mistakes When Replacing Car Tie Rods
Let’s look in detail at the errors many people make and how to avoid them.
1. Not Checking For Inner And Outer Tie Rod Differences
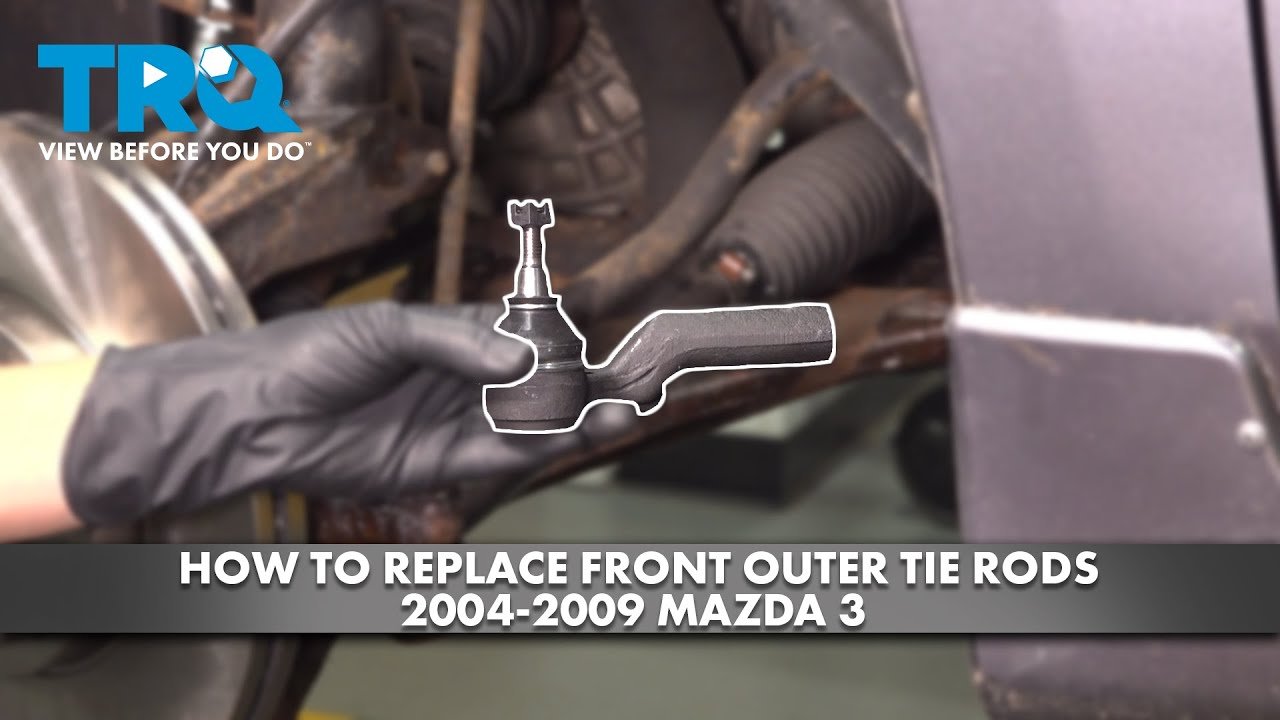
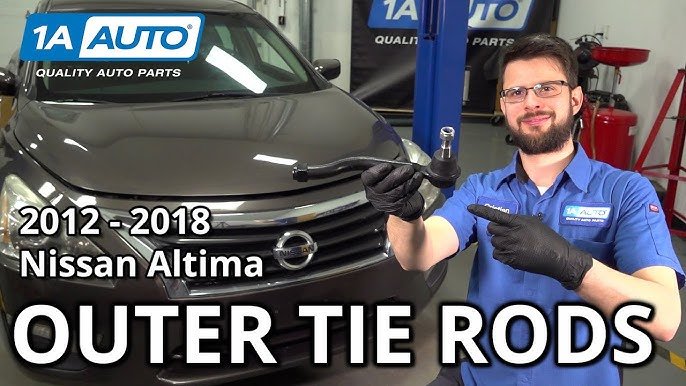
Many vehicles have both inner tie rods and outer tie rods. They are different parts, with different functions and replacement procedures. Beginners sometimes buy the wrong part or try to install an outer tie rod where an inner should go.
How to avoid: Always check your vehicle’s manual or parts diagram. Match the new part to the old one before starting. Ask the auto parts store for help if you’re unsure.
2. Failing To Mark The Old Tie Rod’s Position
When you remove the old tie rod, it’s important to mark its position. This helps you install the new one at the same length, keeping the wheel alignment close to correct until you get a professional alignment.
A common mistake is removing the old tie rod without measuring or marking where it was threaded in.
How to avoid: Use a piece of tape, marker, or count the number of turns it takes to unscrew the old tie rod. Then install the new one the same number of turns.
3. Not Getting A Professional Wheel Alignment Afterwards
Even if you match the length perfectly, replacing tie rods almost always changes your wheel alignment. Driving with incorrect alignment can cause fast tire wear, poor handling, and unsafe driving.
Some people skip the alignment step to save money, but this leads to bigger costs later.
How to avoid: Always schedule a wheel alignment after tie rod replacement.
4. Ignoring Other Worn Steering Or Suspension Parts
Tie rods are often not the only parts worn out. Sometimes, the ball joints, control arms, or other suspension parts are also damaged. Replacing just the tie rod and leaving other worn parts can cause continued problems.
How to avoid: Before starting, inspect all related steering and suspension parts. If you see torn boots, loose joints, or rust, consider replacing those parts too.
5. Over-tightening Or Under-tightening The Tie Rod Ends
Tie rod ends have specific torque settings that must be followed. Over-tightening can strip threads or break parts. Under-tightening can cause the tie rod to loosen while driving.
How to avoid: Use a torque wrench and set the nuts to the manufacturer’s recommended torque.
6. Not Replacing Both Sides When Needed
If one tie rod is bad, the other may also be worn. Replacing only one side can lead to uneven steering and more repairs soon after.
How to avoid: Check both sides for play. If one is bad, the other is likely close to failing. Replacing both at the same time is usually smart.
7. Using The Wrong Tools
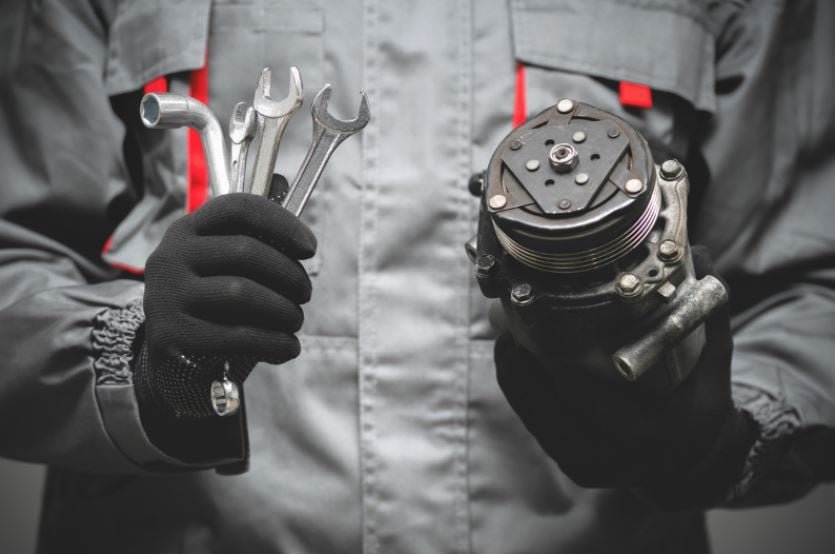
Some tie rods require special tools to remove or install, such as a tie rod puller or an inner tie rod tool. Using the wrong tool can damage parts or make the job impossible.
How to avoid: Research your vehicle and gather all necessary tools before starting. Renting specialty tools from an auto parts store is often an option.
8. Failing To Grease New Tie Rods
Some replacement tie rods come with grease fittings, but many people forget to add grease. Running them dry can cause fast wear and early failure.
How to avoid: Add grease to new tie rods if they have grease fittings. Use a quality grease gun.
9. Not Checking For Proper Thread Engagement
When installing the new tie rod, the threads must be fully engaged. If only a few threads are holding, the tie rod could pull out during driving.
How to avoid: Always thread in the new tie rod until it matches the original depth or the lock nut seats firmly.
10. Skipping The Cotter Pin Or Retaining Clip
Some tie rod ends use a cotter pin or a retaining clip to lock the nut in place. Skipping this small part can let the nut loosen and fall off.
How to avoid: Always replace the cotter pin or clip with a new one. Never reuse an old, bent pin.
11. Not Cleaning Threads And Mating Surfaces
Dirt, rust, or old grease on threads can affect how the tie rod tightens and moves. Dirty surfaces can also cause noise or faster wear.
How to avoid: Clean all threads and surfaces with a wire brush before assembly.
12. Installing The Tie Rod At The Wrong Angle
If the tie rod is installed at the wrong angle, it can bind or hit other suspension parts. This affects steering and can cause damage.
How to avoid: Compare the new tie rod’s angle to the old one before final tightening. Adjust as needed for smooth movement.
13. Not Testing For Free Movement After Installation
After tightening everything, some people forget to check if the steering moves freely. A stuck or tight tie rod can make steering hard and unsafe.
How to avoid: Move the steering wheel back and forth before lowering the car to test for smooth operation.
14. Mixing Up Left-hand And Right-hand Threads
Some vehicles use tie rods with left-hand threads on one end and right-hand threads on the other. Mixing them up means the parts won’t fit.
How to avoid: Look carefully at the threads before installation. Never force a tie rod that doesn’t thread easily.
15. Forgetting To Tighten The Lock Nut
Most tie rods have a lock nut that holds the tie rod in place. If you forget to tighten it, the alignment can change while driving.
How to avoid: Always tighten the lock nut after adjusting the tie rod length.
16. Not Inspecting The Tie Rod Boots
The rubber boots protect the tie rod joint from dirt and water. If they are torn, the new tie rod may fail quickly.
How to avoid: Check the boots for damage and replace them if needed.
17. Reusing Old Hardware
Nuts, washers, or cotter pins often lose strength with use. Reusing them can cause them to fail.
How to avoid: Replace all hardware with new parts included in your tie rod kit.
18. Not Road Testing Properly
After finishing the job, some people skip the road test. But a test drive can reveal problems, noises, or alignment issues.
How to avoid: Drive carefully on a quiet road and listen for new sounds or feel for steering issues.
19. Failing To Re-torque After Short Drive
Some mechanics recommend re-checking the torque on nuts after a short drive. Parts can settle, and nuts may loosen.
How to avoid: After driving 10–20 miles, re-check all bolts and nuts for tightness.
20. Not Reading The Service Manual
Every car is different. Skipping the service manual means missing important steps or specs.
How to avoid: Always read the service manual for your exact car model before starting.
Credit: www.youtube.com
Comparison: Diy Vs Professional Tie Rod Replacement
Here’s a quick look at how doing the job yourself compares to using a professional mechanic.
| Aspect | DIY Replacement | Professional Replacement |
|---|---|---|
| Cost | Lower (parts only) | Higher (parts + labor) |
| Time | 2–4 hours (if no problems) | 1–2 hours |
| Risk of Mistakes | Higher for beginners | Low |
| Warranty | None for labor | Usually includes warranty |
Signs Of Tie Rod Problems
Knowing when your tie rods are worn can help you avoid bigger issues.
| Sign | What It Means |
|---|---|
| Loose steering wheel | Excess play in tie rods |
| Clunking noise | Worn tie rod joints |
| Uneven tire wear | Bad alignment from loose tie rods |
| Steering vibration | Loose or damaged tie rods |
Credit: www.youtube.com
Practical Tips For Success
- Take photos during each step. This helps you remember how things fit together.
- Have a friend check your work, especially if this is your first time.
- Double-check all torque specs and procedures for your car. Many mistakes happen from guessing or skipping steps.
- If something feels wrong, stop and research before continuing.
Two Insights Many Beginners Miss
- Thread direction can differ between inner and outer tie rods. Forcing a tie rod to turn the wrong way can ruin both the part and the steering rack.
- Even small changes in tie rod length affect alignment. Just one turn off can cause your steering wheel to be crooked or your tires to wear out fast.
Real-world Example
A car owner replaced just one outer tie rod, set the length by eye, and skipped the alignment. After 1,000 miles, the tires were ruined and the car pulled left. The cost to fix the mistake was much higher than doing it right the first time.
When To Call A Professional
If you’re unsure about any step, or if you lack the tools or time, it’s better to let a qualified mechanic handle the job. Modern vehicles often have complex steering systems that need special tools and knowledge.
For more details on steering systems and maintenance, check the Wikipedia Tie Rod page.
Replacing tie rods is not a beginner-only job, but it is doable with patience and care. By avoiding these common mistakes, you can keep your car safe, your steering precise, and your wallet happy.
Credit: gap-autopart.com
Frequently Asked Questions
What Happens If I Don’t Align My Wheels After Replacing Tie Rods?
Your wheels may point in the wrong direction, causing fast tire wear, poor handling, and dangerous driving. Always get a wheel alignment after tie rod work.
Can I Replace Just One Tie Rod, Or Should I Do Both?
If only one is damaged, you can replace just that side. However, it’s wise to check both sides, as the other may be worn and fail soon.
How Do I Know If My Tie Rods Need Replacement?
Common signs include loose steering, clunking noises, uneven tire wear, or vibrations when turning the wheel.
Is It Safe To Drive With A Bad Tie Rod?
No. A failing tie rod can break, causing loss of steering control. Replace bad tie rods as soon as possible.
Do I Need Special Tools To Replace Tie Rods?
Some cars require special tools, such as a tie rod end puller or an inner tie rod tool. Check your car’s service manual before starting the job.
Replacing car tie rods is a serious job, but with the right steps and attention to detail, you can do it safely and correctly. Avoiding these common mistakes will help you achieve the best results and keep your vehicle running smoothly.