Replacing a catalytic converter yourself can save a lot of money compared to a mechanic’s shop. But it’s not a job for everyone. If you like working with your hands, enjoy solving problems, and want to keep your car running cleaner, this guide will walk you through everything you need to know. We’ll cover the tools, steps, safety, and tips to make the job smoother. By the end, you’ll understand not just how to do it, but how to do it right.
What Is A Catalytic Converter And Why Replace It?
The catalytic converter is a part of your car’s exhaust system. Its job is to change harmful gases—like carbon monoxide, hydrocarbons, and nitrogen oxides—into less harmful gases before they leave your tailpipe. Modern cars need them to meet emissions laws. If your converter fails, your car might run rough, use more fuel, fail emissions tests, or even trigger the check engine light.
Reasons to replace the catalytic converter include:
- The check engine light is on with a code related to emissions.
- Your car failed an emissions test.
- You hear rattling or notice poor performance.
- The converter is physically damaged or stolen.
A new catalytic converter can cost $500–$2,500 at a shop. Doing it yourself can cut costs by half or more, but you must be ready for a little work and to follow local laws.
Is Diy Replacement Right For You?
Before you start, ask yourself:
- Do you have basic car repair skills?
- Can you safely lift your car and work underneath it?
- Do you have the right tools?
- Are you prepared to deal with rusty bolts or a seized exhaust?
If you answer yes to these, DIY can be a smart move. But if you’re not comfortable, it’s better to get help. In some places, replacing the converter yourself might not be legal—always check your local rules. Some states in the US require certified shops for emissions parts.
Credit: rrcats.com
Tools And Materials You Will Need
Gather all your tools before starting. Missing one tool in the middle of a job is very frustrating. Here’s what you’ll need:
- Socket set (metric and standard sizes)
- Wrenches
- Breaker bar (for stubborn bolts)
- Penetrating oil (like WD-40)
- Jack and jack stands (or ramps)
- Safety glasses and gloves
- Oxygen sensor socket (if you need to remove sensors)
- New catalytic converter (make sure it fits your car’s make, model, and year)
- Replacement exhaust gaskets (if required)
- Torque wrench (for tightening bolts to the right spec)
- Pry bar (for separating exhaust parts if stuck)
- Exhaust clamps (if your system uses them)
- Anti-seize compound (for the bolts)
Some cars may require extra tools, like a saw for cutting old exhaust pipes if they are welded or rusted. Check your car’s service manual for any special steps.
Preparing For The Job
Preparation is often overlooked but makes the job much easier. Here are some steps to follow before you start:
- Check your local laws about emissions and catalytic converter replacement. Some areas have strict rules.
- Order the correct part. Use your car’s VIN to be sure.
- Read your car’s service manual for specific instructions.
- Park on a flat surface and let the car cool for at least an hour. Exhaust parts get very hot.
- Gather all tools and parts. Lay them out neatly.
- Wear safety gear. Gloves and safety glasses are a must.
A common mistake is to start without reading the manual or not checking if the part matches. Don’t skip these steps.
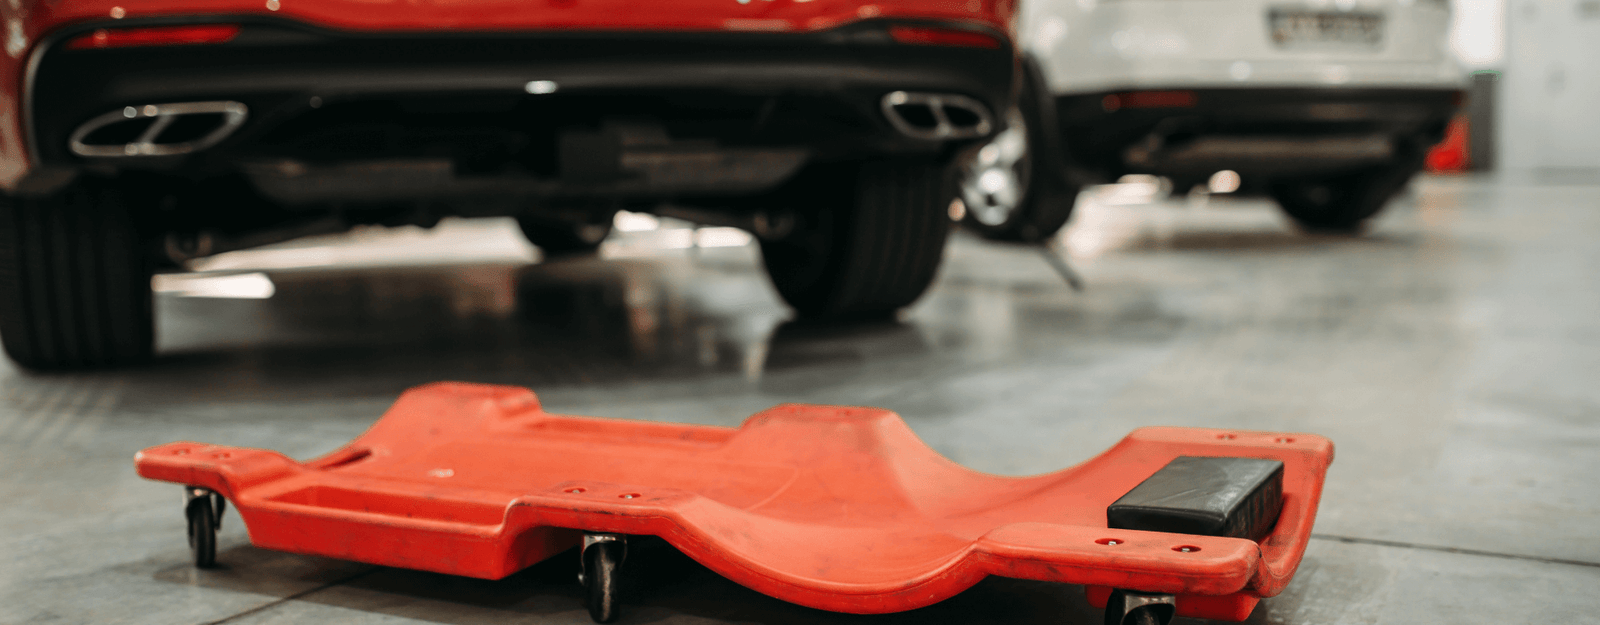
Lifting The Car Safely
Most catalytic converters are under the car, between the engine and the muffler. You’ll need to get under the vehicle.
- Chock the wheels so the car can’t roll.
- Use a strong jack to lift the car at the recommended points.
- Place jack stands under the frame to support the car. Never trust just a jack.
- Test the stability. Give the car a gentle push to make sure it’s solid.
Here’s a comparison of lifting methods:
| Method | Safety | Ease of Use | Cost |
|---|---|---|---|
| Jack + Jack Stands | High | Moderate | Low |
| Car Ramps | High | Easy | Moderate |
| Hydraulic Lift | Very High | Very Easy | High |
Always prioritize safety over speed.
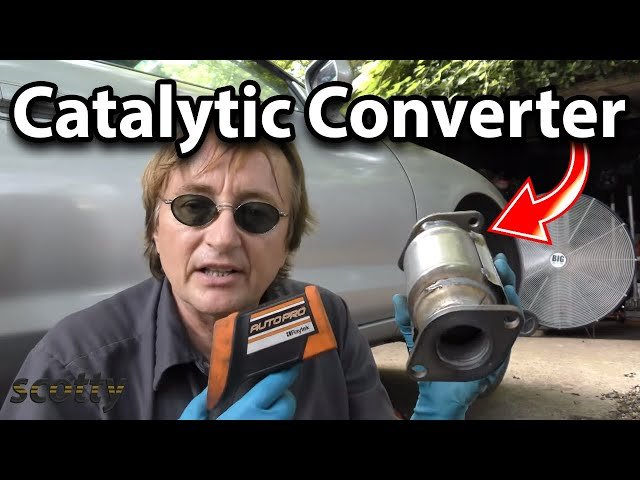
Removing The Old Catalytic Converter
This is usually the hardest part, especially if the exhaust is rusty or the bolts are seized. Go slow and use patience.
- Spray all exhaust bolts and nuts with penetrating oil. Let it soak for 10–15 minutes.
- Locate the oxygen sensors. If they are in the converter, unplug and remove them using the special socket. Set aside carefully.
- Remove the bolts or nuts connecting the converter to the exhaust. You may need a breaker bar.
- If bolts are too rusty, use a reciprocating saw to cut them off. Be careful not to damage other parts.
- Slide the old converter out. You may need a pry bar if it’s stuck due to rust or buildup.
- Inspect the old converter. If it rattles or you see melted ceramic honeycomb inside, it was failing.
Here’s a quick look at the main types of catalytic converter connections:
| Connection Type | Removal Difficulty | Common Tools Needed |
|---|---|---|
| Bolt-on | Easy to Medium | Wrenches, Socket Set |
| Clamped | Easy | Wrenches, Socket Set |
| Welded | Hard | Saw, Grinder, Welding Tools |
Non-obvious tip: If your converter is welded in, consider getting a shop to cut and weld the new one unless you have welding skills.
Installing The New Catalytic Converter
With the old unit out, installing the new one is often easier. Here are the key steps:
- Compare the new and old converters. They should match in length, inlet/outlet size, and sensor holes.
- Clean the exhaust flanges with a wire brush to remove old gasket material or rust.
- Install new gaskets (if used) between the converter and the exhaust pipes.
- Slide the new converter into place. Make sure it’s oriented the right way—some have a flow direction marked.
- Hand-thread the bolts or nuts first to avoid cross-threading.
- Tighten bolts to the correct torque (check your manual for specs) using a torque wrench.
- Reinstall oxygen sensors. Apply a little anti-seize to the threads, but avoid the sensor tip.
- Check alignment. Make sure nothing is touching the frame or underbody.
A common mistake is over-tightening bolts, which can break them or warp the flange. Always use a torque wrench if possible.
Lowering The Car And Final Checks
After installing, double-check everything:
- All bolts are tight to spec
- Sensors are plugged in
- No tools left under the car
Now, safely remove the jack stands and lower the car.
Start the engine and listen for leaks or rattles. Watch for exhaust leaks at the joints—sometimes you’ll hear a “hiss” if there’s a leak. If you removed the battery cable for safety, reconnect it now.
Let the car idle for a few minutes. Check for warning lights. Sometimes, the check engine light will stay on for a short time as the computer adjusts to the new converter. If it stays on, scan for codes.
Credit: www.youtube.com
Testing The Repair
Drive the car gently for 10–15 minutes. If possible, use an OBD-II code reader to check for new codes. You should notice:
- Smoother running engine
- No check engine light (if the job was done correctly)
- No unusual smells from the exhaust
If you hear rattling or see leaks, re-check all bolts and connections.
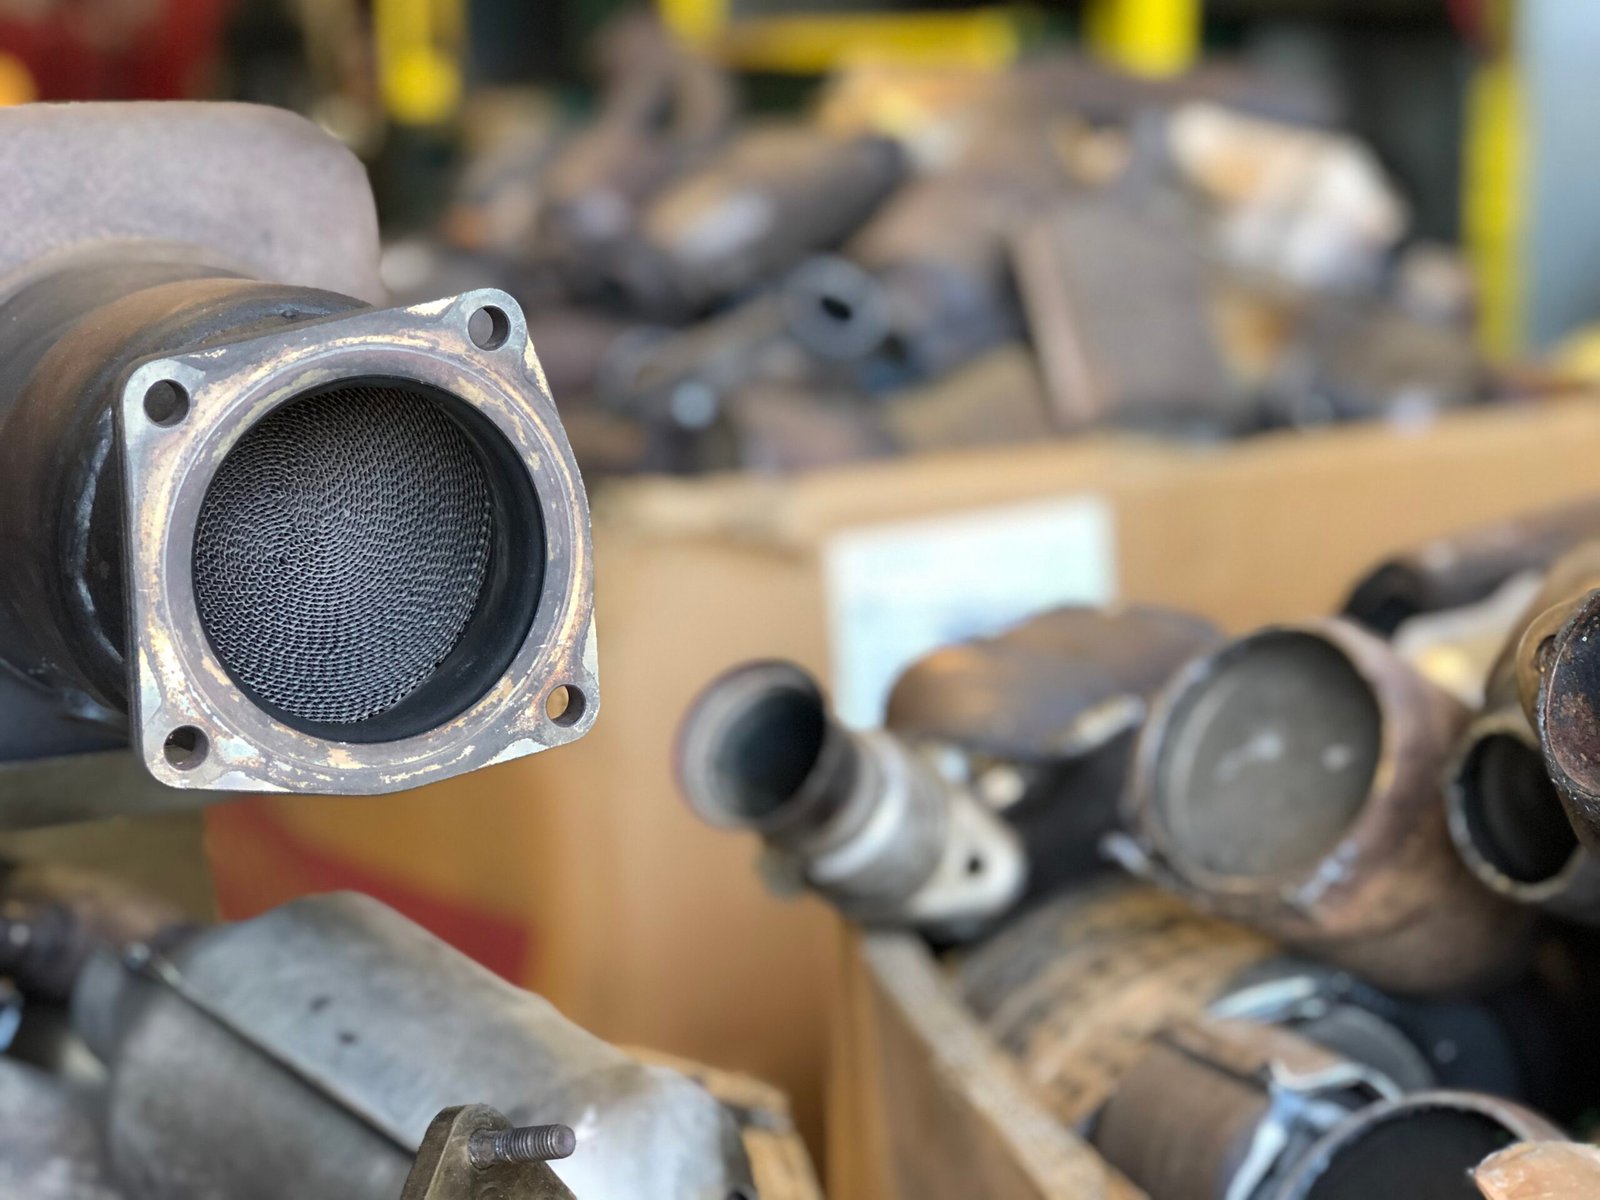
Proper Disposal Of The Old Converter
Don’t just throw the old converter in the trash. Catalytic converters contain precious metals like platinum and palladium, which can be recycled. Many auto parts stores or scrap metal dealers will buy old converters, sometimes for $50–$200 depending on the type.
Some places require paperwork to sell a used converter due to theft issues. Always follow local laws.
Credit: www.krosfou.com
Common Mistakes And How To Avoid Them
- Buying the wrong converter. Always use your VIN and check the emissions code (California vs. Federal).
- Skipping new gaskets. Old gaskets can leak—always replace them.
- Not using a torque wrench. Over-tightening can cause leaks or break parts.
- Forgetting to reconnect sensors. Car will run poorly and trigger warning lights.
- Working under an unstable car. Always use jack stands.
A less obvious tip: Don’t use excessive sealant or exhaust paste on flanges—it can break off and damage sensors.
Cost And Time Comparison
Here’s a quick look at costs:
| Method | Parts Cost | Labor Cost | Total Time |
|---|---|---|---|
| DIY Replacement | $150–$600 | $0 | 2–4 hours |
| Professional Shop | $300–$1,200 | $200–$1,000 | 1–2 hours |
DIY saves money but may take more time, especially for first-timers.
Extra Tips For A Smooth Job
- Take clear photos as you remove parts. This helps you remember how everything fits.
- If a bolt breaks, don’t panic. Use a bolt extractor or consult a mechanic.
- Test-fit the new converter before final tightening.
- If you smell rotten eggs after installation, it may be normal for a short time as the new converter burns off residues.
When To Call A Professional
Some jobs are best left to the pros. Call a mechanic if:
- The converter is welded and you don’t have welding tools.
- Bolts are badly seized or broken.
- You don’t feel safe lifting the car.
- Your area has strict emissions inspection requirements.
Remember, a bad DIY job can cost more than hiring a professional if mistakes are made.
Frequently Asked Questions
How Do I Know My Catalytic Converter Needs To Be Replaced?
Common signs include the check engine light, reduced power, failed emissions test, rattling noises, or a strong sulfur smell from the exhaust. Reading the engine codes can confirm if the converter is the problem.
Can I Drive My Car Without A Catalytic Converter?
Technically, the car might run, but it will produce more pollution, may run poorly, and in most places, it’s illegal to drive without a converter. You could also fail inspections and get fined.
Is It Legal To Replace My Own Catalytic Converter?
This depends on your location. In some states, only licensed shops can replace emissions parts. Always check local laws before starting. The EPA has strict rules in the United States (see: EPA Catalytic Converter Info).
Will Replacing The Converter Fix My Check Engine Light?
If the light is caused by a failing converter, replacement should help. But if another problem (like a faulty oxygen sensor) exists, the light could stay on. Always scan for codes before and after the repair.
How Long Does A New Catalytic Converter Last?
Most last 70,000 to 100,000 miles or more if the engine is healthy and maintained. Frequent short trips, oil burning, or engine misfires can shorten its life.
Taking on the job of replacing your own catalytic converter is a real achievement. With care, patience, and the right tools, you’ll not only save money but also learn more about your car. Just remember to work safely, double-check your work, and follow local laws.
Happy wrenching!
