Building overhead tire storage in your garage is a smart way to use unused space and keep your tires safe and organized. Whether you have a small garage or a larger one, storing tires overhead frees up floor space and protects them from moisture and damage.
Many people stack tires on the ground or in corners, which can lead to clutter and difficulty finding what you need. With overhead storage, you can make your garage more efficient and reduce risk of tire deformation. This guide will help you build your own garage overhead tire storage, even if you are a beginner.
You’ll learn the tools, materials, planning steps, installation process, and safety tips, so you can get professional results.
Why Build Overhead Tire Storage?
Tires are heavy and take up a lot of space. If you store them on the floor, they can get in the way and collect dust. Overhead storage solves this problem by using the ceiling area, which is often wasted. This method also keeps tires off cold concrete, reducing the risk of cracking or flat spots. According to the Rubber Manufacturers Association, tires stored correctly can last up to 10 years, while poor storage can reduce their lifespan by half.
Overhead storage is especially useful for people with multiple sets of tires, such as winter and summer tires. It’s also ideal for car enthusiasts who have extra wheels for racing or off-road driving.
Planning Your Overhead Tire Storage
Before you start building, you need a clear plan. Rushing into construction without preparation often leads to mistakes and wasted materials. Spend time measuring your garage and thinking about where the storage will go.
Measure Your Garage Space
Use a tape measure to check the length, width, and height of your garage. Make sure there is enough clearance above your car for the storage rack. Most garages have ceilings between 8 and 12 feet high. You need at least 18 inches above your car for safe access.
Decide How Many Tires You Need To Store
Count your tires. Each overhead rack can typically hold four standard tires. If you have two vehicles, you may need space for eight tires. Consider future needs, such as buying new tires or storing wheels.
Choose The Right Location
Pick a spot near a wall, away from garage doors and light fixtures. Avoid areas above workbenches or where you frequently walk. The best location is usually above where you park your car, but make sure you can lift tires safely without straining.
Check Ceiling Structure
Garage ceilings are often made of wood joists or metal beams. Before mounting anything, inspect the ceiling. If it’s wood, make sure the joists are solid and not damaged. If it’s metal, you may need special hardware. Never attach a rack to drywall or plaster alone.
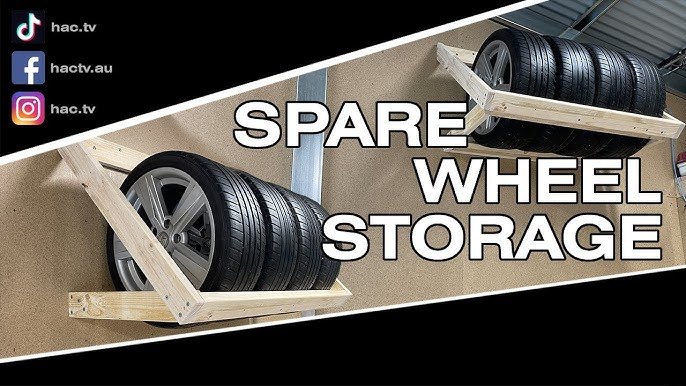
Credit: www.youtube.com
Tools And Materials You’ll Need
To build strong and safe overhead tire storage, you need the right tools and materials. Using cheap or incorrect items can lead to accidents.
Essential Tools
- Drill with bits suitable for wood or metal
- Tape measure
- Stud finder (for wood ceilings)
- Level
- Socket wrench
- Screwdriver
- Ladder
- Safety goggles
- Work gloves
Materials
- Steel angle brackets or heavy-duty shelf supports
- Plywood or metal shelving (1/2 inch thick minimum)
- Heavy-duty screws or bolts (at least 3 inches long)
- Rubber mats (optional, for protecting tires)
- Anchor bolts (for concrete or brick ceilings)
- Paint or sealant (optional, for moisture protection)
You can find these materials at hardware stores or online. Avoid using plastic brackets, as they may break under the weight of tires.
Step-by-step Guide To Building Overhead Tire Storage
Building overhead storage is not complicated if you follow clear steps. Take your time and check your work as you go.
Step 1: Mark And Measure
Start by marking where the rack will go on the ceiling. Use the tape measure and level to draw straight lines. Make sure the marks are parallel to the walls and evenly spaced. For most tires, a shelf 48 inches long and 18 inches wide is enough.
Step 2: Locate Ceiling Joists Or Beams
Use a stud finder to locate joists or beams. These are the strong parts of the ceiling that will support the weight. Mark their locations with a pencil. If you can’t find joists in the right place, you may need to add cross beams.
Step 3: Install Brackets
Attach steel angle brackets or shelf supports to the joists. Use heavy-duty screws or bolts. Each bracket should be spaced about 3 feet apart. Check with the level to make sure they are straight. Tighten all bolts fully.
Step 4: Mount Shelf
Place the plywood or metal shelving onto the brackets. Secure the shelf with screws from underneath. If you are using plywood, paint or seal it to protect against moisture. Lay rubber mats on the shelf to prevent tires from slipping and to protect their surface.
Step 5: Load Tires
Lift each tire onto the shelf one at a time. Make sure they are balanced and not touching each other too tightly. Arrange tires so the valve stems face outward for easy checking. Do not overload the rack—stick to the planned number.
Step 6: Safety Check
Check all bolts and brackets again. Shake the shelf gently to test stability. If anything moves or feels loose, tighten the screws. Wear safety goggles and gloves during this process.
Common Mistakes To Avoid
Even experienced DIYers make errors when building overhead tire storage. Here are mistakes to watch for:
- Skipping joist checks: Never attach racks to drywall or weak parts of the ceiling.
- Overloading racks: Each shelf has a weight limit—usually about 200 pounds. Check tire weight before loading.
- Poor measurements: If shelves are not level, tires can roll off or cause the rack to collapse.
- Using weak brackets: Cheap brackets can bend or break. Always use steel or heavy-duty supports.
- Ignoring moisture protection: Tires exposed to damp air can crack. Paint shelves and use rubber mats for safety.
Comparing Overhead Tire Storage Solutions
There are several ways to build overhead tire storage. Some people use DIY shelves; others buy pre-made racks. Here’s a comparison:
| Storage Type | Cost | Ease of Installation | Durability |
|---|---|---|---|
| DIY Shelf | $60-$120 | Moderate | High (if built properly) |
| Pre-made Rack | $150-$300 | Easy | High |
| Ceiling Hoist | $200-$400 | Advanced | Very High |
DIY shelves are the most affordable and customizable, but require careful installation. Pre-made racks are easier but cost more. Ceiling hoists can lift tires automatically, but installation is complex.
Safety Tips For Overhead Tire Storage
Safety is the most important part of building and using overhead storage. Tires are heavy, and falling racks can cause injury or damage.
- Check weight limits: Never exceed the recommended load for brackets and shelves.
- Use proper lifting techniques: Lift tires with your legs, not your back.
- Secure tires: Place tires carefully to prevent them from rolling or falling.
- Inspect regularly: Check racks for rust, loose bolts, or damage every few months.
- Keep area clear: Don’t stack other items under the storage rack.
Maintenance Tips
Maintaining your overhead tire storage helps it last longer and keeps your tires in good shape.
- Clean shelves and tires twice a year.
- Repaint or reseal shelves if you see signs of moisture.
- Check bolts and brackets for tightness.
- Store tires at room temperature; avoid extreme heat or cold.
Real-life Example
A car owner in Minnesota built his own overhead tire rack using plywood and steel brackets. He found that his tires stayed cleaner and lasted longer because they were off the ground. He spent about $100 and finished the project in one afternoon. He checks his rack every month to make sure it’s safe.
Another example: A family with two cars used a pre-made rack. They liked the easy installation but found it more expensive. They recommend checking ceiling structure before buying any rack.
Data On Tire Storage
According to the Tire Industry Association, improper tire storage is a leading cause of tire failure. About 25% of tire damage happens because of poor storage conditions. Overhead racks reduce exposure to moisture and chemicals, which can extend tire life by up to 40%.
| Storage Method | Average Tire Life (years) | Risk of Damage (%) |
|---|---|---|
| Floor stacking | 5 | 30 |
| Wall rack | 7 | 18 |
| Overhead rack | 8-10 | 10 |
This data shows the benefit of overhead storage for tire life and safety.
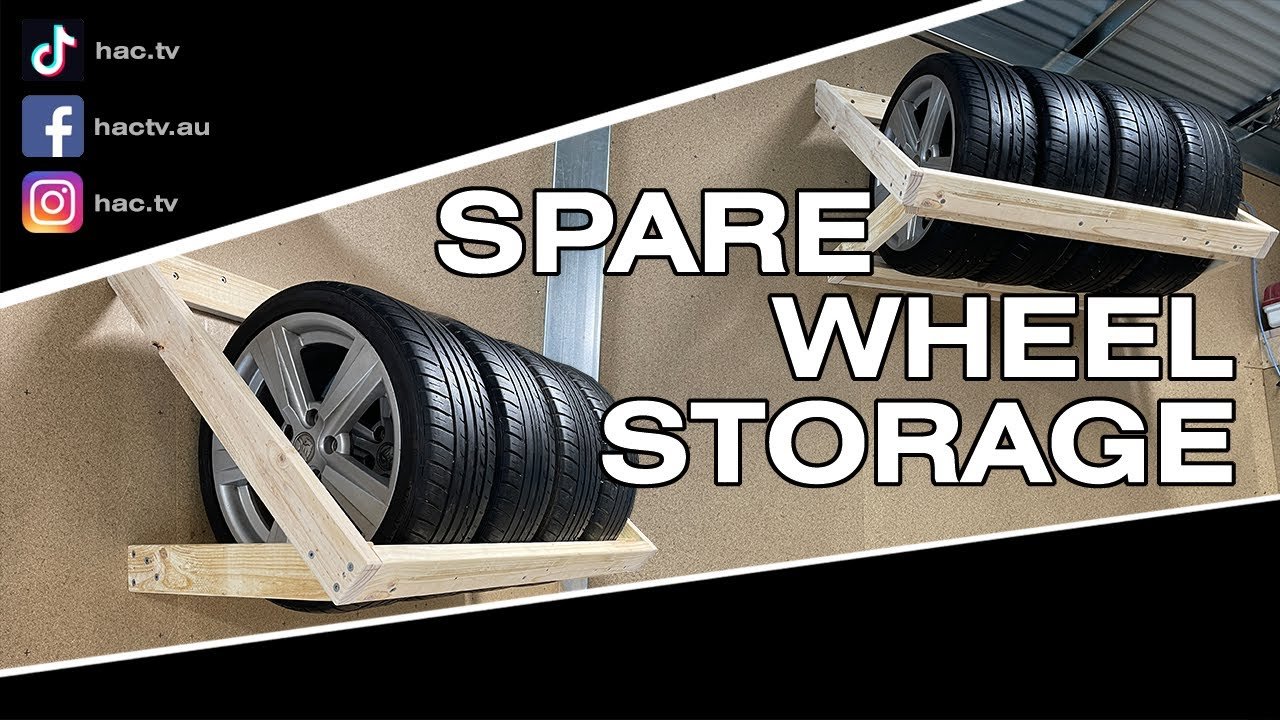
Credit: www.youtube.com
How Much Weight Can Your Overhead Rack Hold?
Weight is a big concern. Most tires weigh between 20 and 40 pounds. Four tires can weigh up to 160 pounds. Your rack must support at least this much. Check manufacturer data for brackets and shelving.
| Shelf Material | Max Weight Supported | Recommended for Tires? |
|---|---|---|
| 1/2″ Plywood | 200 lbs | Yes |
| Metal Shelf | 300 lbs | Yes |
| Plastic Shelf | 80 lbs | No |
Always use plywood or metal for tire storage. Avoid plastic shelves, as they can crack under weight.
Practical Insights Most Beginners Miss
Many beginners overlook the importance of moisture protection. Tires stored overhead can still be exposed to humidity, which leads to dry rot. Always seal wooden shelves and check garage humidity.
Another common mistake is underestimating installation time. Even a simple rack can take 2–3 hours to install, especially if you need to locate joists or add cross supports. Take your time and check every step.
Where To Find Quality Materials
Look for steel brackets and plywood at local hardware stores. For specialty tire racks, check automotive supply shops. If you want more technical advice, the Tire Rack website offers detailed guides.
Frequently Asked Questions
How Much Space Do I Need Above My Car For Overhead Tire Storage?
You need at least 18 inches of clearance above your car. This allows you to lift tires safely and prevents accidental contact with the car roof.
Can I Use Plastic Shelves For Tire Storage?
No. Plastic shelves usually cannot support the weight of tires. Always use steel or plywood shelves for safety and durability.
How Often Should I Check My Overhead Tire Rack?
Inspect your rack every 3–6 months. Look for loose bolts, rust, or signs of damage. This keeps your storage safe and prevents accidents.
Is It Safe To Store Tires In A Humid Garage?
Humidity can damage tires. Use sealed shelves and try to keep garage humidity below 60%. If your garage is very damp, consider a dehumidifier.
Can I Build Overhead Storage If My Ceiling Has Metal Beams?
Yes, but you need special anchor bolts designed for metal. Standard wood screws won’t hold. Always follow manufacturer instructions for metal ceilings.
Building garage overhead tire storage is a practical project that saves space and protects your tires. With careful planning, strong materials, and proper installation, you can create a storage solution that lasts for years. Spend time on each step, check your work, and enjoy a safer, more organized garage.
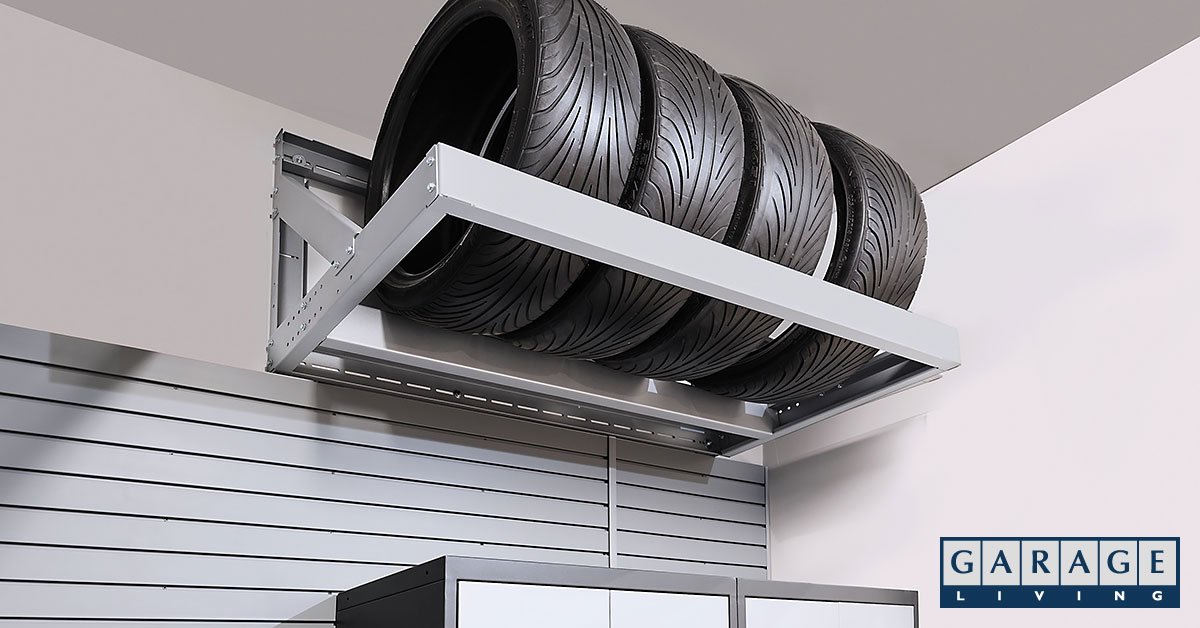
Credit: www.garageliving.com
