Installing a car alarm system on your own can be a smart way to protect your vehicle and save money. Many car owners worry about theft, but professional installation can be costly. If you have some patience and basic tools, you can install a car alarm yourself and gain peace of mind.
This guide will help you understand each step, avoid common mistakes, and finish the job with confidence.
Why Install A Car Alarm System Yourself?
A car alarm system acts as a strong deterrent against theft. Modern alarm systems offer features like keyless entry, shock sensors, and real-time alerts. Installing one yourself has several advantages:
- Cost savings: Professional installation often costs as much as the alarm itself.
- Customization: You can choose where to place sensors and wires.
- Learning: You’ll understand your car’s electrical system better, which can help with future repairs.
However, self-installation requires careful planning, basic electrical knowledge, and attention to detail. This guide breaks everything down so you can complete the job safely.
Tools And Materials You Will Need
Before starting, gather all necessary tools and materials. Having everything ready saves time and helps avoid frustration.
| Tool/Material | Purpose |
|---|---|
| Screwdrivers (Phillips & Flathead) | Remove panels and secure components |
| Wire strippers & cutters | Prepare and connect wires |
| Multimeter | Check voltage and wires |
| Electrical tape & zip ties | Secure wires and insulate connections |
| Soldering iron (optional) | Make strong wire connections |
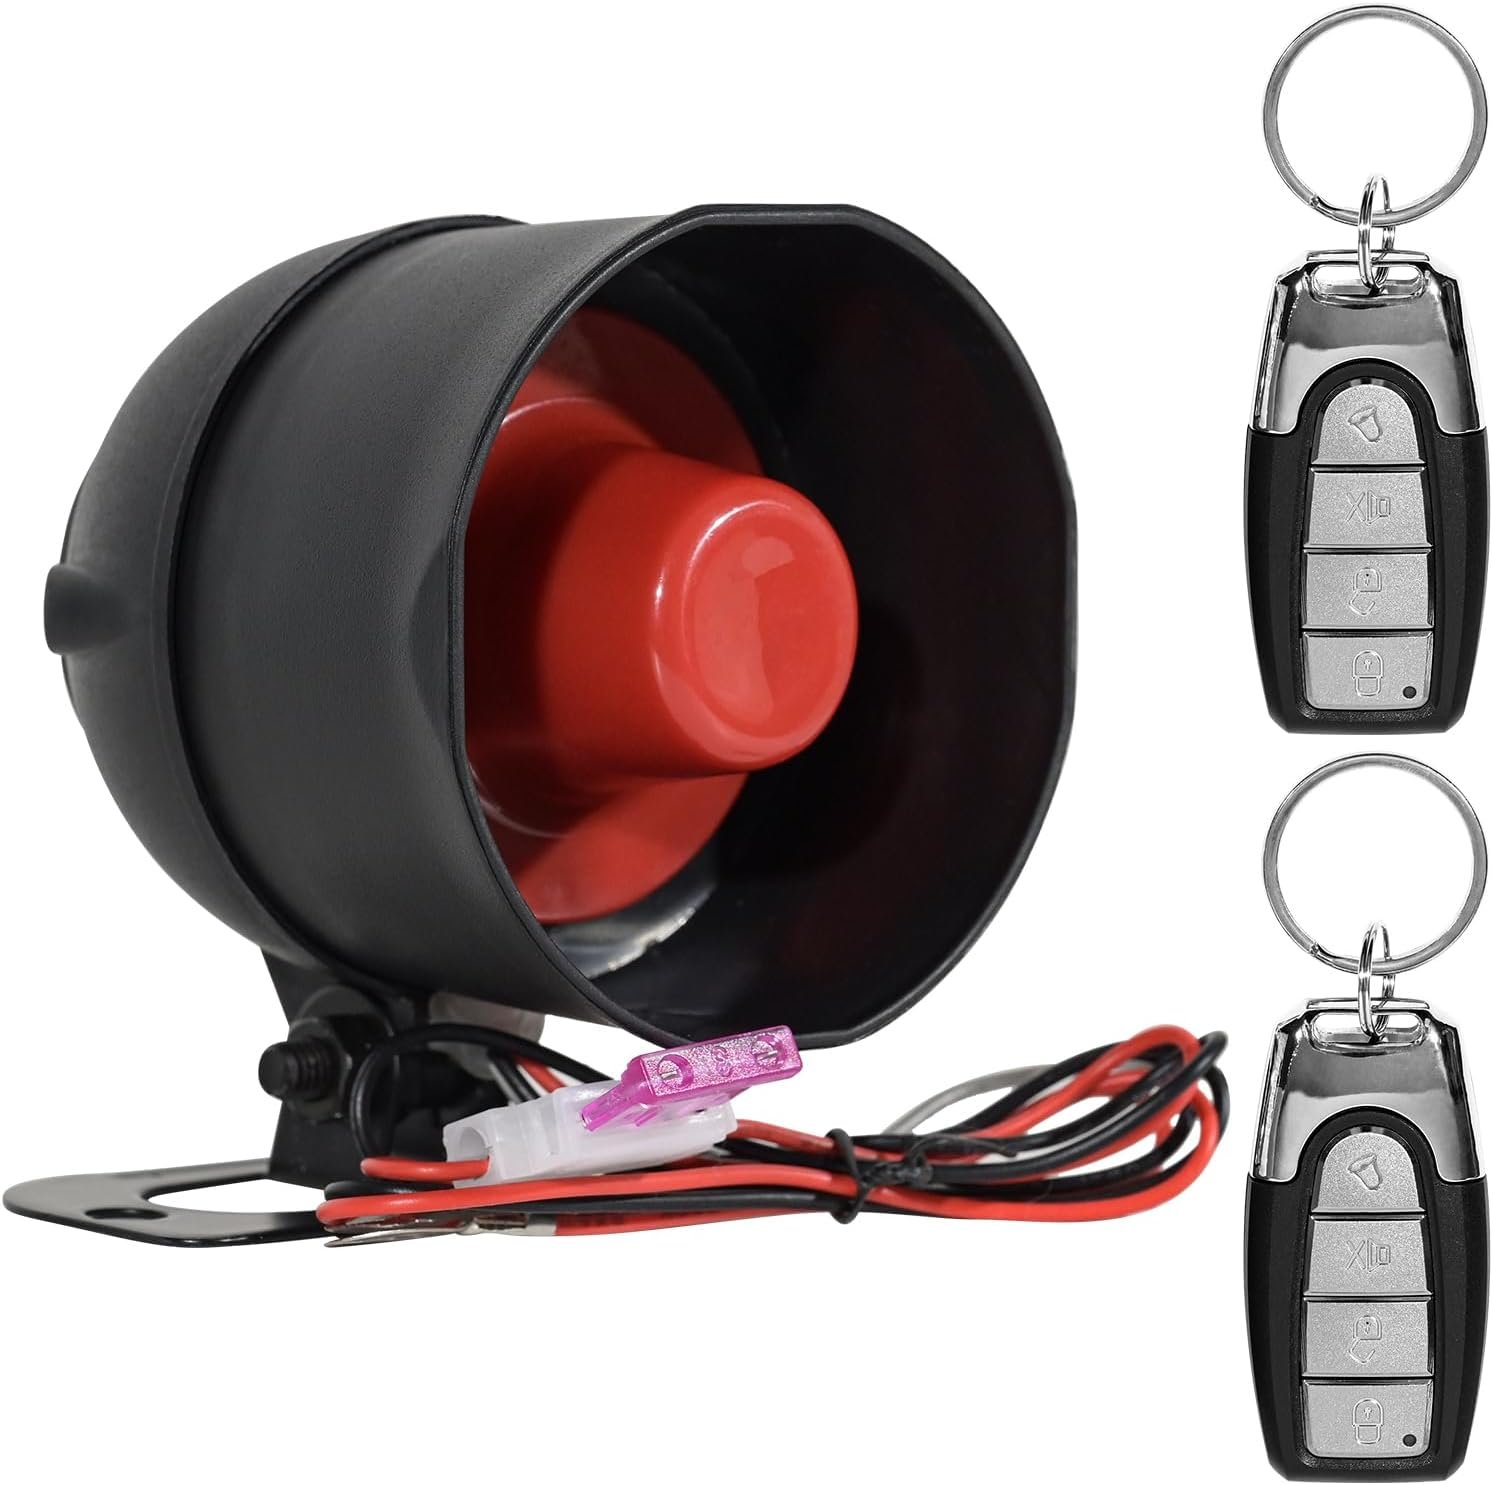
| Car alarm kit (with manual) | Main device and sensors |
| Owner’s manual of your car | Find wiring diagrams |
Two insights beginners miss:
- Use a multimeter to confirm wires before connecting. Wire colors can change between car models.
- Test the alarm system outside the car before installing. This avoids extra work if any part is faulty.
Credit: www.servirbrasil.org.br
Understanding Your Car’s Wiring
Every car is a bit different. Older cars have simpler wiring, while newer models often use complex systems. The most important wires for alarm systems are:
- 12V constant power (usually red)
- Ignition wire (often yellow or black)
- Door trigger wire
- Parking light wire
- Starter wire
- Ground wire
Refer to your car’s manual or look for guides online about your specific model. If you can’t find the right information, forums and official sites like The12volt.com are helpful.
Planning The Installation
A good plan saves hours of work. Decide where you will place each part:
- Control module: Hidden under the dashboard
- Siren: Under the hood, away from heat sources
- Shock sensor: Central location, often under the center console
- LED indicator: Dashboard or visible spot
- Valet switch: Hidden, but accessible
Mark these spots before starting. Avoid mounting anything near moving parts or hot surfaces.
Credit: wiseguysbarbershops.com
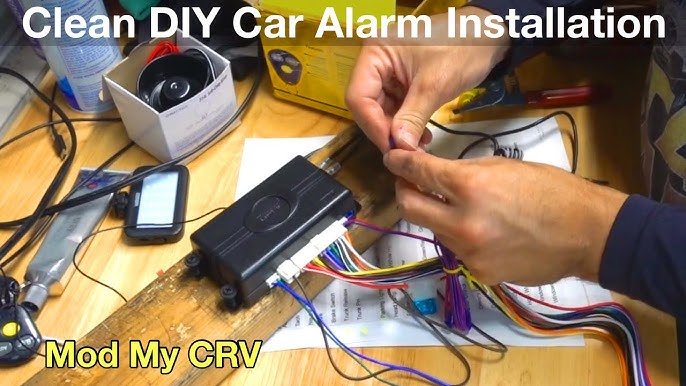
Step-by-step Installation Guide
1. Disconnect The Car Battery
Always start by disconnecting the negative terminal of your battery. This prevents accidental short circuits and protects you from electric shock.
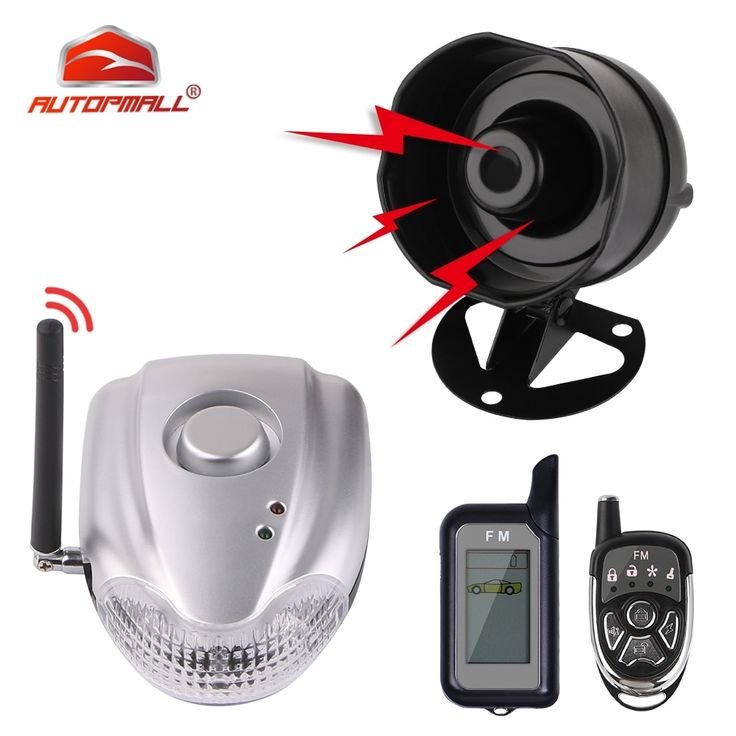
2. Mount The Siren
Find a solid spot under the hood, away from the engine and hot pipes. Use screws to secure the siren. Point it downward so water does not collect inside.
3. Install The Control Module
Place the module under the dashboard, behind panels, or above the pedals. Make sure it’s hard to see and reach, but not impossible for you if you need to service it.
4. Connect The Wires
This step takes the most time. Use your car’s wiring diagram. Always test wires with a multimeter before connecting.
A. Power And Ground
- Connect the red wire from the module to a 12V constant power source.
- Attach the black wire to a solid ground point on the car’s body. Clean the spot first.
B. Ignition Wire
Find the ignition wire (often yellow or black) behind the key cylinder. This wire powers the alarm when the car turns on.
C. Door Trigger
This wire detects if a door opens. It’s usually found in the kick panel or near the fuse box. Test with the multimeter to be sure.
D. Parking Light Wire
Connect to the wire that controls your parking lights. This lets the alarm flash the lights when triggered.
E. Starter Kill (optional)
Some alarms have a relay to block the starter wire. This prevents thieves from starting the car even if they bypass the alarm.
5. Install Sensors And Switches
- Place the shock sensor in the center of the car for best results.
- Mount the LED indicator on the dashboard. Drill a small hole if needed.
- Hide the valet switch where only you know its location.
6. Secure And Hide Wires
- Run wires along factory harnesses. Use zip ties to hold everything.
- Avoid sharp edges and moving parts.
- Tape or cover all connections for safety.
7. Reconnect The Battery And Test
Reconnect the battery and test each function:
- Arm/disarm with the remote
- Open doors to trigger the alarm
- Check parking light flash
- Try valet mode
Testing avoids surprises later. If something does not work, check connections and consult the alarm’s manual.
Common Mistakes And How To Avoid Them
Many DIY installers make small errors that cause big headaches later. Here are common mistakes and how to prevent them:
- Not using a multimeter: Guessing wire colors is risky. Always test wires first.
- Poor grounding: A weak ground leads to system failure. Scrape paint off the metal before attaching.
- Messy wiring: Loose wires can snag or short. Always secure with zip ties.
- Placing the siren near heat: Heat can damage the siren. Choose a cool spot.
- Skipping the test: Always test all features before closing panels.
Comparing Diy Vs Professional Installation
If you’re unsure about doing the job, compare the two options:
| DIY Installation | Professional Installation |
|---|---|
| Cost: $50–$200 (alarm kit only) | Cost: $150–$600 (kit + labor) |
| Flexible scheduling | Appointment needed |
| Learn about your car | Less knowledge gained |
| Risk of mistakes | Professional expertise |
| No warranty on labor | Usually offers warranty |
Tips For A Successful Installation
- Read the manual: Every alarm system is a bit different.
- Label wires as you go to avoid confusion.
- Take photos of wiring before you begin. This helps if you need to return to the original setup.
- Work in daylight or use a good light. Shadows can hide wires or screws.
- Ask for help if you get stuck. Online forums and videos often show your exact car model.
Troubleshooting After Installation
Sometimes, things do not work perfectly the first time. Here’s what to check:
| Problem | Possible Cause | Solution |
|---|---|---|
| Alarm won’t arm | Loose power or ground | Check connections, retighten |
| No siren sound | Siren not connected or faulty | Test siren, check wire |
| False alarms | Shock sensor too sensitive | Adjust sensitivity dial |
| Lights don’t flash | Wrong parking light wire | Test and reconnect |
| Remote not working | Dead battery or antenna issue | Replace battery, check antenna |
When To Seek Professional Help
If you face any of these, get help:
- Your car has a factory immobilizer or complex security system.
- You see warning lights or problems after installation.
- The alarm kit manual is missing or unclear.
- You feel unsafe working with car wiring.
A professional can finish the job and protect your investment.
Final Steps: Register And Maintain Your Alarm
Once installed, register your alarm with the manufacturer if required. Keep the manual and receipts. Check the system every few months. Test the remote, siren, and sensors to ensure everything works.
As a non-obvious tip, always carry a spare remote battery and note the valet switch location. If the alarm ever malfunctions, you can quickly turn it off or reset it.
Frequently Asked Questions
Can I Install A Car Alarm On Any Car?
Most aftermarket car alarm systems work on both old and new cars. However, cars with advanced electronics or factory security may need special modules or adapters. Always check compatibility before buying.
How Long Does It Take To Install A Car Alarm System?
If you are new, plan for 4–8 hours. Experienced installers may finish in 2–3 hours. Take your time, especially when identifying wires and testing the system.
Will Installing A Car Alarm Void My Car’s Warranty?
Usually, adding an alarm system does not void the warranty if you do not cut or damage factory wiring. However, if you make mistakes or cause electrical problems, the warranty may not cover those issues. Check with your car dealer if you are unsure.
What Is The Most Difficult Part Of Installing A Car Alarm?
The hardest part is identifying and connecting the correct wires. Car models vary, and wire colors are not always standard. Using a wiring diagram and multimeter helps avoid mistakes.
Where Can I Find Wiring Diagrams For My Car?
You can find wiring diagrams in the car’s service manual, online forums, or trusted websites like The12volt.com. Make sure the diagram matches your car’s exact year and model.
Installing a car alarm system yourself gives you security and saves money. With the right tools, a clear plan, and patience, you can protect your car from theft. If you ever feel unsure, do not hesitate to seek help. Your car’s safety is worth the effort.
Credit: www.youtube.com
