
Wrapping your car with vinyl is one of the fastest ways to give it a fresh look, protect the original paint, and even cover up minor flaws. Many car owners pay thousands for a professional wrap job, but with some care, patience, and the right tools, you can do it yourself at home.
This guide will walk you through every step, from preparation to finishing touches, helping you avoid common mistakes and get results that turn heads.
Why Wrap Your Car With Vinyl?
Car wraps are more than just a style statement. They offer several practical benefits:
- Paint protection: Vinyl acts as a shield against sun, scratches, small stone chips, and weather.
- Custom look: Choose from hundreds of colors, patterns, and finishes like matte, gloss, or carbon fiber.
- Removability: Vinyl can be taken off without damaging your paint, making it perfect for leased vehicles.
- Cost-effective: DIY wrapping usually costs half (or less) compared to a professional paint job.
A full professional wrap can cost between $2,000–$5,000. Doing it yourself? Materials for a typical sedan often total $500–$800.
What You Need: Tools And Materials
Having the right tools is key for a smooth finish. Here’s what you’ll need:
| Tool/Material | Purpose | Tips |
|---|---|---|
| Vinyl wrap film | Main covering for your car | Buy 5–10% extra for mistakes |
| Squeegee (felt edge) | Smooths out bubbles and creases | Felt edge prevents scratching vinyl |
| Heat gun | Helps vinyl conform to curves | Hair dryer works for small areas |
| Precision knife (e.g., X-Acto) | Cuts vinyl cleanly | Change blades often for sharpness |
| Isopropyl alcohol (70%+) | Cleans paint before wrapping | Removes wax and grease |
| Microfiber towels | Wiping and cleaning | No lint left behind |
| Gloves (lint-free, cotton) | Prevent fingerprints on vinyl | Essential for handling wrap |
| Masking tape | Marks cut lines | Helps align panels |
| Measuring tape | Measure panels and vinyl | Double-check sizes before cutting |
Pro tip: Buy high-quality vinyl from known brands like 3M, Avery Dennison, or Oracal. Cheaper films can tear easily or fade quickly.
Preparation: Setting Up For Success
Most wrap failures happen before you even start applying vinyl. Preparation is everything.
Clean Thoroughly
Wash your car with plain soap and water. Avoid wax or polish, as these make the vinyl stick poorly. After washing, use isopropyl alcohol and microfiber towels to wipe every surface you will wrap. Focus on edges, crevices, and under door handles—any dirt left behind will cause bubbles and poor adhesion.
Remove Obstacles
Take off or loosen parts that block access to large surfaces:
- Door handles
- Side mirrors
- Badges and emblems
- Antennas
This step makes your wrap look much more professional. If you’re not comfortable removing parts, at least wrap with the doors open and cover the edges.
Plan Your Wrap
Decide which panels you’ll wrap first. Most people start with easy, flat areas like the hood or roof. Measure each panel and cut your vinyl with at least 5–10 cm (2–4 inches) extra on each side. This extra helps you grip and stretch the vinyl.
Step-by-step: How To Wrap A Car With Vinyl
Let’s break down the process for a standard car panel, like a door or hood.
1. Position And Align The Vinyl
Lay the vinyl over the panel (backing still on). Use masking tape to hold it in place and check alignment. If your wrap has a pattern (like camo or stripes), this step is critical for a seamless look.
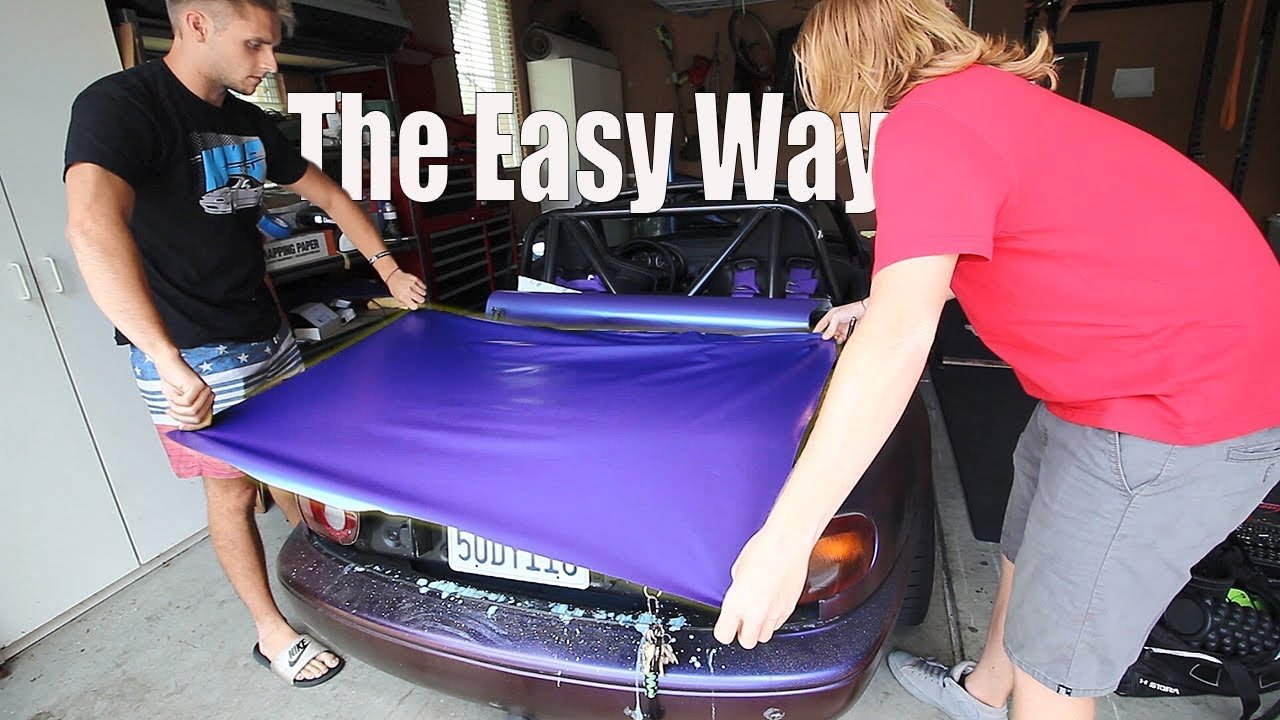
Non-obvious insight: Work with a friend if possible. Lifting and positioning large vinyl sheets is much easier with two pairs of hands.
2. Peel And Tack Down
Start at one end and gently peel back a small section of the backing paper. Tack this edge onto the car, making sure it’s straight and wrinkle-free. Squeegee lightly to set the starting point.
Beginner mistake: Removing the entire backing at once. This leads to dust, stretching, and sticking errors.
3. Lay Down And Stretch
Peel more backing, about 30–40 cm at a time. Use your squeegee to press the vinyl from the center outward, pushing out air bubbles. For curves, gently heat the vinyl with your heat gun—it will become stretchy and soft. Pull and smooth the film into shape.
Common problem: Overheating. Too much heat can shrink or distort the vinyl. Keep the gun moving and test with your hand.
4. Work Edges And Recesses
Tuck the vinyl into panel gaps, around edges, and under weather stripping using the squeegee edge or your fingers in gloves. For deep curves (like around headlights), heat the vinyl and stretch it slowly. Cut away excess, leaving about 2–3 cm to wrap under the edge.
5. Trim And Finish
Use your precision knife to trim vinyl cleanly along edges, door lines, and around hardware. Be careful not to cut into the paint. Once trimmed, heat the edges again to help the adhesive bond fully. Press down firmly with your squeegee.
Advanced tip: Post-heat all edges to 90°C (194°F) using your heat gun and an infrared thermometer if possible. This “locks” the vinyl in place and prevents lifting.
6. Repeat For Each Panel
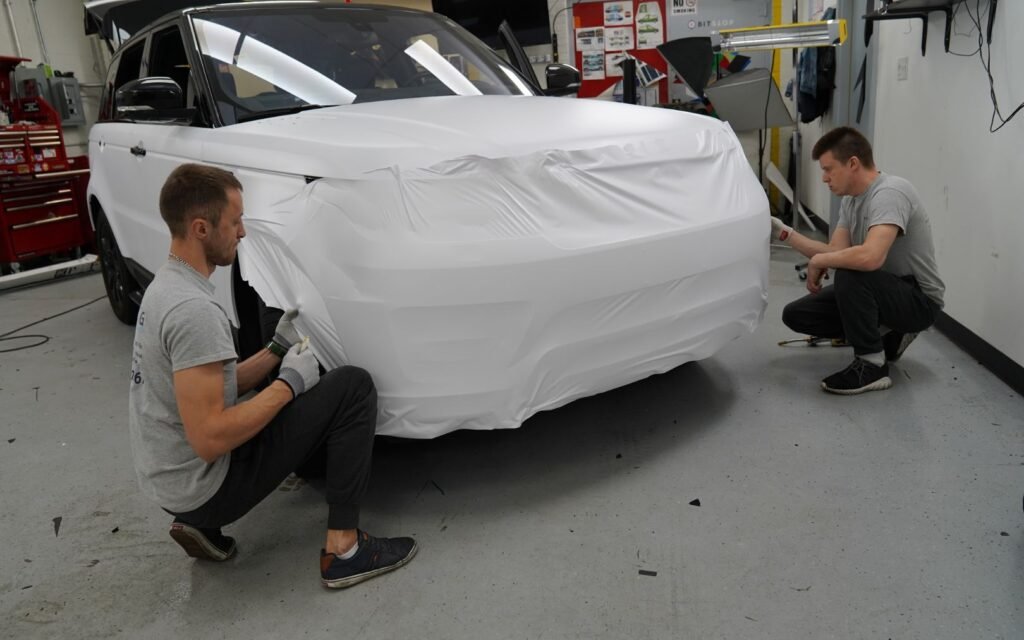
Work panel by panel. Overlap edges slightly if needed, especially on bumpers and complex shapes. Always start with the largest, flattest areas, then tackle smaller, harder spots.
Comparing Diy Vs Professional Wraps
How does a DIY wrap compare to a professional job? Here’s a quick look:
| Aspect | DIY Wrap | Professional Wrap |
|---|---|---|
| Cost | $500–$900 | $2,000–$5,000 |
| Time | 2–4 days | 1–3 days |
| Durability | 3–5 years (if well applied) | 5–7 years |
| Finish quality | Good (with patience) | Excellent (near flawless) |
| Warranty | None | 1–3 years (often) |
Common Mistakes To Avoid
Even careful wrappers can make errors. Watch out for these:
- Skipping cleaning: Even tiny dust or wax spots cause bubbles.
- Overstretching vinyl: This weakens the film and can cause color changes or tears.
- Not post-heating edges: Vinyl often lifts at the edges over time if not heated to bond.
- Cutting too deep: A sharp knife can scratch paint. Use light pressure and change blades often.
- Rushing: Plan for at least a weekend—hurrying guarantees mistakes.
Non-obvious insight: If you mess up a small area, you don’t always need to rewrap the whole panel. You can patch small flaws with a matching vinyl piece on hidden spots, like under bumpers.
Credit: www.youtube.com
Caring For Your New Wrap
Vinyl wraps need special care:
- Wash by hand: Avoid automatic car washes and high-pressure sprayers.
- Use gentle soap: Harsh chemicals can fade or damage the vinyl.
- Protect from sun: If possible, park in the shade. UV rays slowly fade colors.
- Fix damage quickly: Small scratches or tears can be patched before they grow.
With good care, a DIY wrap can last 3–5 years.
Is Diy Wrapping Right For You?
Wrapping a car is a rewarding project, but it’s not for everyone. You’ll need:
- Patience and attention to detail
- A dust-free, indoor workspace (like a garage)
- Time—a full wrap takes 20–40 hours for beginners
If you want a showroom-perfect finish and have a complex car shape, consider hiring a pro. But if you love hands-on work and can accept a few small imperfections, a DIY wrap is a great way to transform your ride.
Credit: www.tintingchicago.com
Popular Vinyl Wrap Styles And Finishes
There are many types of vinyl films. Here are some popular options:
| Finish | Appearance | Pros | Cons |
|---|---|---|---|
| Gloss | Shiny, like new paint | Looks premium, many colors | Shows fingerprints, swirls |
| Matte | Flat, non-reflective | Unique, hides dirt | Can be harder to clean |
| Satin | Soft sheen, between gloss/matte | Modern, stylish | Limited colors |
| Carbon fiber | Textured, sporty look | Great for accents | Can be tricky on curves |
| Chrome | Mirror-like, very shiny | Attention-grabbing | Expensive, hard to apply |
Tip: Start with gloss or matte for your first wrap. Specialty finishes like chrome are less forgiving and require more skill.
When To Rewrap Or Remove Vinyl
Vinyl wraps are not permanent. Here’s when you should consider rewrapping:
- Vinyl is peeling, fading, or cracking
- After 3–5 years of daily driving
- If you want to change colors or styles
To remove, gently heat the vinyl with a heat gun and peel slowly. Most high-quality wraps come off cleanly, but old or cheap vinyl may leave glue residue. In that case, use adhesive remover and a microfiber towel.
Credit: raxtify.com
Where To Learn More
If you want more technical details, check out the Vehicle vinyl wrap Wikipedia page. It has history, advanced techniques, and more about the materials.
Frequently Asked Questions
How Long Does A Diy Vinyl Wrap Last?
A well-applied vinyl wrap can last 3–5 years if you care for it properly. Parking in the shade, washing by hand, and fixing small damage quickly all help extend its life.
Can I Wrap A Car With Dents Or Scratches?
Minor scratches are usually hidden by vinyl, but large dents or deep chips can cause problems. The film won’t stick well to uneven surfaces, and defects might show through, especially with gloss finishes.
Is Vinyl Wrap Safe For Car Paint?
Yes, high-quality vinyl wrap is paint-safe. It can actually protect your paint from sun, salt, and small chips. Just make sure your paint is in good condition before wrapping.
How Hard Is It To Wrap A Car Yourself?
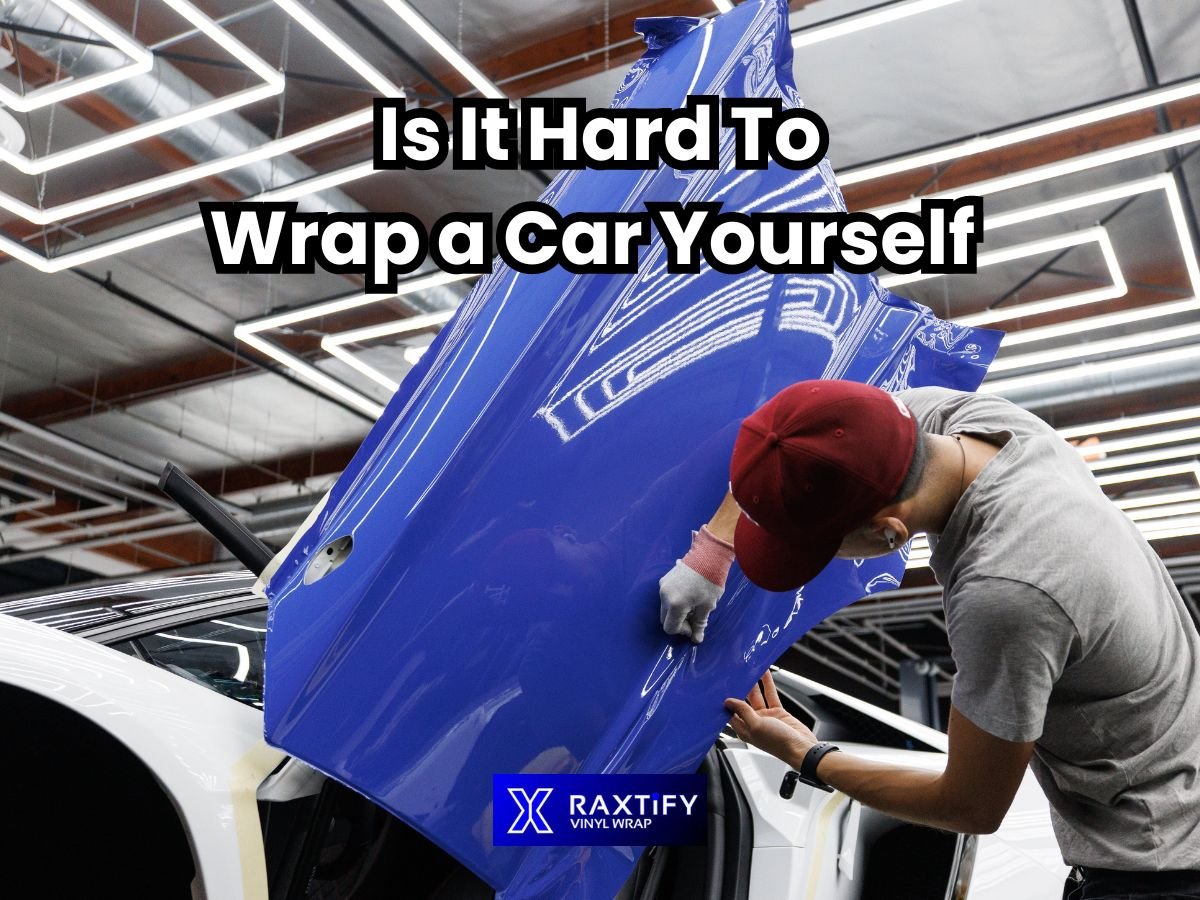
It’s challenging, especially for beginners, but not impossible. Wrapping takes patience, practice, and attention to detail. Start with small panels and watch tutorial videos before tackling the whole car.
Can I Wash My Wrapped Car In A Car Wash?
It’s best to avoid automatic car washes. They can lift the edges of the vinyl or scratch the film. Wash by hand with gentle soap and a soft sponge for best results.
Wrapping your car with vinyl is a big project, but also a fun and rewarding one. Take your time, use high-quality materials, and enjoy the transformation.
