
Installing a 220V outlet in your garage can open up many possibilities, from powering heavy-duty tools to charging an electric vehicle. While it’s a practical upgrade, this project requires a clear understanding of electrical systems, safety precautions, and local regulations.
This guide will walk you through every step, explain the tools and parts you’ll need, and help you avoid common mistakes—so you can feel confident whether you plan to do it yourself or just want to understand the process before hiring a professional.
Why Install A 220v Outlet In Your Garage?
Many home garages have only 110V outlets, which are fine for basic tools but not for high-powered devices. 220V outlets are essential for:
- Air compressors
- Welders
- Electric vehicle chargers
- Large saws or dryers
These devices require more power than a standard outlet can supply. Upgrading lets you use more advanced equipment and may even increase the value of your home.
Safety First: Key Precautions
Working with electricity is dangerous if you are not careful. Before starting, keep these vital safety tips in mind:
- Turn off power at the main circuit breaker before touching any wiring.
- Always use insulated tools to avoid shocks.
- Wear safety goggles and gloves.
- If you feel unsure at any step, call a licensed electrician.
Remember, local codes often require permits and inspections. Never skip these steps—they exist for your safety.
Credit: www.youtube.com
Tools And Materials You’ll Need
Having the right tools and materials ready will make the job smoother and safer. Here’s what you’ll typically need:
Tools:
- Voltage tester or multimeter
- Wire strippers and cutters
- Flathead and Phillips screwdrivers
- Power drill
- Tape measure
- Hammer
- Level
Materials:
- 220V outlet (receptacle)
- Matching wall box
- Double-pole circuit breaker (usually 30-50 amps, depending on appliance)
- Electrical wire (often 10/3 or 6/3 Romex, check your device’s needs)
- Wire nuts
- Electrical tape
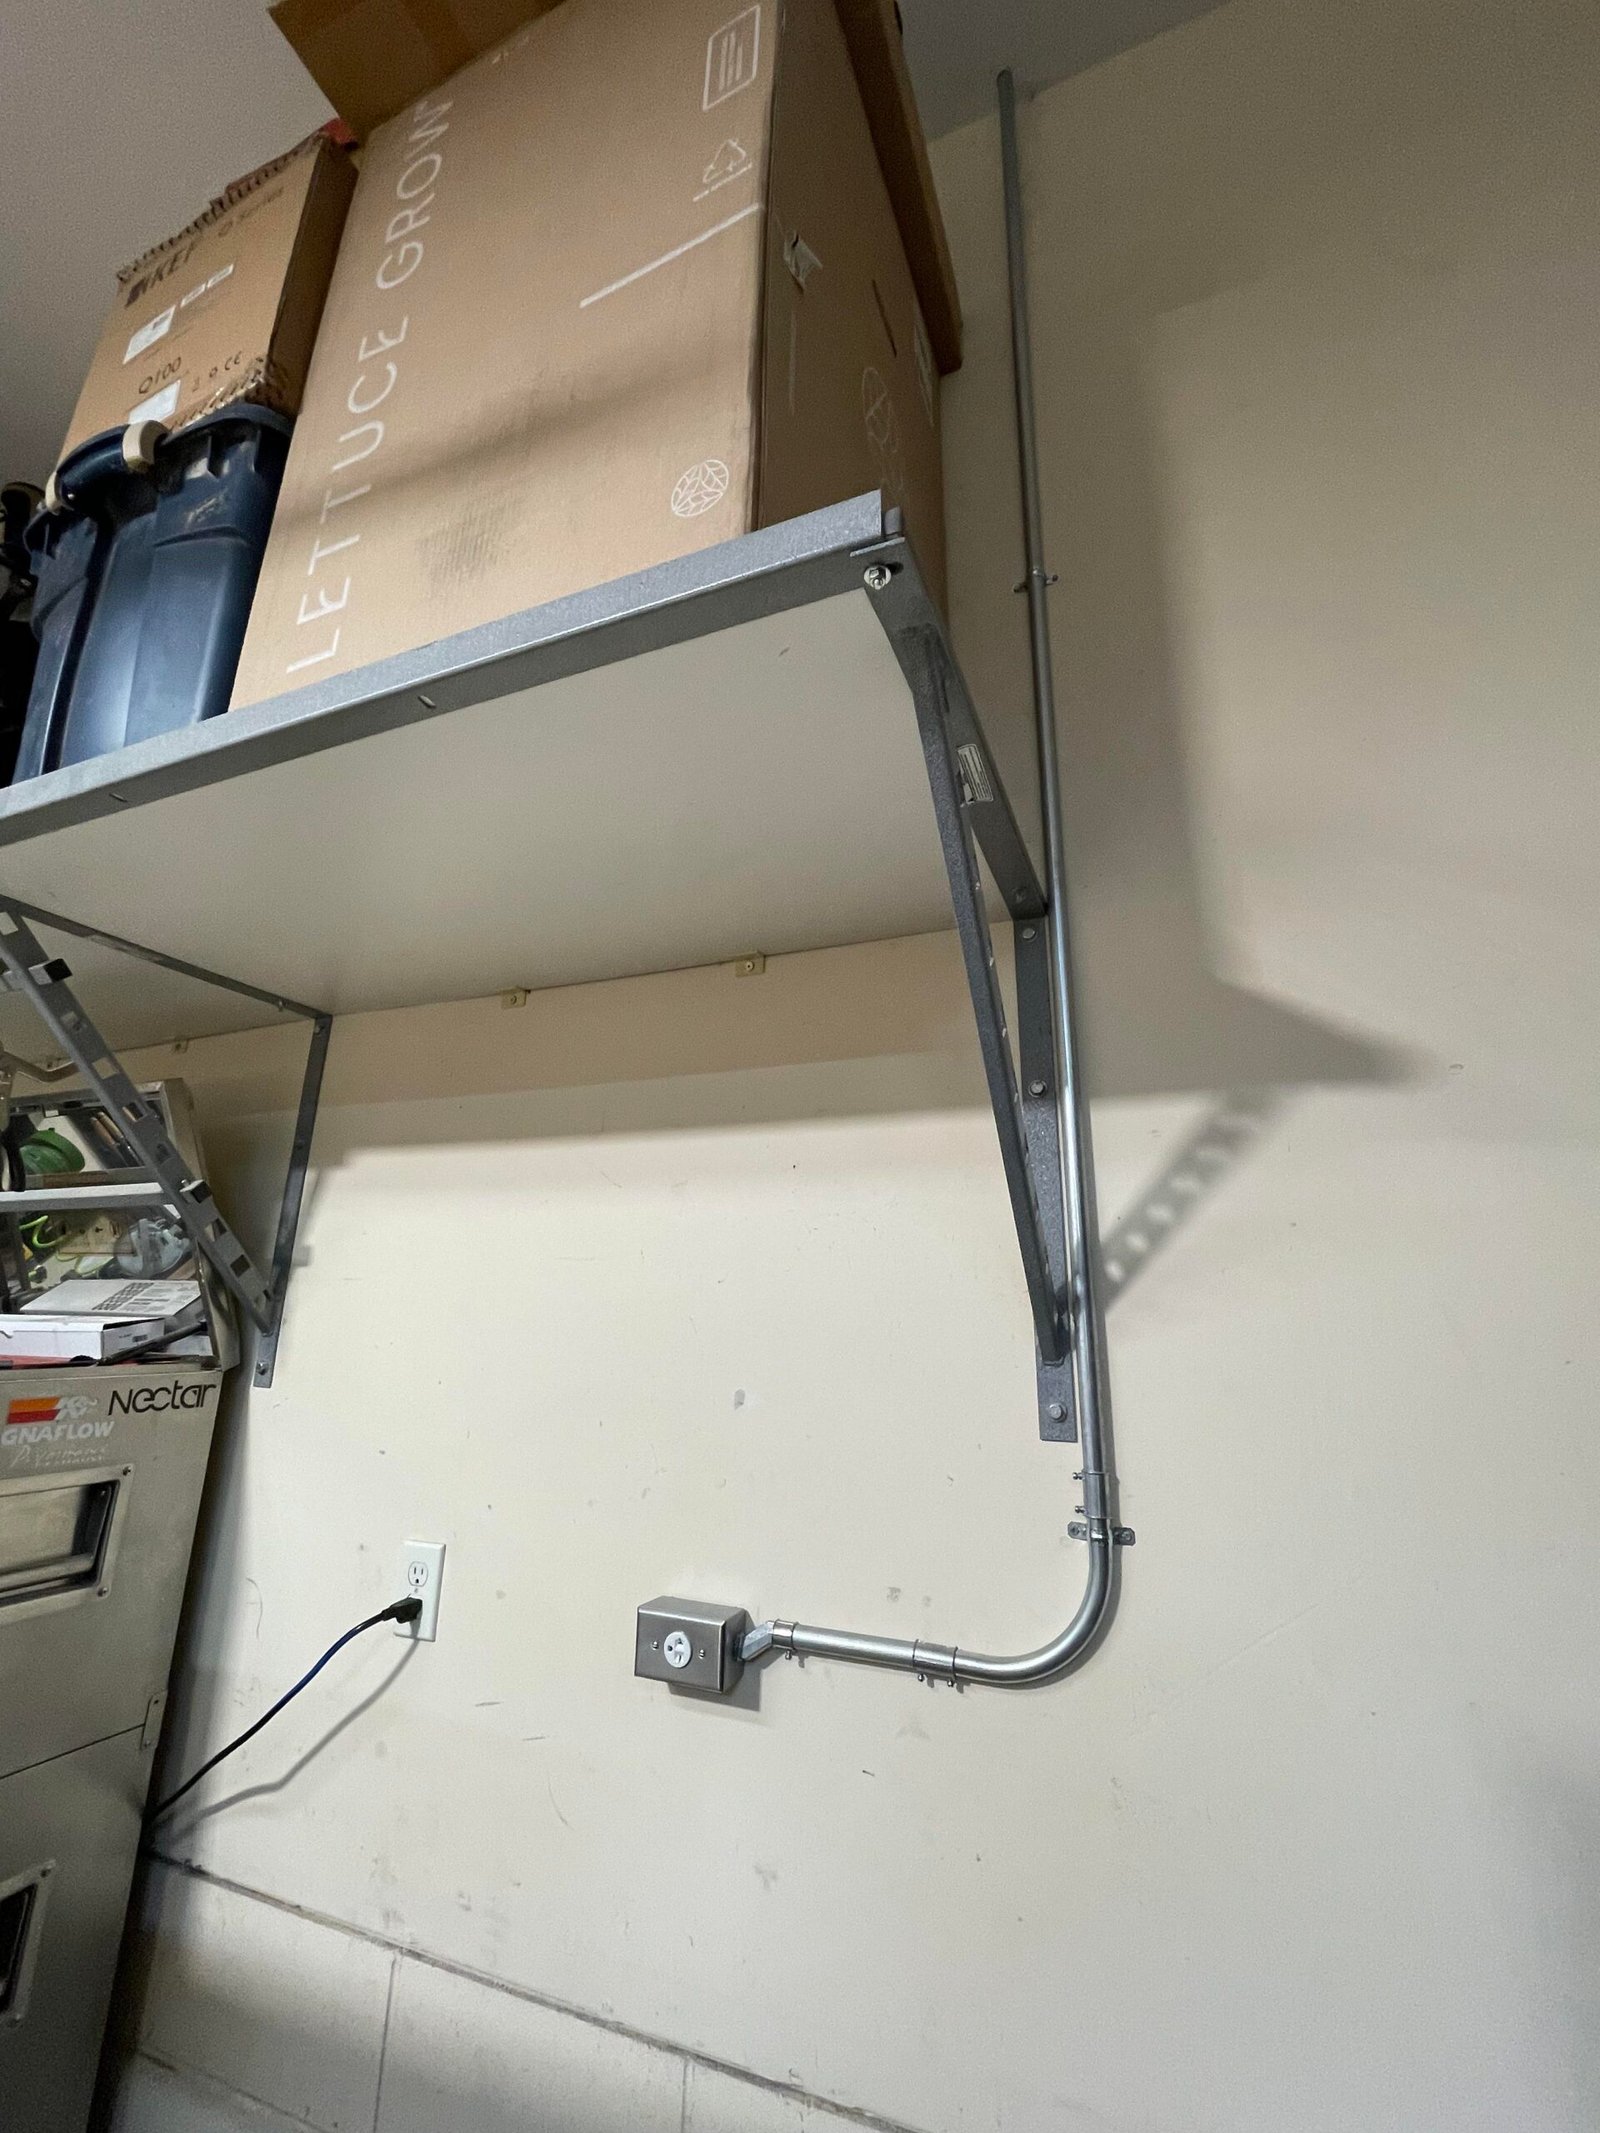
- Metal or plastic conduit (if required by code)
- Outlet cover plate
Insider Tip: Choose wire gauge based on your appliance’s amperage, not just outlet type. For example, a 30-amp tool needs 10-gauge wire, while a 50-amp charger needs 6-gauge.
Planning Your 220v Outlet Installation
Before buying parts or cutting holes, you need a plan. Here are the key steps:
- Check your main electrical panel. Make sure there is space for a double-pole breaker.
- Find the best location in your garage for the outlet. It should be near where you’ll use your device, but away from water and high-traffic areas.
- Map your wire route. Shorter is better, as long runs can reduce voltage and make wiring more complex.
- Verify local code requirements with your building department. Some areas have special rules for garage wiring or require conduit.
Beginner’s mistake: Not checking for enough panel space. If your panel is full, you may need an electrician to add a subpanel.
Step-by-step Guide To Installing A 220v Outlet
1. Turn Off Power
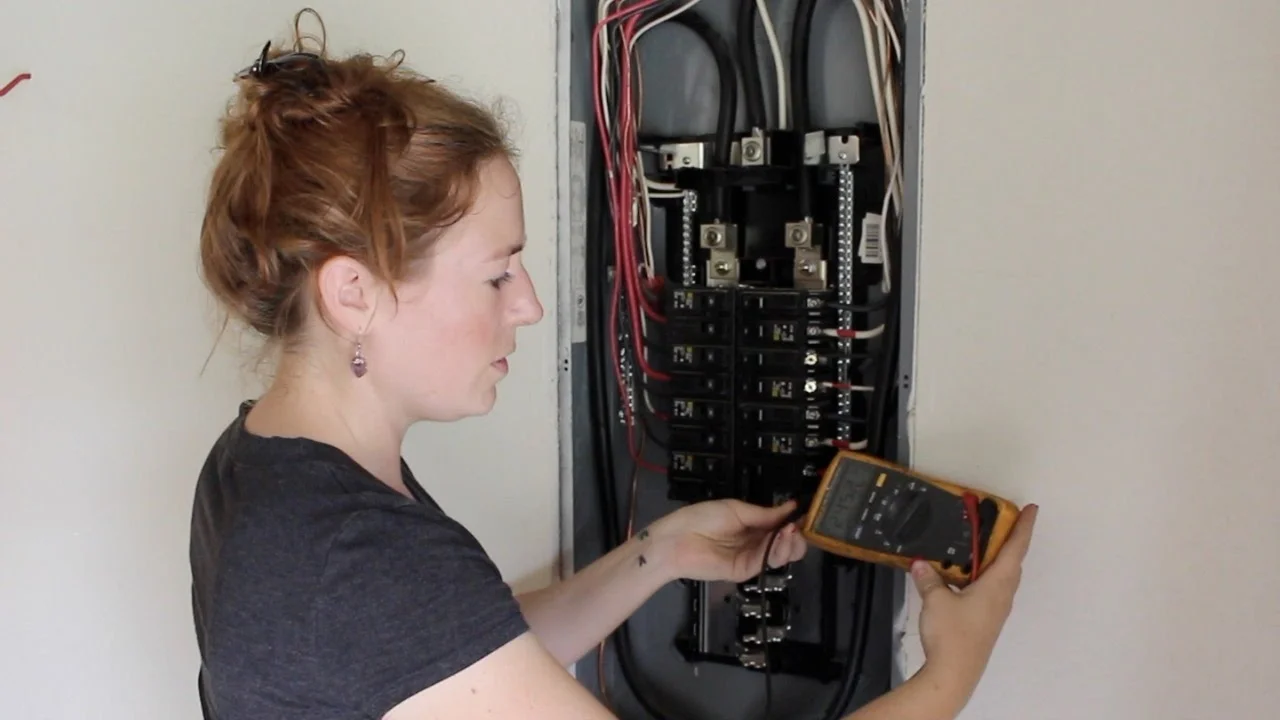
Go to your main breaker panel. Switch off the main breaker. Confirm there is no power using a voltage tester.
2. Install The New Circuit Breaker
Find an open slot in your panel. Snap in the double-pole breaker. Do not connect wires yet.
3. Run The Electrical Wire
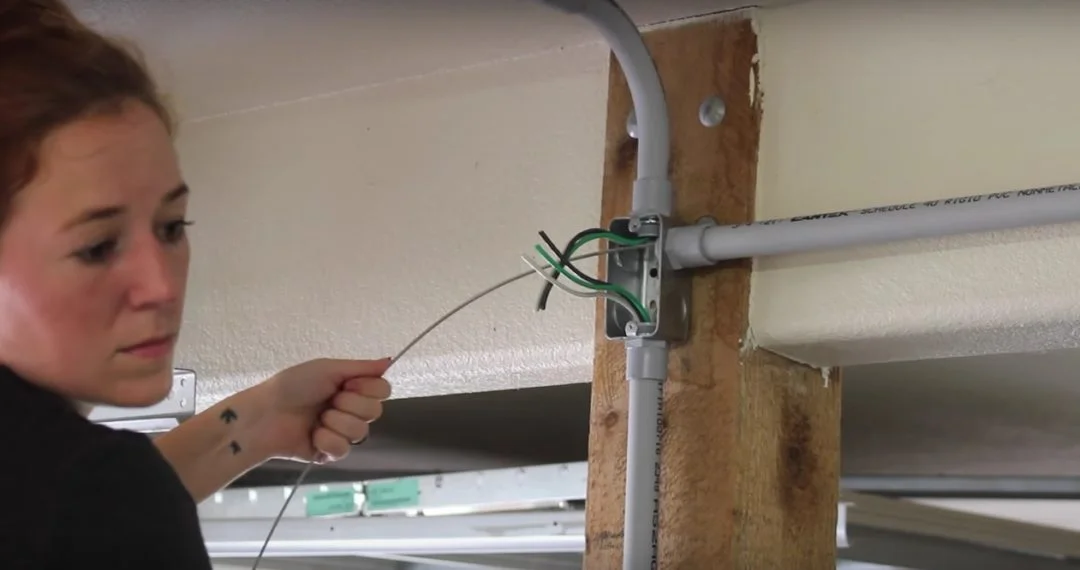
Measure and cut enough wire to reach from your panel to the planned outlet location. Drill holes in studs if needed. Run the wire neatly, using conduit if required.
Pro Tip: Secure wire every 4–6 feet with staples or clamps for safety.
4. Mount The Outlet Box
Cut a hole in the wall where you want the outlet. Mount the electrical box securely. Pull the wire through into the box, leaving at least 6 inches inside.
5. Wire The Outlet
Strip about 3/4 inch insulation from each wire end. Connect wires as follows (check your device’s instructions):
- Black and red wires: Connect to the two hot terminals.
- White wire: Connect to the neutral terminal.
- Bare or green wire: Connect to the ground screw.
Tighten all screws firmly. Attach the outlet cover plate.
6. Wire The Breaker Panel
Back at the panel:
- Connect the black and red wires to the breaker terminals.
- Connect the white wire to the neutral bar.
- Connect the ground wire to the ground bar.
- Snap the breaker firmly into place.
Insider insight: Some older homes may not have separate neutral and ground bars. If so, consult an electrician—incorrect wiring can be dangerous.
7. Test And Inspect
Switch on the main breaker and the new circuit breaker. Use a voltage tester at the outlet to confirm 220V power. Try plugging in your device, but only after inspection.
If your area requires it, call for an inspection before using the outlet regularly.
Common Wiring Configurations Explained
Not all 220V outlets are wired the same. Here is a simple comparison:
| Outlet Type | Wires Needed | Typical Use |
|---|---|---|
| 3-prong (older) | 2 hot, 1 ground | Welders, older dryers |
| 4-prong (modern) | 2 hot, 1 neutral, 1 ground | EV chargers, new appliances |
Modern codes usually require 4 wires for new installations. Always match your outlet and breaker to your device and local code.
Cost Breakdown
The price to install a 220V outlet in your garage can vary. Here’s a general estimate:
| Item | Typical Cost (USD) |
|---|---|
| 220V Outlet & Cover | $15–$30 |
| Double-pole Breaker | $10–$40 |
| Electrical Wire (25 ft) | $25–$60 |
| Conduit/Box/Hardware | $10–$50 |
| Permit/Inspection | $50–$150 |
| Professional Labor | $150–$400 |
If you do it yourself, expect to spend $100–$300 on parts. Hiring a pro often totals $300–$700.
Mistakes To Avoid
Even experienced DIYers can make errors. Watch out for these:
- Using the wrong wire gauge. This can cause overheating and fire.
- Skipping permits or inspections. This is illegal and unsafe.
- Mixing neutral and ground wires. This can damage devices and risk shocks.
- Running wire across open floors or doors. Wires must be protected and out of the way.
- Overloading the circuit breaker. Always match the breaker size to your appliance’s needs.
Non-obvious tip: If your tool or charger needs a specific plug shape, check that your outlet matches before buying. Not all 220V outlets are the same.
220v Vs. 110v Outlets: What’s The Difference?
Understanding the difference helps you choose the right outlet for your needs.
| Feature | 110V Outlet | 220V Outlet |
|---|---|---|
| Voltage | 110–120V | 220–240V |
| Amperage Range | 15–20A | 20–50A |
| Devices Powered | Lights, small tools | EV chargers, welders |
| Plug Shape | 2 vertical slots | Larger, often 3–4 prongs |
220V outlets deliver more power, which means less energy loss and better performance for large tools.
When To Call A Professional
Some projects are better left to the experts. Hire a licensed electrician if:
- Your panel is full or outdated.
- You’re not sure how to run new wire safely.
- Local codes are complex or strict.
- You don’t feel 100% confident.
A pro will make sure your installation is safe, legal, and reliable. Plus, many insurance policies require certified work for electrical upgrades.
Credit: www.reddit.com
Final Checks Before Using Your New Outlet
- Double-check all connections for tightness.
- Confirm the correct breaker size.
- Make sure the outlet is labeled (for example, “220V – 30A”).
- Keep the inspection approval on file, if required.
Don’t plug in expensive equipment until you know everything is working correctly.
Frequently Asked Questions
What Size Wire Do I Need For A 220v Garage Outlet?
Wire size depends on the amperage. For a 30-amp outlet, use 10-gauge wire. For a 50-amp outlet, use 6-gauge wire. Always check your device’s manual and local codes for the final answer.
Can I Install A 220v Outlet If My Panel Is Full?
If your electrical panel is full, you may need a subpanel or a professional to upgrade your system. Never remove breakers or double-tap (put two wires on one breaker), as this is unsafe.
Do I Need A Permit To Install A 220v Outlet?
Most areas require a permit and inspection for new 220V circuits. This ensures safety and code compliance. Contact your local building department for exact rules.
Can I Use The Same Outlet For Different 220v Tools?
Not always. Some tools need different plug shapes or amperages. Check your tool’s plug and specs before using the same outlet. Adapters are not always safe or legal.
Is A Gfci Required For A 220v Garage Outlet?
GFCI (Ground Fault Circuit Interrupter) protection is sometimes required by code, especially in garages. Check your local rules. GFCI outlets or breakers add extra shock protection.
Upgrading your garage with a 220V outlet is a smart investment. Take your time, follow every safety step, and never hesitate to get help when needed. With careful planning, you’ll enjoy more power and new possibilities in your workspace. For more on electrical safety and standards, visit the National Fire Protection Association.
Credit: wilkerdos.com
