Many car enthusiasts look for ways to improve their vehicle’s performance without spending a fortune. One of the simplest upgrades is swapping out the stock air filter for a performance air filter. This small change can help your engine breathe better, boost horsepower, and even make your car sound sportier. But how do you install a performance air filter correctly, and what should you watch out for? This guide walks you through every detail, even if you have never opened your car’s hood before.
What Is A Performance Air Filter?
A performance air filter is an aftermarket part designed to let more air flow into your engine. More air means better combustion, which can lead to more power and smoother engine performance. Unlike standard paper filters, performance filters usually use cotton, foam, or special synthetic materials. These are often washable and reusable.
Many drivers believe all air filters are the same, but that’s not true. A clogged or low-quality filter can actually rob your car of power and fuel economy. On the other hand, a good performance filter can make a noticeable difference, especially in cars with turbocharged or high-revving engines.
Why Upgrade To A Performance Air Filter?
Upgrading to a performance air filter offers several benefits:
- Increased horsepower: More air lets your engine generate more power.
- Better throttle response: Your car feels more responsive when you press the gas pedal.
- Reusable: Most performance filters can be cleaned and reused, saving money in the long run.
- Enhanced engine sound: Some filters add a subtle sporty growl.
- Improved fuel efficiency: A cleaner, less restrictive filter can help mileage, though gains are usually modest.
However, not every car will see dramatic results. Gains depend on your vehicle, driving style, and the type of filter you choose.
Credit: blog.sprintfiltershop.com
Types Of Performance Air Filters
There are three main types of performance air filters you’ll find:
| Filter Type | Main Material | Reusable | Lifespan | Typical Price Range |
|---|---|---|---|---|
| Panel (Drop-in) | Cotton gauze or foam | Yes | Up to 50,000 miles | $20 – $80 |
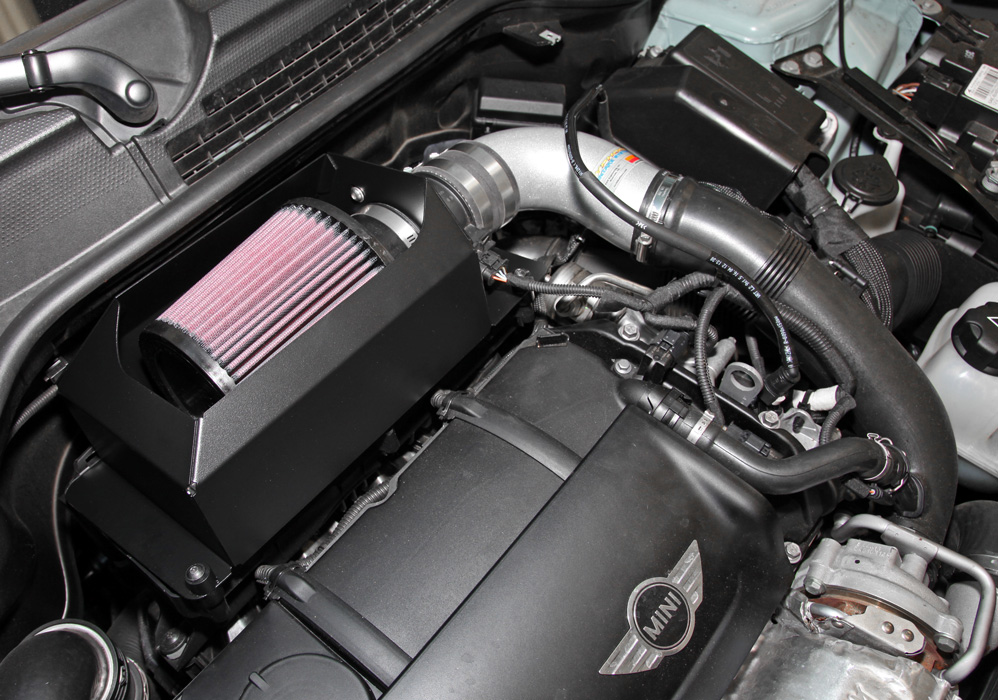
| Cold Air Intake | Cotton gauze, synthetic | Yes | Up to 100,000 miles | $150 – $400 |
| Short Ram Intake | Cotton gauze, foam | Yes | Up to 100,000 miles | $100 – $300 |
Panel filters fit in your stock air box, making them the easiest upgrade. Cold air intakes and short ram intakes replace the whole intake system and usually deliver the biggest gains, but require more work to install.
What You Need Before Starting
Before you begin, gather these items:
- Performance air filter (make sure it fits your car model)
- Screwdrivers (flat and Phillips head)
- Socket set or wrench (for air box bolts)
- Clean rag
- Gloves
- Owner’s manual (for reference)
- Optional: Intake cleaner spray
Not all cars use the same type of air box. Older cars may have metal clips, while new ones use plastic screws or clamps. Double-check the filter type and size before buying.
Step-by-step Guide: How To Install A Performance Air Filter
1. Let The Engine Cool Down
Never work on a hot engine. Open the hood and let your car sit for at least 20 minutes. This prevents burns and lets you work comfortably.
2. Locate The Air Box
The air box is usually a black plastic box near the front or side of the engine bay. It has a large hose running to the engine. Your owner’s manual or a quick online search can help you identify it.
3. Open The Air Box
Use the right screwdriver or socket to remove the screws, clips, or clamps holding the air box lid. Set them aside safely. Lift the lid gently—don’t force it.
Some cars may have sensors attached to the lid. If so, disconnect them carefully and remember their positions for reinstallation.
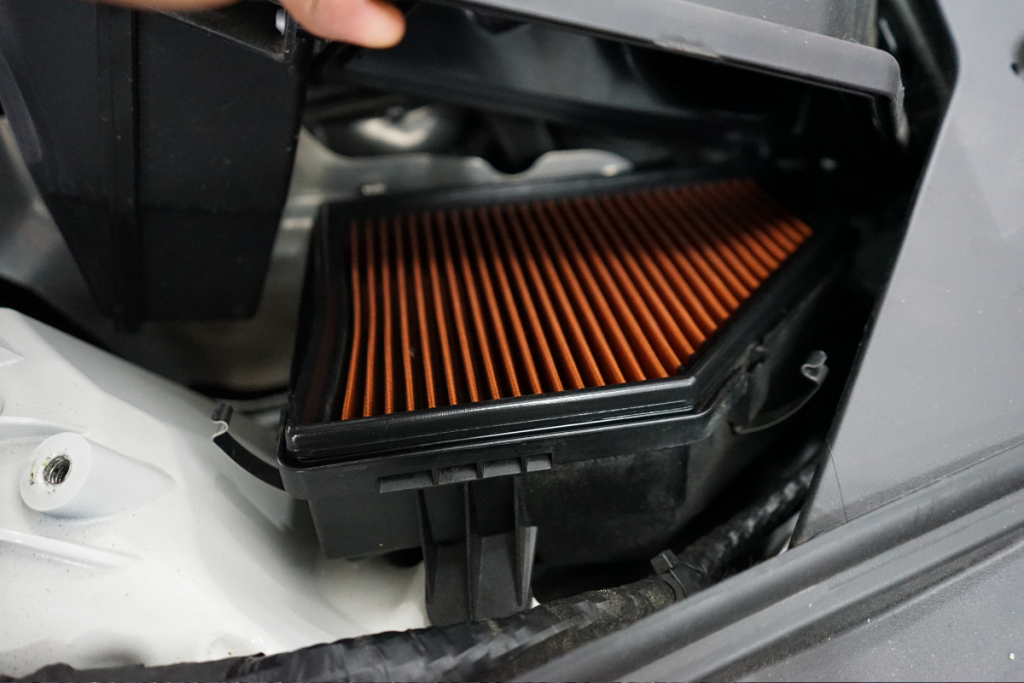
4. Remove The Old Air Filter
Pull the old filter out. It may be dusty or oily. Take note of how it sits, as the new one will go in the same way. Use a clean rag to wipe out any dirt inside the air box.
For stubborn dirt, use intake cleaner spray, but don’t soak the area.
5. Compare The New And Old Filters
Before installing, check that your performance air filter matches the old one in size and shape. If it looks very different, double-check the part number. Installing the wrong filter can let dirt into the engine.
6. Install The New Filter
Place the performance air filter into the air box. Make sure it sits flat, with no gaps around the edges. If the filter has a rubber seal, press it firmly into place. Some filters only fit one way.
7. Reassemble The Air Box
Replace the lid, making sure it’s seated properly. Reinstall all screws, clips, or clamps. If you disconnected any sensors, plug them back in. Don’t overtighten screws—plastic parts can crack.
8. Double-check Your Work
Before closing the hood, check that:
- The air box is sealed tight
- No tools or rags are left inside
- All connections are secure
A loose air box can cause engine warning lights or let unfiltered air in.
9. Start The Engine
Turn on your car and let it idle for a few minutes. Listen for any strange noises—whistling or rattling can mean something is loose. If you hear a hissing or check engine light comes on, recheck your installation.
10. Test Drive
Take your car for a short drive. Notice if the throttle feels more responsive or if you hear a new sound when accelerating. This is where you’ll enjoy the benefits of your new performance air filter.
Common Mistakes To Avoid
Many beginners make small errors that can reduce performance or even harm the engine. Here’s what to watch out for:
- Forgetting to clean the air box: Dirt left inside can get sucked into the engine.
- Installing the filter upside down: Some filters have a correct orientation.
- Not sealing the air box: Even small gaps can let in dust and debris.
- Using too much oil (for oiled filters): Excess oil can coat sensors and cause engine problems.
- Choosing the wrong filter size: Always double-check your car’s make, model, and year.
Credit: www.autozone.com
How Performance Filters Compare To Stock Filters
Many drivers wonder if the upgrade is worth it. Here’s a quick comparison:
| Feature | Stock Filter | Performance Filter |
|---|---|---|
| Material | Pleated paper | Cotton, foam, synthetic |
| Airflow | Moderate | High |
| Service Life | 15,000-30,000 miles | 50,000-100,000 miles |
| Reusability | No | Yes |
| Cost Over Time | Higher | Lower |
Performance filters cost more up front, but their long life and reusability often make them cheaper in the long run.
Real-world Results: What To Expect
Many drivers report small but noticeable gains in throttle response and sound after installing a performance air filter. Horsepower increases are usually modest—between 3 to 7 hp on most cars. However, on turbocharged or high-performance engines, the gains can be higher.
A non-obvious benefit: A clean, high-flow filter helps protect your engine, especially if you drive in dusty or polluted areas. Standard filters clog faster in these conditions, while performance filters handle more dirt before restricting airflow.
Another insight: Some cars may need the battery disconnected for a few minutes after installation. This resets the engine’s computer, helping it adjust to the new airflow.
Maintenance Tips For Your Performance Air Filter
A performance filter only works well if it stays clean. Here’s how to keep it in top shape:
- Check the filter every 10,000 miles or twice a year.
- Clean reusable filters with the recommended cleaner and oil (for oiled types). Follow the brand’s instructions.
- Replace if damaged: Tears or holes mean it’s time for a new filter.
- Avoid over-oiling: Too much oil can hurt sensors in modern engines.
- Monitor engine response: If power feels low or mileage drops, check the filter.
Some brands claim their filters last “for life,” but real-world driving conditions vary. Dusty, wet, or polluted environments require more frequent checks.
How To Choose The Right Performance Air Filter
Choosing the best filter for your car is crucial. Here are the main factors to consider:
- Compatibility: Make sure the filter fits your car’s make, model, and year. Use the manufacturer’s fitment guide.
- Type of driving: For city driving, a drop-in panel filter is enough. For racing or off-roading, consider a cold air intake.
- Ease of maintenance: Some filters need oiling after cleaning, others don’t.
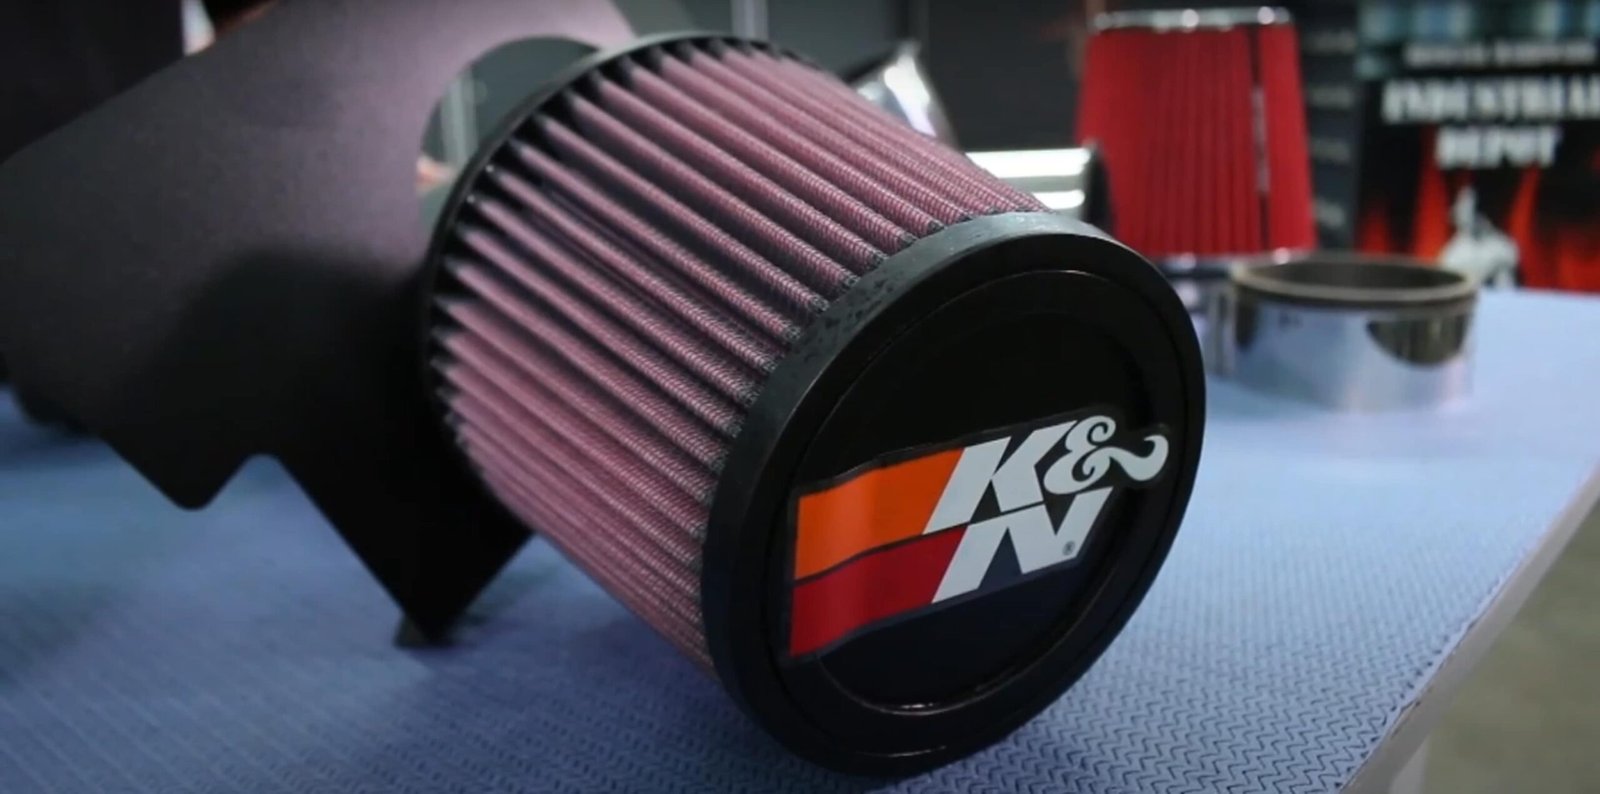
- Brand reputation: Stick to trusted brands like K&N, AEM, or Green Filter.
- Budget: More expensive doesn’t always mean better for your needs.
A common mistake is buying a filter just because a friend recommends it. Always check if it suits your car and driving style.
For more technical info on filter types and testing, you can visit Wikipedia’s air filter page.
Credit: www.knfilters.com
Frequently Asked Questions
How Long Does It Take To Install A Performance Air Filter?
For most cars, the process takes 10 to 30 minutes. If you’re installing a full cold air intake, it may take up to an hour.
Do I Need Special Tools For Installation?
Usually, only basic tools like screwdrivers and a socket set are needed. Some vehicles may require a special clamp tool, but this is rare.
Will A Performance Air Filter Void My Car’s Warranty?
Most drop-in filters do not void warranties. However, check your owner’s manual or ask your dealer if you’re unsure.
How Often Should I Clean Or Replace My Performance Air Filter?
Check every 10,000 miles or twice a year. Clean reusable filters according to the manufacturer’s instructions. Replace if you see damage or heavy wear.
Can I Install A Performance Air Filter On Any Car?
Most cars can use a performance filter, but always verify fitment for your specific model and engine.
Upgrading to a performance air filter is a practical and rewarding way to help your engine breathe better and possibly add a little more excitement to your driving. With careful installation and regular maintenance, you can enjoy better performance for years to come.
