Installing a cold air intake box in your car can be one of the most satisfying upgrades for any car enthusiast or practical driver. This simple modification promises better airflow, improved engine sound, and sometimes a small boost in horsepower.
But how do you install a cold air intake box without risking your engine or making costly mistakes? Many guides skip key details, leaving beginners frustrated. With the right steps, tools, and insights, you can finish the job confidently—even if you’re not a trained mechanic.
What Is A Cold Air Intake Box?
A cold air intake box is an aftermarket part that replaces your car’s stock air intake system. Its main job is to bring cooler air into the engine. Cooler air is denser, which means more oxygen reaches the combustion chamber. This can improve engine power, efficiency, and even fuel economy. Most stock intakes draw warm air from under the hood, but a cold air intake pulls air from outside the engine bay, where it’s cooler.
Why Install A Cold Air Intake Box?
Many people install cold air intakes for more than just performance. Here are the main reasons:
- Increase horsepower: Cooler, denser air lets your engine burn fuel more efficiently, sometimes adding 5–20 extra horsepower.
- Improve throttle response: The engine reacts quicker when you press the gas pedal.
- Enhance engine sound: Many drivers love the deeper, sportier sound a cold air intake provides.
- Better fuel efficiency: In some cases, mileage improves slightly because the engine doesn’t work as hard.
- Longer-lasting filters: Most kits come with reusable filters that last longer and are easy to clean.
However, these benefits depend on proper installation. Poorly installed intakes can draw in water or unfiltered air, risking engine damage.
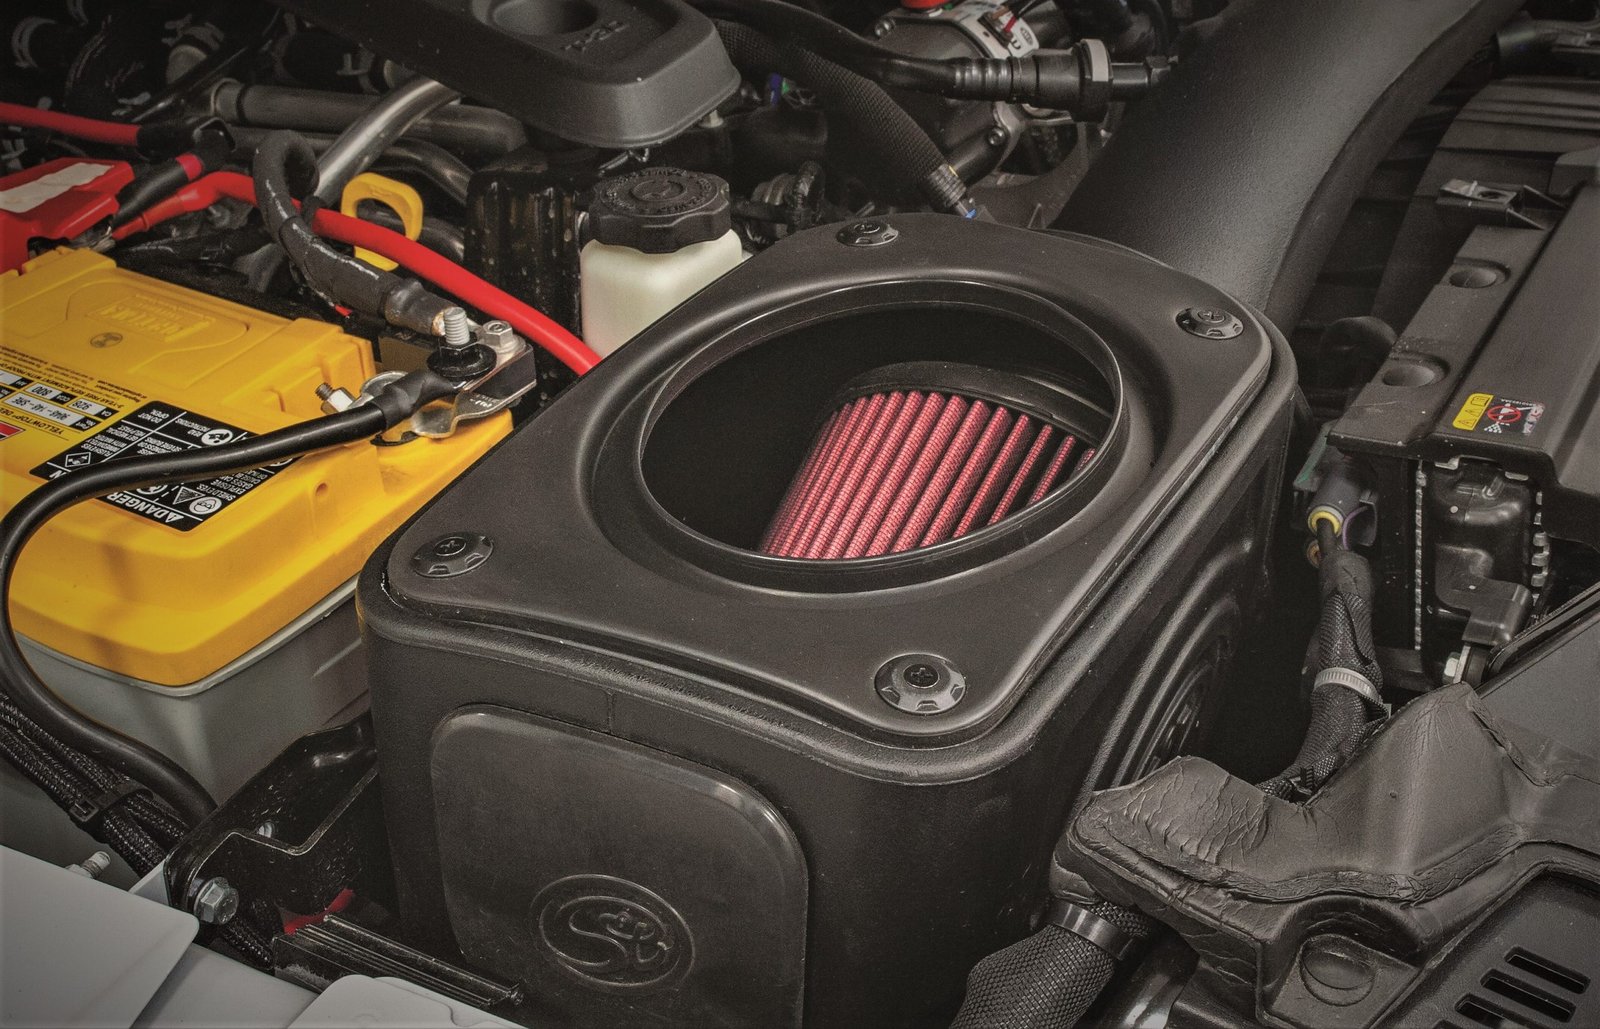
Credit: www.onallcylinders.com
Tools And Supplies You’ll Need
Before starting, gather these items:
- Cold air intake kit (designed for your car model)
- Screwdrivers (Phillips and flathead)
- Socket set (metric and standard sizes)
- Pliers
- Torx bits (if required by your car)
- Ratchet and extension
- Trim removal tool (optional but helpful)
- Clean rags
- Gloves
- Torque wrench (recommended for tightness accuracy)
- Flashlight (for hard-to-see areas)
Some cars may require special tools. Check your intake kit instructions and car manual before beginning.
Preparing Your Car
Safety always comes first. Park your car on level ground and let the engine cool completely. Disconnect the negative battery terminal to avoid electrical shorts. Remove any jewelry or loose clothing that could get caught in engine parts.
Open the hood and locate the factory air intake. Usually, it’s a large black plastic box connected to a tube leading to the engine. Make sure you have enough workspace around the intake area.
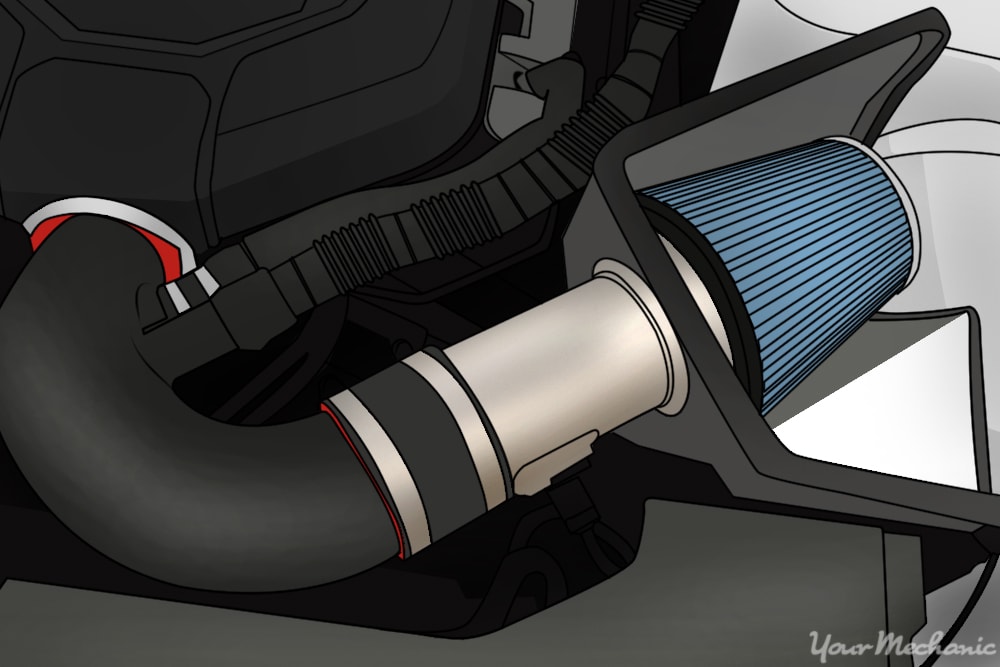
Credit: www.yourmechanic.com
Step-by-step Installation Guide
1. Remove The Stock Air Intake System
- Start by disconnecting the mass airflow sensor if your vehicle has one. Carefully unplug the wire harness and set it aside.
- Loosen the hose clamps or bolts holding the stock intake tube. Use your screwdriver or socket set.
- Remove any vacuum hoses or breather tubes attached to the intake. Mark their positions with masking tape if you’re worried about remembering where they go.
- Gently pull out the intake tube. Then remove the airbox by unbolting it from the car’s body or brackets.
- Take out the stock air filter and any rubber or plastic mounting grommets.
Insight: Many beginners struggle with stubborn clamps or fasteners. If something won’t budge, spray a little penetrating oil and wait a few minutes. For cars with tight engine bays, a trim removal tool can help pry up plastic clips without breaking them.
2. Prepare The Cold Air Intake Box
Lay out all the parts from your kit. Check against the instruction manual to make sure nothing is missing.
- Attach any rubber gaskets or weather seals to the new intake box.
- Install heat shields if your kit includes them. These protect the intake from engine heat.
- Pre-fit the box and tube to see how they align in your engine bay.
Non-obvious tip: Don’t fully tighten any bolts or clamps during this step. Keeping things loose allows you to adjust the fit later.
3. Install The New Intake Box
- Place the cold air intake box into the spot where the old airbox was removed. Align mounting holes with existing points on the car body.
- Bolt the box down using the hardware from your kit. If your kit reuses factory bolts, make sure they’re free of dirt or rust.
- Attach any included rubber grommets to reduce vibration.
4. Connect The Intake Tube
- Slide the intake tube through the heat shield or intake box (if separate).
- Connect the tube to the engine’s throttle body or intake manifold. Use the provided silicone couplers and hose clamps.
- Tighten the clamps enough to hold the tube, but leave final tightening for later.
5. Reconnect Sensors And Hoses
- Plug the mass airflow sensor into the new intake tube. Some kits require you to transfer the sensor from the old tube to the new one. Make sure it’s facing the correct direction for airflow.
- Reattach all breather hoses and vacuum lines. Some kits provide new ports or adapters—use them as instructed.
- Double-check that every hose and sensor is firmly connected.
6. Install The Air Filter
- Slide the reusable air filter onto the end of the intake tube inside the box.
- Tighten the clamp so the filter is secure but not overly crushed.
7. Final Checks And Adjustments
- With everything loosely installed, adjust the tube and box so nothing rubs against moving parts like the radiator fan or belts.
- Once satisfied, go back and tighten all bolts and clamps to the correct torque (usually 5–7 ft-lbs for small clamps, but check your kit).
- Wipe off fingerprints or grease with a clean rag.
8. Reconnect The Battery And Test
- Reconnect the negative battery terminal.
- Start the engine and let it idle. Listen for odd noises—whistling, rattling, or hissing mean something may be loose.
- Rev the engine gently. The throttle response should feel sharper, and you may hear a deeper intake sound.
- After a short test drive, recheck all clamps and connections.
Comparing Stock Vs. Cold Air Intake Performance
Real-world results can vary. Here’s how stock and cold air intakes compare in key areas:
| Feature | Stock Intake | Cold Air Intake Box |
|---|---|---|
| Air Temperature | Warmer, under-hood air | Cooler, outside air |
| Filter Type | Paper, disposable | Reusable, high-flow |
| Maintenance | Replace filter every 12,000–15,000 miles | Clean and reuse filter |
| Sound | Quiet, muted | Deeper, sportier |
| Potential HP Gain | None | 5–20 HP (varies by car) |
Common Mistakes And How To Avoid Them
Many first-time installers run into avoidable problems. Watch for these:
- Forgetting to reconnect sensors: Leaving the mass airflow sensor unplugged will trigger a check engine light and poor performance.
- Over-tightening clamps: This can crack plastic or crush rubber couplers, causing air leaks.
- Not securing the intake box: A loose box can rattle or even damage other engine parts.
- Poor filter placement: If the filter sits too low, it may suck in water during heavy rain (a risk called “hydrolock”).
- Skipping heat shields: Without shields, hot engine air can reduce performance—defeating the upgrade’s purpose.
Non-obvious insight: After installation, some cars need a few miles of driving for the engine’s computer to adjust to the new airflow. If you notice rough idling or stalling, drive gently for 20–30 miles and the issue often disappears.
Maintenance Tips For Your Cold Air Intake
To keep your intake working well:
- Check the filter every 10,000 miles. Clean it with a special filter cleaning kit (never water alone).
- Inspect clamps and hoses for looseness at every oil change.
- Listen for changes in sound—louder whistling often means a loose connection.
- Re-oil the filter if your kit requires it, but don’t over-oil (can damage sensors).
Is A Cold Air Intake Box Worth It?
A cold air intake box is a great value for most drivers who want a small performance boost, better sound, and easier filter maintenance. However, if you live in an area with frequent flooding or deep puddles, be cautious. Some cars with low-mounted intakes are at higher risk of hydrolock.
For maximum benefit, combine a cold air intake with other upgrades like a performance exhaust or ECU tune. Always choose a reputable brand with a proven kit for your exact make and model.
Example: Installation On A Honda Civic
Let’s look at a real-world example. On a 2015 Honda Civic, installing a cold air intake box typically takes about 1–2 hours. Most kits require removing the front bumper to fit the intake tube through the engine bay and place the filter behind the headlight—where it gets the coldest air.
This adds time, but the result is a real improvement in throttle response and a sporty intake sound, especially at higher RPMs.
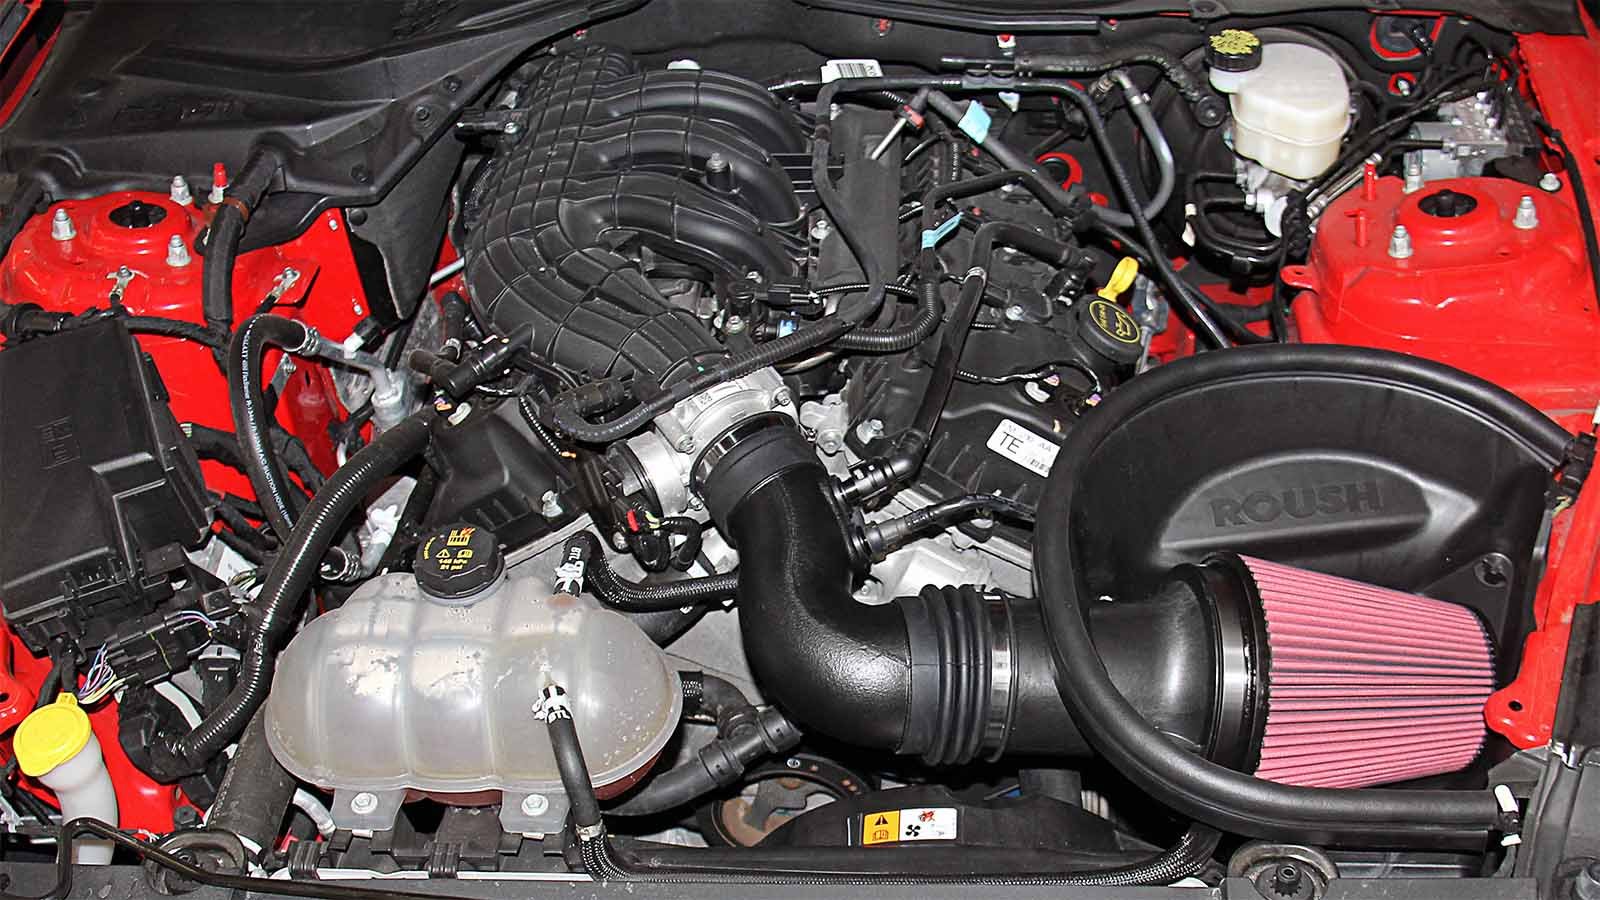
Credit: auto.howstuffworks.com
Cost Breakdown: What Should You Expect To Pay?
Cold air intake kits vary in price based on brand and vehicle type. Here’s a comparison:
| Brand | Average Price | Warranty |
|---|---|---|
| K&N | $250–$400 | Million Mile |
| Injen | $200–$350 | Limited Lifetime |
| AEM | $180–$300 | Lifetime |
Labor costs, if you hire a shop, are usually $100–$200 for installation. But most kits are designed for home installation with basic tools.
When You Shouldn’t Install A Cold Air Intake
There are a few cases where a cold air intake isn’t the right choice:
- If you drive through deep water or floods often, the risk of hydrolock is high.
- Some newer cars with very advanced engine computers may need a tune after installation, or else they’ll run poorly.
- If you live in an area with strict emissions rules, check if the kit is CARB compliant (legal in California). Some states require this for inspection.
Where To Find Reliable Cold Air Intake Kits
Buy from well-known brands and authorized dealers. Avoid unbranded kits from questionable sources. Look for kits tested on your exact car model. Reviews from other owners can help you avoid common fitment issues.
For more technical details about air intake systems and their effects on engines, visit the Wikipedia page on cold air intakes.
Frequently Asked Questions
How Much Horsepower Will A Cold Air Intake Add?
Most cold air intake boxes add between 5 and 20 horsepower. The actual gain depends on your car’s engine size, design, and how restrictive the stock intake was. Some cars see less, while high-performance engines benefit more.
Will Installing A Cold Air Intake Void My Warranty?
In most cases, a cold air intake does not void your car’s warranty. However, if the intake directly causes engine damage (like from water ingestion), that repair may not be covered. Always keep your stock parts to reinstall if needed.
Do I Need To Tune My Car After Installing A Cold Air Intake?
Most cars do not require tuning after this upgrade. However, some modern cars with complex engine computers may benefit from a tune for maximum performance. Check your car’s forum or manufacturer guide for details.
Can I Install A Cold Air Intake Box Myself, Or Should I Get Professional Help?
Most kits are designed for DIY installation with basic hand tools. If you’re comfortable working under the hood and following instructions, you can do it yourself in 1–2 hours. For tricky cars or if you’re unsure, a mechanic can handle it.
Is A Cold Air Intake Safe For Daily Driving?
Yes, a cold air intake box is safe for daily driving as long as it’s installed correctly and not exposed to deep water. Regular maintenance is key to long-term reliability.
Upgrading to a cold air intake box gives many drivers a more exciting ride, better sound, and a sense of accomplishment. With careful installation and attention to detail, you’ll enjoy the benefits every time you start your engine.
