Replacing a car door handle yourself may sound intimidating, but with the right steps, even beginners can do it and save money. Modern vehicles make some repairs seem complex, but the door handle is a part you can replace with basic tools and patience.
Whether your handle is broken, sticking, or just looks old, understanding the process helps you fix the problem safely and confidently.
Many car owners worry about damaging the door or causing electrical issues during repairs. But with careful preparation, you can avoid these mistakes. This guide will walk you through everything: choosing the right replacement, gathering tools, removing the old handle, installing the new one, and testing your work. You’ll also learn real-world tips that most first-timers miss. Let’s get started on making your car handle work and look like new.
Why Replace Your Car Door Handle Yourself?
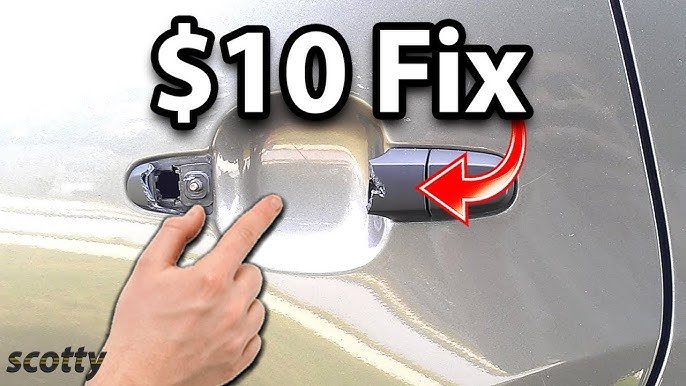
Fixing your own car door handle offers several benefits. First, it’s much cheaper than going to a mechanic. Most shops charge $100–$300 for parts and labor, but you can often do it for under $50 just paying for the handle. Second, you control the quality of the replacement and the care taken with your car.
Many people think only professionals can do this job, but that’s not true. In fact, DIY repairs help you understand your vehicle better. You’ll know how your door works, which can help in future repairs or emergencies. Plus, you avoid waiting days for your car to be fixed at a shop.
Tools And Materials Needed
Before starting, gather all the necessary tools and materials. This prevents mid-project delays and helps you stay organized.
| Tool/Material | Purpose |
|---|---|
| Screwdrivers (Phillips & Flathead) | Remove door panel screws and handle fasteners |
| Trim removal tool or putty knife | Pry off door panel without damage |
| Socket set (8mm, 10mm common sizes) | Remove bolts holding the handle |
| Replacement door handle | The new handle compatible with your car |
| Needle-nose pliers | Disconnecting rods and clips |
| Gloves | Protect your hands |
| Shop light or flashlight | Improve visibility inside the door |
Some cars may also require a Torx driver or special clips. Always check your car’s repair manual for any unique requirements.
Credit: www.youtube.com
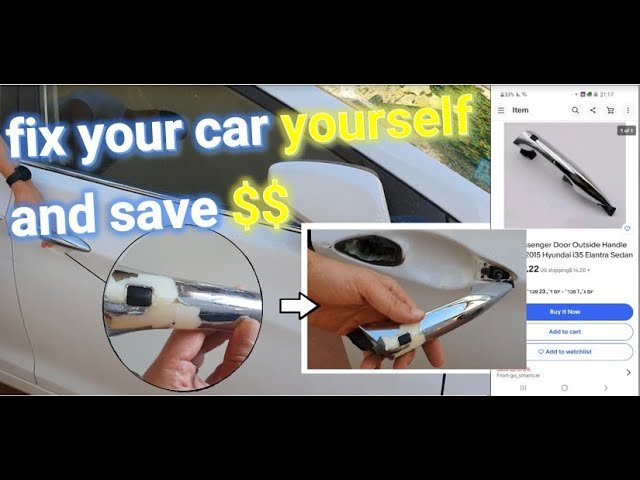
Choosing The Right Replacement Handle
Selecting the correct replacement handle is crucial. Handles look similar, but small differences can lead to installation problems. Here’s what you need to consider:
- Car Make, Model, and Year: Handles are designed for specific cars. For example, a 2015 Toyota Camry handle will not fit a 2008 Honda Accord.
- Color and Finish: Some handles come painted, while others are black plastic or chrome. Match your handle to your car for the best look.
- Keyhole or Sensor: If your handle has a keyhole or smart entry sensor, make sure the replacement matches.
- Left or Right Side: Handles are not universal. Check if you need a left (driver) or right (passenger) handle.
- OEM vs. Aftermarket: OEM (Original Equipment Manufacturer) parts guarantee a perfect fit but cost more. Aftermarket is cheaper, but read reviews to avoid poor quality.
Pro Tip: Bring your old handle or VIN (Vehicle Identification Number) to the parts store for an exact match. Online stores often let you filter by your car’s details.
Removing The Old Door Handle
Taking off the old handle is the trickiest part for most people. Car doors are designed to keep water and thieves out, so there are hidden screws and clips. Here’s how to do it safely:
1. Disconnect The Battery
If your car has power locks or windows, disconnect the negative battery cable. This prevents electrical shorts and accidental airbag deployment.
2. Remove The Door Panel
Look for screws near the armrest, door pull, and bottom edge. Sometimes, screws are hidden under plastic covers. Use a trim tool or flathead screwdriver to gently pry these covers off.
Once screws are out, slide the trim tool or putty knife between the panel and door. Work your way around, popping the plastic clips free. Lift the panel up and away from the door. Disconnect any electrical connectors for window switches.
Beginner Mistake: Pulling the panel hard and breaking clips. Take your time—replacement clips cost extra and are frustrating to install.
3. Remove The Water Shield
Under the panel is a thin plastic sheet called a water shield. Carefully peel it back without tearing. This keeps water out, so don’t skip reattaching it later.
4. Locate And Remove Handle Bolts
Find the bolts or nuts holding the handle inside the door. Usually, these are behind the door lock area. Use your socket set to remove them. Keep bolts safe for reinstallation.
5. Disconnect Rods And Clips
Handles connect to the lock and latch with metal rods or cables. These are held by plastic clips. Use needle-nose pliers to unclip them gently. Take a photo before removing to remember the exact positions.
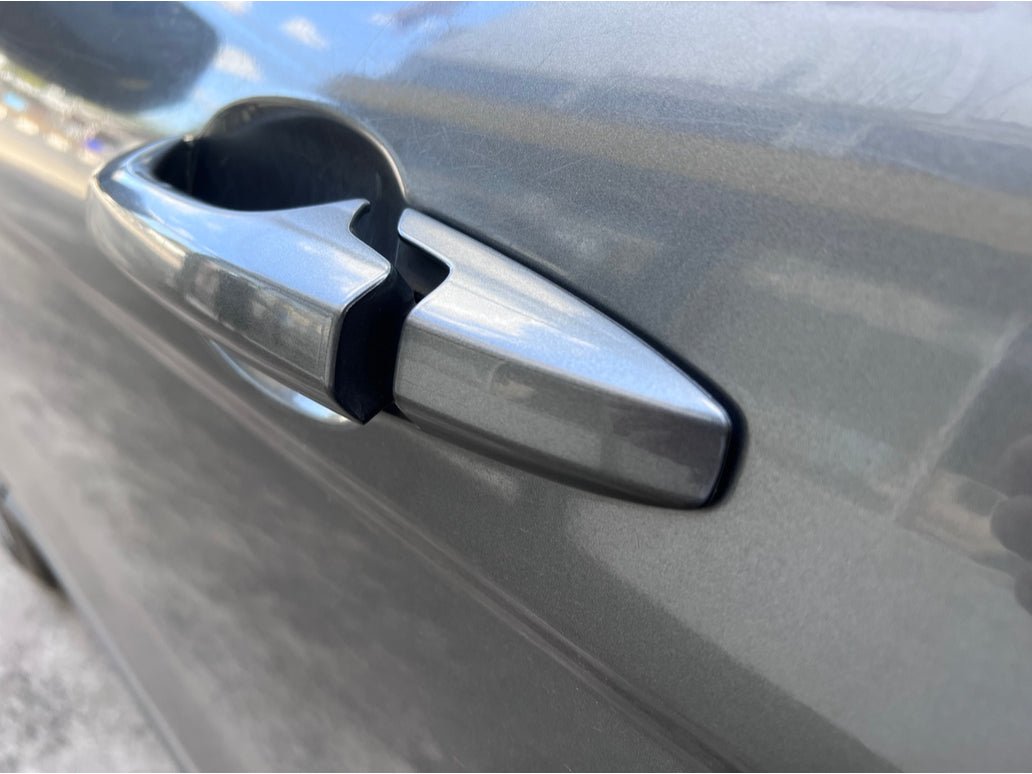
6. Remove The Handle
Slide or pull the handle out from the outside of the door. If it sticks, check for any hidden screws or clips you missed.
Installing The New Door Handle
Now comes the rewarding part—putting the new handle in place. Take your time to avoid scratches or misalignment.
1. Insert The New Handle
Feed the handle through the opening, aligning it with the mounting holes. Make sure it sits flush against the door.
2. Reconnect Rods And Clips
Attach all rods or cables to the new handle, using your photo as a guide. Secure the clips so they don’t pop off later.
3. Reinstall Handle Bolts
Tighten the bolts or nuts by hand first, then snug them with your socket wrench. Don’t overtighten—this can crack the handle or strip threads.
4. Test The Handle
Before reassembling the door, test the handle. Open and close the door from both inside and outside. If it’s stiff, check the rod connections.
5. Replace Water Shield
Stick the plastic water shield back in place. Use tape if the adhesive is weak. This step is often skipped but prevents leaks and rust.
6. Reattach Door Panel
Reconnect any electrical plugs. Line up the panel and gently press it back onto the clips. Reinstall all screws and covers.
7. Reconnect The Battery
If you disconnected the battery, hook it up again. Test power locks, windows, and the handle one more time.
Common Problems And How To Avoid Them
Many beginners make similar mistakes that can lead to more repairs or poor results. Here’s how to avoid the most common issues:
- Losing Small Parts: Keep screws, bolts, and clips in a tray or magnetic dish. They’re easy to lose in the car or garage.
- Forgetting Rod/Cable Order: Take clear photos before disconnecting anything. Each rod controls a different function.
- Breaking Clips: Door panel clips are plastic and get brittle with age. Pry gently and buy extras before starting.
- Misaligned Handle: If the handle feels loose, bolts may not be tightened evenly. Adjust and retighten if needed.
- Skipping the Water Shield: Leaving this off can let water into the door, causing rust and electrical problems.
Extra Insight: On some cars, the key lock cylinder must be transferred from the old handle to the new one. Look for a small retaining clip or screw. Don’t force it—locks are delicate.
Credit: www.youtube.com
Comparing Handle Types: Oem Vs. Aftermarket
Choosing between an OEM and aftermarket handle affects price, fit, and durability. Here’s a quick comparison:
| Type | Cost | Fit Quality | Warranty |
|---|---|---|---|
| OEM | High | Exact | Yes |
| Aftermarket | Low to Medium | Varies | Sometimes |
OEM handles cost more (often $60–$150) but fit perfectly and match your car’s look. Aftermarket handles can be as cheap as $15 but may need adjustments or paint. For high-value or newer cars, OEM is best. For older cars or tight budgets, aftermarket works fine if you choose a reputable brand.
Real-world Example: How Long Does It Take?
A beginner can expect to spend 1–2 hours on their first door handle replacement. Experienced DIYers often finish in 30–45 minutes. The biggest time factors are:
- Removing the door panel without damage
- Figuring out rod connections
- Dealing with rusted or stripped bolts
If you get stuck, look for YouTube videos of your car model or check forums for tips. Every car is a bit different, but the main steps stay the same.
Credit: partsmax.co
Safety Tips You Shouldn’t Ignore
Safety is often overlooked in simple repairs. Here’s how to stay safe:
- Always disconnect the battery if you’re working near wires or airbags.
- Wear gloves to protect against sharp edges inside the door.
- Keep small children and pets away from your work area.
- If a bolt won’t loosen, use penetrating oil and wait 10 minutes.
- Don’t force parts—if something feels wrong, double-check your manual or guide.
Hidden Hazard: Some older cars have tension springs inside the door. Be careful not to release these suddenly.
After The Repair: Checking Your Work
When you finish, it’s important to check your repair carefully. Don’t assume it’s perfect just because the door closes.
| Test | What to Look For |
|---|---|
| Outside Handle | Opens door smoothly, no sticking |
| Inside Handle | Works as before, rod reconnected |
| Lock Cylinder | Key turns easily, locks/unlocks |
| Power Locks/Windows | Switches function, wires reconnected |
| Rain Test | No leaks, water shield reattached |
If you spot a problem, remove the panel and check your connections. It’s easier to fix now than later.
Where To Find More Information
For more detail, check your car’s repair manual or search for guides specific to your vehicle. Forums like Toyota Nation or Honda-Tech are full of advice from real owners. You can also find official guides at Haynes Manuals, which cover most popular models.
Frequently Asked Questions
How Do I Know Which Door Handle Fits My Car?
The best way is to match your car’s make, model, and year with the replacement handle. Use your VIN for exact matches. Bring your old handle to the store or check online databases to avoid mistakes.
Do I Need Special Tools To Replace A Car Door Handle?
Most replacements need only basic hand tools: screwdrivers, a socket set, and pliers. Some cars require a Torx driver or trim tool, but these are easy to find at auto parts stores.
What If My Car Handle Has A Keyless Entry Sensor?
Buy a replacement with the same sensor type. Some sensors can be transferred from the old handle. If not, you may need a dealer to program the new handle.
Can I Paint An Aftermarket Handle To Match My Car?
Yes, most aftermarket handles come in black or primer. Use automotive spray paint and clear coat for a close match. Follow painting instructions for best results.
How Much Money Can I Save By Doing It Myself?
DIY replacement typically costs $15–$70 for the part. Professional shops charge $100–$300 or more for labor and parts, so you can save $100–$200 by doing it yourself.
Replacing a car door handle yourself is a practical way to save money and learn more about your vehicle. With careful steps and a bit of patience, you can restore your car’s function and appearance in less than an afternoon.
For more in-depth resources, always check your car’s manual or trusted guides.
