
Checking the pressure in your car’s cooling system may sound technical, but it’s a key skill for any car owner. The cooling system protects your engine from overheating by managing temperature with coolant, a radiator, hoses, and a water pump. If pressure is not right—too low or too high—your engine can suffer damage. By learning how to check your car cooling system pressure, you can catch leaks, prevent breakdowns, and avoid expensive repairs. This guide will walk you through everything: why pressure matters, what tools you need, how to test step by step, and what to do if you find a problem.
Why Cooling System Pressure Matters
Most cars operate their cooling system at 13–16 psi (pounds per square inch). This pressure raises the boiling point of coolant, so it can remove more heat from the engine. If the system loses pressure, coolant can boil and cause the engine to overheat. Too much pressure can burst hoses or damage the radiator.
Some beginner drivers think coolant level is the only thing that matters, but pressure is equally important. Even a small leak can make your system lose pressure, long before you see a puddle under your car.
How The Cooling System Works
Your car’s cooling system uses a closed loop. Coolant flows through the engine, absorbs heat, and then passes through the radiator to cool down. The radiator cap acts like a pressure valve. If the pressure gets too high, it lets out a little coolant into the overflow tank. If pressure is too low, it can let air in, which is bad for cooling.
Key Components
- Radiator: Removes heat from coolant
- Water pump: Moves coolant through the system
- Radiator cap: Maintains system pressure
- Hoses: Carry coolant to and from the engine
- Thermostat: Controls coolant flow based on temperature
Signs That You Need To Check Cooling System Pressure
You don’t need to check pressure every day. But watch out for these signs:
- Frequent overheating: Your temperature gauge keeps rising.
- Coolant loss: You top off the coolant often.
- Visible leaks: Wet spots under your car.
- Sweet smell: Coolant has a sweet odor.
- Bubbling in overflow tank: Air in system may mean a leak.
- Low heater output: Heater blows cold when it should be hot.
If you see any of these, a pressure test can help you find the cause.
Tools And Materials Needed
To check your cooling system pressure, you need a few simple tools:
- Pressure tester kit: Includes a hand pump and adapters for radiator/expansion tank.
- Coolant catch pan: To catch spills when opening the system.
- Gloves and safety glasses: Coolant can irritate skin and eyes.
- Shop towels: Clean up spills and wipe surfaces.
- Flashlight: Helps spot small leaks.
A quality pressure tester usually costs $30–$60. You can buy one at auto parts stores or online.
Comparing Common Pressure Tester Kits
Here’s a look at three popular tester kits:
| Brand | Price Range | Adapters Included | Max Pressure |
|---|---|---|---|
| OEMTools | $40–$60 | 8 | 30 psi |
| Lisle | $50–$70 | 7 | 30 psi |
| Stant | $45–$80 | 9 | 30 psi |
All work for most cars, but check which adapters fit your vehicle.
Credit: www.youtube.com
Safety First: Cooling System Pressure Test Precautions
Before starting, remember:
- Never test on a hot engine. Wait until it’s cool to touch. Hot coolant can spray and cause burns.
- Open the radiator cap slowly, with a rag over it, to release pressure safely.
- Wear gloves and eye protection.
- Dispose of any spilled coolant safely—it’s toxic to people and animals.
Step-by-step Guide: How To Check Car Cooling System Pressure
Follow these steps to safely and accurately test your car’s cooling system pressure.
1. Prepare The Vehicle
- Park on a level surface.
- Turn off the engine and let it cool completely—at least 30 minutes.
- Open the hood and find the radiator cap or expansion tank cap (for some newer cars).
2. Remove The Radiator Cap
- Place a towel over the cap.
- Slowly twist off the cap to release any remaining pressure.
- If you hear a hiss, wait until it stops before fully removing.
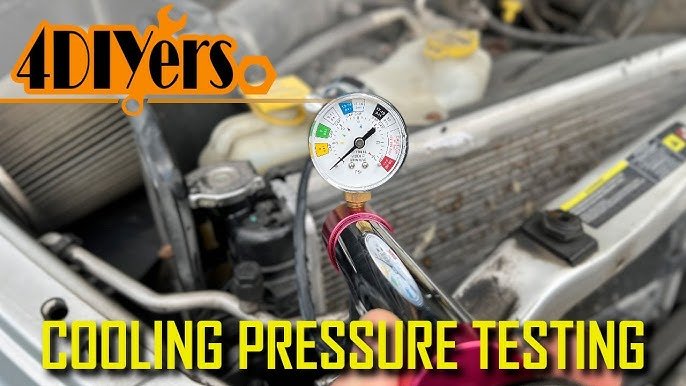
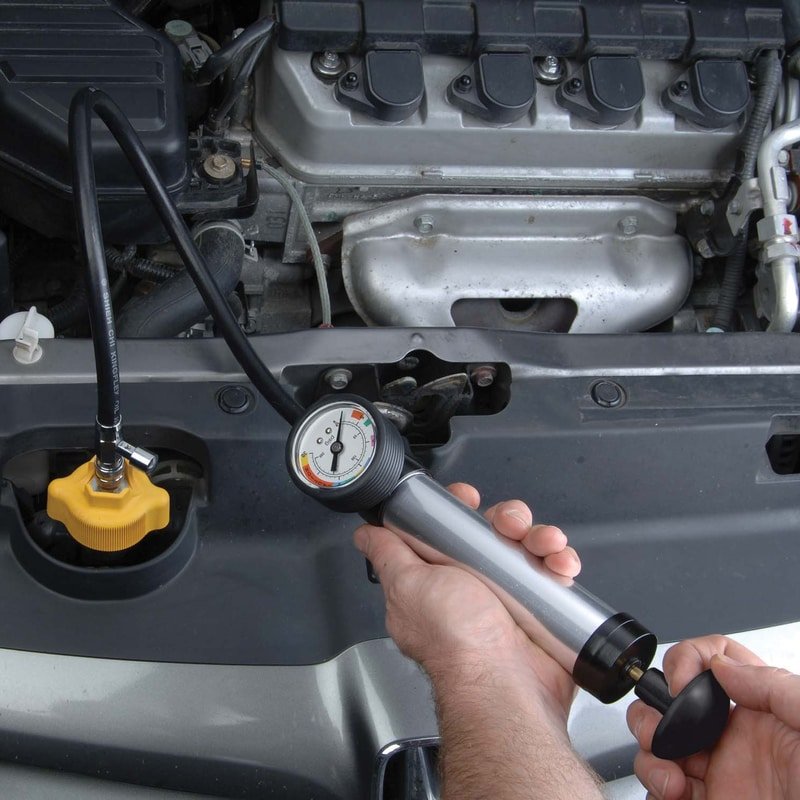
3. Attach The Pressure Tester
- Select the correct adapter from your kit.
- Attach the tester to the radiator opening or expansion tank.
- Make sure it’s tight and secure.
4. Pump Up To Recommended Pressure
- Check your car’s manual for the recommended pressure (usually 13–16 psi).
- Pump the tester slowly, watching the gauge.
- Stop when you reach the correct pressure.
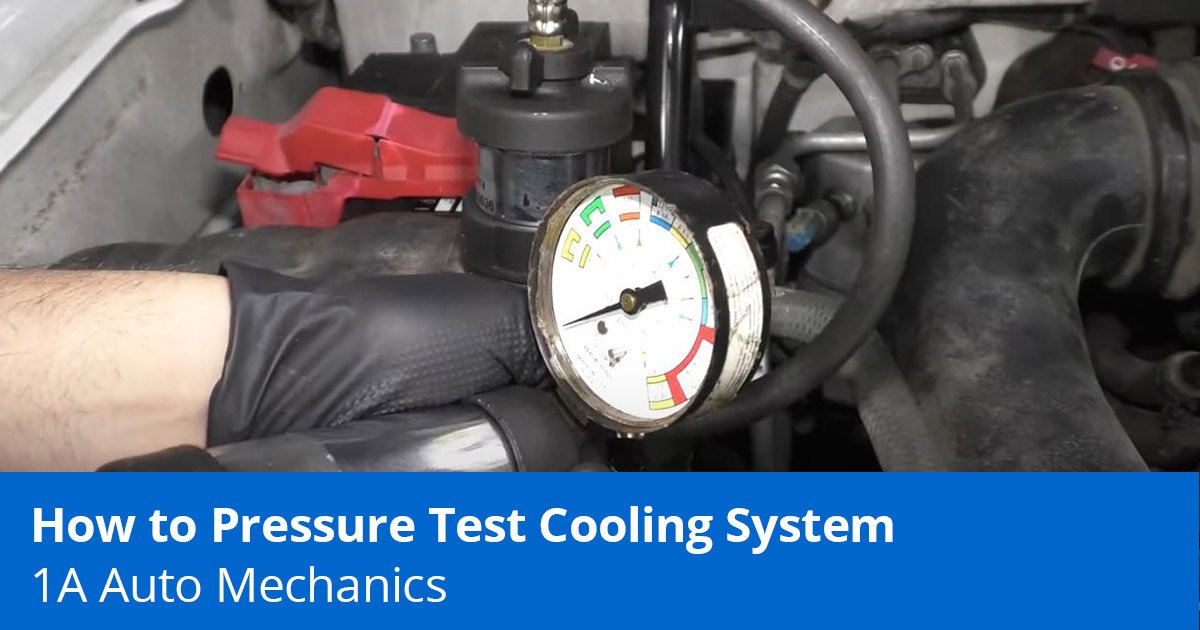
5. Observe The Gauge
- Watch the pressure gauge for 2–3 minutes.
- The needle should stay steady. If it drops, there’s a leak.
6. Inspect For Leaks
- Use a flashlight to check hoses, radiator, water pump, and heater core area.
- Look for wet spots, drips, or tiny bubbles.
- Some leaks are small and slow. If the gauge drops but you see nothing, check under the car for hidden drips.
7. Remove The Tester And Refill Coolant
- Release the pressure with the tester’s release valve.
- Remove the tester and reattach the radiator or tank cap.
- If coolant spilled, top off with fresh coolant to the correct level.
Example: Diagnosing A Small Leak
Let’s say you pump up the tester to 15 psi. After 5 minutes, the gauge drops to 12 psi. You see no big leaks, but find a damp spot under a hose clamp. This is a slow leak—tighten the clamp or replace the hose if needed.
Credit: cityofharrah.com
What The Results Mean
- Pressure holds steady: No leaks detected; system is healthy.
- Pressure drops slowly: Small leak—could be a hose, gasket, or radiator seam.
- Pressure drops quickly: Big leak, or even a blown head gasket.
- Cannot build pressure at all: Cap not sealing, or very large leak.
Common Leak Locations
| Component | Typical Symptoms |
|---|---|
| Radiator | Wet around seams or core, puddles under front of car |
| Hoses | Soft, bulging, or cracked hoses, drips at clamps |
| Water pump | Drips from weep hole, noise from pump |
| Heater core | Coolant smell in cabin, wet carpet, foggy windows |
| Head gasket | White smoke from exhaust, coolant in oil, bubbles in radiator |
Troubleshooting: If You Find A Leak
If you detect a leak, don’t ignore it. Here are your options:
- Tighten hose clamps: Sometimes this fixes a minor leak.
- Replace damaged hoses: Old hoses can crack and leak under pressure.
- Repair or replace radiator: Small leaks may be patched with sealant, but big leaks require a new radiator.
- Check the radiator cap: A weak or damaged cap can lose pressure. Replace it if unsure.
- Seek professional help: For leaks in the heater core or head gasket, see a mechanic.
Credit: blog.1aauto.com
What Beginners Often Miss
Many first-time testers make two common mistakes:
- Skipping the cap test: The radiator cap itself can fail to hold pressure. Most tester kits let you check the cap separately. Test it to make sure it opens only at the right pressure.
- Not checking with a cold engine: Some leaks only appear when the system is cold and pressure is applied. Always test both before and after running the engine if you suspect a tricky leak.
How Often Should You Test?
- Annual check: Good practice to test system pressure once a year, especially before summer or long trips.
- After repairs: Always test after replacing hoses, radiator, or water pump.
- If symptoms appear: Check immediately if you notice any signs listed earlier.
Coolant Pressure Vs. Coolant Level
It’s easy to confuse pressure with level. Both matter! You can have correct coolant level but poor pressure due to a leak or bad cap. That’s why it’s smart to check both—top off coolant first, then test pressure.
When To Call A Professional
If you find a major leak, the pressure drops very fast, or you see signs of a blown head gasket (white smoke, milky oil), seek help. Some repairs, like replacing a heater core or fixing a head gasket, are complex and need special tools.
Costs And Time Needed
Testing your cooling system pressure takes about 15–30 minutes. Most shops charge $50–$100 for a pressure test, but buying your own tester pays off quickly. Fixing a small leak early can save you hundreds or even thousands of dollars in engine repairs.
Pro Tips For Accurate Testing
- Test the system when fully cold for best accuracy.
- Don’t over-pump the tester—stay at or just below the cap’s rated pressure.
- After testing, always check coolant level again.
- Keep a record of your results so you notice changes over time.
Environmental Note
Never pour old coolant down the drain. Take it to a recycling center or auto shop. Coolant is toxic and can harm pets and wildlife.
Additional Resources
For more details on cooling systems and pressure testing, check the Wikipedia cooling system page.
Frequently Asked Questions
What Is The Normal Pressure For A Car Cooling System?
Most cars run between 13–16 psi. Always check your owner’s manual for the exact pressure for your vehicle.
Can I Check Cooling System Pressure Without A Tester?
No, a pressure tester is required for accurate results. Guessing or squeezing hoses will not give you correct information.
Is It Safe To Drive With A Small Cooling System Leak?
No. Even a small leak can cause pressure loss, overheating, and engine damage. Fix leaks as soon as you find them.
Can A Bad Radiator Cap Cause Pressure Loss?
Yes. A faulty radiator cap can let pressure escape, leading to overheating. Always test or replace the cap if you suspect a problem.
How Do I Know If My Head Gasket Is Leaking?
Look for these signs: white smoke from the exhaust, coolant in the oil (milky color), engine overheating, or bubbles in the radiator when the engine is running.
Knowing how to check your car’s cooling system pressure is a smart way to keep your vehicle running well. With the right tools and careful steps, you can spot problems early, keep repair costs down, and enjoy peace of mind on the road.
