Replacing a flywheel at home can seem like a big challenge, but for many car owners, it is possible with the right tools, enough patience, and a safe working space. The flywheel is a heavy metal disc that connects the engine to the transmission in manual vehicles. It helps keep the engine running smoothly and transfers power to the wheels. A worn-out or damaged flywheel can cause clutch problems, vibrations, and strange noises. Learning how to replace it yourself can save hundreds of dollars in labor costs and give you a deeper understanding of your car.
This guide will walk you through every step of the process, from understanding what a flywheel does to the tools you need, the full removal and installation process, and tips for avoiding common mistakes. Whether you’re a DIY enthusiast or just want to know more about your car, you’ll find practical advice, real-world examples, and key insights that most beginners miss.
Understanding The Car Flywheel
The flywheel is more than just a big metal disc. In manual transmission cars, it connects to the crankshaft and provides a smooth surface for the clutch to engage. It also stores rotational energy to keep the engine running between combustion cycles. In automatic cars, the similar part is called a flexplate.
When a flywheel is damaged, you might notice:
- Shaking or vibrations when pressing the clutch
- Grinding noises from the transmission area
- Burnt smell from the clutch
- Trouble shifting gears
Ignoring these signs can lead to more expensive repairs. Replacing the flywheel is a major job, but it’s possible with good preparation.
Tools And Equipment You Will Need
Having the right tools makes this job easier and safer. Here’s what you’ll need:
- Socket set (with deep sockets)
- Breaker bar
- Torque wrench
- Screwdrivers (flat and Phillips)
- Car jack and jack stands (or ramps)
- Clutch alignment tool
- Pry bar
- Flywheel holder (optional but helpful)
- Transmission jack (or a helper)
- Thread locker (like Loctite)
- Work gloves and safety glasses
Some cars may need special tools, so check your service manual before starting. Don’t skip on safety equipment—working under a car is dangerous if not done correctly.
Preparing For The Job
Before you start, make sure you have a clean, flat workspace with enough room to move around. Park the car on a level surface, apply the parking brake, and disconnect the negative battery cable to avoid any electrical issues.
Next, gather all your tools and parts. You’ll need a new flywheel (and often a clutch kit if you’re replacing both), new flywheel bolts (never reuse old ones), and maybe a service manual for your car model. It’s smart to take photos as you go—this makes reassembly much easier.
Check that your jack stands can support the weight of the car and that your transmission jack is ready. If you don’t have a transmission jack, a sturdy floor jack and an extra pair of hands can help.
Removing The Transmission
The hardest part of flywheel replacement is removing the transmission. This step takes time and muscle power. Here’s how to do it safely:
- Lift the car: Use the car jack to raise the vehicle and set it securely on jack stands. Double-check stability before going under the car.
- Remove the driveshaft: For rear-wheel drive cars, unbolt the driveshaft from the transmission and slide it out. For front-wheel drive cars, remove the axles.
- Disconnect the battery and starter motor: This prevents electrical shorts and gives you access to the flywheel.
- Unbolt the transmission: Remove any wiring, sensors, and linkages attached to the transmission. Support the transmission with a jack and slowly unbolt it from the engine.
- Lower the transmission: Slide the transmission back and lower it carefully. It’s heavy, so ask for help if needed.
Pro tip: Label any wires or bolts you remove. Keeping bolts organized in small containers or bags saves a lot of confusion later.
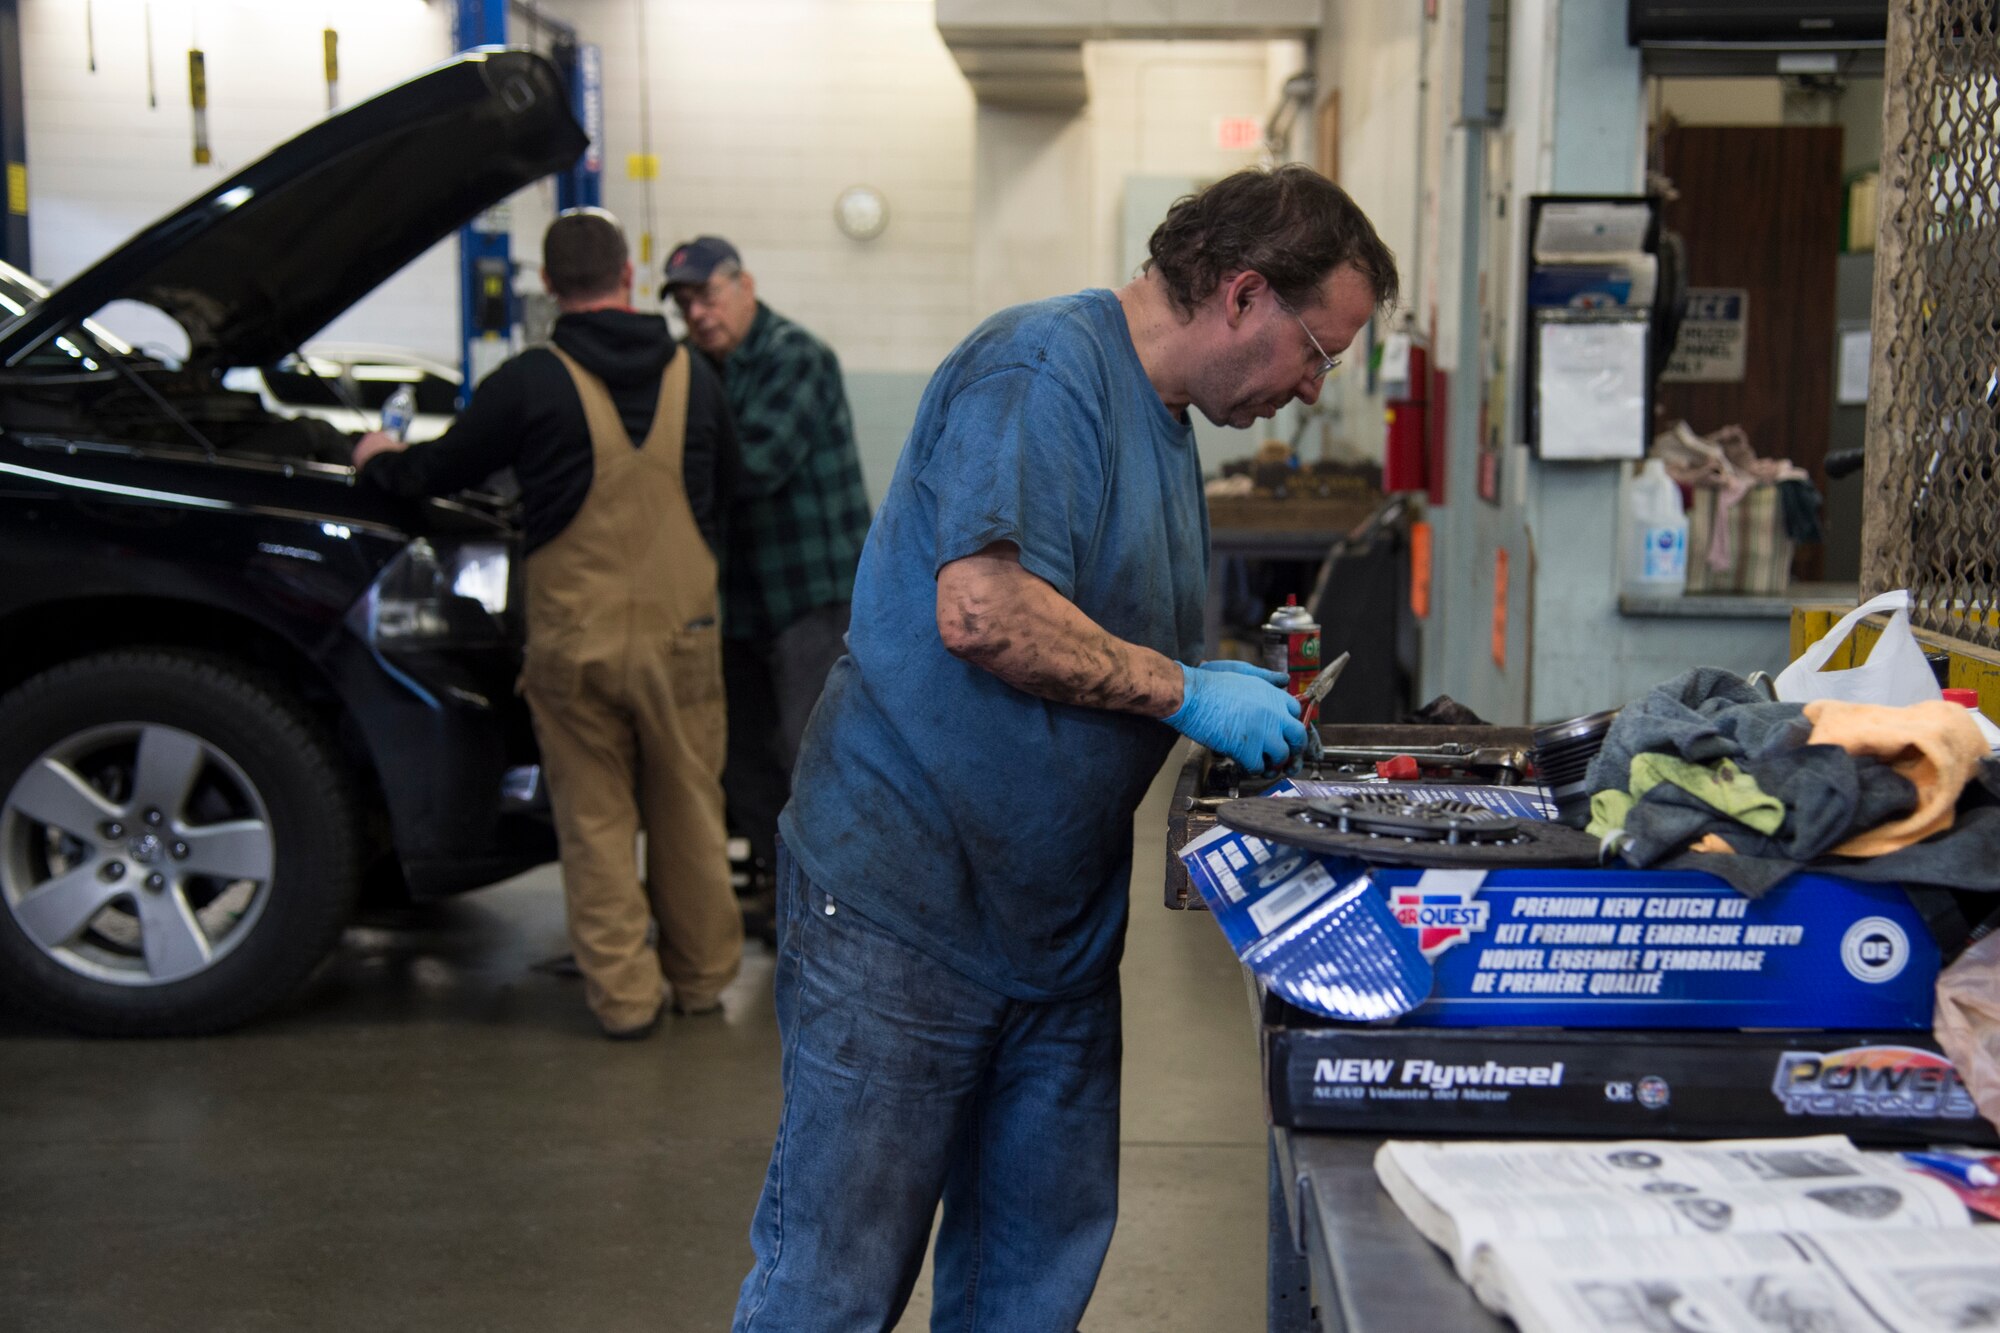
Credit: www.jber.jb.mil
Removing The Old Flywheel
With the transmission out, you can see the flywheel bolted to the back of the engine. Here’s what to do:
- Inspect the flywheel: Look for signs of burning, scoring, or cracks.
- Hold the flywheel in place: Use a flywheel holder or a pry bar to stop it from spinning.
- Remove the bolts: Use a breaker bar to loosen the flywheel bolts. They can be very tight. Remove them in a crisscross pattern to avoid warping.
- Take off the flywheel: It’s heavy—support it with one hand as you remove the last bolt.
Dispose of the old flywheel properly. Some auto shops will recycle it for you.
Comparing Flywheels: Solid Vs. Dual Mass
If you’re buying a new flywheel, you might see two types: solid and dual mass. Here’s how they compare:
| Type | Durability | Price Range | Driving Feel |
|---|---|---|---|
| Solid Flywheel | Very durable | $50-$200 | Harsher, more direct |
| Dual Mass Flywheel | Wears faster | $200-$600 | Smoother, less vibration |
Most modern cars use dual mass flywheels for comfort, but solid flywheels are popular in racing or older cars for their toughness. Always use the type recommended for your vehicle.
Inspecting Other Parts
While you’re this deep into your car, check other clutch components. It’s often smart to replace the clutch disc, pressure plate, and release bearing at the same time, because they wear out together.
Look for:
- Burn marks on the clutch disc or pressure plate
- Loose springs or obvious wear
- Leaking rear main seal (behind the flywheel)
If the rear main seal is leaking oil, now is the time to replace it. Fixing it later means repeating all the work.
Installing The New Flywheel
Now it’s time to fit the new flywheel. Clean the mounting surface on the crankshaft with brake cleaner and a lint-free cloth. Any dirt or oil can cause problems.
Steps to install:
- Align the flywheel: Put the new flywheel on the crankshaft, matching the alignment pin or dowel.
- Install new bolts: Always use new flywheel bolts. Old ones may stretch or break.
- Apply thread locker: This prevents bolts from loosening over time.
- Tighten bolts in sequence: Use a torque wrench to tighten the bolts in a star or crisscross pattern. Check your manual for the correct torque setting—usually between 60-90 ft-lbs.
Here’s a quick torque chart for popular car brands:
| Car Brand | Flywheel Bolt Torque (ft-lbs) |
|---|---|
| Honda | 76 |
| Toyota | 80 |
| Ford | 85 |
| BMW | 88 |
| Chevrolet | 60-75 |
Never guess torque values. Under-tightening can cause bolts to loosen; over-tightening can strip threads or break bolts.
Reinstalling Clutch Components
If you replaced the clutch, align the clutch disc with the pilot bearing using the clutch alignment tool. Bolt on the pressure plate, tightening bolts evenly and in sequence. Make sure everything spins freely before moving on.
If you reused the old clutch, check for any signs of damage or uneven wear. Clean all surfaces before reassembly.
Reinstalling The Transmission
This step can be difficult because the transmission is heavy and must line up exactly with the engine. Here’s how to make it easier:
- Check alignment: The clutch and flywheel must be centered. The transmission input shaft should slide in smoothly.
- Raise the transmission: Use the transmission jack or a helper.
- Slide the transmission into place: Take your time—never force it. Wiggle the transmission gently to line up the splines.
- Bolt it up: Tighten the bellhousing bolts to the correct torque.
- Reconnect everything: Wires, sensors, linkages, and the driveshaft or axles.
Reconnect the starter motor and battery last.
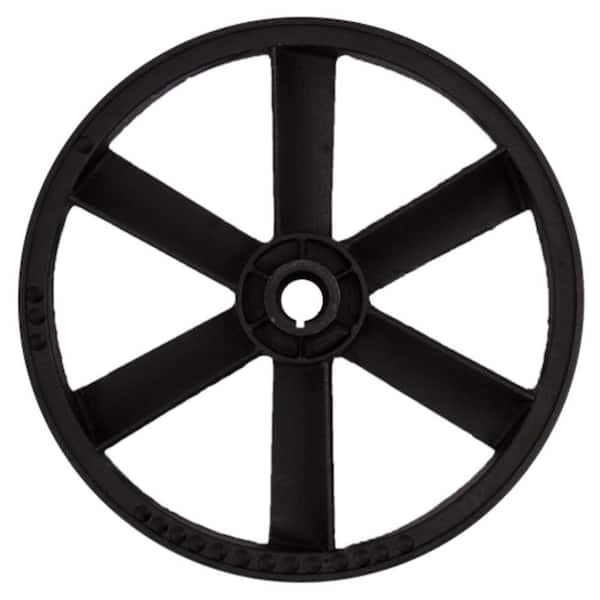
Credit: www.homedepot.com
Testing Your Work
Before starting the engine, double-check all bolts, wiring, and connections. Lower the car from the jack stands. Start the engine and listen for any unusual noises. Test the clutch by pressing the pedal—it should feel smooth and firm.
Take a short test drive. If you notice vibrations, slipping, or noises, stop and recheck your work. It’s normal to feel nervous, but with care, your repair should last for years.
Common Mistakes To Avoid
Beginners often make these errors:
- Reusing old bolts: Always buy new flywheel bolts.
- Skipping clutch replacement: It’s false economy to keep an old clutch with a new flywheel.
- Mixing up bolts or wires: Label and organize everything as you go.
- Not using a torque wrench: Tightening bolts by feel is risky.
- Rushing the job: Take your time; mistakes can be costly.
One non-obvious tip: check for missing dowel pins. These small alignment pins help center the flywheel. If they’re missing, the flywheel can wobble and cause problems.
Cost And Time Estimates
Replacing a flywheel at home can save between $500–$1,200 in labor costs. Parts cost from $100–$700 depending on your car. Expect to spend 6–10 hours on your first attempt. More experienced DIYers may finish faster, but it’s smart to plan for a full weekend.
Here’s a quick comparison of DIY vs. professional replacement:
| Method | Cost (USD) | Time Needed | Skill Level |
|---|---|---|---|
| DIY | $100-$700 | 6-10 hours | Intermediate/Advanced |
| Professional | $600-$1,900 | 1-2 days | None |
Safety Tips
- Always use jack stands—never trust a hydraulic jack alone.
- Wear safety glasses to protect your eyes from dirt and debris.
- Have a friend nearby when working under the car.
- Double-check all bolts, especially on the flywheel and clutch.

Credit: saea.com.ar
When To Call A Mechanic
While replacing a flywheel at home is possible, some situations need professional help:
- You don’t have a safe place to work
- You lack the right tools
- The transmission is very heavy (trucks, SUVs)
- You’re unsure about any step
It’s better to ask for help than risk injury or damage.
For more technical information, check the Wikipedia Flywheel page.
Frequently Asked Questions
How Do I Know If My Flywheel Is Bad?
Common signs are clutch slipping, vibrations when pressing the clutch, grinding noises from the transmission, and a burning smell. If you notice any of these, inspect the flywheel as soon as possible.
Can I Reuse My Old Flywheel Bolts?
No, you should always use new flywheel bolts. Old bolts can stretch or weaken and may break or loosen over time, causing major engine damage.
Is It Necessary To Replace The Clutch When Changing The Flywheel?
It’s highly recommended. Both parts wear together, and replacing only the flywheel means you might have to repeat the whole process soon if the clutch fails.
How Long Does It Take To Replace A Flywheel At Home?
For a first-timer, expect 6–10 hours. The time depends on your skill level, tools, and car model. It’s smart to plan for a full weekend.
What Happens If I Don’t Torque The Flywheel Bolts Properly?
Improperly torqued bolts can loosen or break, causing severe engine and transmission damage. Always use a torque wrench and follow the manufacturer’s specifications.
Replacing a car flywheel at home is a big project, but it’s rewarding and can save you a lot of money. With the right tools, careful preparation, and attention to detail, you can complete this job and enjoy a smoother, safer ride.
