Changing a car’s valve cover gasket at home is a practical skill that can save you money and help you understand your engine better. Oil leaks from a worn gasket can lead to messy engine bays, strange smells, and even potential engine damage over time. If you want to keep your car in good shape and don’t mind getting your hands a bit dirty, learning how to change a valve cover gasket is both rewarding and empowering. This guide walks you through everything you need—from the tools and steps, to expert tips, common mistakes, and even a quick look at gasket types. Whether you’re a beginner or just brushing up, you’ll find all you need to do the job right.
Understanding The Valve Cover Gasket
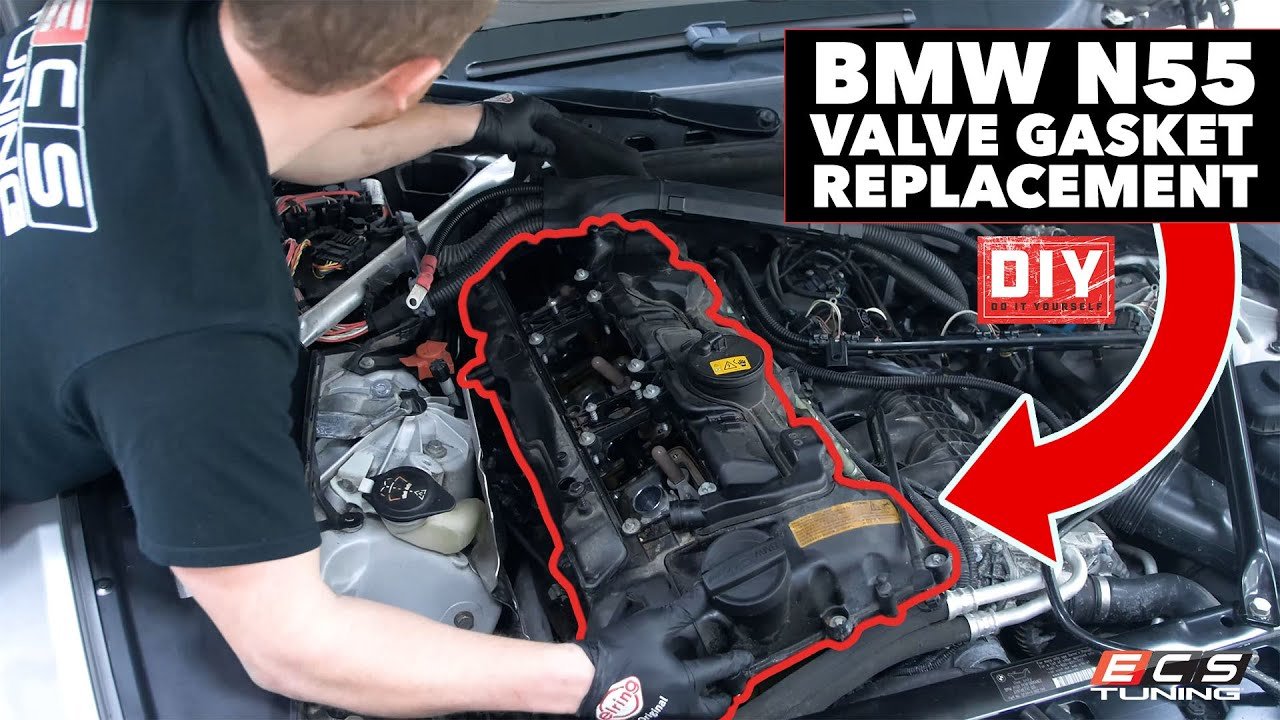
The valve cover gasket sits between the engine’s valve cover and the cylinder head. Its main job is to keep engine oil from leaking as it moves around the camshaft, valves, and other moving parts. Over time, heat and pressure can cause the gasket material to crack, shrink, or harden, leading to leaks.
Many car owners confuse oil leaks with a bad engine or worn seals, but often the problem is just a tired gasket. Replacing it promptly can prevent bigger headaches, like oil dripping onto the exhaust manifold (which can cause a burning smell or even smoke).
Signs Your Valve Cover Gasket Needs Replacement
You don’t always need to wait for a leak to start fixing things. Here are some clear signs that your valve cover gasket needs attention:
- Visible oil leaks around the valve cover area.
- Burning oil smell from the engine compartment.
- Low engine oil level without visible leaks elsewhere.
- Dirty valve cover with oil and dust buildup.
- Engine misfire or rough running (oil leaking into spark plug wells).
Ignoring these signs can lead to more serious repairs. It’s best to check early and act quickly.
Tools And Materials You Need
Getting the right tools makes the job smoother. Here’s a list of items you should gather before starting:
- New valve cover gasket (make sure it matches your car’s make, model, and engine)
- Socket set (usually 8mm, 10mm, or 12mm sockets)
- Ratchet wrench
- Torque wrench (critical for tightening bolts correctly)
- Screwdrivers (flathead and Phillips)
- Pliers
- Gasket scraper or plastic putty knife
- Rags and engine degreaser
- RTV silicone sealant (if required by your car’s design)
- Gloves and safety glasses
If you don’t have a torque wrench, consider borrowing or renting one. Over-tightening or under-tightening bolts is a common mistake that can ruin your new gasket.
Types Of Valve Cover Gaskets
Not all gaskets are the same. Here’s a quick comparison of the main types you’ll find:
| Gasket Material | Pros | Cons |
|---|---|---|
| Rubber | Flexible, easy to install, reusable | Can harden over time, not for high-temp engines |
| Cork | Affordable, good sealing | Can dry out and crack, needs careful installation |
| Silicone | Excellent sealing, handles heat well | More expensive, may need special prep |
| Paper | Cheap, common in older cars | Not durable, usually one-time use |
Check your car’s manual or the old gasket to match the type. Most modern vehicles use rubber or silicone for better durability.

Credit: bwperformance.com
Preparing For The Job
Before you start, park the car on a level surface and let the engine cool. Working on a hot engine is not only dangerous, but can also damage soft parts. Disconnect the negative battery cable to prevent accidental shorts. Gather all tools near the car—you don’t want to run back and forth once you get started.
Tip: Take clear photos of your engine before and during disassembly. This helps you remember where everything goes, especially vacuum hoses or wiring clips.
Step-by-step Guide To Changing Your Valve Cover Gasket
1. Remove Engine Covers And Components
Most cars have plastic engine covers or intake hoses that block the valve cover. Remove these carefully with a screwdriver or socket. Set aside any bolts or parts in a tray or labeled bags for easy reassembly.
Non-obvious insight: Sometimes, ignition coils or spark plug wires run over the valve cover. Mark their positions with tape so you don’t mix them up later.
2. Disconnect Breather Hoses And Wires
Gently disconnect any hoses, sensors, or wires attached to the valve cover. Use pliers for stubborn clamps, but avoid pulling hard to prevent damage.
3. Remove Valve Cover Bolts
With the right socket, loosen and remove all the bolts holding the cover. There may be different lengths—keep track of where each one goes. Some cars use rubber grommets; inspect them for wear.
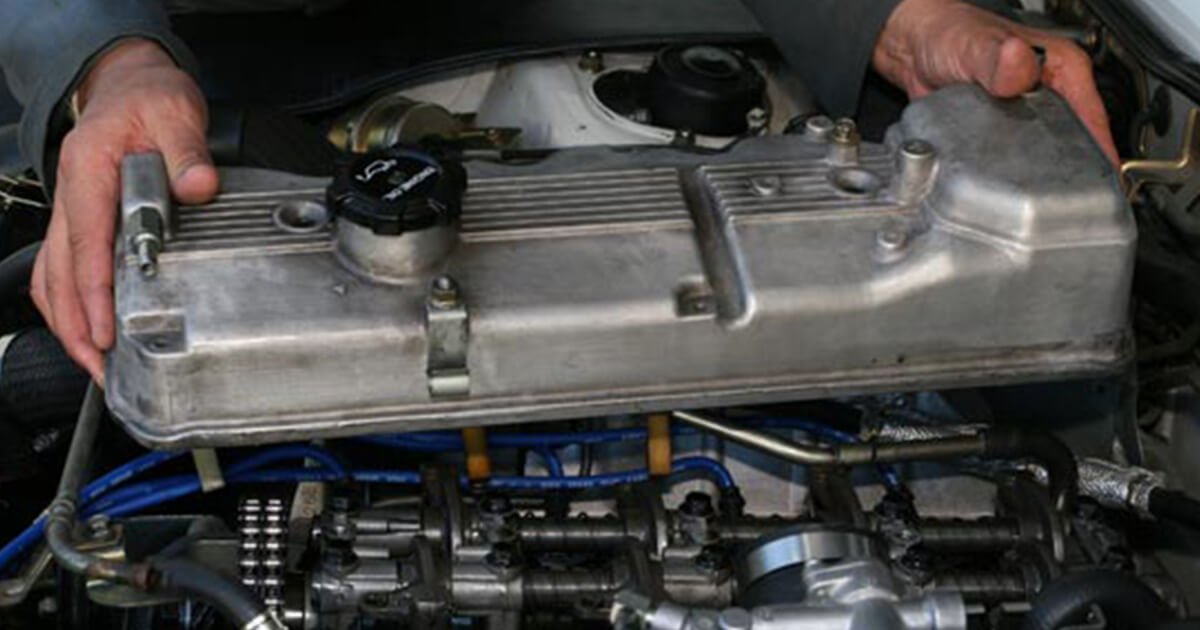
4. Lift Off The Valve Cover
Pry the valve cover gently with a plastic scraper or putty knife. Avoid using metal tools that can scratch the sealing surface. If the cover sticks, tap it lightly with your hand to break the seal.
5. Remove Old Gasket And Clean Surfaces
Peel off the old gasket. Scrape away any leftover material from the valve cover and engine surface. Wipe both areas with a rag and degreaser until they’re clean. Any dirt or old gasket can cause a new leak.
6. Inspect Valve Cover And Components
Check the valve cover for cracks or warping. A damaged cover won’t seal, no matter how good the gasket. Also look at bolt holes for stripped threads.
7. Install The New Gasket
Lay the new gasket into the groove on the valve cover (or on the head, as your design requires). Some gaskets need a small bead of RTV silicone at corners or around camshaft humps—check your manual or the gasket instructions.
Expert tip: Let the RTV set for a few minutes before installing the cover, unless the manufacturer says otherwise.
8. Reinstall The Valve Cover
Carefully place the valve cover back in position. Avoid shifting the gasket. Hand-tighten the bolts in a crisscross pattern to distribute pressure evenly.
9. Torque Bolts To Specification
Use a torque wrench to tighten each bolt to the value listed in your car’s manual—usually between 7-10 ft-lbs (10-14 Nm). Overtightening can crush the gasket, while undertightening can cause leaks.
10. Reattach Hoses And Components
Reconnect all hoses, wires, and parts you removed earlier. Double-check that everything is secure and in its correct place. Small mistakes here can lead to engine codes or rough running.
11. Reconnect Battery And Test
Reconnect the negative battery cable. Start the engine and let it idle for 5-10 minutes. Check for leaks around the valve cover. If you see oil, shut off the engine and inspect the gasket alignment and bolt torque.
Credit: www.youtube.com
Practical Tips For Success
- Replace spark plug tube seals if your gasket kit includes them. These prevent oil from leaking into the spark plug wells.
- Work with clean hands or gloves—oil and dirt can ruin a new gasket’s seal.
- Use the right sealant. Some gaskets don’t need any RTV; adding too much can cause leaks or block oil passages.
- Don’t rush. Take your time cleaning and aligning the gasket. Most leaks happen from poor prep, not bad parts.
Common Mistakes To Avoid
Even careful DIYers can slip up. Watch out for these errors:
- Not cleaning surfaces fully: Even small bits of old gasket can prevent a proper seal.
- Over-torquing bolts: This crushes the gasket and can warp the cover.
- Skipping hose connections: Missing a vacuum or breather hose can cause rough idle or check engine lights.
- Using the wrong gasket: Always match the part to your engine code or VIN.
- Ignoring bolt sequence: Tighten in the correct pattern to avoid leaks.
Comparing Professional Vs. Diy Replacement
Is it worth doing this job yourself? Here’s a quick look:
| Factor | DIY | Professional Shop |
|---|---|---|
| Cost | $20–$60 (parts), $0 labor | $150–$400 (parts + labor) |
| Time | 1–3 hours | 1–2 hours |
| Skill Needed | Basic tools, careful attention | Professional mechanic |
| Warranty | None (unless you buy premium parts) | Work is often guaranteed |
Most people with basic tools and patience can do this job at home. But if you’re not comfortable, there’s no shame in paying for a professional repair.
How Long Should A Valve Cover Gasket Last?
A good quality valve cover gasket can last 50,000 to 100,000 miles or more, depending on the material and your driving habits. Extreme heat, short trips, or infrequent oil changes can shorten its life. Aftermarket gaskets may not last as long as OEM (original equipment manufacturer) parts.
Credit: www.mobil.com
Environmental And Safety Considerations
Dispose of old gaskets and oily rags properly. Never pour oil down a drain. Most auto parts stores accept used engine parts for recycling. Work in a well-ventilated area, and keep fire extinguishers nearby—engine oil and fumes can be flammable.
Additional Resources
If you want to see a video guide or find a service manual for your car, sites like Haynes Manuals offer step-by-step help for specific models. Always check your owner’s manual for torque specs and gasket instructions.
Frequently Asked Questions
How Do I Know If My Valve Cover Gasket Is Leaking?
Look for oil on the outside of the engine, especially around the valve cover seam. A burning smell or smoke from the engine bay is another strong sign. Also, check the oil level—if it drops without visible leaks under the car, the gasket may be the culprit.
Can I Drive My Car With A Leaking Valve Cover Gasket?
It’s possible, but not recommended. Small leaks can get worse quickly. Oil can drip onto hot parts, causing smoke or even fire risk. Over time, low oil can damage your engine. Fix the gasket as soon as possible.
Do I Need To Use Sealant With My New Gasket?
Check your car’s manual. Some gaskets require a small bead of RTV silicone in corners or special areas, while others should be installed dry. Too much sealant can cause leaks or block oil passages.
What If My Valve Cover Is Warped Or Cracked?
A warped or cracked valve cover can’t seal properly, no matter how good the gasket is. Replace the cover before installing a new gasket. Check used covers carefully for hidden cracks.
How Much Does It Cost To Replace A Valve Cover Gasket?
DIY parts usually cost $20–$60, depending on your car. A shop may charge $150–$400, including labor. Luxury or complicated engines can cost more. Always price the correct part for your vehicle.
Taking on a valve cover gasket replacement yourself is a smart way to save money and get to know your car. With patience, the right tools, and careful attention, you can stop leaks and keep your engine running clean for years to come. If you ever feel unsure, don’t hesitate to ask a professional for help—safe repairs matter more than speed.
