Replacing the thermostat housing in your car might sound complicated, but with some patience and the right tools, it’s a job many car owners can do themselves. The thermostat housing is a small but vital part of your engine’s cooling system.
It holds the thermostat, which controls the flow of coolant and keeps your engine at the correct temperature. If this housing cracks, leaks, or the thermostat sticks, your engine can overheat or run too cool, causing serious problems. Learning how to replace it yourself can save you money and help you understand your car better.
Before you get started, it’s important to know that every vehicle is a bit different. The steps below cover the most common process, but always check your car’s service manual for any special instructions. Replacing a thermostat housing is a great way to build your confidence in car repairs, and with the right approach, you can complete the job safely and efficiently.
Understanding The Thermostat Housing
The thermostat housing is usually made of metal or plastic and sits on the engine block. It protects the thermostat and directs coolant into the radiator. Over time, the housing can crack from heat cycles, or the gasket can fail, causing leaks. If you see coolant under your car, or your engine temperature is not steady, the thermostat housing could be the problem.
Many people don’t realize that a faulty thermostat housing can also lead to engine misfires or poor heater performance. Ignoring this issue can mean more expensive repairs later, like a warped cylinder head.
Signs You Need To Replace The Thermostat Housing
Knowing when to replace the thermostat housing is key. Here are some signs:
- Coolant leaks under your car, especially near the front.
- Engine overheating or running colder than normal.
- Low coolant warning light on your dashboard.
- Visible cracks or corrosion on the housing.
- Steam from the engine bay after driving.
If you notice any of these, inspect the housing as soon as possible. Sometimes, a small leak can quickly become a big problem.
Tools And Materials Needed
Before starting, gather these items:
- Socket set (usually metric sizes)
- Ratchet and extensions
- Screwdrivers (flat and Phillips)
- Pliers
- Drain pan
- Gasket scraper or razor blade
- New thermostat housing
- New thermostat (optional but recommended)
- New gasket or sealant
- Coolant (matching your car’s specifications)
- Clean rags
- Gloves
- Torque wrench (if possible)
Having everything ready saves time and prevents mistakes. Always wear gloves, as coolant is toxic and can irritate your skin.
Preparing Your Car For The Repair
- Park on level ground and let the engine cool completely. Never open the cooling system when the engine is hot.
- Disconnect the battery (negative terminal) to prevent electrical shorts.
- Locate the thermostat housing. Check your car’s manual or look near the upper radiator hose, where it connects to the engine.
A common mistake is skipping the cooling period. Hot coolant can spray out under pressure, causing burns.
Draining The Coolant
Before removing the housing, you need to drain enough coolant so it doesn’t spill everywhere.
- Place a drain pan under the radiator.
- Open the radiator drain valve or remove the lower hose carefully.
- Let the coolant drain until the level is below the thermostat housing.
- Save the coolant if it’s clean, or plan to refill with fresh coolant.
Don’t forget to dispose of old coolant safely, as it’s poisonous to people and pets.
Removing The Thermostat Housing
- Remove the upper radiator hose from the housing. Use pliers to loosen the clamp, then twist the hose gently to break it free.
- Unbolt the thermostat housing. Most housings have 2 or 3 bolts. Use your socket set for this step.
- Carefully pull off the housing. Some coolant may still drip out. If it’s stuck, tap lightly with a rubber mallet, never use metal tools that can crack it.
- Remove the thermostat. Note how it’s positioned; the new one must go in the same way.
Many beginners forget to check for extra hoses or wires attached to the housing. Always look before you pull.
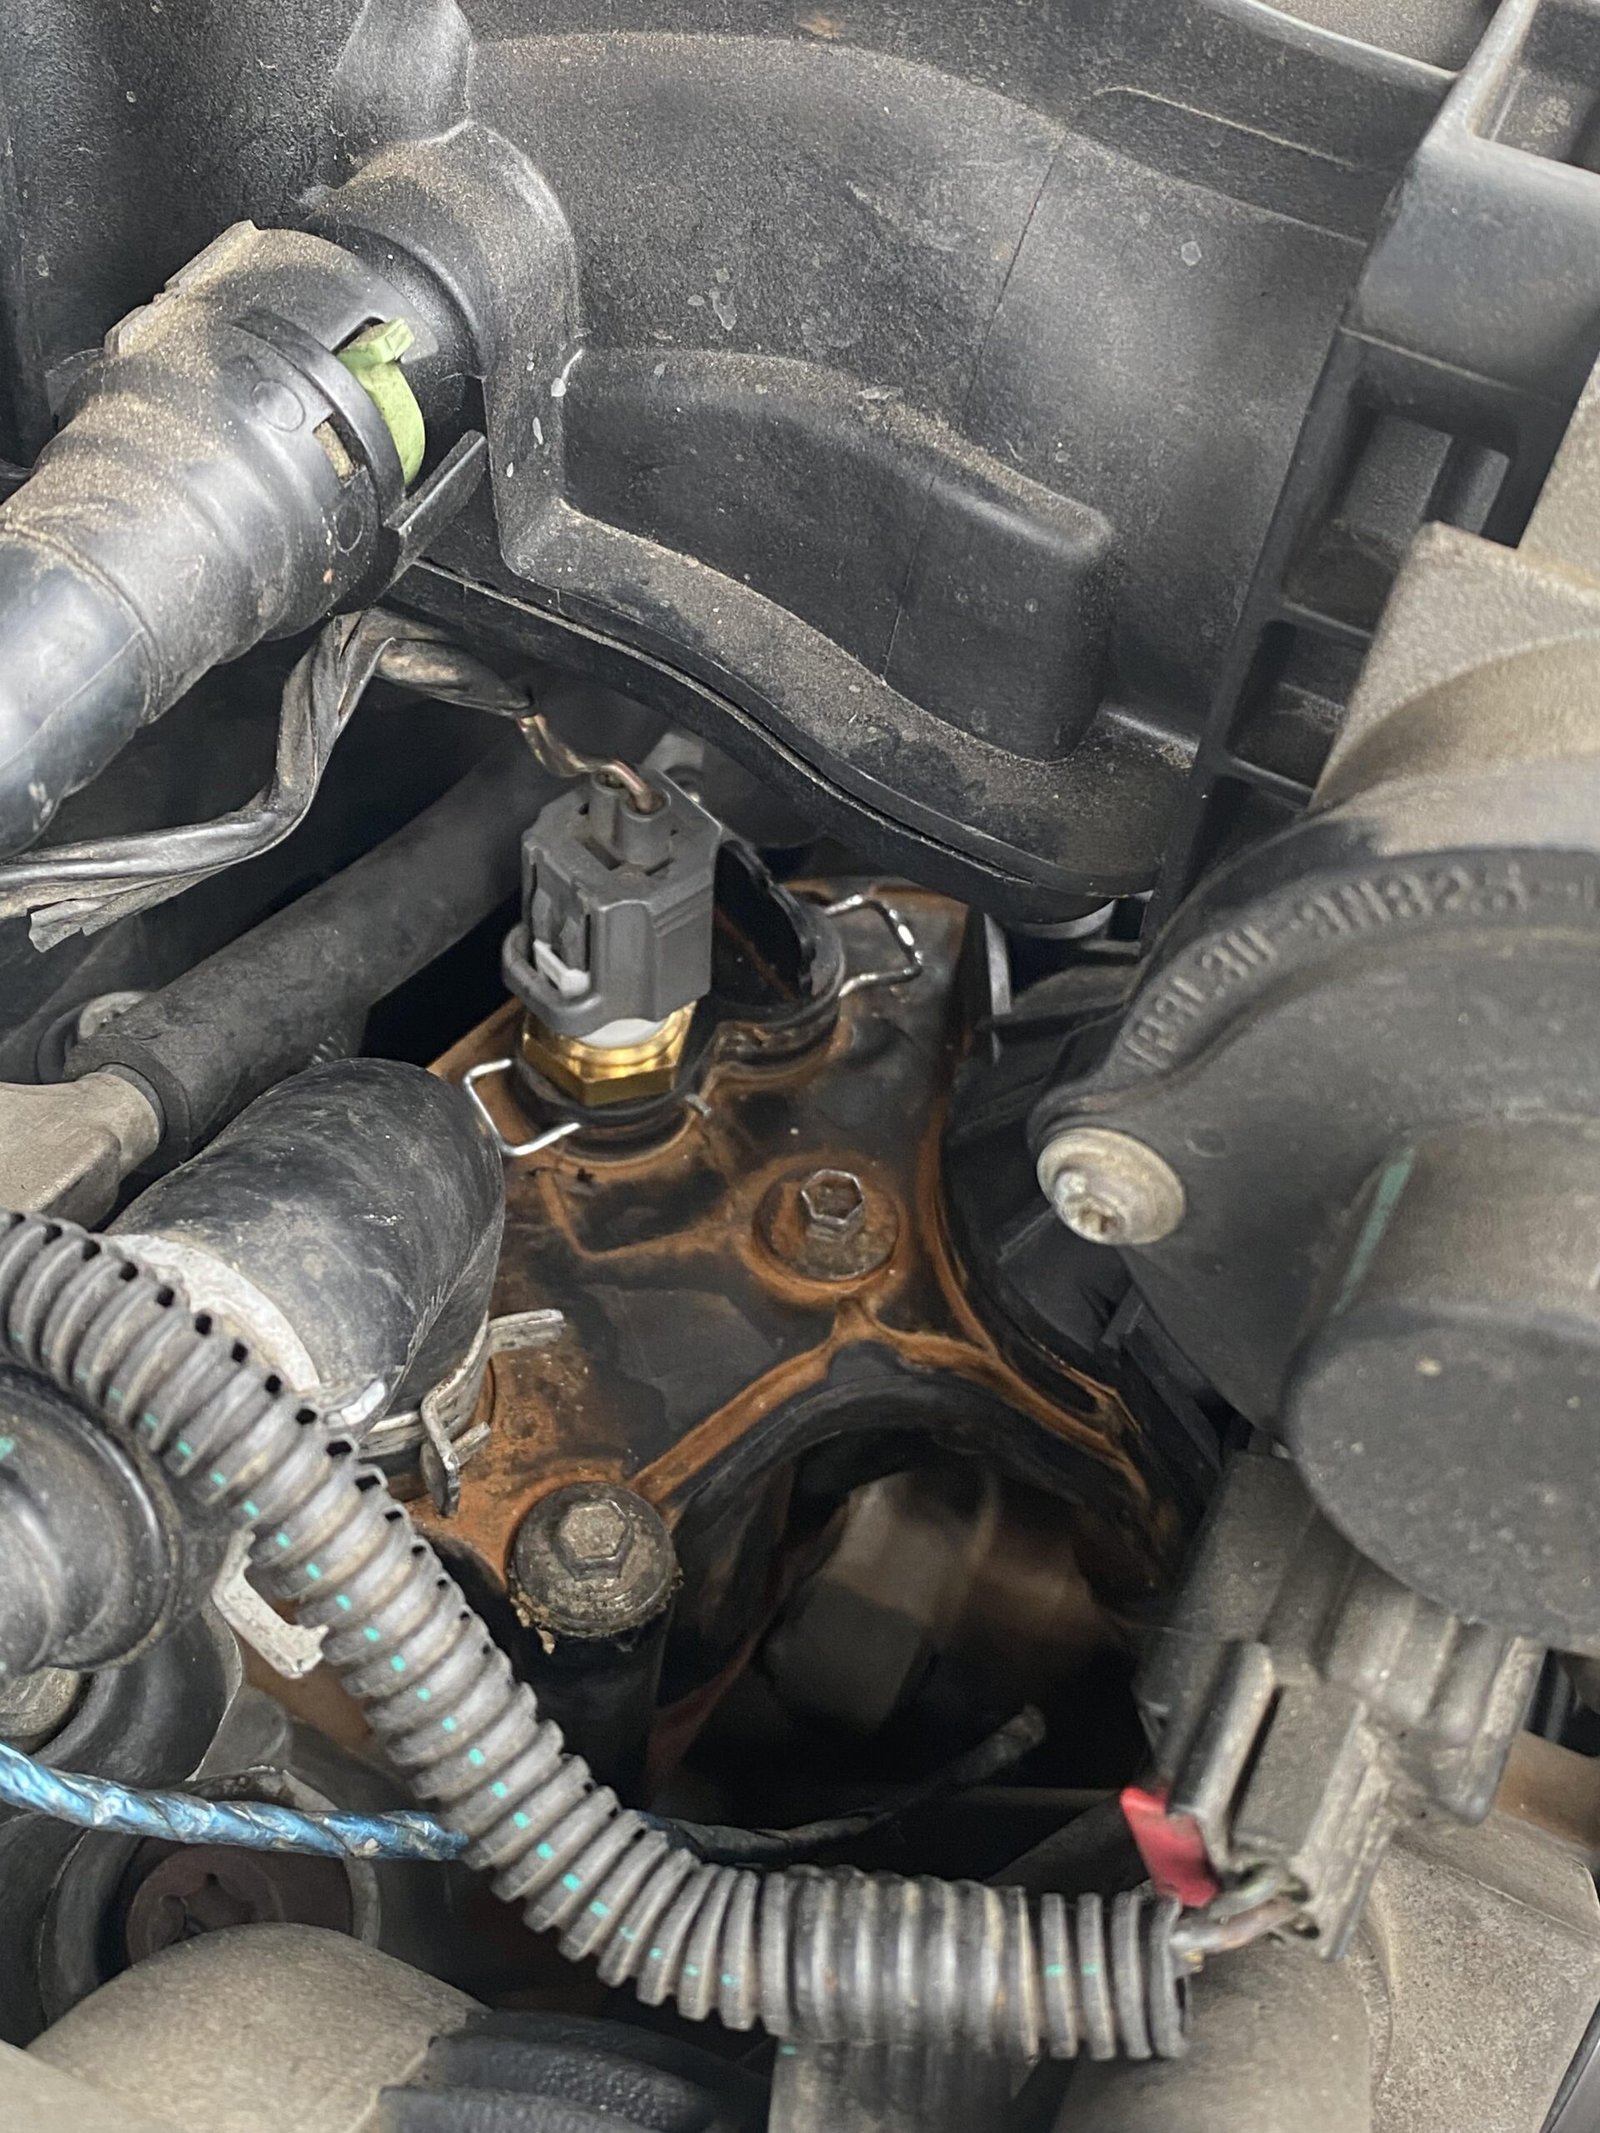
Credit: www.reddit.com
Cleaning The Mating Surfaces
This step is easy to overlook but very important. Old gasket material or sealant must be completely removed, or the new housing will leak.
- Use a gasket scraper or razor blade to clean both the engine surface and the new housing.
- Wipe with a clean rag to remove debris and oil.
- Avoid scratching the metal; deep scratches can cause leaks.
A tip: If the old gasket is really stuck, use a little brake cleaner to soften it before scraping.
Installing The New Thermostat And Housing
- Place the new thermostat in the exact position as the old one. Most thermostats have a small “jiggle valve” or air bleed hole that should point up.
- Install the new gasket or apply a thin bead of sealant if required. Don’t use both unless the manual says so.
- Set the new housing over the thermostat. Line up the bolt holes carefully.
- Hand-tighten the bolts first, then use your torque wrench to finish. Most bolts require 8–15 ft-lbs torque; check your manual.
- Reconnect the radiator hose and clamp.
Over-tightening is a common mistake that cracks plastic housings. Tighten just until snug, then a little more.
Refilling The Coolant
- Close the drain valve or reconnect the lower hose.
- Pour coolant into the radiator slowly. Some cars need a special “bleeding” process to remove air pockets.
- Fill the reservoir to the “MAX” line.
- Reconnect the battery.
If your car needs bleeding, open the bleed screw or run the engine with the radiator cap off until bubbles stop coming out. Add more coolant as needed.
Starting And Checking For Leaks
Start the engine and let it warm up. Watch for:
- Leaks around the housing or hose connections.
- Temperature gauge rising to normal.
- Heater blowing hot air.
Let the engine cool again, then recheck the coolant level and top off if necessary.
Here’s a simple comparison of common thermostat housing materials:
| Material | Durability | Cost | Common Issues |
|---|---|---|---|
| Plastic | Low to Medium | Low | Cracks with age/heat |
| Aluminum | High | Medium | Corrosion |
| Cast Iron | Very High | High | Rust (if not coated) |
Common Mistakes To Avoid
Even careful DIYers can make mistakes. Here are some to watch for:
- Not cleaning surfaces completely, which causes leaks.
- Wrong thermostat orientation—this blocks coolant flow.
- Mixing different coolant types—can cause sludge or engine damage.
- Forgetting to bleed air—leads to overheating.
- Over-tightening bolts—cracks the housing or strips threads.
If you’re not sure, take a photo of each step with your phone. It helps when putting things back together.
How Long Does It Take To Replace?
Most people can replace a thermostat housing in 1–2 hours if they have the tools ready. First timers might take a bit longer, especially if bolts are hard to reach or corroded.
Here’s a quick breakdown of time for each step:
| Step | Estimated Time |
|---|---|
| Preparation | 15 minutes |
| Draining Coolant | 10 minutes |
| Removing Housing | 20–30 minutes |
| Cleaning Surfaces | 15 minutes |
| Installing New Parts | 20 minutes |
| Refilling/Bleeding | 15–30 minutes |
When To Replace The Thermostat Too
If you’re replacing the housing, it’s smart to change the thermostat at the same time. Thermostats are cheap and often fail around the same time as the housing. This saves you from doing the job twice.
Some cars use a “one-piece” thermostat and housing assembly. In this case, you must replace both together.
Cost Of Replacing Thermostat Housing
The cost depends on your car and the parts you choose. Here’s a simple comparison:
| Option | Parts Cost | Labor (if professional) | Total |
|---|---|---|---|
| Do-It-Yourself | $20–$80 | $0 | $20–$80 |
| Mechanic Shop | $30–$120 | $100–$250 | $130–$370 |
| Dealership | $40–$150 | $200–$400 | $240–$550 |
Doing it yourself is a big saving, but make sure you’re comfortable with the process.
Safety And Environmental Tips
- Always let the engine cool before starting.
- Wear gloves and eye protection.
- Clean up spills immediately; coolant is harmful to animals.
- Dispose of old coolant properly—never pour it down the drain.
Many local auto stores will recycle coolant for free.
When To Get Help
If you run into stuck bolts, unclear steps, or don’t feel confident, it’s okay to ask for help. Some modern cars have complicated cooling systems or require special tools. When in doubt, talk to a mechanic or visit the car’s owners forum.
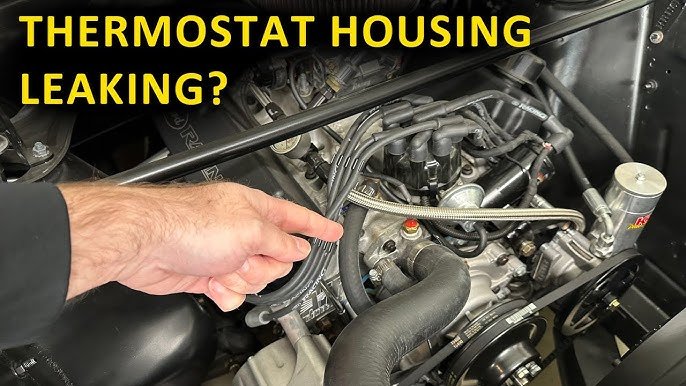
Credit: www.youtube.com
Final Thoughts
Replacing a car thermostat housing is a practical and money-saving skill. You don’t need to be a professional to do it, just careful and patient. Take your time, follow each step, and you’ll help keep your car running smoothly. Plus, you’ll gain confidence for future repairs. For more technical details, the Wikipedia Thermostat (housing) page offers additional background.
Frequently Asked Questions
How Do I Know If My Thermostat Housing Is Bad?
Look for coolant leaks, overheating, or visible cracks. If the engine temperature is not steady, inspect the housing. Sometimes, you’ll also notice a sweet smell from leaking coolant.
Can I Drive With A Leaking Thermostat Housing?
It’s risky. Even a small leak can cause the engine to overheat, leading to major damage. It’s best to repair or replace the housing as soon as possible.
Do I Need To Replace The Thermostat When I Change The Housing?
It’s strongly recommended. Thermostats are inexpensive, and it’s easier to replace both at the same time. This prevents doing the job twice if the thermostat fails later.
How Do I Bleed Air Out Of The Cooling System?
After refilling coolant, run the engine with the radiator cap off until the thermostat opens and bubbles stop coming out. Some cars have a bleed screw—open it until coolant flows smoothly.
What Type Of Coolant Should I Use After Replacing The Housing?
Check your owner’s manual for the correct type. Mixing different types can harm your engine. Use only the recommended coolant for your vehicle.
With careful work and attention to detail, replacing your car’s thermostat housing can be a satisfying and successful project.

Credit: shop.advanceautoparts.com
