Checking your car radiator for leaks is one of the smartest things you can do to protect your engine. A leaky radiator can cause overheating, engine damage, or even leave you stranded on the side of the road. Many car owners miss early signs of a leak because they don’t know what to look for or think the process is too technical.
But with the right approach and a little time, you can spot most leaks before they become expensive problems. This guide will take you through the steps, tools, and tips needed to check your car radiator for leaks like a pro—even if you’re not an expert.
Why Checking For Radiator Leaks Matters
Your car’s radiator is central to its cooling system. It circulates coolant to absorb engine heat and releases it through the radiator fins. If a leak develops, coolant escapes, and the system can’t maintain the proper temperature. As a result, the engine may overheat, leading to warped parts, head gasket failure, or even engine seizure. Statistics from the National Highway Traffic Safety Administration show that cooling system failures are responsible for a significant percentage of roadside breakdowns each year.
Ignoring a minor leak can cause:
- Reduced engine performance
- Permanent engine damage
- Expensive repairs
Early detection not only saves money but can prevent accidents and keep your vehicle running safely.
Signs Your Radiator Might Be Leaking
Most radiator leaks start small. Knowing the warning signals helps you act before things get serious. Here are the most common signs:
- Low coolant levels: If you need to top off the coolant more often, a leak is likely.
- Puddles under your car: Bright green, orange, or pink liquid under the engine area means coolant is escaping.
- Sweet smell: Coolant has a distinct, sweet odor. If you notice this, especially after parking, check for leaks.
- Engine temperature gauge rising: If your temperature gauge moves into the red or hotter than normal, check for leaks immediately.
- Steam from the hood: This is a classic sign of a cooling system problem, often related to leaks.
Catching these signs early can make the difference between a quick fix and a major repair.
Tools And Materials You’ll Need
You don’t need a full mechanic’s toolkit to check for radiator leaks. Here are the basics:
- Flashlight: Helps you see in tight spaces.
- Gloves: Coolant can irritate skin.
- Rags or paper towels: For cleaning and checking liquid color.
- Coolant (antifreeze): To top up if needed.
- Radiator pressure tester: Optional, but very helpful for finding small leaks.
- Water spray bottle: To clean dirty areas.
- Jack and stands: If you need to inspect under the car.
Most of these items are affordable and can be found at auto parts stores.
How To Safely Prepare Your Car
Before checking for leaks, safety comes first. Radiators can reach temperatures above 200°F (93°C) and coolant is under pressure.
- Let the engine cool: Wait at least 30-60 minutes after driving. Never open the radiator cap when hot.
- Park on a level surface: This prevents coolant from pooling in one area.
- Wear gloves and eye protection: Protects you from spills and splashes.
- Gather all tools: Have everything ready so you don’t rush and miss steps.
These basic preparations reduce risks and make your inspection more effective.
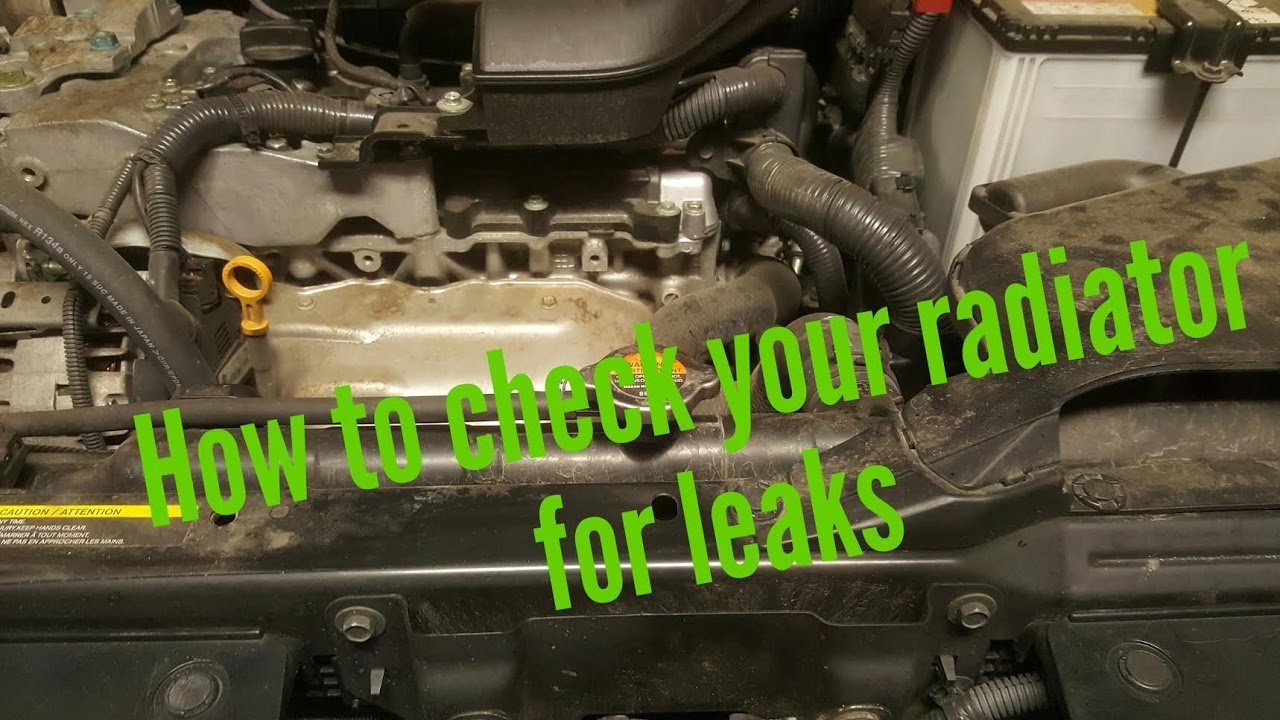
Credit: www.youtube.com
Step-by-step Guide To Checking For Radiator Leaks
1. Visual Inspection
Start with the simplest and most common method.
- Open the hood and locate the radiator. It’s usually at the front, behind the grille.
- Check the radiator core and tanks: Look for wet spots, stains, or discoloration. Pay special attention to the seams and corners.
- Follow the hoses: Inspect upper and lower radiator hoses for cracks, bulges, or signs of moisture.
- Look under the car: Use a flashlight to check for drips or puddles directly under the radiator.
Non-obvious insight: Leaks often leave a white or light-colored residue after coolant dries. Even if you don’t see liquid, these marks are a clue.
2. Check Coolant Level
- Open the coolant reservoir, not the radiator cap (unless the engine is cold). The reservoir is usually a translucent plastic tank with “MIN” and “MAX” lines.
- If the level is low, and you topped it up recently, a leak is likely.
- Check the coolant color. Cloudy or rusty coolant can indicate internal leaks or corrosion.
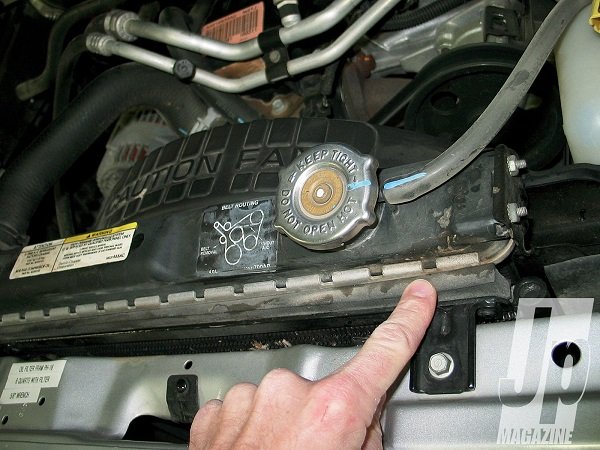
3. Inspect The Radiator Cap
- Remove the radiator cap only when the engine is cold.
- Look for broken rubber seals or corrosion.
- A faulty cap can cause coolant loss by not holding pressure, even if the radiator itself is fine.
4. Pressure Test (if Needed)
A radiator pressure tester is the best way to find tiny leaks. You can rent one from most auto parts stores.
- Attach the tester to the radiator neck (in place of the cap).
- Pump the tester up to the pressure listed on your radiator cap (usually 13-16 psi).
- Watch for a drop in pressure or any new leaks appearing.
This method can reveal leaks too small to see during a normal inspection.
5. Dye Test (advanced)
Many garages use a UV dye to detect hard-to-find leaks.
- Add leak detection dye to the coolant.
- Run the engine for 10-15 minutes.
- Shine a UV light around the radiator and hoses. The dye glows where leaks are present.
This step is optional but can be useful if you suspect a leak but can’t see it.
Areas Most Likely To Leak
Leaks don’t always come from the obvious places. Here’s a breakdown of the most common sources:
| Area | Leak Likelihood | Typical Cause |
|---|---|---|
| Radiator Core | High | Corrosion, physical damage |
| Hose Connections | High | Loose clamps, cracked hoses |
| Radiator Cap | Medium | Seal failure, aging |
| Side Tanks (plastic) | Medium | Heat cycling, cracks |
| Core-to-Tank Joints | Medium | Vibration, seal wear |
Example: Many modern cars use plastic tanks crimped to aluminum cores. These joints can loosen over time, leading to hidden leaks.
What To Do If You Find A Leak
Finding a leak early puts you in control. Here are your next steps:
- Small leaks: If you spot a tiny leak at a hose or clamp, tighten the clamp or replace the hose.
- Radiator cap leaks: Replace the cap. They’re inexpensive and easy to swap.
- Moderate leaks: Use a commercial radiator sealant as a temporary fix. This can seal pinhole leaks until you get repairs.
- Major leaks: If the radiator core or plastic tank is damaged, replacement is usually the only safe solution.
- Internal leaks: If coolant disappears but no external leaks are found, consult a mechanic. Internal leaks (like a blown head gasket) need professional repair.
Non-obvious insight: Using tap water instead of the correct coolant mix can cause more leaks. Tap water increases corrosion and scale inside the radiator.
Common Mistakes To Avoid
Even experienced DIYers make errors when checking for radiator leaks. Avoid these common mistakes:
- Opening the radiator cap when hot: This can cause severe burns from steam and hot coolant.
- Ignoring small puddles: Even a few drops can point to a growing problem.
- Using the wrong coolant: Always use the manufacturer’s recommended type. Mixing types can cause gelling and blockages.
- Over-tightening hose clamps: This can cut into hoses, causing leaks instead of preventing them.
- Skipping regular checks: Waiting until you see steam or the engine overheats is too late.
How Radiator Leak Detection Compares To Other Cooling System Checks
It’s easy to mix up radiator leak checks with other cooling system inspections. Here’s how they compare:
| Check Type | What It Detects | Best For |
|---|---|---|
| Radiator Leak Check | External leaks, cap problems | Most common issues |
| Heater Core Check | Leaks inside cabin, fogged windows | Sweet smell, wet carpets |
| Thermostat Test | Stuck open/closed, overheating | Erratic temperature readings |
| Water Pump Check | Leaks, bearing noise | Coolant under engine front |
Focusing on the radiator first is smart, since it’s the most common source of leaks.
When To See A Professional
Sometimes, DIY methods aren’t enough. Call a professional if:
- The leak is large or spraying under pressure
- Coolant loss is rapid and you can’t find the source
- There’s white smoke from the exhaust (could mean a head gasket leak)
- The engine overheats even after topping up coolant
Professional mechanics have advanced tools like pressure testers and borescopes. They can also check for internal leaks that aren’t visible.
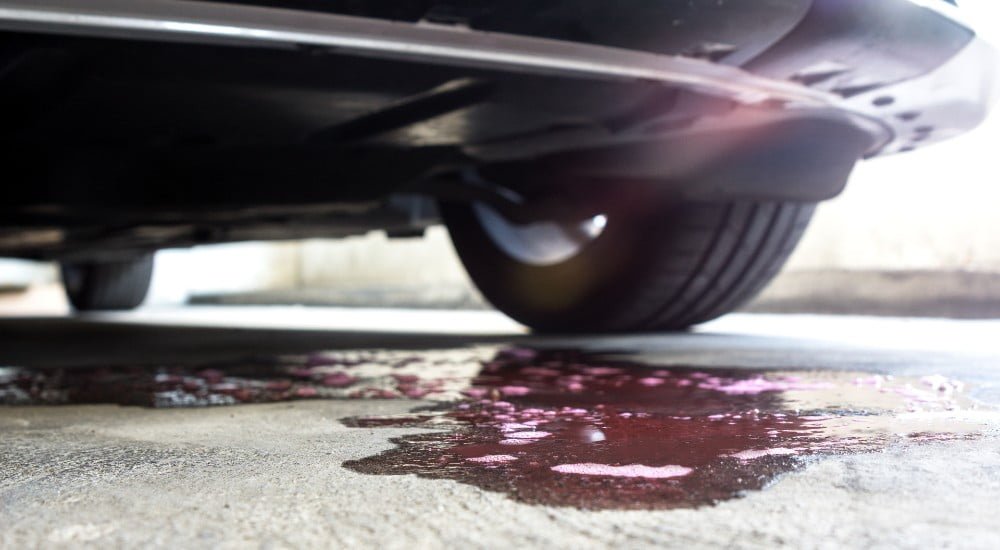
Credit: natrad.com.au
How To Prevent Future Radiator Leaks
Prevention is better than repair. Here’s what you can do:
- Flush coolant regularly: Most manufacturers recommend every 2-5 years or 30,000-60,000 miles.
- Use proper coolant mix: Always mix coolant and distilled water as recommended (usually 50/50).
- Replace old hoses and caps: These are cheap compared to engine repairs.
- Check for vibration and secure mounts: Loose mounts can stress radiator joints.
- Inspect after accidents: Even minor bumps can crack radiators or loosen connections.
Regular care keeps your cooling system—and your wallet—safe.
Real-world Example
Sarah, a daily commuter, noticed her temperature gauge creeping higher each week. She ignored a small green stain on her driveway. Two months later, her car overheated in traffic. The repair bill? Over $1,200 for a warped cylinder head. If Sarah had checked for leaks early and replaced a $15 hose, she could have avoided this costly repair.
Comparison Of Leak Detection Methods
To help you choose the right method, here’s a comparison of common leak detection tools:
| Method | Cost | Accuracy | DIY-Friendly |
|---|---|---|---|
| Visual Inspection | Free | Moderate | Yes |
| Pressure Tester | Low/Medium (Rentable) | High | Yes |
| Dye Test | Medium | Very High | Yes (with kit) |
| Professional Inspection | High | Very High | No |
Tip: For most car owners, a visual check and a pressure tester rental are the best mix of cost and accuracy.
Frequently Asked Questions
How Often Should I Check My Car Radiator For Leaks?
It’s smart to check your radiator every few months, or before long trips. Also, inspect it if you notice coolant loss, overheating, or puddles under your car.
Can I Drive With A Small Radiator Leak?
It’s risky. Even a small leak can get worse quickly, and you might end up stranded or with engine damage. Fix leaks as soon as possible.
What Kind Of Coolant Should I Use After Repairing A Leak?
Use the coolant type recommended in your car’s manual. Mixing types can cause chemical reactions and damage the cooling system.
Is A Radiator Stop-leak Product Safe?
Stop-leak products can be a temporary solution for small leaks, but they’re not a permanent fix. They may clog other parts of the cooling system if overused.
Where Can I Learn More About Car Radiator Maintenance?
For more in-depth information, visit the Wikipedia radiator page, which covers radiator types, function, and care.
Checking your car radiator for leaks is not difficult, but it requires attention to detail and regular inspection. By following these steps, using the right tools, and taking action early, you can keep your engine cool and avoid costly repairs.
A little time spent now can save you a lot of trouble down the road.
Credit: africaautomotivenews.com
