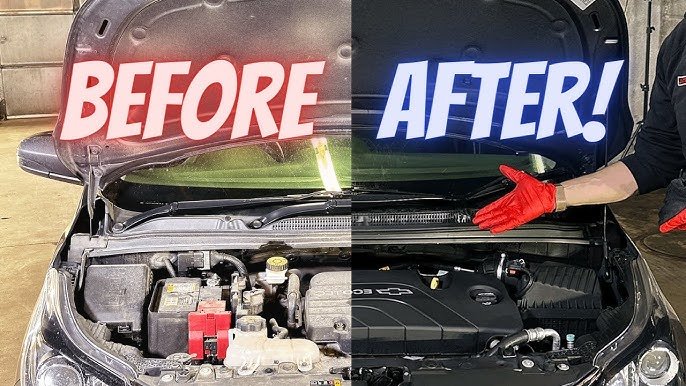
Cleaning your car’s engine bay may sound difficult or even a bit risky, but it’s actually a task you can do at home with the right approach. Many car owners ignore this area, focusing only on the outside and inside of their vehicle.
However, a clean engine bay not only looks better but can also help keep your car running smoothly and make spotting leaks or worn parts much easier. Whether you’re preparing your car for sale, want to keep your engine in top shape, or just enjoy a well-maintained vehicle, learning how to clean your engine bay step by step is a valuable skill.
If you’re new to this, don’t worry. You don’t need expensive tools or strong chemicals. With patience, some basic supplies, and a little know-how, you can achieve professional-looking results. Along the way, you’ll discover a few tips most beginners miss—like what parts to cover to avoid damage, and why engine bay cleaning is not just about looks.
Let’s walk through the process together, so you can clean your engine bay safely, efficiently, and confidently.
Why Clean Your Car Engine Bay?
The engine bay is the heart of your car. Over time, dust, grease, and oil build up in this area. This can cause issues such as:
- Reduced cooling: Dirt blocks airflow and traps heat.
- Harder inspections: Oil leaks or damaged parts are harder to spot.
- Faster wear: Grime can speed up corrosion and rubber decay.
A clean engine bay also increases resale value. Car buyers and mechanics trust a car that’s clearly well-cared for. In fact, a survey by Carfax showed that vehicles with clean engine bays often sell 5-10% faster than those with dirty ones.
What You’ll Need Before You Start
Gathering your supplies before you begin makes the process faster and safer. Here’s what you’ll need:
- Protective gloves (nitrile or rubber)
- Safety glasses
- Plastic bags or cling film (for covering sensitive parts)
- Degreaser (engine-specific or gentle all-purpose)
- Soft brushes (paintbrush or detailing brush)
- Microfiber towels
- Garden hose with spray nozzle (low pressure)
- Bucket with warm water
- Compressed air (optional, for quick drying)
- Trim dressing (optional, for plastic and rubber parts)
Avoid using high-pressure washers or strong solvents, as they can damage electrical parts and finishes.
Safety First: Preparing Your Car
Before you start spraying or scrubbing, preparation is key. Here’s how to keep your engine and yourself safe:
- Make sure the engine is cool. Never clean a hot engine. Let your car sit for at least 30–45 minutes after driving.
- Disconnect the battery. Remove the negative terminal to avoid shorts or shocks. For extra safety, take out the whole battery and clean it separately.
- Cover sensitive parts. Use plastic bags or cling film to protect the following:
- Alternator
- Exposed wiring or sensors
- Air intake and filter
- Electronic control modules
Covering these parts keeps water and cleaner from causing damage. If you’re unsure which parts to cover, check your owner’s manual or look for exposed connectors and electronics.
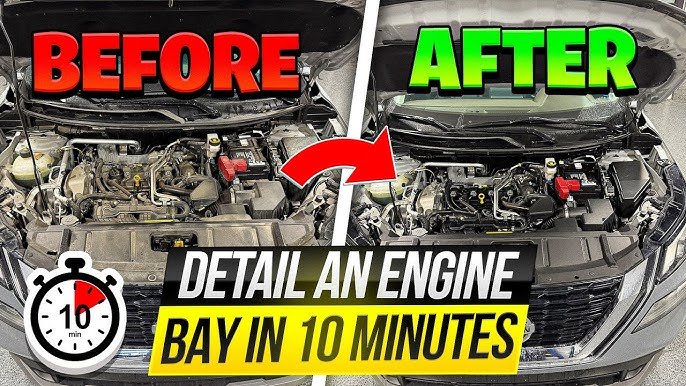
Step-by-step Guide To Cleaning Your Engine Bay
Let’s go through each stage, so you can clean your engine bay thoroughly and safely.
Step 1: Remove Loose Debris
Open the hood and check for leaves, twigs, or dirt. Use your hands or a soft brush to pick out and sweep away this loose debris. Pay extra attention to corners and the space near the windshield, where debris often collects.
Step 2: Dry Brush The Engine Bay
Before adding any water or cleaner, take a dry brush and gently sweep off loose dust and dirt from surfaces. Focus on the valve cover, battery tray, and wiring. This step makes degreasing more effective and prevents mud from forming when water is added.
Step 3: Apply Engine Degreaser
Spray a generous but controlled amount of degreaser onto all dirty and greasy surfaces. Avoid soaking electrical connectors or covered areas. Let the degreaser sit for 3–5 minutes to break down grime. For tough spots, agitate with a soft brush.
Choosing The Right Degreaser
Not all degreasers are equal. Here’s a quick comparison:
| Type | Strength | Safe for Plastics | Typical Price |
|---|---|---|---|
| Citrus-based | Medium | Yes | $8–$12 |
| Solvent-based | High | No | $10–$18 |
| All-purpose cleaner | Low | Yes | $6–$10 |
Tip: Citrus-based degreasers are safest for most home users. Avoid harsh solvents that can damage paint or plastic.
Step 4: Agitate And Scrub
Use your brushes to scrub oily spots, caps, and hoses. For tight corners, a toothbrush or detailing brush works well. Don’t rush—spend extra time on areas with visible oil buildup or sticky residue.
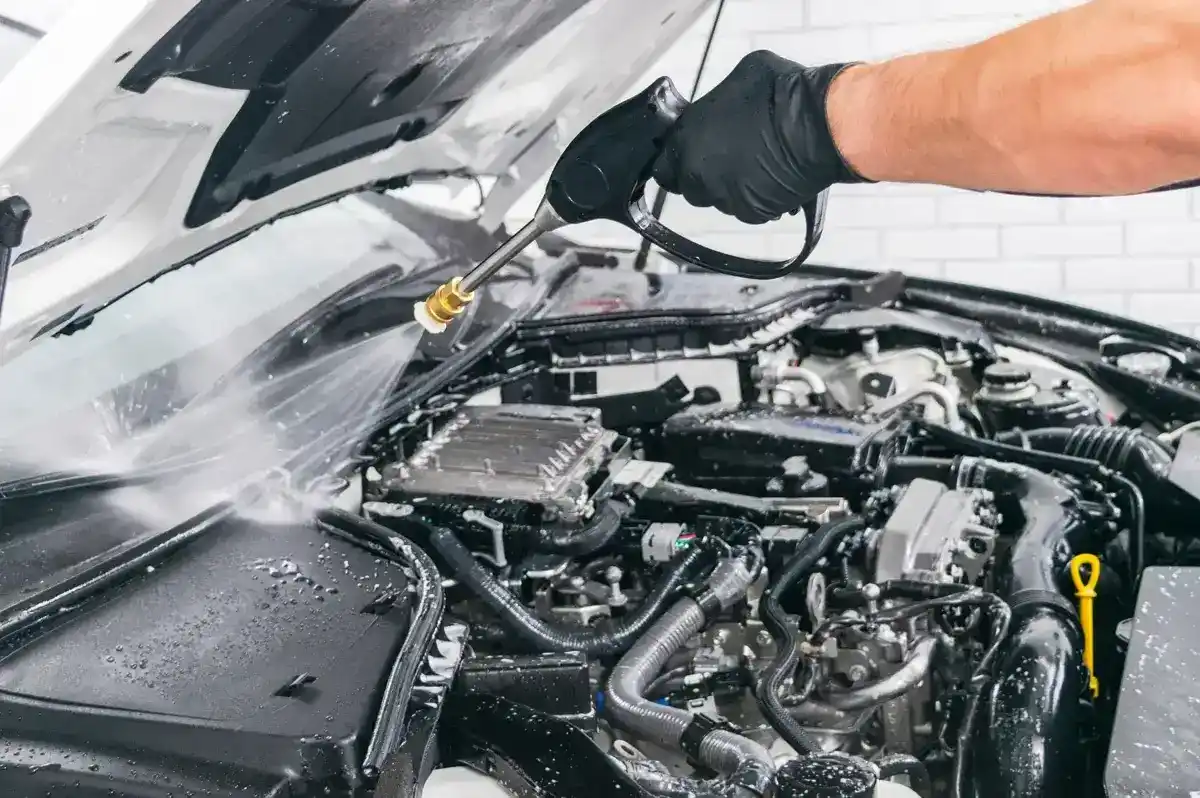
Step 5: Rinse Carefully
Using a garden hose with a gentle spray, rinse the engine bay. Avoid direct spraying on electrical parts. Keep the pressure low to prevent water from getting into connectors.
Water Usage Comparison
| Method | Water Used (Approx.) | Risk of Damage |
|---|---|---|
| Garden hose (low pressure) | 2–4 gallons | Low |
| High-pressure washer | 10–15 gallons | High |
| Spray bottle only | <1 gallon | Very low |
If you’re unsure, you can use a spray bottle filled with water for more control.
Step 6: Dry The Engine Bay
After rinsing, use microfiber towels to wipe down surfaces. Remove as much water as possible, especially around sensitive parts. If you have compressed air, use it to blow out water from connectors and tight areas. Let the hood stay open for at least 30 minutes to air dry fully.
Step 7: Remove Covers And Reconnect Battery
Once everything is dry, carefully take off the plastic covers or bags from electrical components. Reinstall the battery if you removed it, and reconnect the negative terminal.
Step 8: Apply Trim Dressing (optional)
If you want a like-new look, apply a rubber/plastic dressing to hoses and plastic covers. This step helps protect against UV damage and cracking. Wipe off any excess to avoid a greasy finish.
Step 9: Final Inspection
Do a quick check. Make sure all tools are removed, everything is dry, and there are no loose parts. Start your engine and let it idle for a few minutes. Listen for any strange sounds and watch for warning lights.
Credit: www.youtube.com
Common Mistakes To Avoid
Many people make simple mistakes when cleaning their engine bay for the first time. Here’s what to watch out for:
- Using high-pressure water directly on the engine
- Forgetting to cover exposed wiring or the alternator
- Cleaning a hot engine (can cause cracks or burns)
- Using household cleaners that are too strong or leave residue
- Not drying thoroughly, leading to rust or electrical problems
One non-obvious insight: Even a little water trapped in spark plug wells or coil packs can cause engine misfires. Always dry these areas carefully.
How Often Should You Clean Your Engine Bay?
Most car owners only need to clean the engine bay once or twice a year. If you drive in dusty or muddy environments, consider cleaning more often. Regular light cleaning (just wiping down with a damp cloth) between deep cleans will keep things looking fresh.
Does Cleaning The Engine Bay Improve Performance?
While cleaning itself won’t boost horsepower, it does have real benefits:
- Makes it easier to spot leaks or worn parts early
- Prevents corrosion that can affect sensors and wiring
- Helps mechanics during repairs or inspections
In rare cases, built-up grime can overheat parts or block sensors. So, a clean engine bay can help your car run more reliably.
Environmental Considerations
Be mindful of where you rinse off grease and chemicals. Avoid letting run-off enter storm drains, as this can harm local water sources. Clean your engine bay over gravel or grass, or use a drip tray to catch water and dispose of it safely.
Many car washes have special areas for engine cleaning.
Credit: www.gulfoilltd.com
Quick Comparison: Diy Vs. Professional Engine Bay Cleaning
If you’re wondering whether to clean your engine bay yourself or hire a professional, here’s a quick side-by-side:
| Aspect | DIY Cleaning | Professional Service |
|---|---|---|
| Cost | $10–$30 | $70–$150 |
| Time Needed | 1–2 hours | 30–60 minutes |
| Risk | Medium (if not careful) | Low |
| Result | Good (with care) | Excellent |
Extra Tips For A Safer, Cleaner Engine Bay
- Always check your car’s owner’s manual for special warnings.
- Use a flashlight to spot dirt in hidden areas.
- For older cars, be extra gentle with hoses and plastic—they get brittle over time.
- Take before-and-after photos to track your results.
Credit: www.youtube.com
Frequently Asked Questions
How Long Does It Take To Clean A Car Engine Bay?
The whole process usually takes 1 to 2 hours for a first-timer. This includes waiting for the engine to cool, covering sensitive parts, applying cleaner, scrubbing, rinsing, drying, and removing covers.
Can I Use A Pressure Washer To Clean My Engine Bay?
It’s not recommended for most vehicles. Pressure washers can force water into electrical connectors, causing damage. A gentle hose or spray bottle is much safer for the engine bay.
What Should I Cover Before Cleaning The Engine Bay?
Cover the alternator, exposed wiring or sensors, air intake, and any electronic control modules with plastic bags or wrap. This helps protect them from water and cleaner.
Is It Safe To Clean A Modern Car’s Engine Bay?
Yes, but you must be careful. Modern engine bays have more electronics and sensors than older cars. Always cover sensitive parts, use low water pressure, and avoid harsh chemicals.
Will Cleaning The Engine Bay Void My Warranty?
If done carefully, cleaning the engine bay should not affect your warranty. However, damage caused by improper cleaning (like water in connectors) can void coverage. Always follow your manufacturer’s recommendations and consider checking with your dealer first.
Cleaning your car’s engine bay may seem challenging, but with the right method, it becomes a rewarding task. It helps keep your car running better, lasting longer, and looking its best. If you want more details or official recommendations, visit resources like the Wikipedia Engine Cleaning page for further reading. Whether you drive daily or just want to impress at your next car show, a clean engine bay is always worth the effort.
