Fixing a crack in your car’s side mirror housing may seem like a small issue, but it can cause bigger problems if ignored. A cracked housing not only looks bad, but it also lets water and dirt inside, which can damage the mirror mechanism or even the electronics in newer vehicles. Many car owners think they need to replace the whole mirror assembly, but that’s not always necessary. With a little time, the right tools, and some basic knowledge, you can repair a side mirror housing crack at home and save money.
This guide walks you through every step, from identifying the type of crack to finishing the repair. You’ll learn what materials to use, how to prepare the surface, and how to get a long-lasting result. Whether you’re a DIY beginner or have some experience, these practical tips will help you restore your car’s side mirror housing with confidence.
Understanding Side Mirror Housing Cracks
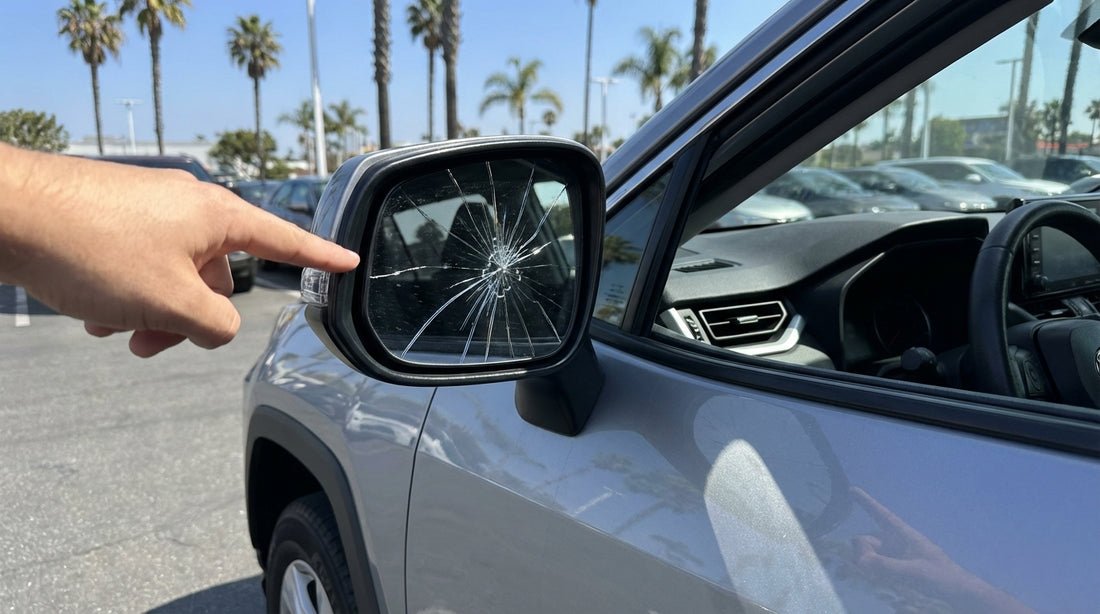
Not all cracks are the same. Before you start, it’s important to know what you’re dealing with. The side mirror housing is usually made from plastic. Cracks can appear for several reasons:
- Minor impacts (like hitting a post or another car door)
- Weather exposure (sun, cold, rain)
- Vibration from driving
Surface cracks are small and often just on the top layer. Deeper cracks might go through the plastic or create a gap. If the housing is actually broken into pieces or the mirror glass is damaged, a full replacement may be needed. But most cracks can be fixed with a few simple steps.
Tools And Materials You Will Need
Gather all your tools and materials before starting. This will save you time and help avoid mistakes.
1. Plastic Epoxy Or Automotive Body Filler
Choose a product designed for car plastics. Two-part epoxies are strong and weather-resistant.
2. Sandpaper
Use 120-grit for rough sanding and 400-grit for smoothing.
3. Utility Knife Or Razor Blade
For cleaning out the crack.
4. Masking Tape
To protect areas you don’t want to get glue or paint on.
5. Plastic Spreader Or Old Credit Card
For applying filler.
6. Microfiber Cloth And Isopropyl Alcohol
For cleaning the surface.
7. Spray Primer And Matching Touch-up Paint
To finish the repair and match your car’s color.
8. Gloves And Safety Glasses
Always use protection.
9. Clamps Or Rubber Bands
Helpful for holding the crack closed while the glue sets.
10. Small Brush
For detailed touch-up work.
Choosing the right epoxy is important. Some products are designed for flexible plastic, while others are for rigid plastic. Read the label and pick one suitable for automotive exterior use.
Credit: holacarrentals.com
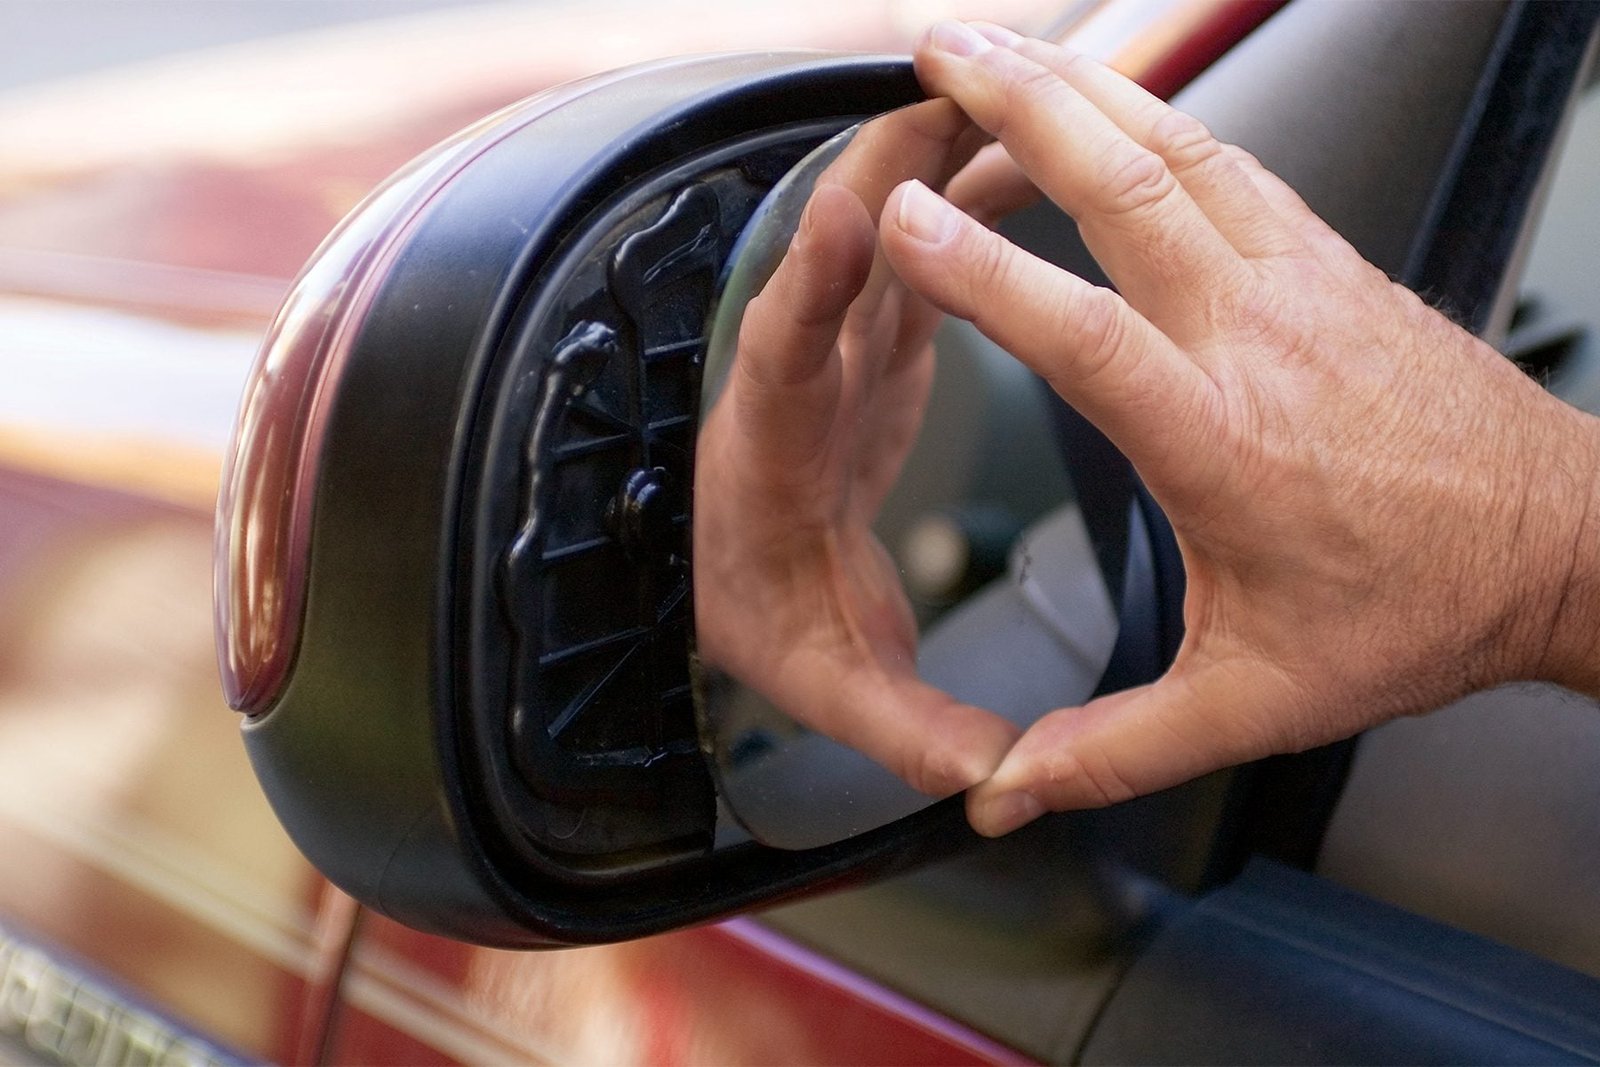
Preparing The Damaged Area
Preparation is key for a durable repair. Rushing this step leads to weak bonding and a poor finish.
1. Clean The Mirror Housing
Wash off all dirt, grease, and wax with soap and water. Dry completely.
2. Inspect The Crack
Use a flashlight if needed. Make sure the crack is not too wide or deep. If the housing is loose or pieces are missing, consider a replacement.
3. Widen The Crack Slightly
Using a utility knife, gently open up the crack a little. This helps the epoxy get inside and bond better. Don’t overdo it—just a light pass.
4. Sand The Area Around The Crack
Use 120-grit sandpaper to roughen 2-3 cm around the crack. This removes gloss and helps the epoxy stick.
5. Clean Again With Isopropyl Alcohol
Wipe away dust and oils with a microfiber cloth.
6. Mask Off Surrounding Areas
Use masking tape to protect paint and the mirror glass.
Many beginners skip the step of widening the crack or sanding the area. This is a common mistake and leads to repairs that don’t last.
Applying Epoxy Or Filler
Now you’re ready to fix the crack itself.
1. Mix The Epoxy
Follow the instructions on the package. Most automotive epoxies need to be mixed in equal parts.
2. Fill The Crack
Use a plastic spreader or old credit card to push the epoxy deep into the crack. Press firmly to remove air bubbles.
3. Hold The Crack Closed
Use clamps or rubber bands to keep the crack tight while the epoxy sets. Check the setting time—usually 10-30 minutes for initial hardening, but full cure can take hours.
4. Add A Second Layer If Needed
For deeper cracks, apply a second layer after the first one sets. This adds strength.
5. Remove Tape And Clean Up Extra Epoxy
Before the epoxy fully hardens, remove masking tape and wipe away any extra with a cloth dampened with alcohol.
6. Let It Cure Fully
Don’t rush. Wait at least as long as the package recommends—overnight is best.
A key tip: work in small sections if the crack is long. This lets you control the glue and get the best bond.
Credit: www.familyhandyman.com
Sanding And Smoothing The Repaired Area
Once the epoxy is completely hard, it’s time to make the repair invisible.
1. Sand Down The Repair
Start with 120-grit sandpaper to level the epoxy with the surface. Sand gently to avoid scratching the rest of the mirror housing.
2. Switch To 400-grit
Smooth out the area with finer sandpaper. The goal is a surface that’s as even as the original plastic.
3. Check For Low Spots
Run your fingers over the area. If you feel dips, add a little more filler, let it dry, and sand again.
4. Wipe Away Dust
Use a clean microfiber cloth.
Here’s a quick comparison of sandpaper grits and their uses:
| Grit Size | Use | Finish |
|---|---|---|
| 120 | Shaping, removing excess filler | Rough |
| 220 | Blending edges | Semi-smooth |
| 400 | Final smoothing before painting | Very smooth |
Many first-timers forget to check for low spots, which causes ugly dips after painting. Take your time on this step.
Priming And Painting For A Seamless Look
To finish the repair, you’ll need to prime and paint the area so it matches the rest of your car. This protects the repair and makes it nearly invisible.
1. Apply Plastic Primer
Use a spray primer made for plastic. Hold the can 20-30 cm away and spray light, even coats. Two coats are better than one. Let it dry as recommended.
2. Sand Lightly With 400-grit
After the primer dries, sand very gently to remove any texture.
3. Spray Touch-up Paint
Use your car’s paint code for a perfect match. Apply several thin coats, letting each dry before adding the next.
4. Blend Into Surrounding Area
Feather the edges so there is no sharp paint line.
5. Let The Paint Cure
Wait at least 24 hours before washing or waxing.
6. Polish If Needed
If the repaired area looks dull, use a plastic polish to bring back the shine.
Here’s a comparison of primer and paint types commonly used for car plastic:
| Product | Best For | Drying Time | Durability |
|---|---|---|---|
| Plastic Primer | All exterior plastics | 15-30 min | High |
| Automotive Touch-Up Paint | Exact color match | 20-40 min | High |
| Universal Spray Paint | Non-color-matched repairs | 10-20 min | Medium |
If you’re unsure about your car’s paint code, check the sticker inside the driver’s door or consult your manual.
When To Replace Instead Of Repair
Not every crack can be fixed. Sometimes, replacement is the only safe and effective option.
1. Large Pieces Missing
If chunks of plastic are gone, the housing will never be strong again.
2. Broken Mounting Points
If the crack affects the mirror’s mounting points, it may not hold securely.
3. Internal Damage
If wires, motors, or the mirror glass are damaged, replacement is usually cheaper and safer.
4. Multiple Deep Cracks
Too many cracks make the repair weak and unreliable.
Here’s a quick look at repair vs. replacement:
| Situation | Repair | Replace |
|---|---|---|
| Small, single crack | ✔ | ✘ |
| Missing plastic | ✘ | ✔ |
| Broken mirror glass | ✘ | ✔ |
| Damaged wiring/motor | ✘ | ✔ |
| Cosmetic surface crack | ✔ | ✘ |
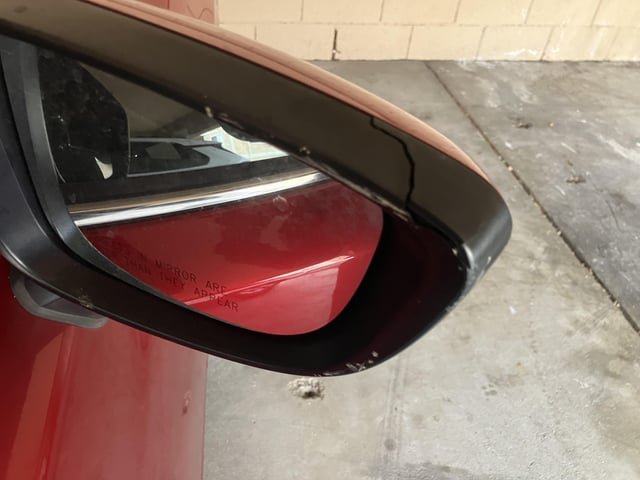
Extra Tips For A Long-lasting Repair
- Work in a clean, dry place. Moisture or dust will ruin the repair.
- Use the right materials. Don’t use household glue; it won’t last outdoors.
- Check your work after a week. If cracks reappear, sand them and repeat the repair.
- Avoid car washes for several days. High-pressure water can disrupt fresh repairs.
One insight many people miss: fixing a side mirror housing crack quickly prevents water from getting inside, which can destroy the mirror’s electric adjustment motors. Repairing early saves much more money later.
Credit: www.reddit.com
Frequently Asked Questions
How Long Does A Side Mirror Housing Repair Last?
A well-done repair with automotive epoxy and proper surface prep can last for years, often as long as the original plastic. However, if the mirror takes another strong hit, it may crack again. Regular checks help catch problems early.
Can I Use Super Glue Instead Of Epoxy?
Super glue is not recommended for exterior car plastic. It gets brittle in cold or hot weather and doesn’t fill gaps well. Automotive epoxy is much stronger and designed for tough conditions.
Will The Repaired Area Be Noticeable?
If you follow all steps—especially sanding, priming, and using the right paint—the repaired area can be nearly invisible. Matching the paint code and blending the edges are key for a seamless look.
Is It Safe To Drive With A Cracked Side Mirror Housing?
Small cracks are usually not dangerous, but large or growing cracks can cause the mirror to become loose or even fall off. It’s best to fix cracks as soon as you notice them.
Where Can I Find My Car’s Paint Code?
Most cars have a sticker with the paint code inside the driver’s door or under the hood. You can also ask your dealer or check the car’s manual. For more details, see Automotive Paint.
Fixing a car side mirror housing crack is a smart DIY project that saves money and keeps your car looking good. With the right tools, careful preparation, and attention to detail, you can repair most cracks at home. The process takes a few hours, but the results are worth it.
Remember, addressing small cracks early prevents bigger problems later. Stay patient, follow each step, and your side mirror will be as strong and sleek as before.
