A car’s dashboard is more than just a control center. It’s one of the first things you and your passengers see every time you enter your vehicle. However, over time, the dashboard can start to look old, cracked, or faded due to sun damage. Hot temperatures, ultraviolet (UV) rays, and direct sunlight can cause the dashboard material to lose color, dry out, or even crack. If you park your car outdoors often, you may notice these problems sooner than you expect.
Many car owners feel frustrated seeing their once-shiny dashboard turn brittle and dull. The good news is, you don’t have to live with it—or pay a fortune at an auto shop. With the right steps and a bit of patience, you can restore your sun damaged dashboard and even protect it from future harm.
This article will guide you through everything you need to know, from understanding the damage to practical repair methods, protection tips, and common mistakes to avoid.
Understanding Sun Damage On Car Dashboards
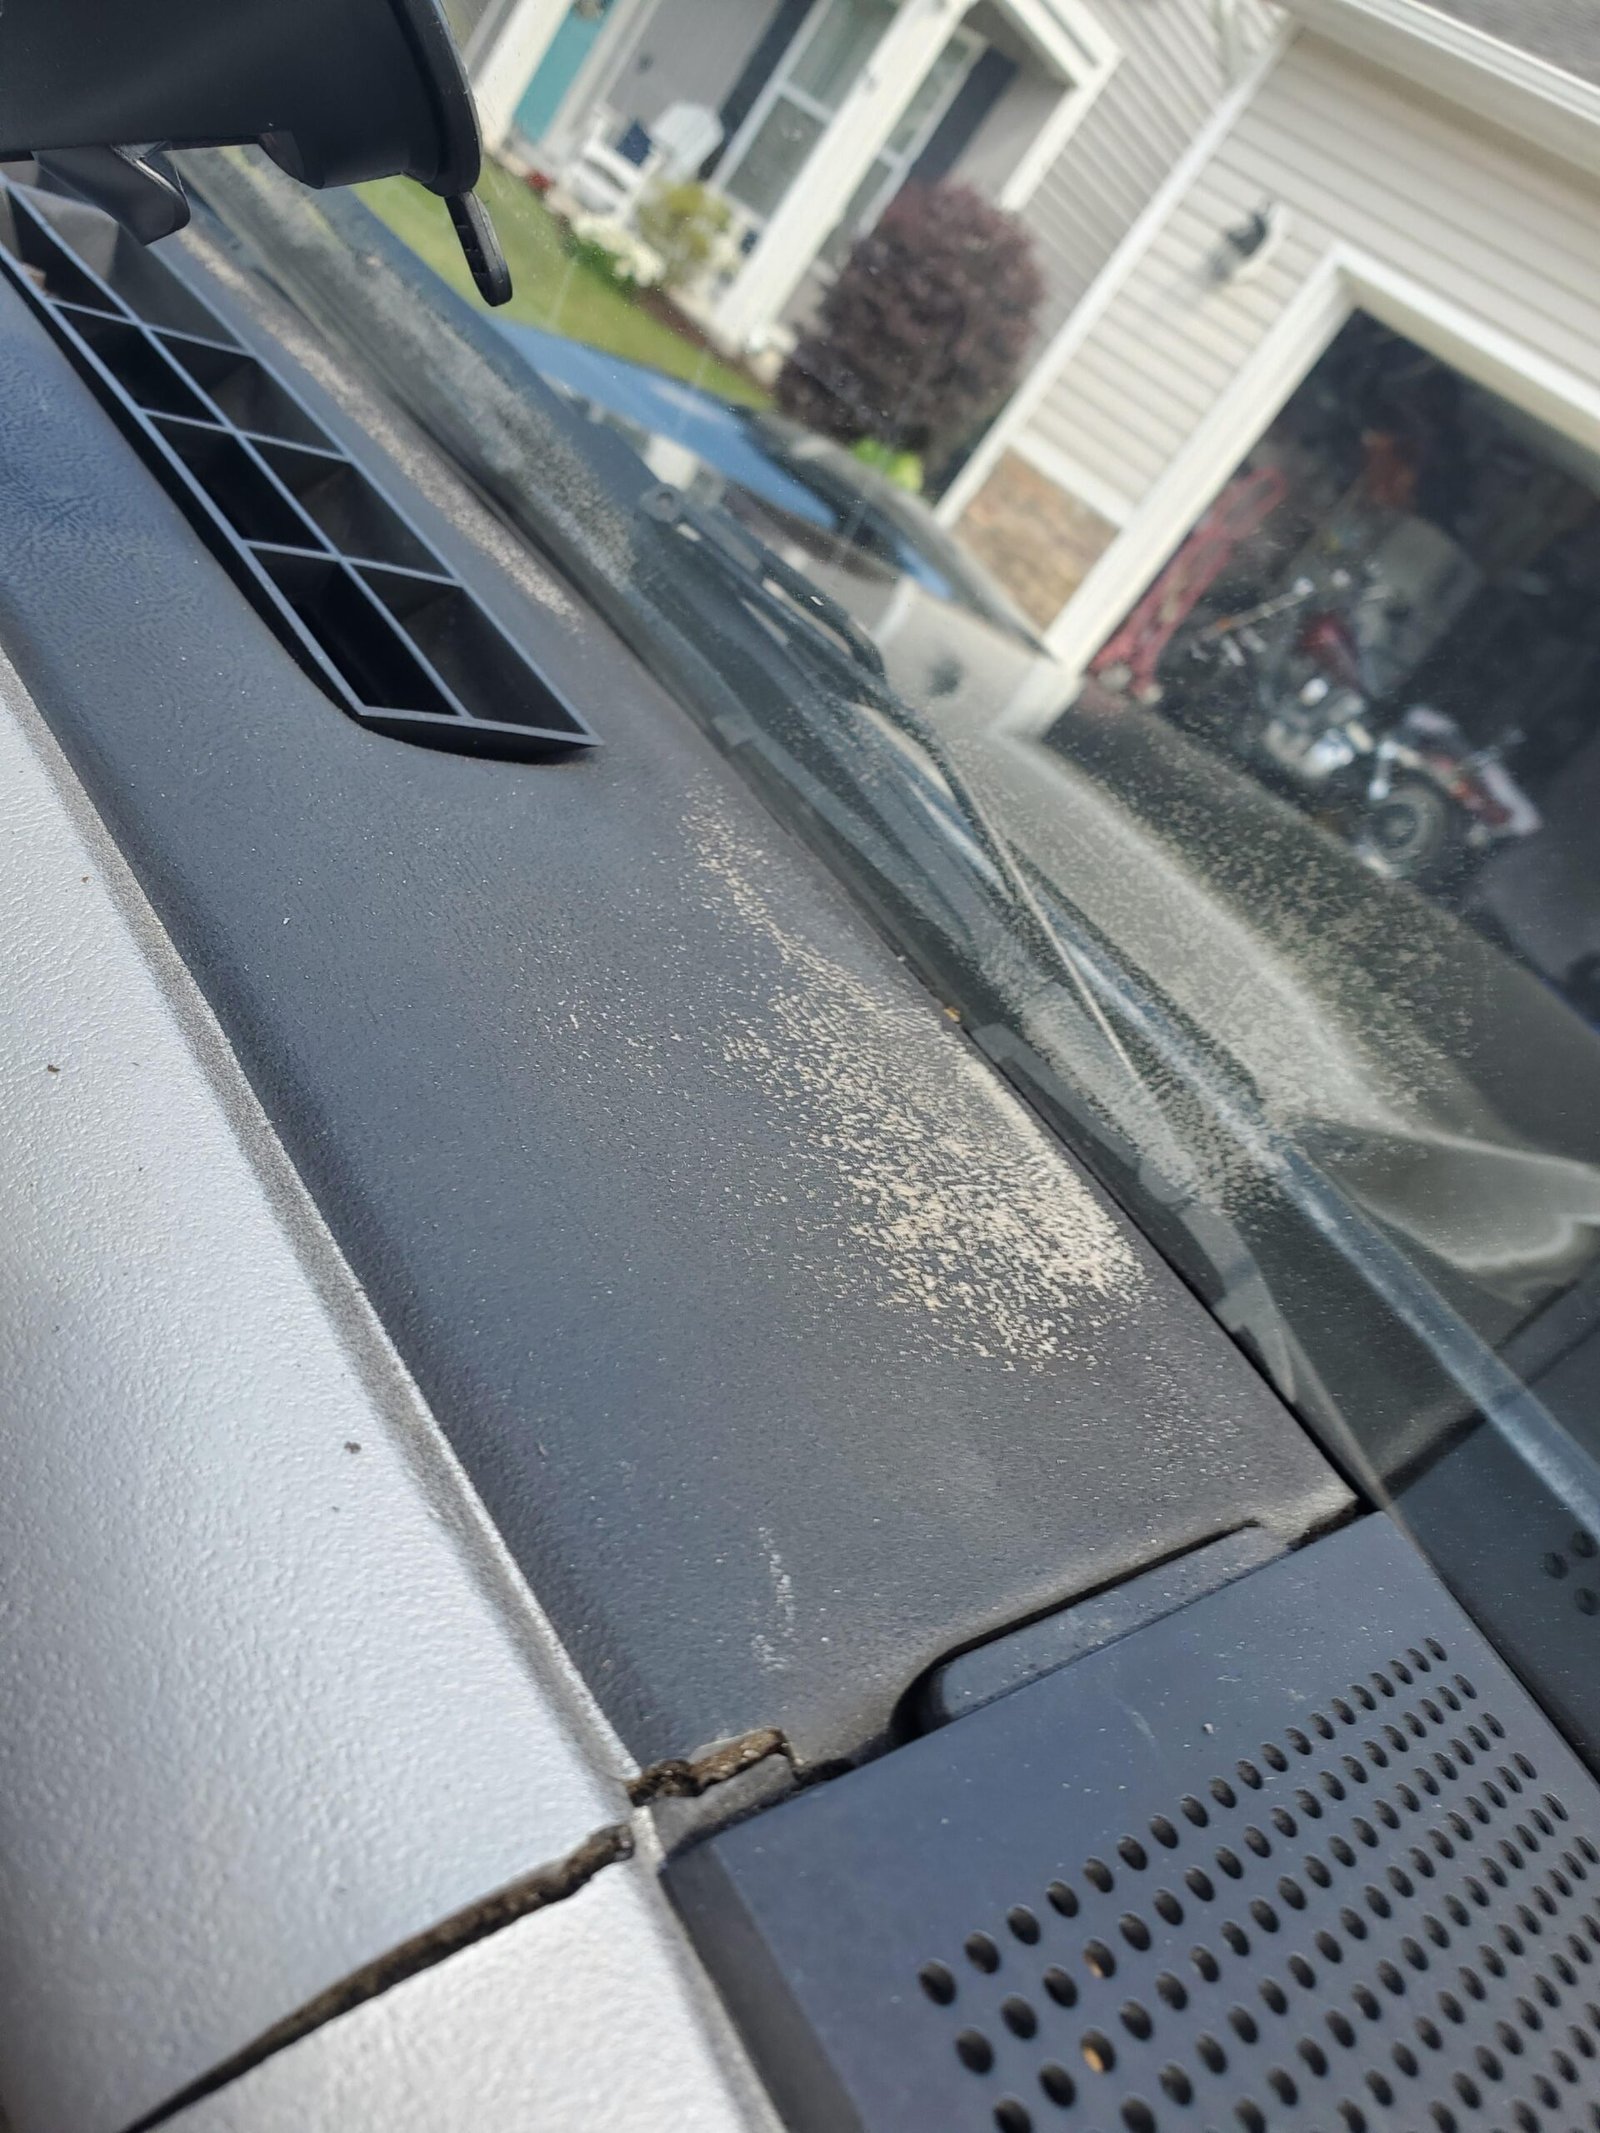
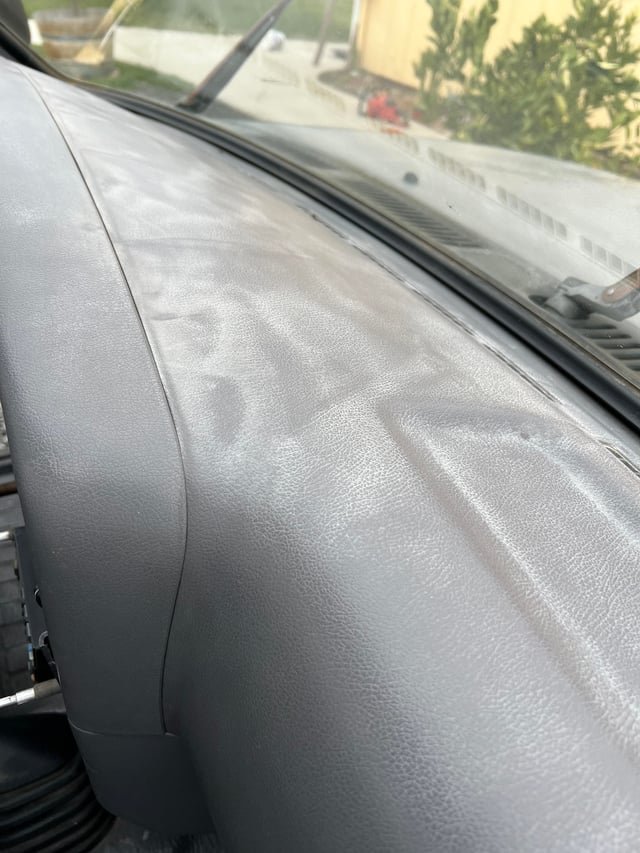
Before fixing the problem, it’s helpful to know what sun damage looks like and why it happens. The dashboard is usually made from plastic, vinyl, or leather. UV rays from the sun break down the chemicals in these materials. This leads to:
- Fading: The color becomes lighter, sometimes unevenly.
- Cracking: The surface dries out and splits, especially in older cars.
- Warping: Heat can make the dashboard bend or bubble.
- Sticky texture: Sometimes the plastic or vinyl becomes sticky, which attracts dust and dirt.
Some car models and colors are more at risk. For example, dark dashboards heat up faster and show cracks more clearly. If your dashboard is already sticky or has fine cracks, it’s a sign the sun has already done some harm.
Tools And Materials You’ll Need
To repair a sun damaged dashboard, you’ll need the right tools. Not every dashboard is the same, so choose products that fit your car’s material.
- Microfiber cloths: For cleaning and applying products.
- Mild soap or automotive interior cleaner: Use gentle cleaners to avoid more damage.
- Vinyl/leather conditioner: Restores moisture to the surface.
- Plastic restorer: For plastic dashboards.
- Dashboard repair kit: Includes fillers, colorants, and application tools for cracks or holes.
- UV protectant spray: Shields the dashboard from more sun damage.
- Sandpaper (fine grit): For smoothing rough or cracked areas.
- Masking tape and plastic sheet: To protect nearby areas during repairs.
- Touch-up paint or dye: If the dashboard color is badly faded.
Having these items ready saves time and helps you achieve a better result.
Credit: www.northwestautocollision.com
Step-by-step Guide To Fixing Sun Damaged Dashboards
1. Clean The Dashboard Thoroughly
Start by removing all dust, dirt, and oils. A clean surface ensures that repair products stick well.
- Use a microfiber cloth and a mild soap solution or interior cleaner.
- Wipe gently in circular motions. Avoid using harsh chemicals or abrasive sponges, which can make cracks worse.
- Let the dashboard dry fully before moving to the next step.
2. Assess The Damage
Look closely at your dashboard. Is it just faded, or are there cracks and sticky spots? This will decide which repair methods to use.
- Fading only: You can use conditioners and color restorers.
- Cracks or holes: You’ll need a dashboard repair kit and possibly some filler.
3. Repairing Small Cracks And Faded Areas
If you see minor cracks or fading, follow these steps:
- Lightly sand the cracked area with fine grit sandpaper to smooth out rough edges.
- Wipe away dust with a damp cloth.
- Apply a dashboard filler from your repair kit using a small spatula. Press gently to fill cracks.
- Allow the filler to dry as per instructions.
- If needed, sand the area again for a smooth finish.
- Use a matching colorant or dye to blend the repair with the rest of the dashboard. Apply with a sponge or cloth.
4. Restoring Color And Shine
For dashboards that look dull or faded:
- Apply a vinyl conditioner or plastic restorer using a clean microfiber cloth.
- Work the product into the surface with gentle circular movements.
- Let it sit for a few minutes, then wipe off any extra product.
- If the dashboard is leather, use a leather-specific conditioner.
5. Fixing Major Cracks Or Holes
If your dashboard has bigger cracks or even holes, you’ll need a more detailed repair:
- Clean and sand the damaged area.
- Use masking tape and plastic sheet to protect surrounding parts (like the air vents or windshield).
- Mix the filler compound as per the kit’s instructions.
- Apply the filler in layers, letting each layer dry before adding more.
- Once dry, sand until smooth.
- Touch up with matching paint or dye for a seamless look.
6. Sealing And Protecting The Surface
After repairs, you’ll want to protect your dashboard from future sun damage:
- Spray a UV protectant evenly over the dashboard.
- Buff with a microfiber cloth.
- Reapply every 1-2 months, especially if you park in the sun often.
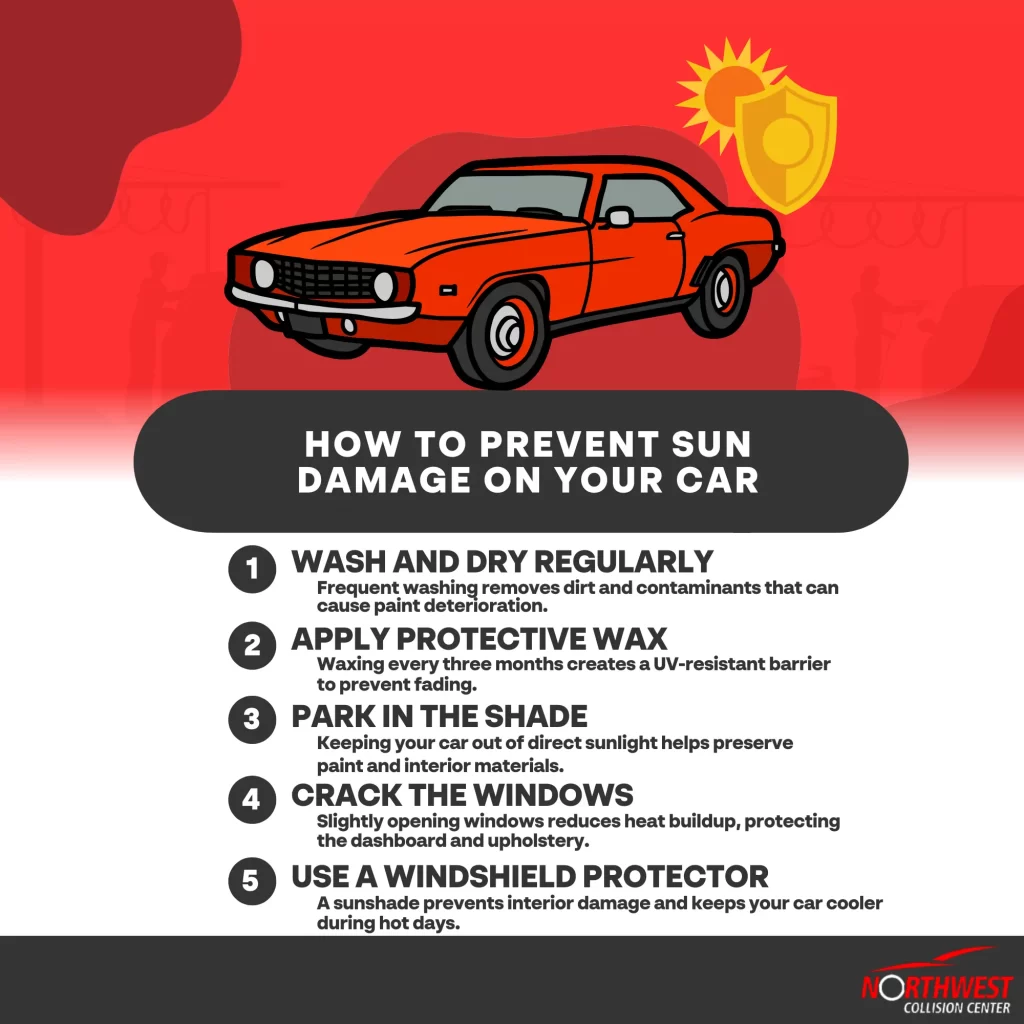
Protecting Your Dashboard From Future Sun Damage
Fixing your dashboard is only half the job. Preventing more damage is just as important. Simple steps can greatly extend your dashboard’s life.
- Use a sunshade: Place a reflective sunshade in your windshield when you park. This blocks most UV rays and heat.
- Park in the shade: Whenever possible, choose covered parking or shady spots.
- Tint your windows: Window tint can block up to 99% of UV rays.
- Regular cleaning and conditioning: Dust and condition your dashboard every few weeks.
- Avoid harsh chemicals: Stick to gentle cleaners and conditioners made for car interiors.
Many car owners forget regular conditioning, but it’s one of the best defenses against cracking and fading. Without this, UV protectant alone won’t stop the dashboard from drying out.
Credit: www.reddit.com
Comparing Dashboard Repair Methods
Choosing the right repair approach depends on your dashboard’s material and the level of damage. The following table compares three common methods:
| Repair Method | Best For | Cost | Difficulty Level |
|---|---|---|---|
| DIY Repair Kit | Small cracks, faded color | Low (under $30) | Medium |
| Professional Restoration | Deep cracks, large areas | High ($100+) | Low (done by specialist) |
| Dashboard Cover | Severe damage, quick fix | Medium ($40-$70) | Very low (easy to install) |
For most car owners, a DIY repair kit is enough for small cracks and fading. If you have major damage or want a perfect look, a professional may be worth the cost.
Common Mistakes To Avoid
Many people make small errors that can ruin their repair or make the dashboard look worse. Here are some mistakes to watch for:
- Skipping cleaning: If you don’t clean the dashboard first, fillers and conditioners won’t stick well.
- Using household cleaners: Strong chemicals can dry out the material and cause more cracks.
- Over-sanding: Using rough sandpaper or sanding too hard can damage the surface.
- Choosing the wrong color: Always test dyes or paints on a small area first.
- Not allowing time to dry: Rushing between steps can trap moisture or lead to uneven color.
- Applying too much product: Too much conditioner or filler can leave a greasy or uneven look.
- Ignoring protection: Forgetting to use UV protectant after repair means the dashboard will get damaged again fast.
A tip many beginners miss: always work in the shade or a garage. Heat makes repair products dry too fast, which can cause streaks or poor results.
When To Seek Professional Help
Sometimes, DIY is not enough. If your dashboard has large holes, deep cracks, or is badly warped, it’s best to ask a professional. Professional detailers have special tools and color-matching systems. This ensures a seamless repair, especially on high-end or classic cars.
A professional job might cost more, but it can keep your car’s value high. If you plan to sell your car, a perfect dashboard makes a big difference to buyers.
Here’s a quick comparison of when to try DIY or call a pro:
| Situation | DIY Fix | Professional Needed |
|---|---|---|
| Small cracks or fading | Yes | No |
| Deep cracks/holes | No | Yes |
| Sticky/melting dashboard | Sometimes | Yes (if severe) |
| Color matching needed | No (difficult to match) | Yes |
Extra Tips For Long-lasting Results
- Ventilate your car: On hot days, crack open a window to let heat escape.
- Install dashboard mats: These absorb sunlight and protect the dashboard from scratches.
- Check products for compatibility: Some conditioners or restorers work only with certain materials (vinyl, plastic, leather).
- Regular inspections: Look for early signs of drying or fading, and treat them right away.
An insight many car owners miss: dashboard damage can also affect airbags. In some cars, a cracked dashboard can interfere with airbag deployment. This is another reason to repair damage quickly and correctly.
Credit: www.reddit.com
Frequently Asked Questions
What Causes Dashboard Sun Damage?
Dashboard sun damage happens when UV rays and heat from the sun break down the materials in your dashboard. This causes fading, cracking, and sometimes warping. Parking in direct sunlight speeds up the process.
Can I Fix A Sun Damaged Dashboard Myself?
Yes, you can fix minor cracks and fading with a DIY repair kit, cleaners, and conditioners. For deep cracks or large holes, it’s better to get help from a professional to avoid making the damage worse.
How Do I Protect My Dashboard After Repair?
After repair, use a UV protectant spray every few months. Park in the shade, use sunshades, and regularly clean and condition the dashboard to keep it strong and flexible.
Is It Worth Repairing A Very Old Or Badly Damaged Dashboard?
If the dashboard is very old or has major damage, sometimes a dashboard cover or professional restoration is the best option. This can be more cost-effective than trying to fix it yourself, especially if you plan to sell the car.
Where Can I Find More Information On Dashboard Materials And Care?
You can find detailed guides and scientific explanations about dashboard materials and sun damage on Wikipedia.
Restoring a car’s sun damaged dashboard takes time, but it’s a project anyone can tackle with patience and the right tools. Regular care not only keeps your car looking good but also protects your investment. With these steps, you can enjoy a clean, crack-free dashboard for years to come.
