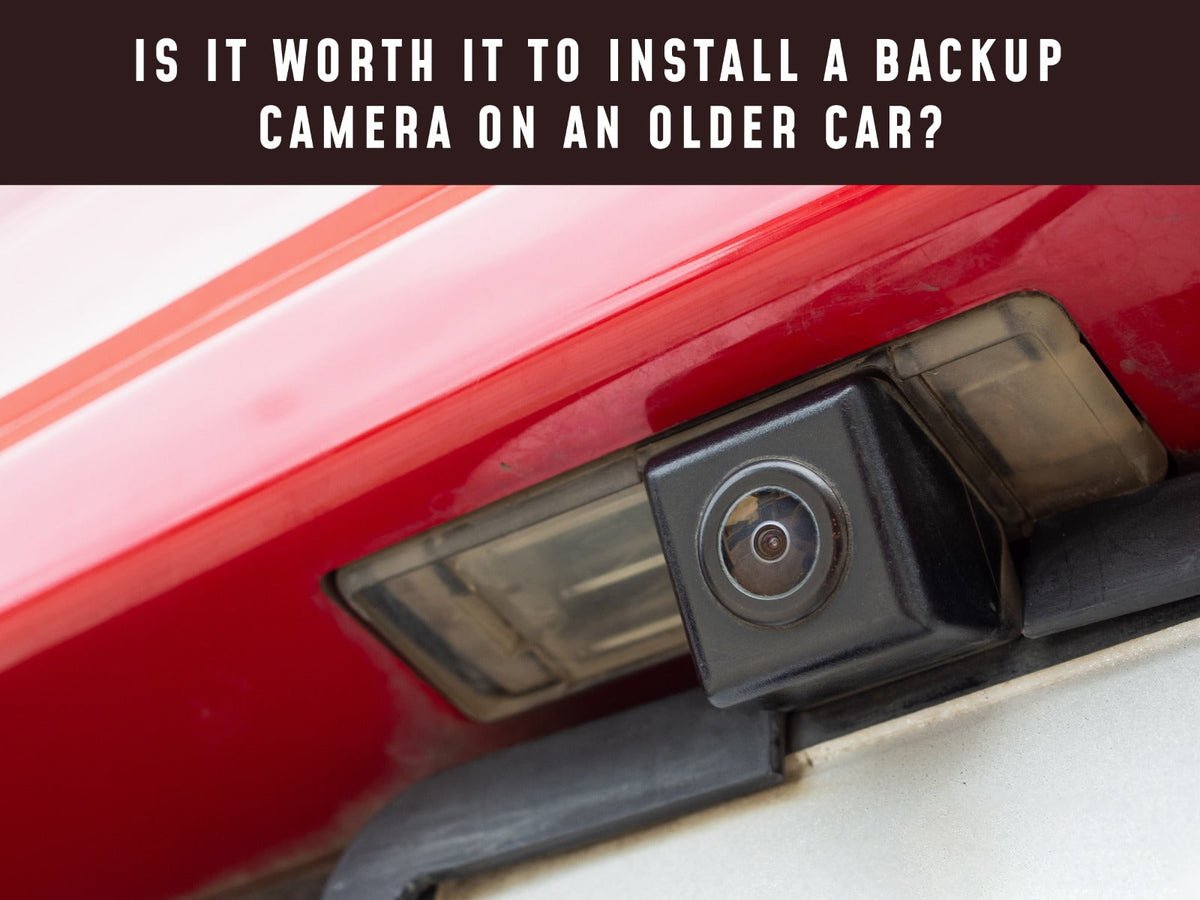
Installing a backup camera in an older car can feel like adding a modern touch to a trusted companion. Many drivers of older vehicles wish for the safety and convenience that newer cars offer. A backup camera gives you a clear view behind your car, making parking and reversing safer, especially in tight spaces or busy areas.
If you own a car without this feature, you might think it’s too complicated or expensive to add. But with the right tools, some planning, and patience, you can do it yourself—even with little technical experience.
This step-by-step guide will walk you through everything you need to know. You’ll learn how to pick the right backup camera, what tools you’ll need, and how to install it correctly. Along the way, you’ll get practical tips, common mistakes to avoid, and insights that many first-timers miss.
By the end, you’ll feel confident about upgrading your car and making it safer for you and your loved ones.
Why Install A Backup Camera?
Many accidents happen while reversing, especially in older cars with limited rear visibility. According to the National Highway Traffic Safety Administration, backup cameras can reduce the risk of backover accidents by as much as 57%. Besides safety, they also make parking less stressful and help prevent damage to your car or others.
Some insurance companies may offer lower premiums if your car has a backup camera. For families with children or pets, this small upgrade brings peace of mind. With over 20% of all car accidents occurring during reversing, the benefits are clear.
Choosing The Right Backup Camera System
Not all backup cameras are the same. Here’s what you should consider before buying:
1. Camera Type
- License plate cameras attach near your car’s license plate. They’re easy to install and suit most cars.
- Bumper cameras are mounted on or above the bumper. They often require drilling a hole.
- Surface-mounted cameras can be placed anywhere but may look less integrated.
2. Display Options
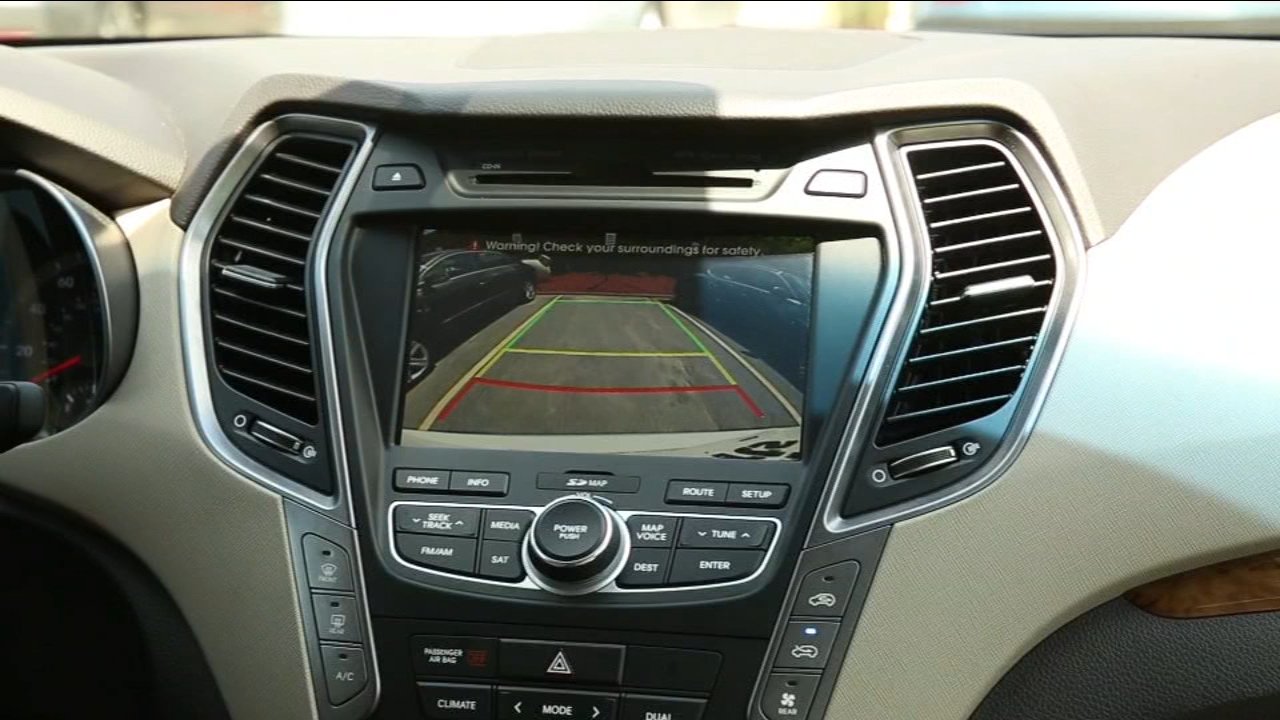
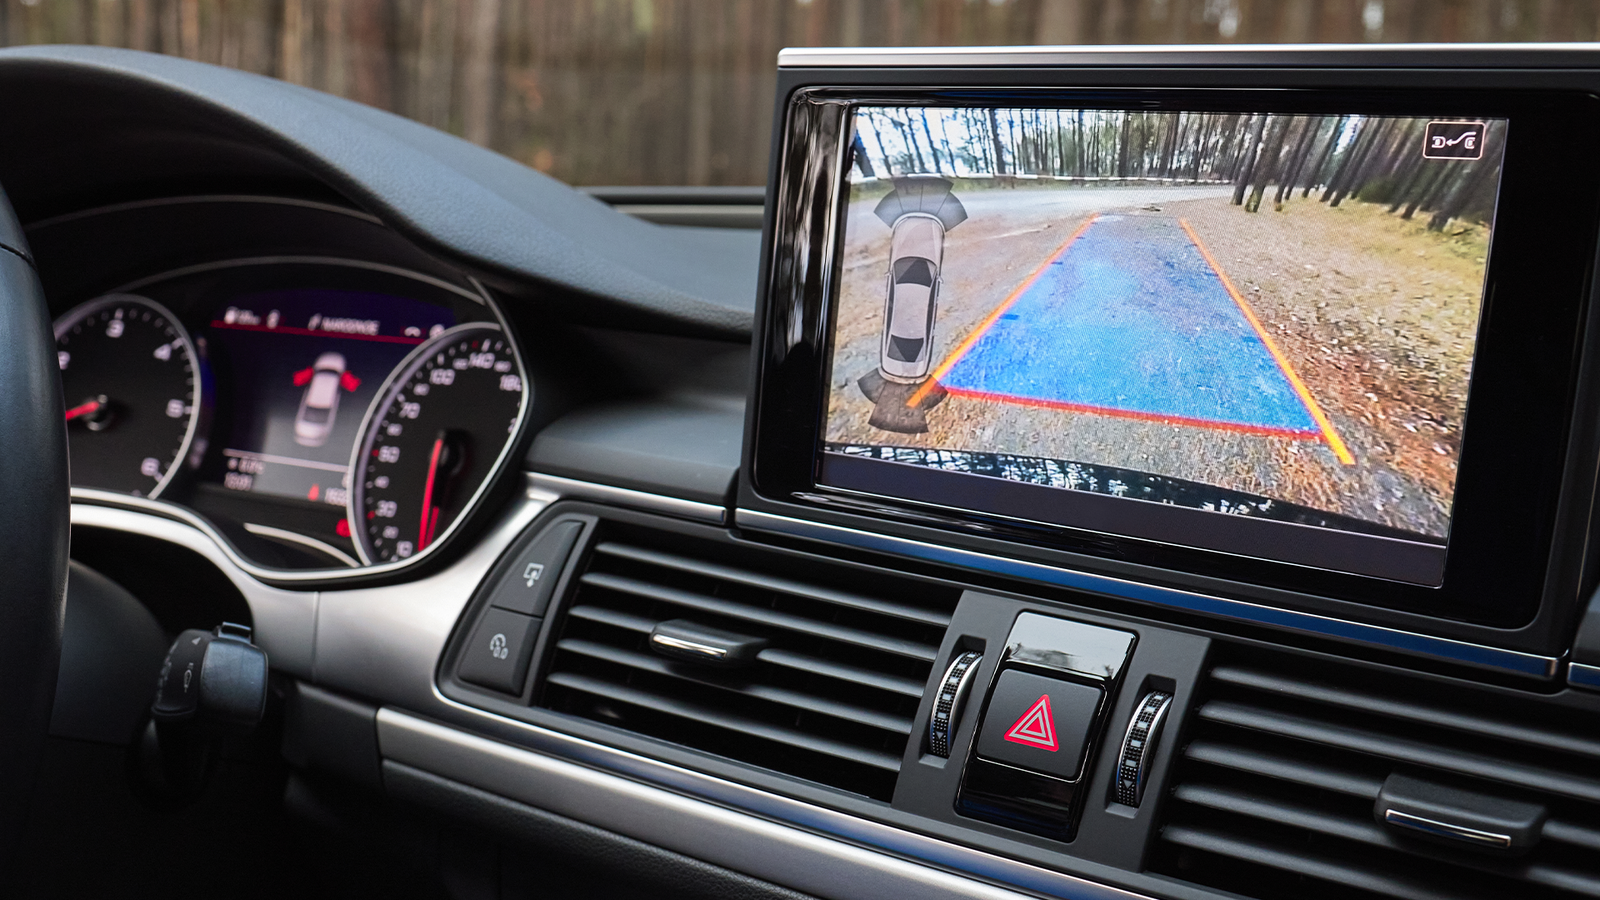
- Rearview mirror monitor: This replaces or clips over your existing mirror.
- Dashboard monitor: A small screen that sits on your dash.
- Existing head unit: Some cameras connect to your car’s existing display (if it has one).
3. Wired Vs. Wireless
- Wired systems: More reliable video, but installation takes longer.
- Wireless systems: Easier to install but can have signal issues, especially in larger cars.
4. Night Vision And Viewing Angle
Choose a camera with night vision for low-light use. The viewing angle should be at least 120 degrees for a wide field of view. Most modern cameras offer up to 170 degrees.
5. Weather Resistance
Check for an IP rating (like IP67 or IP68) to ensure the camera handles rain, dust, and car washes.
6. Compatibility
Make sure the camera and monitor are compatible with your car’s voltage (usually 12V) and size.
7. Price Range
Backup cameras vary from $30 to $200. Higher price usually means better image quality and durability.
| Feature | Wired Camera | Wireless Camera |
|---|---|---|
| Installation Time | 2-4 hours | 1-2 hours |
| Video Quality | High | Medium |
| Reliability | Very Reliable | May have Interference |
| Price | Usually lower | Usually higher |
Tools And Materials You Will Need
Before starting, gather these items:
- Backup camera kit (camera and monitor)
- Screwdrivers (flathead and Phillips)
- Drill (with small drill bits, only for bumper cameras)
- Wire strippers and crimpers
- Electrical tape or heat-shrink tubing
- Plastic trim removal tools (for removing panels without damage)
- Multimeter (to check electrical connections)
- Measuring tape
- Zip ties
- User manual for your camera and car
Some cars may need extra wiring or adapters, especially if you want to connect to an existing screen.
Step-by-step Installation Guide
This guide focuses on the most common setup: a license plate camera with a monitor that mounts on the dash or clips onto the rearview mirror. The process is similar for other setups.
Step 1: Test The Equipment
Before installing, connect the camera and monitor using the provided cables. Power them using a 12V source (like your car battery or a portable battery pack). Make sure everything works—this prevents wasted time if a part is faulty.
Step 2: Plan The Installation
Decide where you will mount the camera and monitor. Think about cable routes. Most people run the camera cable through the trunk, under interior panels, and up to the dashboard.
Step 3: Mount The Camera
- Remove your car’s rear license plate.
- Attach the camera bracket behind or above the plate, depending on the design.
- If needed, drill a small hole for the cable (many cameras use existing plate light holes).
- Thread the camera cable into the trunk.
Tip: Use rubber grommets to protect cables from sharp metal edges.
Step 4: Run The Camera Cable
- Tuck the cable along the car’s existing wiring, usually under the carpet or door sills.
- Remove interior trim pieces carefully with plastic tools to avoid breaking them.
- Route the cable to the front of the car, where the monitor will be.
Step 5: Connect To Power
Backup cameras usually draw power from the reverse light circuit. This means the camera only turns on when you shift into reverse.
- Locate the reverse light wires in your trunk. Use a multimeter to confirm which wire is “hot” when reversing.
- Splice the camera’s power wire into the reverse light wire and ground wire. Use crimp connectors or solder for a strong connection.
- Cover exposed wires with electrical tape or heat-shrink tubing.
Insight: Many beginners forget to test the reverse light wire. Always confirm with a multimeter, as wire colors can differ between car models.
Step 6: Install The Monitor
- Mount the monitor on your dashboard or clip it onto the rearview mirror.
- Run the monitor’s power wire to a 12V source—either the fuse box (accessory power) or the cigarette lighter socket.
- Connect the video cable from the camera to the monitor.
Tip: Hide wires behind trim for a neat look and to avoid distractions.
Step 7: Test The System
Before reassembling panels, shift the car into reverse (engine off, parking brake on). The camera image should appear on the monitor. Check for:
- Clear image with wide view
- No static or flickering
- Correct image orientation (not upside down or mirrored)
- Night vision (if it’s dark)
If something’s wrong, double-check your wiring connections.
Step 8: Secure And Finish
- Use zip ties to bundle loose cables.
- Reinstall any trim pieces you removed.
- Tighten the license plate and camera firmly.
Take a short drive and test the camera in real parking situations. Adjust the camera angle if needed.
| Step | Common Mistake | Solution |
|---|---|---|
| Testing | Skipping pre-install test | Test on the bench first |
| Cable Routing | Pinching wires under panels | Route along factory wiring |
| Power Connection | Wrong wire selection | Check with multimeter |
| Monitor Setup | Wires left exposed | Hide wires behind trim |
Credit: www.camerasource.com
Practical Tips For A Successful Installation
- Read the manuals for both your car and the camera kit. Every vehicle is a bit different.
- If using a wireless system, avoid mounting the transmitter near metal parts that block signals.
- Mark your cable paths with tape before running wires.
- Take pictures of wiring before disconnecting anything, so you remember how to reconnect.
- If you’re unsure about connecting to the reverse light, get help from a car electrician. A wrong connection can blow a fuse or damage your car’s electrical system.
Special Considerations For Older Cars
Older cars might have unique challenges:
- Thicker panels: Some classic cars have thicker metal, making cable routing harder.
- No existing display: You’ll need a standalone monitor, as older cars rarely have built-in screens.
- Worn wiring: Check for brittle or damaged wires before splicing. Replace if needed.
- 12V power sources: In very old cars, accessory outlets might not work when the car is off. Plan your power connection accordingly.
Non-obvious insight: Sometimes, the reverse light socket in older cars is corroded. Clean it with electrical contact cleaner before attaching wires for a reliable connection.
What Beginners Often Miss
- Image orientation: Some cameras have a switch or extra wire to flip or mirror the image. If your camera view is confusing, check for this feature.
- Weatherproofing: Seal any holes you drill with silicone caulk to prevent water leaks into your trunk.
Safety And Legal Notes
Backup cameras are legal in all regions, and some countries now require them on new cars. Always check if your installation blocks the license plate or rear lights—this could be illegal in some places.
If you’re not comfortable with the electrical part, pay a professional for that step. It’s better to be safe than risk a short circuit.
Credit: abc30.com
Maintenance And Troubleshooting
- Clean the camera lens regularly for a clear image.
- If you see a blank screen, check for loose connections or blown fuses.
- Static or interference in wireless cameras often means you need to move the transmitter or keep it away from other electronics.
Cost And Value
A DIY backup camera install typically costs between $40 and $120. Professional installation can add $100-$200. Considering the safety benefits and possible insurance discounts, it’s a smart investment for most car owners.
Example: A Real-world Experience
John, who drives a 1998 Toyota Corolla, installed a wired license plate camera in about three hours. He spent $60 on a camera kit and used basic hand tools. The hardest part was removing the interior trim, but following an online video helped.
Now, parking in his narrow driveway is much less stressful. This is a common story—most DIYers find the process easier than expected, especially if they take their time.
Frequently Asked Questions
How Long Does It Take To Install A Backup Camera?
Most DIY installations take 2 to 4 hours, depending on your car and camera type. Wired systems take longer than wireless ones.
Can I Install A Backup Camera Without Drilling Holes In My Car?
Yes, many license plate cameras do not require drilling. They use existing holes for mounting. Bumper cameras often need drilling, though.
Will Installing A Backup Camera Void My Car’s Warranty?
If your car is out of warranty (common for older cars), this is not a concern. For newer cars, adding a camera usually does not void the warranty if installed carefully, but check with your dealer.
What If My Camera Image Is Upside Down Or Mirrored?
Most cameras have a flip or mirror function. Check the manual for a small switch or extra wire loop that changes image orientation.
Where Can I Find More Information On Automotive Safety Upgrades?
You can read more about backup camera safety on the National Highway Traffic Safety Administration website.
Adding a backup camera brings your older car up to modern safety standards. With careful planning, patience, and the right tools, you can enjoy safer driving and greater peace of mind—without buying a new vehicle. Remember to follow each step, check your work, and don’t rush.
Your older car still has many good miles ahead, now with a better view behind you.
Credit: www.howtogeek.com
