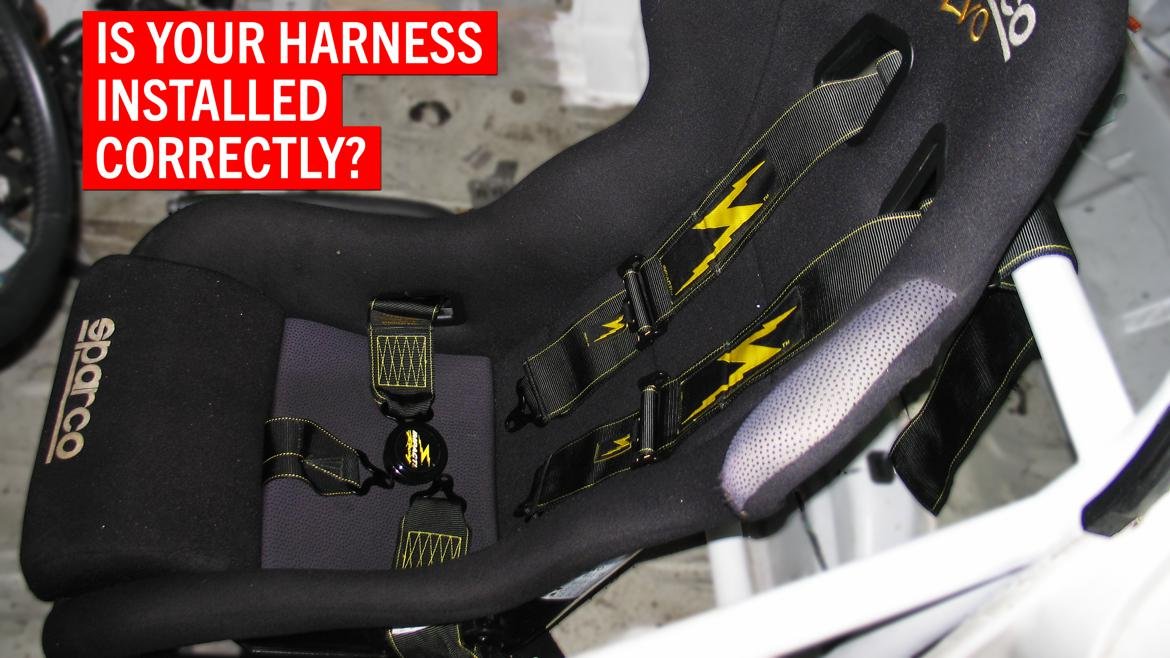
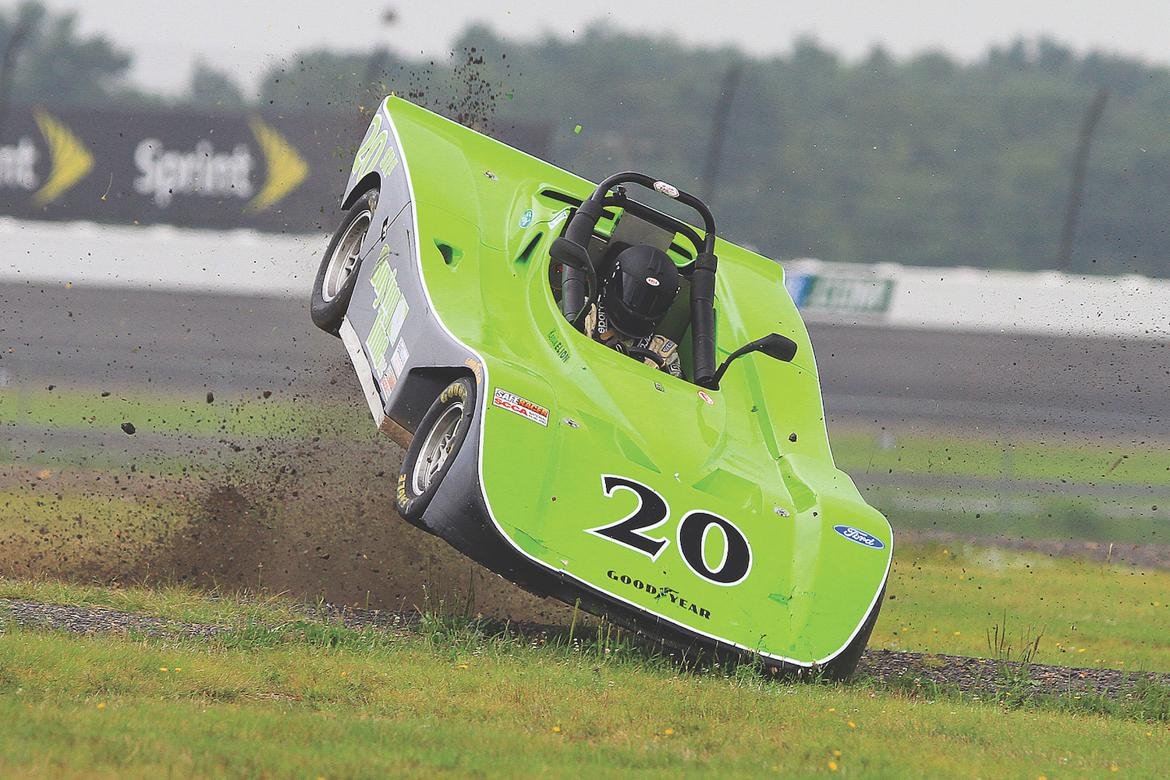
Car racing is thrilling, but safety must always come first. One of the most important safety upgrades you can add to your car is a racing harness. Unlike regular seatbelts, racing harnesses keep you secure during high-speed driving and sharp turns. But installing a racing harness is not as simple as swapping a seatbelt—it demands care, correct tools, and proper knowledge. If you want the harness to protect you during an accident, installation must be done right. This article will guide you through each step of how to install a car racing harness properly. You’ll also learn about the most common mistakes, tips from experienced racers, and essential safety checks.
Why Racing Harnesses Matter
A car racing harness is designed to hold your body in place during aggressive driving or crashes. Regular seatbelts may stretch or even break under extreme forces. Harnesses distribute force across your chest, shoulders, and hips, reducing injury risk. In many racing events, harnesses are required by the rules. Even if you’re not racing professionally, upgrading to a harness can make track days much safer.
Types Of Car Racing Harnesses
Before you install, you must choose the right harness for your car and your style of racing. Harnesses come in several styles:
| Type | Points | Use Case | Notes |
|---|---|---|---|
| 4-point | 2 shoulder, 2 lap | Track days, autocross | Minimum for many events |
| 5-point | 2 shoulder, 2 lap, 1 anti-submarine | Club racing | Better lower body security |
| 6-point | 2 shoulder, 2 lap, 2 anti-submarine | Professional racing | Most secure, used in pro motorsports |
- 4-point harness: Easier to install, but less secure for very high speeds.
- 5-point harness: Adds a strap between your legs for more safety.
- 6-point harness: Adds two anti-submarine straps for top-level protection.
Important: Always check the rules of your track or racing series. Some require a minimum of 5 or 6 points.
Tools And Materials Needed
Gather everything before you start. Here’s what you’ll need:
- Racing harness kit (with all mounting hardware)
- Socket set and wrenches
- Torque wrench (critical for proper tightness)
- Drill and drill bits (if you need to make new holes)
- Screwdrivers
- Metal file (for smoothing drilled holes)
- Measuring tape
- Marker or chalk
- Thread locker (like Loctite)
- Razor blade or scissors (for carpet trimming)
- Protective gloves
You may also need a harness bar or a roll cage if your car doesn’t already have safe mounting points.
Planning The Installation
Installing a harness is not only about bolting it in. You must plan the layout for safety, comfort, and rules compliance. Here’s how:
- Read the instructions: Every harness kit is a little different. Study the manual that comes with yours.
- Check your seat: Racing harnesses should only be used with bucket or racing seats, not regular reclining seats. Regular seats can break in a crash.
- Decide mounting points: Identify where the belts will attach to the car. Usually, shoulder straps go to the harness bar or roll cage, lap belts to the floor or seat mounts, and anti-submarine straps through the seat base.
- Measure angles: The shoulder belts should run back at a 0–20 degree downward angle. Too steep or too flat is dangerous.
- Inspect hardware: Only use strong, undamaged bolts and brackets.
Non-obvious insight: Many beginners don’t realize that mounting points must be reinforced. Never bolt directly to thin sheet metal. Always use backing plates.
Credit: grassrootsmotorsports.com
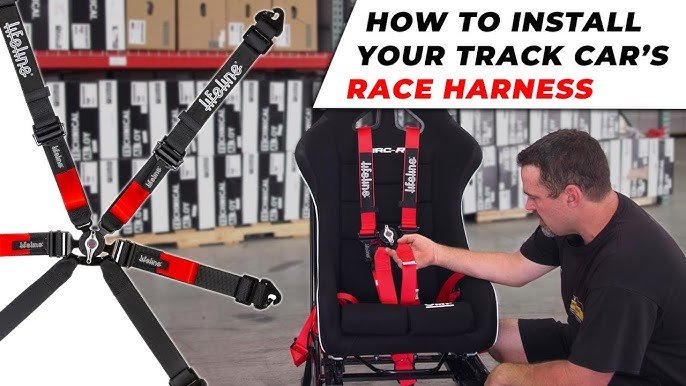
Step-by-step Installation Guide
Let’s break the process into clear steps for the safest, most professional result.
1. Remove Existing Seat Belts
Start by removing the stock seat belts from the seat and floor. Keep the hardware—you might use some for the harness. Make sure the car’s battery is disconnected if your seatbelts have sensors or airbags.
2. Prepare The Car Interior
- Remove the seat if necessary for easier access.
- Pull back the carpet in mounting areas. This helps you see the metal floor and prevents damage to the carpet.
- Clean the surfaces. Dirt can prevent bolts from tightening properly.
3. Mark And Drill Mounting Points
If your car has factory harness mounting points, use them. If not, you’ll need to drill.
- Use your measuring tape to mark mounting spots.
- Double-check that there are no wires or fuel lines under the drill area.
- Drill holes using a size matching your harness hardware.
- File the edges smooth to prevent belt wear.
- Place large backing plates under the floor to spread load in a crash.
Non-obvious tip: Position lap belt mounting points at or just behind the seat base, not in front. This keeps the belt across your hips, not your stomach.
4. Install Lap Belts
- Insert bolts through the harness end and mounting hole.
- Add a washer, then thread on the nut from underneath.
- Use thread locker to prevent loosening.
- Tighten with a torque wrench to the manufacturer’s recommended value (usually 30–40 ft-lbs).
- The lap belt should sit low on your hips, not on your stomach.
5. Install Shoulder Straps
- Route the shoulder straps over the seat, through the holes in a racing seat.
- Attach them to a harness bar or roll cage crossbar at the right angle.
- The bar should be as close to shoulder height as possible.
- Avoid mounting to the floor behind the seat—this creates a dangerous downward angle.
Example: If your shoulders are 28 inches above the floor, try to mount the bar at 27–29 inches.
6. Install Anti-submarine Straps
- Thread the anti-submarine (sub) straps through the seat base holes.
- Attach them to reinforced points under the seat.
- The straps should be vertical or angled only slightly rearward.
- Check the manual for exact routing.
Safety warning: Sub straps keep you from sliding under the lap belt in a crash (“submarining”). Never skip them on a 5- or 6-point harness.
7. Secure All Hardware
- Go over every bolt and nut to ensure they’re tight.
- Use thread locker on every bolt.
- Check that nothing interferes with seat movement or other parts.
8. Reinstall Seat And Finish Interior
- Put the seat back in, making sure it moves freely and locks into place.
- Lay the carpet back, trimming small holes for harness bolts if needed.
- Double-check that belts are routed smoothly, not twisted or pinched.
9. Adjust And Test The Harness
- Sit in the seat and buckle up.
- Adjust all straps so they’re snug but comfortable.
- Make sure you can reach the steering wheel and pedals.
- Pull hard on each belt to check for movement or looseness.
- Practice releasing the harness quickly in case of emergency.
Pro tip: After your first drive, recheck all hardware. Vibration can loosen bolts.
Common Mistakes To Avoid
Even careful installers make errors. Here’s what to watch out for:
- Mounting to weak metal: Always use reinforced points with backing plates.
- Wrong belt angles: Shoulder straps should go back, not down to the floor.
- Twisted belts: Flat, untwisted belts spread force best.
- Loose bolts: Every bolt must be torqued and thread-locked.
- Skipping sub-straps: Never use a 5- or 6-point harness without the anti-submarine strap.
Credit: grassrootsmotorsports.com
Comparison: Harness Bar Vs. Roll Cage For Shoulder Belts
Which is better for mounting your shoulder straps—a harness bar or a roll cage? Here’s a quick comparison:
| Feature | Harness Bar | Roll Cage |
|---|---|---|
| Installation | Easier, less work | Requires pro installation |
| Safety | Good for track days | Best for high-speed racing |
| Cost | Lower | Much higher |
| Vehicle Modification | Minimal | Major changes to interior |
For most track day drivers, a harness bar is enough. For racing at high speeds or in professional series, a roll cage is the safest choice.
How To Check Your Work
After installation, do these checks:
- Sit in the car with the harness on. Can you move too much? If yes, adjust.
- Check every bolt for tightness.
- Inspect all belts for twists or pinches.
- Confirm the release mechanism works smoothly.
- Ask a friend to check your work. Fresh eyes spot missed mistakes.
Credit: www.youtube.com
When To Replace Your Harness
Racing harnesses don’t last forever. Sun, sweat, and force degrade them. Most harnesses expire 2–5 years after manufacturing. Always check the expiry date on the tag before every season. Replace immediately if you see any fraying, cuts, or worn hardware.
Final Safety Notes
- Never use a harness on public roads; they can slow emergency exit after a crash.
- Always wear a helmet and racing suit on track.
- Keep a fire extinguisher within reach.
If you’re unsure about any step, ask for help from a professional. Installing a harness wrong is more dangerous than not having one at all.
Frequently Asked Questions
What Is The Best Angle For Harness Shoulder Straps?
The shoulder straps should be installed at a 0–20 degree downward angle from your shoulders to the bar or cage. Too steep or too flat can cause injury during a crash.
Can I Use A Racing Harness With Stock Seats?
No. You should only use a racing harness with fixed-back racing or bucket seats. Stock seats can deform or break, making the harness unsafe.
Do I Need A Roll Cage To Install A Harness?
Not always. For track days, a harness bar is often enough. For high-speed or professional racing, a roll cage is much safer and often required.
How Tight Should The Harness Be?
Your harness should be snug but not painful. You should not be able to pull the shoulder or lap belts away from your body more than an inch.
How Often Should I Replace My Racing Harness?
Most racing harnesses expire after 2–5 years. Replace them immediately if you see any damage, or if the expiry date has passed.
For more in-depth technical details and motorsport safety regulations, you can visit Wikipedia’s Racing Harness page.
Upgrading your car with a racing harness is a smart move for any serious driver. Take your time with the installation, follow these guidelines, and always double-check your work. The right harness, installed correctly, could save your life on the track.
