Installing car seat covers seems simple, but getting a snug, professional look takes more than just slipping fabric over your seats. Good seat covers protect your interior from spills, dirt, and sun damage, and they can boost your car’s style and resale value.
But if you rush or skip steps, you’ll end up with bunching, sliding, or even safety problems. This guide shows how to install car seat covers properly, with clear steps, examples, and tips that help even a first-timer get a secure fit.
Why Proper Installation Matters
Many car owners think seat covers are just for looks. But a tight, safe installation does more than improve appearance. Well-installed covers:
- Protect original upholstery from stains, UV rays, and wear
- Help your car keep value by preventing damage
- Increase comfort with added padding or breathable materials
- Allow airbags to work safely if using airbag-compatible covers
A poor job can block seat functions, cause discomfort, and even make airbags less effective. Most importantly, loose covers can distract or annoy you while driving. That’s why following the right steps is worth the time.
Choosing The Right Car Seat Covers
Before you begin, you need the right covers for your car. Not all seat covers fit all vehicles. The main options are:
- Universal fit: Designed for many vehicles, but may need adjusting.
- Semi-custom fit: Made for specific seat styles, but not your exact model.
- Custom fit: Tailored for your car’s year, make, and model.
To decide, check your car’s seat shape, headrest style, and if you have built-in airbags in the seats. If you choose the wrong type, you’ll struggle with installation and may have safety issues.
Comparison Of Seat Cover Types
| Type | Fit Quality | Ease of Installation | Price Range |
|---|---|---|---|
| Universal | Loose to moderate | Easy | Low |
| Semi-Custom | Moderate | Medium | Medium |
| Custom | Excellent | Challenging | High |
If you want a factory look, always choose custom-fit covers. For older cars or quick upgrades, universal covers can work, but expect some wrinkles or loose spots.
Preparing For Installation
A smooth installation starts with preparation. Skipping these steps leads to frustration later.
- Check the package: Make sure you have all pieces—seat base, backrest, headrest covers, hooks, and instructions.
- Vacuum the seats: Clean seats help covers grip and avoid trapping dirt.
- Remove headrests: Most covers fit better if you take headrests off first.
- Lay out the covers: Identify which piece goes where. Some covers look similar but are not interchangeable.
One common mistake is mixing up driver and passenger covers, especially with custom-fit sets. Check for labels or markings.
Step-by-step Installation Guide
Installing seat covers isn’t the same for every car, but the basic process is similar. Here’s how to do it right:
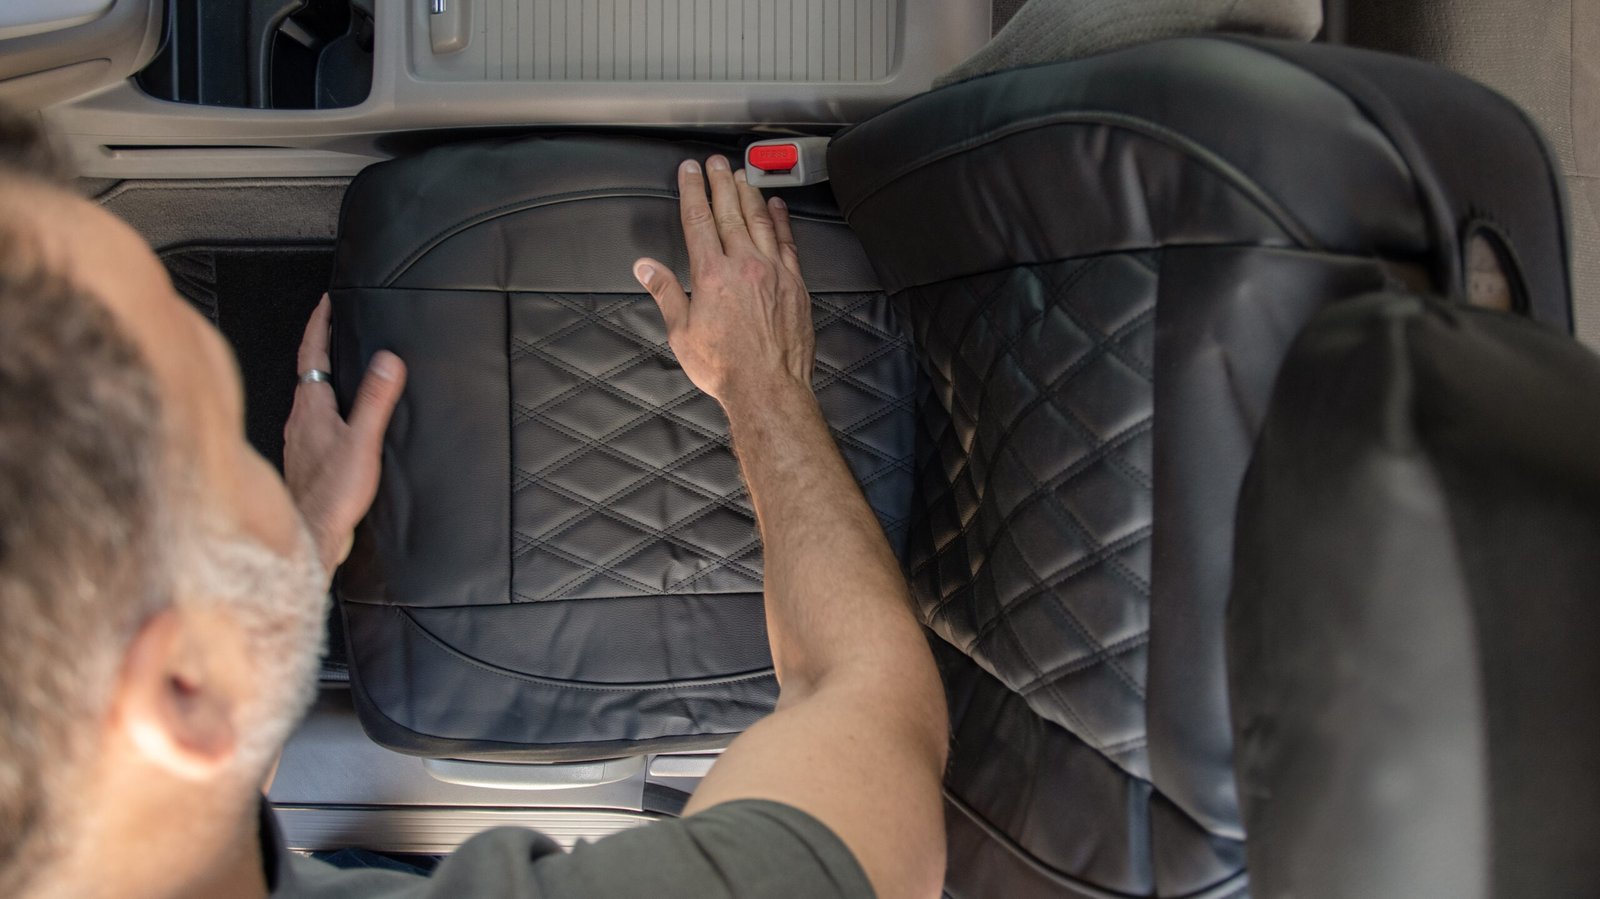
1. Position The Seat Cover Base
- Slide the cover over the seat bottom, making sure seams line up with seat edges.
- Push excess fabric between the seat back and base.
- If your seats split or fold, adjust the cover to allow for movement.
A tip many miss: Look for straps or loops that anchor the cover at the back or under the seat. These keep the base from sliding.
2. Secure The Seat Backrest Cover
- Slip the backrest cover over from the top, pulling it down evenly.
- Align holes for headrest posts.
- Smooth out wrinkles as you go.
For seats with airbags, ensure the cover has airbag-compatible stitching on the sides. Never use regular covers on these seats.
3. Fasten Straps And Hooks
Most covers use elastic straps, buckles, or hooks under the seat. Connect these tightly, but don’t force them—some car seats have sharp edges that can cut straps.
- Reach under the seat and clip straps to solid points.
- Adjust tension so the cover is snug but not over-stretched.
If you have power seats, avoid blocking wires or levers. Some cars have under-seat airbags—check your manual first.
4. Install The Headrest Covers
- Replace the headrests, aligning posts with cover holes.
- Slip the cover over each headrest, tucking in extra fabric.
On some covers, the headrest piece has a velcro closure or a zipper for a tighter fit. A loose headrest cover looks untidy and can slip off easily.
5. Make Final Adjustments
- Sit in the seat and move around—this helps the cover settle.
- Tuck in any extra fabric using a flat tool or your hands.
- Double-check all straps, especially after a few days of use.
Many new covers stretch after a week, so a quick re-tighten helps maintain a sharp look.
Common Mistakes And How To Avoid Them
Most installation problems come from skipping steps or using the wrong cover for your seat. Here are the top issues:
- Wrong fit: If the cover is too loose or tight, it may not be for your seat type.
- Trapped seat belts: Always check seat belt access. Never cover a seat belt buckle.
- Blocked airbags: Only use airbag-safe covers if you have side airbags.
- Straps left dangling: Loose straps can get caught in seat mechanisms or annoy passengers.
- Not adjusting after use: Covers can shift. Check and tighten after the first week.
A non-obvious insight: In cold weather, covers made of neoprene or leather can be stiff. Warm them slightly indoors before installation for easier fitting.
Special Considerations For Rear Seats
Back seats are often more complex. They may fold, split, or have armrests. Here’s what to watch for:
- Remove bottom seat cushions if possible. Many lift out with a firm pull.
- For split-fold seats, install one side at a time and keep seat functions free.
- Rear seat belt buckles are often hidden. Plan access before you start.
Rear seats in SUVs and trucks may have extra steps. Always check your owner’s manual for how to remove or tilt seats.
Credit: www.autozone.com
Caring For Your New Seat Covers
Proper care keeps seat covers looking good and working well.
- Clean spills quickly: Wipe off water or stains before they soak in.
- Vacuum regularly: Prevents dirt from grinding into the fabric.
- Follow washing instructions: Not all covers are machine-washable.
- Re-tighten straps: Especially after cleaning or heavy use.
A practical tip: Some seat covers come with a water-repellent coating. If yours doesn’t, you can add one after installation for extra protection.
Comparing Materials For Seat Covers
Material choice affects how covers feel, perform, and last. Here’s a comparison of common options:
| Material | Durability | Comfort | Maintenance | Weather Suitability |
|---|---|---|---|---|
| Neoprene | High | Good | Easy | All-weather |
| Leather | Very high | Excellent | Medium | Best for dry climates |
| Canvas | High | Moderate | Easy | All-weather |
| Velour | Medium | Excellent | Medium | Cool climates |
Choose the material based on your climate and how you use your vehicle. For example, if you have kids or pets, neoprene or canvas is a smart pick.
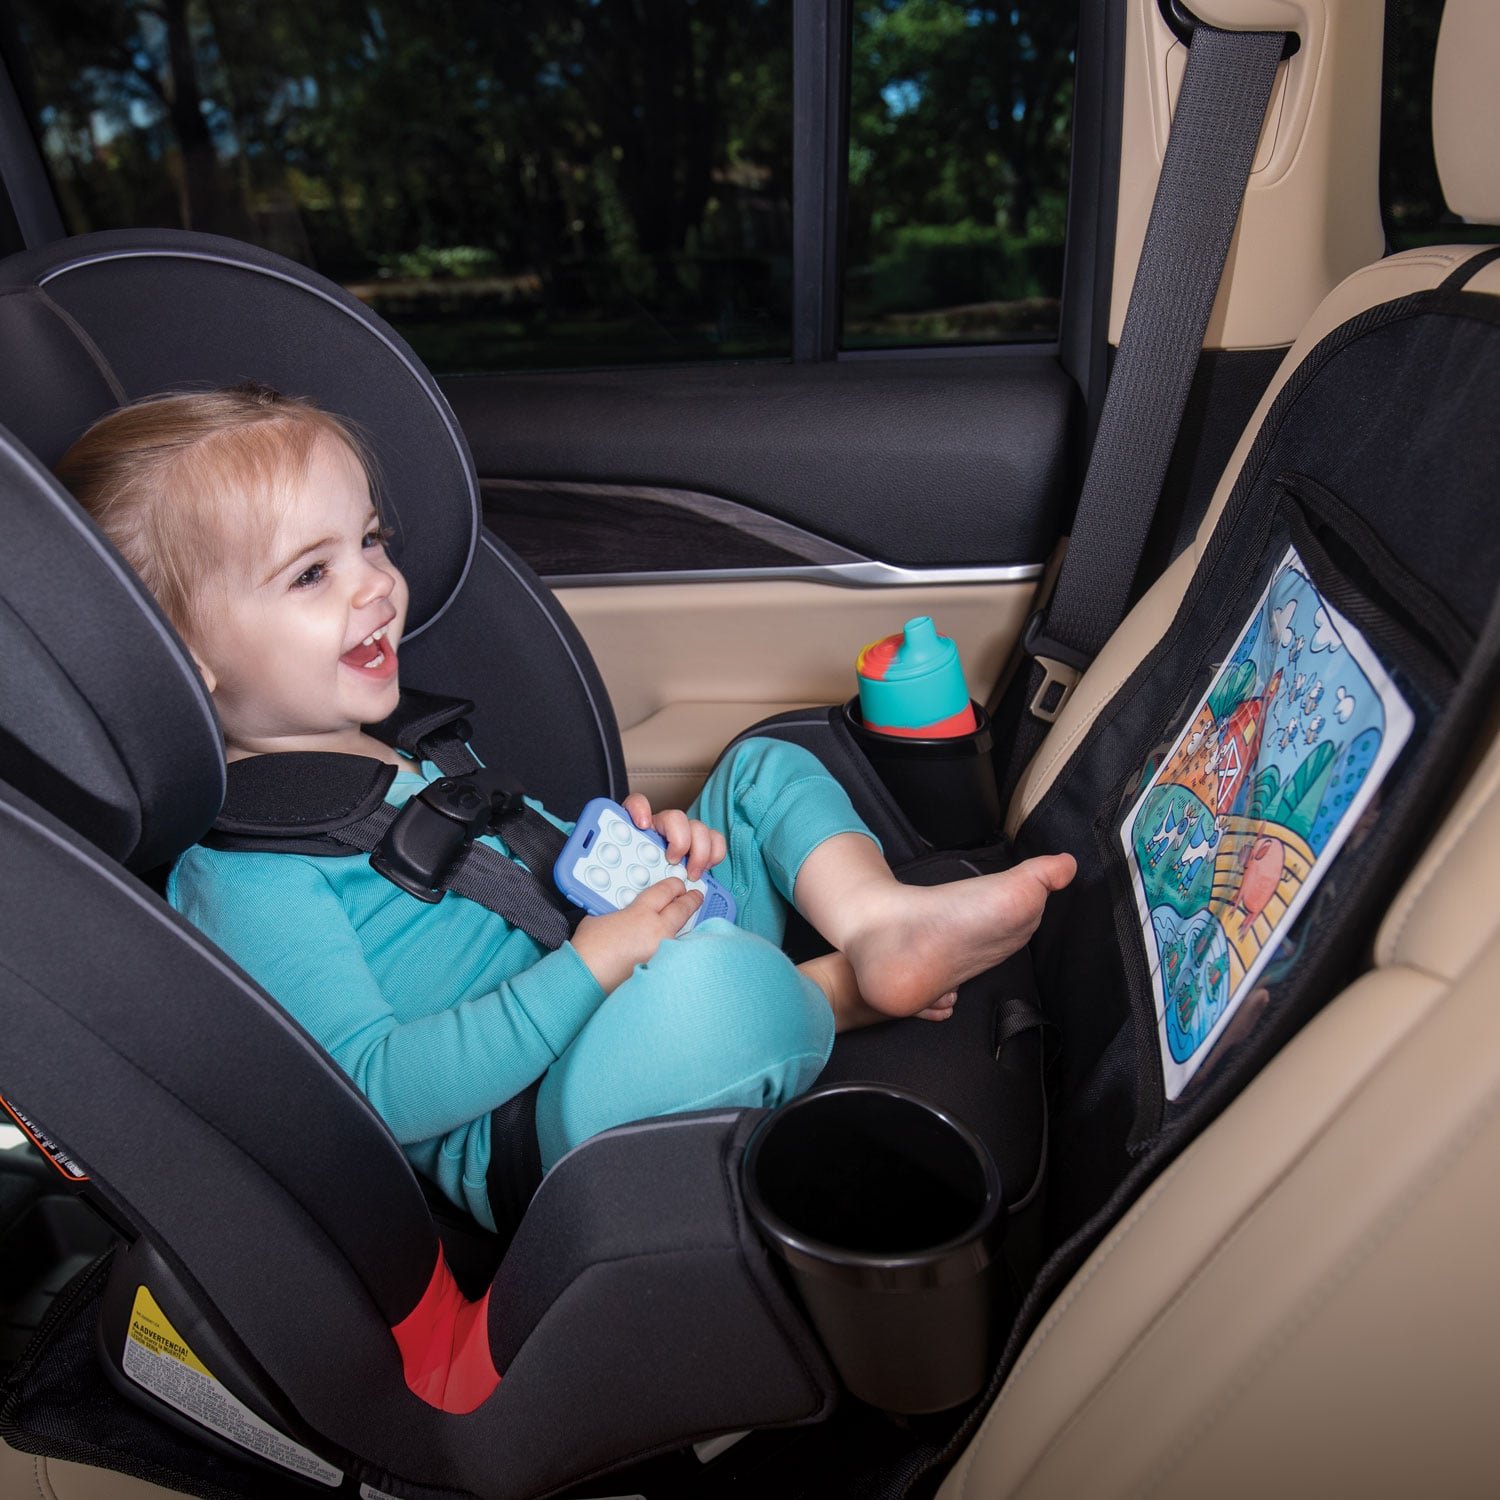
Credit: us.nuby.com
Safety Tips For Installing Seat Covers
Car seat safety goes beyond just looks. Here’s what to remember:
- Don’t block airbags: Side airbags deploy from the seat edge. Use only covers labeled airbag-safe.
- Keep seat controls free: Power seat levers and recline handles must be accessible.
- Seat heater compatibility: Not all covers work with heated seats—check the packaging.
- Don’t cover child seat anchors: If you use car seats, keep LATCH anchors exposed.
A less-known tip: Some thick covers can block seat sensors (for airbags or seat belt reminders). If you see dashboard warnings after installing, double-check the fit.
Real-world Example: Installing Universal Covers In A Sedan
Let’s say you have a 2016 Honda Civic and bought universal neoprene covers. Here’s how the process goes:
- Remove the headrests and lay out all cover pieces.
- Vacuum the seats and wipe down with a damp cloth.
- Slide the base cover over the driver’s seat, tucking the fabric between the seat and backrest.
- Pull the backrest cover over the top, making sure the airbag labels are on the correct side.
- Reach under the seat to connect elastic straps, adjusting for even tension.
- Replace the headrest, fitting its cover and aligning the holes.
- Repeat for the passenger seat.
- For the rear seat, fold down one side, fit the cover, and tuck in the fabric. Make sure seat belt buckles stay accessible.
After a week, check for any shifting or looseness and re-tighten as needed.
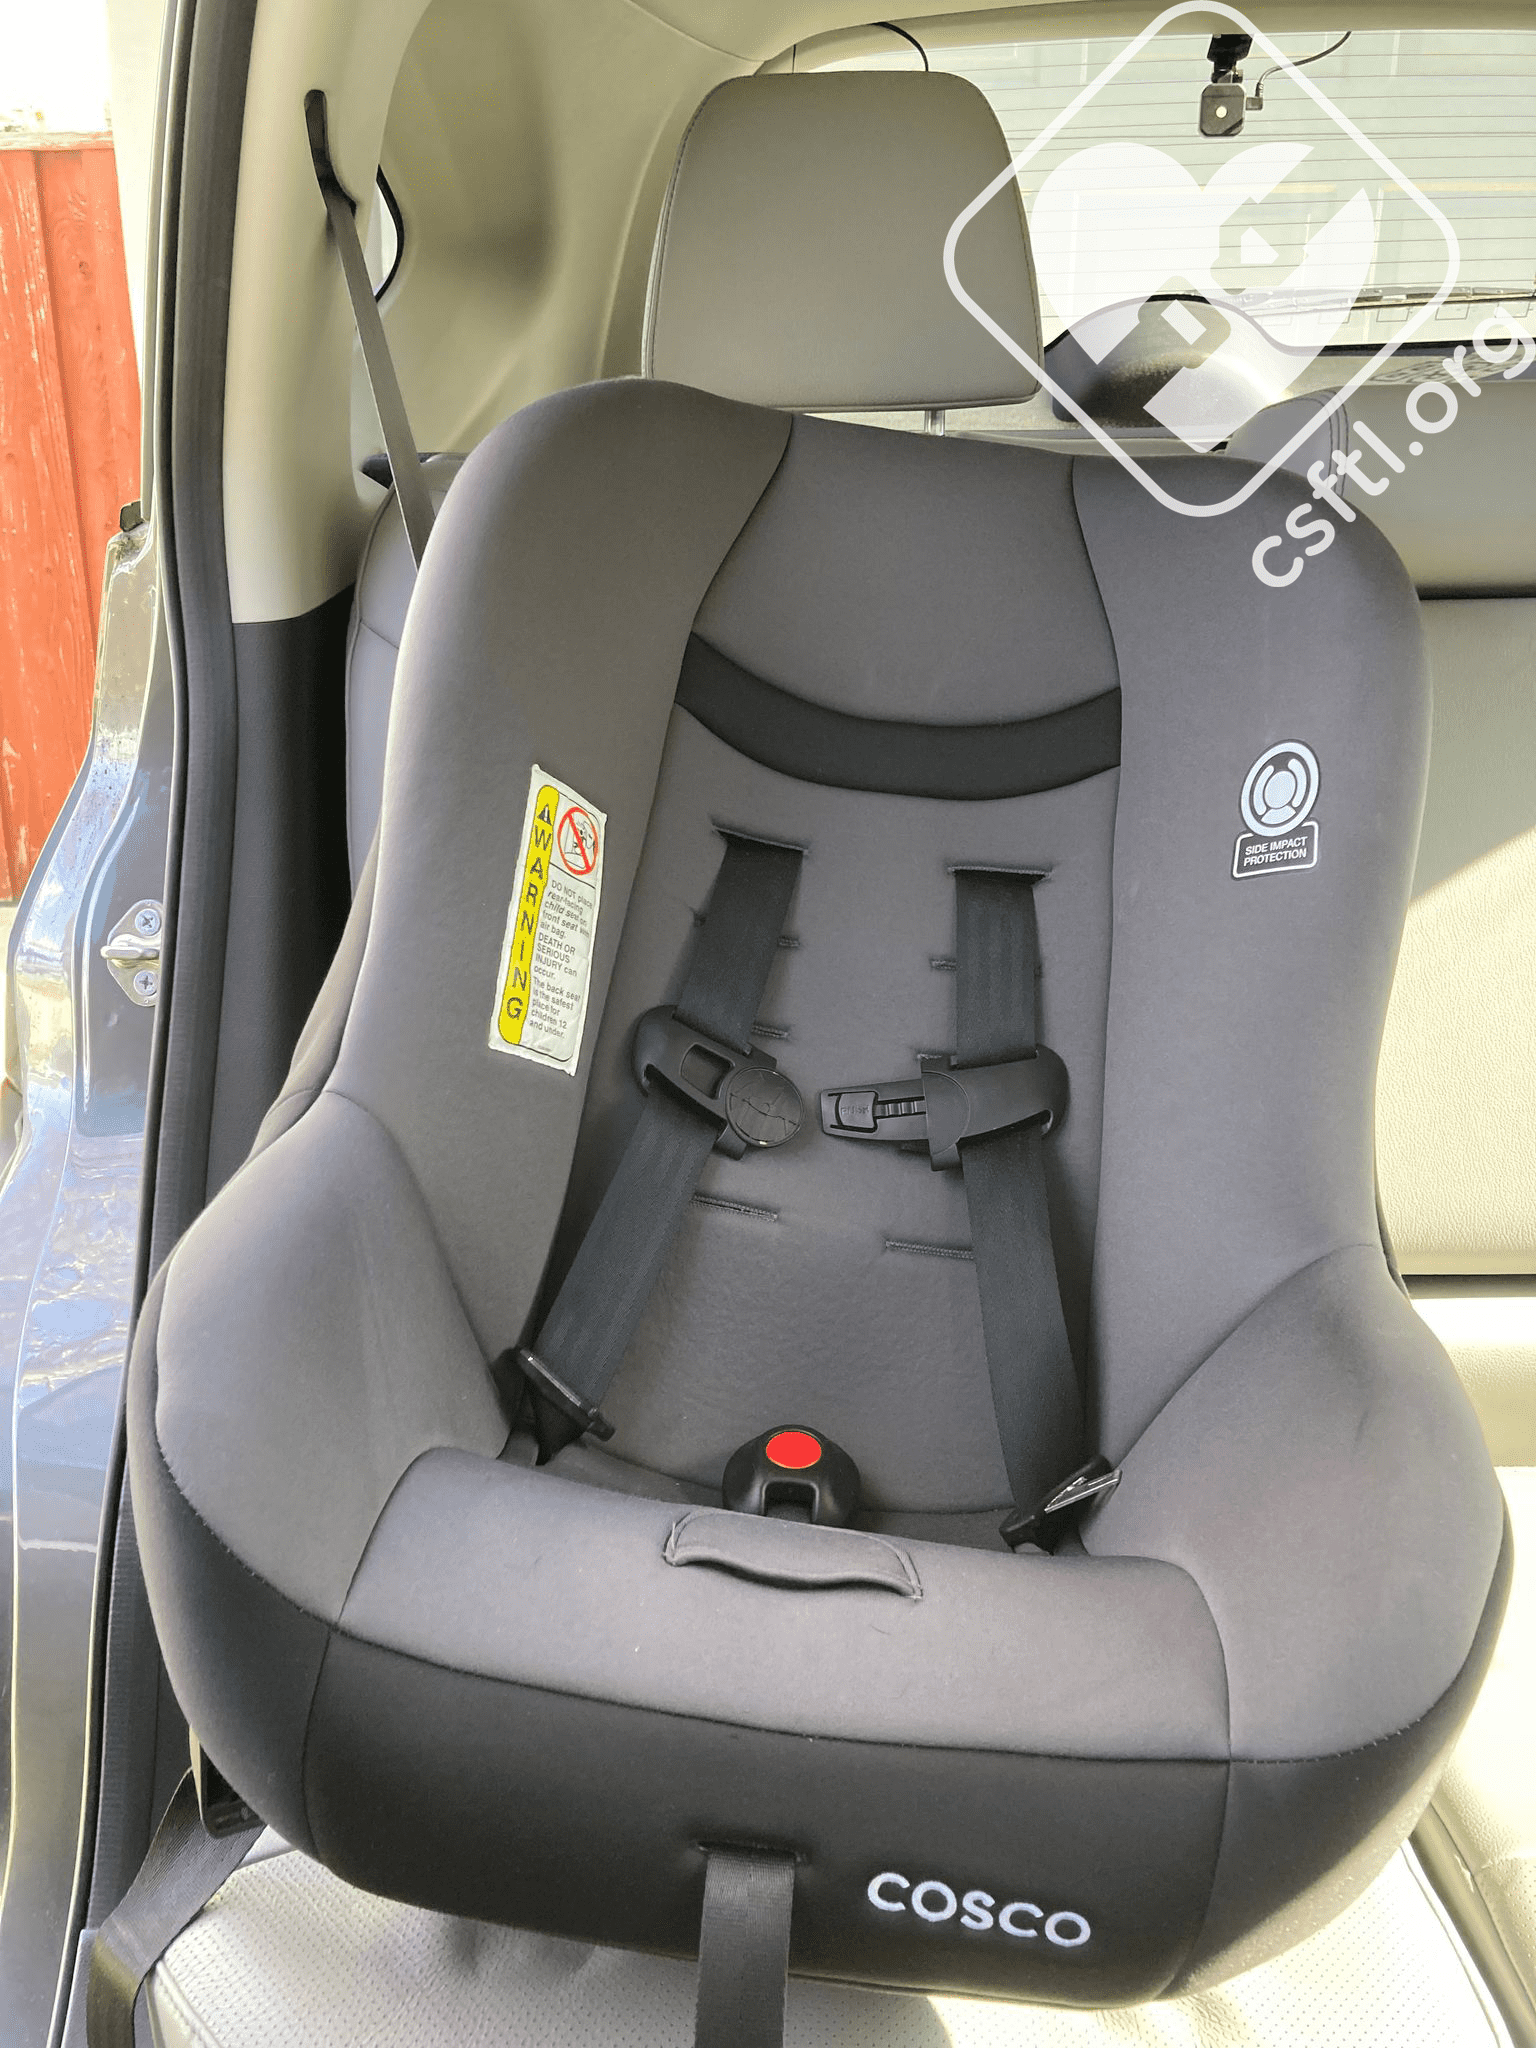
Credit: csftl.org
Non-obvious Installation Insights
Many guides miss small details that make a big difference:
- Use a plastic trim tool (or even a credit card) to tuck in fabric tightly without tearing the cover or scratching your seats.
- Take photos before you start if your rear seat is complex. These help you remember how parts fit together.
A confident installer checks that all seat functions work after installation: folding, sliding, and adjusting. If anything feels stuck, remove and refit before using the car.
When To Seek Professional Help
Most car owners can install seat covers with patience. But if you have luxury seats, complex airbags, or built-in entertainment systems, it’s smart to ask a pro. Dealers or auto upholstery shops have the tools and experience to avoid damage.
If you want to see expert tips and video guides, the WikiHow Car Seat Cover Installation Guide is a trusted resource.
Frequently Asked Questions
How Long Does It Take To Install Car Seat Covers?
Most cars take 30–60 minutes for front seats and another 30–60 minutes for rear seats. The first time may take longer, especially if you have to remove seats or work around child safety systems.
Can I Install Car Seat Covers If My Seats Have Airbags?
Yes, but only with airbag-compatible seat covers. Never use standard covers on seats with built-in airbags, as they can block deployment and reduce safety.
Are Universal Seat Covers A Good Choice?
Universal covers fit many cars but may not look as neat as custom covers. For best results, choose semi-custom or custom covers for your car’s make and model.
How Do I Clean My Seat Covers After Installation?
Most fabric and neoprene covers can be wiped with a damp cloth or vacuumed. Some are machine washable, but always check the label for instructions.
Do Seat Covers Affect Heated Seats?
Some seat covers are compatible with heated seats, but not all. Using a non-compatible cover can reduce heat flow or damage the seat. Always check the packaging or manufacturer’s recommendations.
Installing car seat covers the right way isn’t just about looks—it’s about comfort, safety, and keeping your car in top shape. With the right cover, proper fit, and careful installation, you’ll enjoy cleaner, more stylish seats for years to come.
Take your time, follow these steps, and you’ll get results that look almost factory-made.
