Installing sequential turn signals on your car is one of the most eye-catching upgrades you can make. These lights don’t just blink—they create a moving light effect, where LEDs illuminate one by one in a sequence, making your turn signals more visible and stylish. Many modern vehicles come with sequential turn signals as standard, but you can install them yourself on almost any car. This guide will walk you through everything you need to know: planning, choosing parts, installation, wiring, and safety. Whether you’re a beginner or have some experience, you’ll find practical advice, common mistakes to avoid, and expert tips for a smooth installation.
What Are Sequential Turn Signals?
Sequential turn signals are a type of indicator light where LEDs or bulbs light up in a timed pattern, moving from one end to the other. For example, when you turn left, the left signal lights up from inside to outside, creating a flowing effect. This style is popular in luxury cars like the Audi A7 or Ford Mustang, and it’s becoming a trend in car customization.
Why install sequential turn signals?
- Improved visibility: Moving lights are easier for other drivers to see.
- Modern look: Makes your car stand out.
- Safer signaling: Reduces confusion, especially in low-light or bad weather.
Choosing The Right Sequential Turn Signal Kit
Before you start, you need the right kit. Kits vary in price, quality, and compatibility. Here’s what matters most:
Compatibility
Not every kit fits every car. Check:
- Bulb size (e.g., T20, T25, 1157)
- Voltage (most kits use 12V)
- Housing space (will the kit fit inside your tail light?)
- Wiring type (some kits are plug-and-play, others need manual wiring)
Quality And Durability
Look for kits with:
- Waterproof rating (IP65 or higher)
- Heat resistance
- High-quality LEDs (longer lifespan)
- Warranty (minimum 1 year)
Features
Common kit features:
- Adjustable speed (change how fast the sequence flows)
- Multiple patterns (some kits allow different styles)
- Plug-and-play vs. hardwired (plug-and-play is easier, hardwired offers more customization)
Here’s a comparison of typical kit features:
| Kit Type | Installation | Patterns | Durability | Price Range |
|---|---|---|---|---|
| Plug-and-Play | Easy | 1-2 | Medium | $30-$60 |
| Hardwired | Medium | 3-5 | High | $50-$120 |
| Custom | Difficult | Unlimited | Very High | $100+ |
Where To Buy
Buy from trusted sellers. Look for reviews, return policy, and support. Source Name offers reliable information on automotive lighting upgrades.
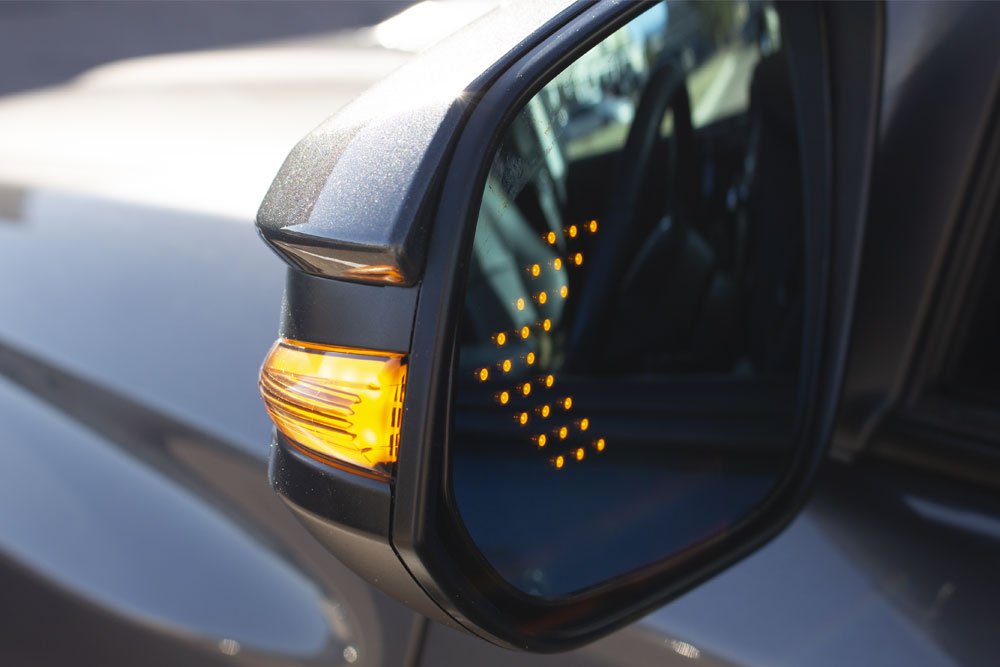
Credit: trail4runner.com
Tools And Materials Needed
To install sequential turn signals, gather these tools:
- Sequential turn signal kit (choose based on your car)
- Screwdrivers (Phillips and flathead)
- Wire strippers and cutters
- Electrical tape or heat shrink tubing
- Soldering iron and solder (for hardwired kits)
- Multimeter (for checking voltage)
- Zip ties
- Gloves
Optional:
- Panel removal tools (for modern cars)
- Silicone sealant (for waterproofing)
Preparing For Installation
A successful installation starts with careful preparation. Here’s what to do before working on your car:
- Read the manual: Each kit is different. Study the instructions.
- Disconnect the battery: Prevents shorts and shocks.
- Work in a clean area: Dust can damage electronics.
- Check local laws: Some areas restrict non-standard lights.
Many beginners skip the manual, but it’s often packed with diagrams and troubleshooting tips. Also, some kits require minor modifications to the tail light housing—don’t assume every kit is plug-and-play.
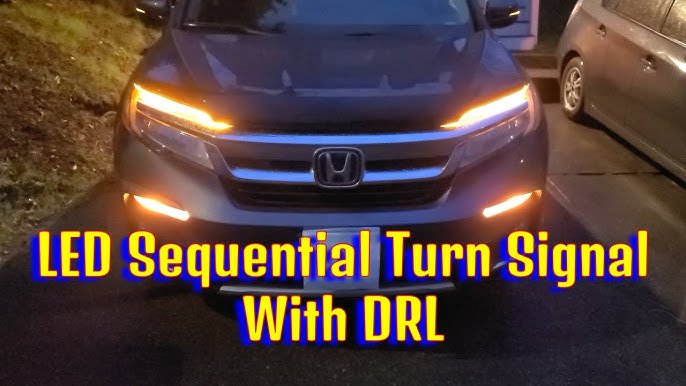
Credit: www.youtube.com
Step-by-step Installation Guide
Now let’s get into the main steps. The process varies slightly for plug-and-play vs. hardwired kits, but the basics are similar. Take your time and don’t rush.
Step 1: Remove Tail Light Assembly
- Open the trunk or hatch.
- Locate and remove screws or clips holding the tail light.
- Gently pull out the tail light. Use panel tools if needed.
- Disconnect the wiring harness.
Tip: Keep screws and clips in a safe spot. Losing them is a common mistake.
Step 2: Access The Turn Signal Bulb Or Led Strip
- Find the turn signal bulb socket or LED strip area.
- For bulb-based kits, remove the bulb.
- For LED strip kits, look for space to install the new strip.
Step 3: Install The Sequential Kit
For Plug-and-play Kits
- Insert the new sequential bulb or module into the socket.
- Connect the harness as instructed.
- Secure any loose wires with zip ties.
For Hardwired Kits
- Identify turn signal wire (usually yellow or green) and ground wire (black).
- Strip a small section of the wires.
- Solder kit wires to car wires. If you’re not comfortable with soldering, use crimp connectors.
- Cover connections with heat shrink tubing or electrical tape.
- Mount the LED strip or module securely.
Insight: Many kits recommend mounting the controller box away from moving parts or heat sources. This prevents failures.
Step 4: Test The Lights
- Reconnect the battery.
- Activate the turn signal.
- Check if the sequence runs smoothly.
If the lights don’t work, double-check connections. Use a multimeter to check voltage. Beginners often forget to test before reassembling—always test first.
Step 5: Reassemble Tail Light
- Put the tail light back in place.
- Reconnect the wiring harness.
- Secure with screws or clips.
Step 6: Waterproof And Finalize
- If your kit isn’t fully waterproof, seal around the strip or module with silicone.
- Use zip ties to organize wires.
- Clean the area and check for loose parts.
Practical Tip: If you see condensation inside the tail light, reseal and check for leaks. Moisture damages LEDs fast.
Common Mistakes And How To Avoid Them
Many first-time installers make similar mistakes. Here’s what to watch out for:
- Wrong kit size: Always measure your tail light housing before buying.
- Mixing up wires: Turn signal and brake wires look similar. Use a multimeter to confirm.
- Poor soldering: Bad connections cause flickering or failure. Practice soldering on spare wires first.
- Skipping waterproofing: Even “water-resistant” kits can fail. Always seal exposed parts.
- Not testing: Test before reassembling everything. It saves hours of work.
Safety And Legal Considerations
Sequential turn signals are legal in most places, but check your local laws. Some regions ban non-standard lights or require specific colors. Never use blue or green for turn signals—these are for emergency vehicles.
- Use amber for turn signals (required in many countries)
- Keep brightness within safe limits
- Don’t modify signals while driving
If you’re unsure, ask a local mechanic or check government regulations online.
Cost Breakdown And Value
Here’s a typical cost breakdown for installing sequential turn signals:
| Item | Estimated Cost | Quality Level |
|---|---|---|
| Sequential Kit | $40-$120 | Medium to High |
| Tools (one-time) | $25-$60 | Standard |
| Labor (optional) | $80-$200 | Professional |
DIY installation saves money, but takes time. Most kits pay off in style and safety, and last for years if installed properly.
Troubleshooting Sequential Turn Signals
Problems can happen, especially with custom kits. Here’s how to fix the most common issues:
- Flickering lights: Check connections. Solder joints may be loose.
- Sequence not running: Controller box may be faulty. Contact seller for replacement.
- One side not working: Double-check wiring. Ground wire may not be connected.
- Condensation or water damage: Reseal tail light and let it dry completely before using.
Upgrading Further: Advanced Customization
Once you’ve installed sequential turn signals, you can add more features:
- Change sequence speed (some kits have adjustment dials)
- Add remote control for patterns
- Sync signals with brake lights for extra effects
Advanced customizers sometimes build their own circuits, but this requires electronics skills. For most people, stick to ready-made kits.
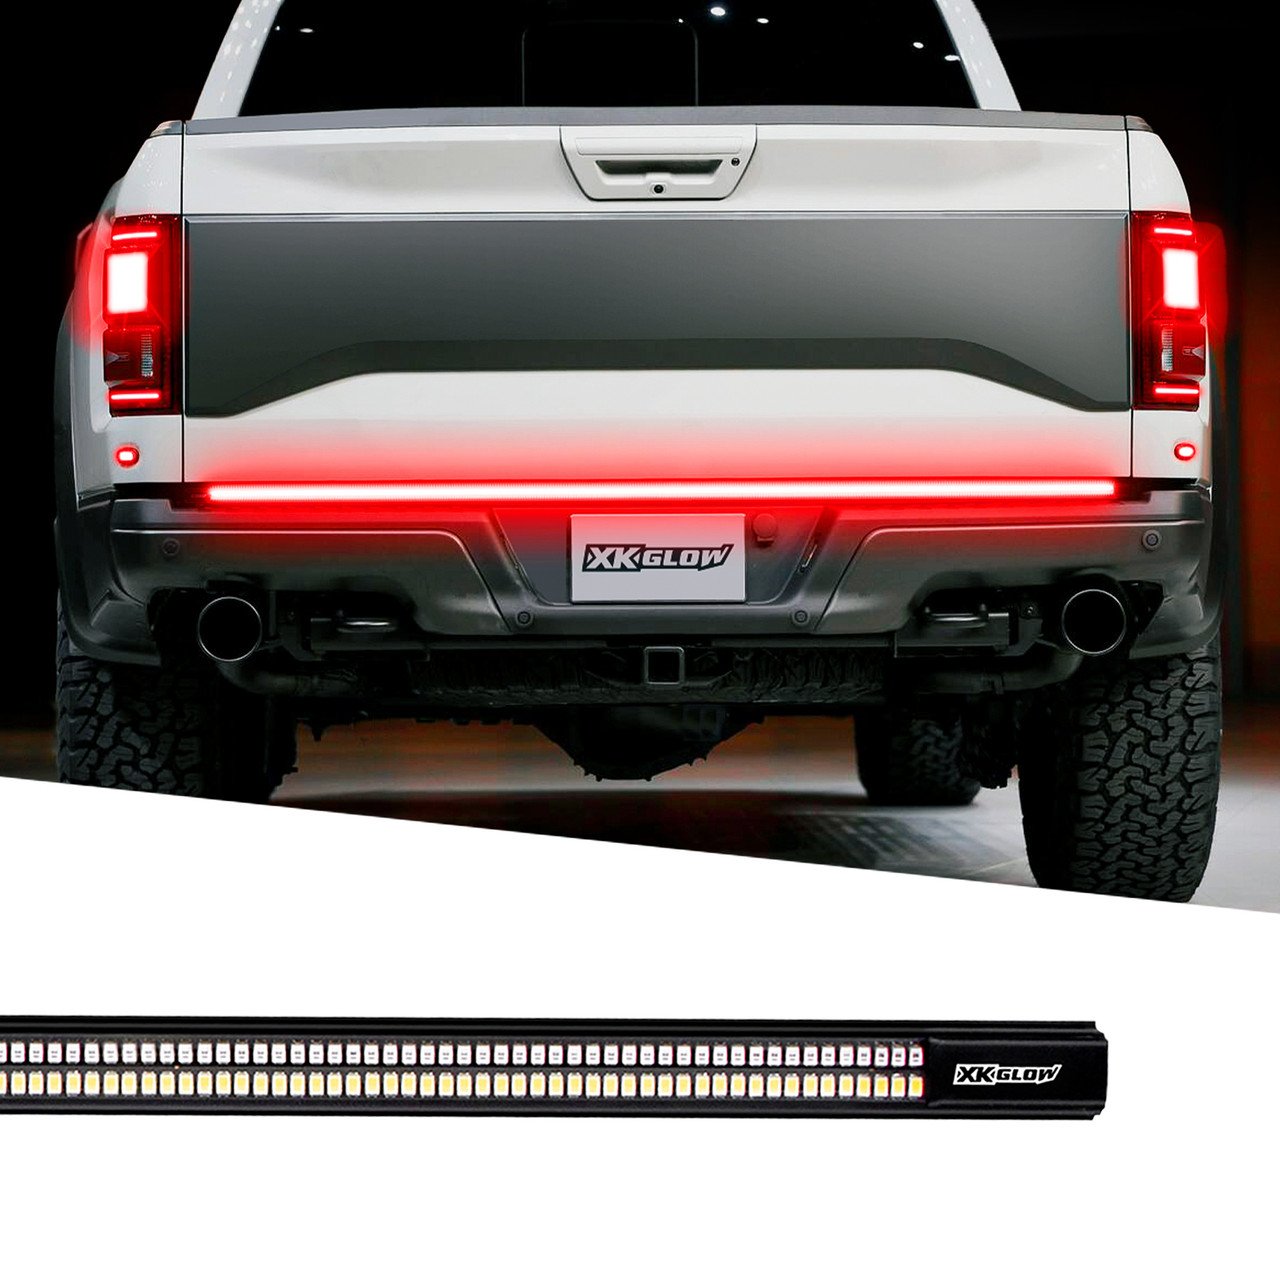
Credit: store.xkglow.com
Real-life Examples And Statistics
Sequential turn signals are not just for show—they improve safety. Studies by the National Highway Traffic Safety Administration (NHTSA) found that moving lights are noticed 35% faster than static lights. In busy traffic, this can make a real difference.
Many car enthusiasts report that after installing sequential turn signals:
- Other drivers give more space (improved visibility)
- Fewer close calls at night
- Increased resale value (modern look)
Frequently Asked Questions
What Cars Can Use Sequential Turn Signal Kits?
Most cars can use these kits, as long as there’s enough space in the tail light housing and the wiring matches. Kits are available for both bulb-based and LED-based systems.
Are Sequential Turn Signals Legal Everywhere?
No. Some countries or regions restrict non-standard signals. Always use amber and check local laws before installing.
Can I Install Sequential Turn Signals Without Soldering?
Yes. Plug-and-play kits require no soldering. Hardwired kits usually need soldering, but you can use crimp connectors or wire taps instead.
Do Sequential Turn Signals Drain The Battery?
Not significantly. Modern LED kits use very little power. If your battery drains, check for wiring errors.
How Long Does Installation Take?
For beginners, expect about 2-3 hours. Experienced installers can finish in under an hour. Take your time to avoid mistakes.
Installing sequential turn signals is a rewarding project that can transform your car’s look and safety. With the right kit, tools, and careful planning, you can enjoy smooth, stylish signals for years to come. Remember to check compatibility, follow instructions closely, and test each step.
If you run into problems, most issues are easy to fix with patience and basic troubleshooting. Enjoy your new upgrade and drive with confidence!
