If you love driving manual cars, you know the feeling of shifting gears—smooth, fast, and precise. But sometimes, the factory gear shifter can feel long and slow. If you want to make your shifts quicker and more exciting, a short throw shifter is the upgrade you need. Many car enthusiasts install this part to reduce the distance the gear stick travels, allowing for faster, sportier gear changes. But how do you install a short throw shifter in your car? Is it easy, and what should you watch out for? In this guide, you’ll learn every step, from choosing the right shifter to fitting it correctly, including tips that beginners often miss.
What Is A Short Throw Shifter?
A short throw shifter is a replacement part for manual transmission cars. It changes the geometry of the shifter mechanism, so the stick moves less distance between gears. This means you can change gears faster and with less effort. The actual “throw” (the distance you move the shifter) can be reduced by 20–40% compared to stock shifters.
Drivers notice:
- Faster shifting
- Crisper gear feel
- More connected driving experience
But remember, a short throw shifter does not make the car itself faster. It only changes how the shifter feels and works.
Tools And Supplies You’ll Need
Before you start, gather all the tools and materials you’ll need. Not having the right tools is a common beginner mistake.
- Short throw shifter kit (specific to your car model)
- Socket wrench set (metric and SAE)
- Phillips and flathead screwdrivers
- Pliers (needle nose and regular)
- Allen keys (hex wrenches)
- Torque wrench
- Flat pry tool or trim remover
- Grease (lithium or synthetic)
- Clean rags
- Jack and jack stands (for cars with shifters under the car)
- Safety gloves
Some cars may need extra tools. Always check your car’s service manual or the installation instructions in your shifter kit.
Choosing The Right Short Throw Shifter
Choosing the right shifter is critical. Not all shifters fit all cars. Here’s what you should look for:
- Compatibility: Check your car’s make, model, and year. Even small differences can matter.
- Throw reduction: Some shifters reduce throw more than others (e.g., 20% vs 40%). Consider how aggressive you want the feel.
- Material quality: Look for hardened steel or billet aluminum. Cheap materials may bend or wear out.
- Brand reputation: Go with trusted brands. Poor designs can cause shifting problems.
- Kit completeness: Some shifters include new bushings, springs, or mounting hardware, which can make installation easier and improve feel.
Example: Comparing Shifter Kits
Here’s a comparison of three popular short throw shifters for a Honda Civic:
| Model | Throw Reduction | Material | Includes Bushings? | Average Price (USD) |
|---|---|---|---|---|
| Skunk2 Pro Series | 35% | Billet aluminum | Yes | $120 |
| Blox Racing | 25% | Steel | No | $80 |
| Buddy Club | 40% | Steel/Aluminum | Yes | $140 |
Preparation And Safety
Many people overlook safety and preparation. Rushing here can make the job harder or even dangerous.
- Park on level ground and engage the parking brake.
- Disconnect the car battery to prevent electrical shorts.
- Wear gloves to protect your hands from sharp edges.
- If you need to raise the car, use jack stands—never trust just the jack.
Lay out all your tools and read through the instructions before starting. This helps you spot any missing steps or hardware.
Removing The Old Shifter
Removing the factory shifter is different for every car, but most follow a similar process. Take your time and keep track of every part you remove.
- Remove shift knob: Unscrew the shift knob by hand. Some knobs may need a small Allen screw to be loosened.
- Take off center console or shift boot: Use a flat pry tool to gently lift the plastic trim or leather boot. Watch for hidden screws—check under rubber mats or inside storage compartments.
- Locate the shifter assembly: The shifter will be attached to the car’s chassis, often with bolts and clips.
- Disconnect linkage: Under the car, or sometimes inside, the shifter is connected to the transmission with rods or cables. Remove the retaining clips using pliers.
- Unbolt the shifter: Use your socket wrench to remove the bolts holding the shifter in place.
- Remove the shifter: Lift it out carefully. There may be a gasket or dust cover—don’t damage these if you plan to reuse them.
Common Mistakes
- Not labeling or taking photos of parts—this can make reassembly confusing.
- Losing small clips or bushings.
- Forcing plastic trim, which can crack or break it.
Installing The Short Throw Shifter
Now comes the fun part: installing your new shifter. Go step by step for the best results.
- Clean the shifter area: Use a rag to remove dirt, old grease, or debris. This prevents future wear and ensures smooth shifting.
- Lubricate moving parts: Apply fresh grease to the pivot points and bushings. Don’t use too much—just enough for smooth movement.
- Install new bushings (if included): Many kits include stiffer bushings. These improve shift feel by reducing flex.
- Position the short throw shifter: Place it into the shifter housing. Make sure it sits flat and lines up with the holes.
- Secure with bolts: Tighten all bolts to the manufacturer’s recommended torque using a torque wrench. Overtightening can strip threads; undertightening can cause rattles.
- Reconnect linkage: Reattach the shift rods or cables, using new clips if provided. Make sure connections are firm.
- Replace dust cover or gasket: This keeps dirt out of the mechanism.
- Test the shifter movement: Move through all gears. There should be no binding or strange noises.
- Reinstall the center console or boot: Snap or screw everything back into place.
- Screw on shift knob: Some aftermarket shifters use a different thread size—check before forcing it.
Practical Tips
- If the shifter feels too stiff, check for misaligned bushings or overtightened bolts.
- A very loose shifter may mean missing clips or worn bushings.
- Take your time with reassembly—rushed work can lead to rattles or gear selection problems.
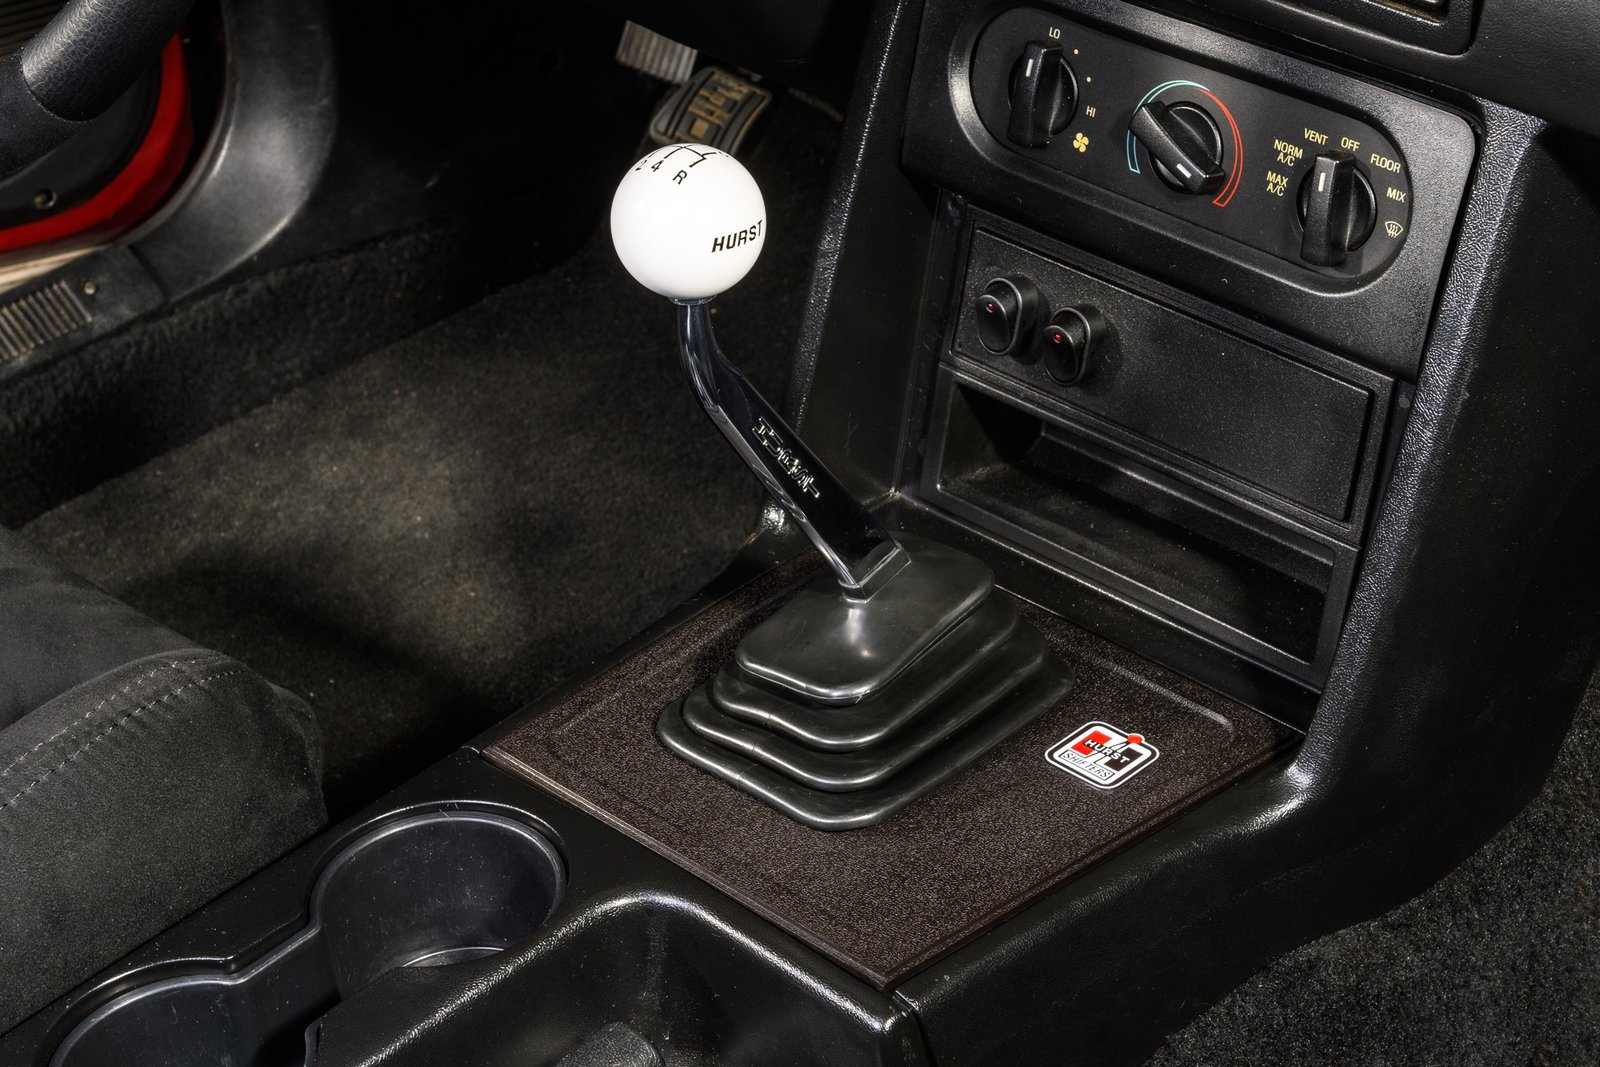
Credit: www.holley.com
Testing Your New Shifter
Testing is not just shifting in the driveway. A few extra checks will help ensure your new shifter works perfectly and safely.
- Start the car in neutral: Make sure the car does not roll or jerk.
- Check all gears: With the engine running, move through each gear. Feel for smooth, positive engagement.
- Test reverse: Some shifters require extra effort to engage reverse. Make sure you can do this easily.
- Listen for noises: Any grinding, squeaking, or rattling could mean something is loose or out of place.
- Drive gently at first: On your first drive, shift slowly and listen for problems. If everything feels good, try faster shifts.
- Double-check bolts: After a short drive, recheck all bolts and clips. Vibration can loosen hardware.
When To Adjust Or Reinstall
If you have trouble engaging gears, or if the shifter is loose or noisy, stop and double-check your work. Sometimes a small adjustment or extra grease is all that’s needed.
Benefits And Drawbacks Of A Short Throw Shifter
Upgrading your shifter has many benefits, but it’s not for everyone. Here’s a quick look at what to expect:
| Benefit | Drawback |
|---|---|
| Faster gear changes | May increase shift effort |
| Sportier feel | Possible increase in noise |
| More precise shifting | Harder for some beginners |
| Improved driving experience | Not all shifters fit all cars |
Non-obvious insight: Not every driver loves a short throw shifter. Some daily drivers prefer a longer, softer shift because it feels more relaxed. Think about your driving style before you upgrade.
Troubleshooting Common Problems
If something doesn’t feel right after installing your short throw shifter, don’t panic. Here are some common issues and how to fix them:
- Stiff or sticky shifting: Too little grease, misaligned bushings, or overtightened bolts. Try loosening the bolts slightly or regreasing the pivot points.
- Rattling noise: Loose bolts, missing clips, or poor fitment. Recheck all hardware and make sure the shifter sits properly in the housing.
- Can’t engage gears: Linkage not reattached correctly, or wrong shifter for your model. Double-check part numbers and linkage connections.
- Shifter feels loose: Worn bushings, missing hardware, or incorrect installation. Replace bushings and tighten all bolts.
Hidden Problem: Transmission Wear
Sometimes, old transmissions feel worse with a short throw shifter because worn synchros or shift forks are exposed by the faster action. If you notice grinding or hard engagement that wasn’t there before, have a mechanic check your transmission health.
Maintenance Tips For Long Life
A short throw shifter usually needs little maintenance, but a few habits can help it last longer:
- Keep the mechanism clean: Wipe away dust and debris when you clean your car’s interior.
- Regrease pivot points yearly: This keeps shifting smooth and prevents wear.
- Check bolts and bushings: Every few months, make sure hardware is tight and bushings are not worn out.
- Avoid slamming gears: Fast shifting is fun, but don’t force the shifter—this can damage both the shifter and your transmission.
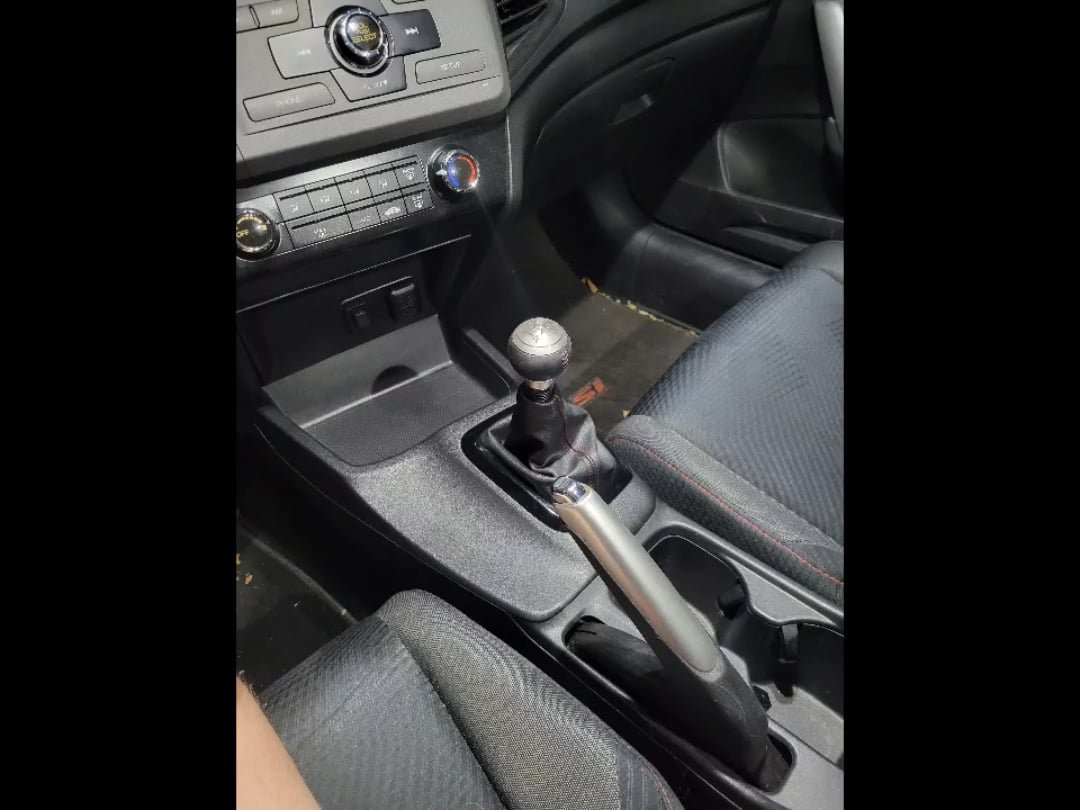
Credit: www.reddit.com
Real-world Example: Mazda Mx-5 Miata
The Mazda MX-5 Miata is a favorite for short throw shifter upgrades. Owners report a noticeable difference: shifting feels much more direct, with a “snick-snick” action. The throw reduction is about 30%. However, some users warn that interior noise increases slightly, and the shifter can feel notchy if not installed with fresh bushings and grease. This example highlights why preparation and quality parts matter.
Frequently Asked Questions
What Is The Main Advantage Of A Short Throw Shifter?
The main advantage is reduced shift distance. This allows faster, more precise gear changes, making your car feel sportier and more connected to the road.
Can A Short Throw Shifter Damage My Transmission?
A properly installed short throw shifter will not damage your transmission. However, if you force shifts or install the wrong part, it can lead to wear or damage over time.
Is Installation A Diy Job Or Should I Get Professional Help?
Most mechanically minded people can install a short throw shifter at home with basic tools. If you are unsure, or if your car has a complex linkage, a professional installation is safer.
Will My Warranty Be Affected?
Installing a short throw shifter may affect your transmission warranty. Always check with your dealer or warranty provider before modifying your car.
How Much Does A Short Throw Shifter Cost?
Prices range from $80 to $300 for most cars, depending on brand and features. Installation by a shop usually costs another $100–$200. For more detailed information, you can visit the official Wikipedia page on short shifters.
Upgrading to a short throw shifter is one of the most satisfying changes you can make to a manual car. With careful preparation and attention to detail, you’ll enjoy sharper, more exciting gear changes every time you drive. Take your time, follow each step, and you’ll soon feel the difference every time you shift.
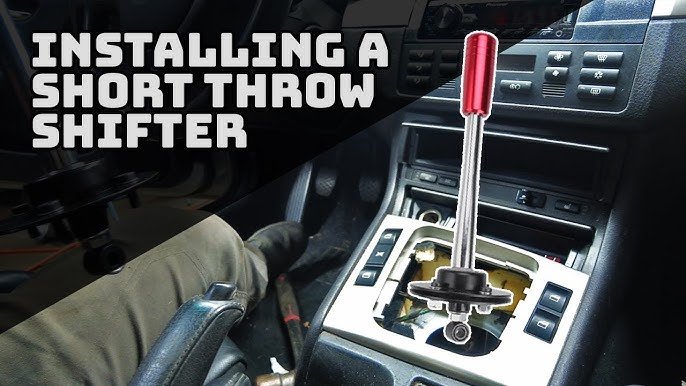
Credit: www.youtube.com
