Installing a roof rack on your car by yourself can open up a world of adventure. Suddenly, carrying bikes, kayaks, skis, or extra luggage becomes much easier. But the idea of mounting a roof rack might feel intimidating, especially if you’ve never done it before.
Don’t worry—most people can install a roof rack with basic tools and a little patience. If you want to save money, be independent, and learn a useful skill, this guide will show you every important step. You’ll also find tips that even many experienced DIYers often overlook.
Understanding Roof Racks And Car Compatibility
Before you start, it’s essential to understand roof racks and their compatibility with your car. Not every roof rack fits every vehicle. Roof racks come in two main types: factory (OEM) and aftermarket. Factory racks are made by your car’s manufacturer for specific models, while aftermarket racks are designed to fit a range of cars.
Cars come with different roof types:
- Bare roof: No rails or mounts at all.
- Flush rails: Rails that run along the roof but have no gap.
- Raised rails: Rails with a gap between the rail and the roof.
- Fixed points: Pre-set mounting spots covered by plastic.
Matching the rack to your roof type ensures safety and avoids damage. If you’re not sure, check your car’s manual or look up your car’s year and model on the rack manufacturer’s website.
Choosing The Right Roof Rack
The right roof rack depends on what you want to carry and your car’s roof type. Here’s how to make a smart choice:
- Identify what you’ll carry. Bikes, skis, cargo boxes, and kayaks all require different mounts. Some racks are universal, but specialized carriers often do a better job.
- Check weight limits. Every car and rack has a maximum load capacity. Exceeding this can damage your car or create a safety risk.
- Consider your usage. If you plan to leave the rack on all year, look for corrosion-resistant materials. If you’ll remove it often, pick a system that’s quick to install and uninstall.
- Look for security features. Some roof racks come with locks to protect your gear.
Here’s a quick comparison of common rack types and their typical uses:
| Rack Type | Best For | Typical Max Load | Common Roof Types |
|---|---|---|---|
| Crossbars | Bikes, boxes, skis | 75-165 lbs (34-75 kg) | Bare, rails, fixed points |
| Basket/Platform | Luggage, odd shapes | 150-200 lbs (68-90 kg) | Raised rails, crossbars |
| Specialized Mount | Kayaks, canoes | Varies | Crossbars |
A common mistake is buying a rack based only on price or looks, without checking weight ratings or compatibility. Always double-check!
Tools And Materials Needed
Installing a roof rack doesn’t require special skills, but you’ll need some basic tools. Most kits come with everything required, but sometimes you’ll need to provide your own screwdriver or wrench.
- Tape measure (for precise placement)
- Allen wrenches/hex keys (often included)
- Screwdriver
- Torx driver (sometimes needed for factory racks)
- Ladder or step stool (for tall vehicles)
- Clean cloth (to protect paint)
- Protective gloves (optional, but helpful)
- Owner’s manual (for both car and rack)
Having everything ready before you start saves time and avoids frustration.
Preparing Your Car And Workspace
A clean, safe workspace makes everything easier. Park your car on a level surface, and make sure you have plenty of light. Before installing, wash your car’s roof to remove dirt and grit. This prevents scratches and helps the rack fit tightly.
Lay out all the rack parts and check that nothing is missing. Look for:
- Crossbars or side rails
- Mounting feet or clamps
- Rubber pads or protective strips
- Fasteners (bolts, nuts, or screws)
- End caps and locks (if included)
Read the instructions fully before starting. It might sound boring, but every rack system is a little different.
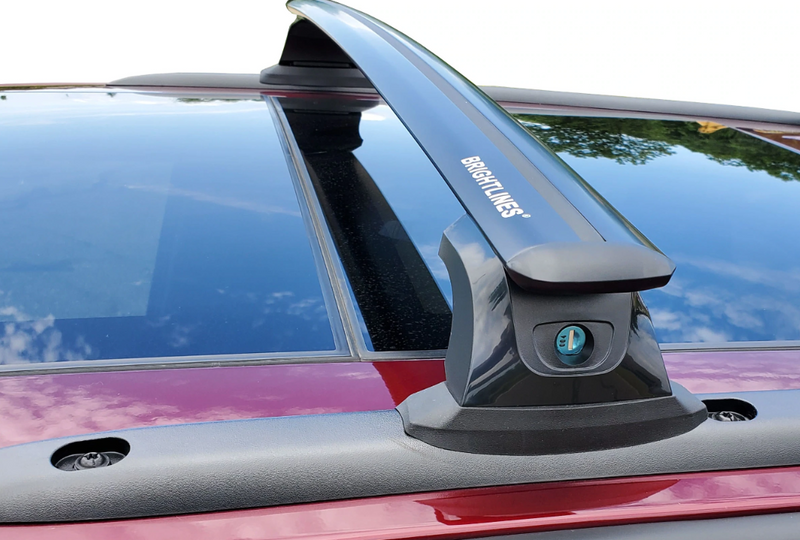
Credit: www.asgautosports.com
Step-by-step Guide To Installing A Roof Rack
Let’s break down the process for the most common installation—aftermarket crossbars on a bare roof or rails. If your car has fixed points or factory mounting locations, the process is similar, but always follow the rack’s manual.
1. Test-fit All Components
Before tightening anything, loosely assemble the rack and place it on the car. This helps you check alignment and make sure all parts fit correctly. It’s much easier to make adjustments now than after everything is tightened.
2. Mark The Position
Measure the distance between the front and rear crossbars. Most racks have a recommended spacing—often 24 to 36 inches (61-91 cm)—for stability. Use your tape measure and a pencil or masking tape to mark where each foot or clamp should sit.
- For best results, align the front bar just behind the front doors.
- Make sure both bars are parallel and centered.
3. Attach Foot Packs Or Clamps
Place the protective rubber pads (included in most kits) under each foot or clamp to prevent scratches. Secure the feet or clamps onto the car’s roof, rail, or door frame. Tighten the bolts or screws just enough so the rack stays in place, but don’t fully tighten yet.
Pro tip: Some racks use a torque wrench to avoid over-tightening. If yours comes with one, use it!
4. Install The Crossbars
Slide the crossbars into the foot packs or clamp system. Adjust their width so the bars extend evenly on both sides. Most kits have a limit line—never let the bars stick out past the end marks.
- Double-check that the bars are straight and parallel.
- If your rack is adjustable, set the width to match your load.
5. Final Alignment And Tightening
Once everything is in position, tighten all fasteners securely. Work in a criss-cross pattern (left front, right rear, right front, left rear) to keep pressure even. Tug gently on each bar to check for movement.
Common mistake: Over-tightening bolts can strip threads or crack plastic parts. Tighten until snug, then give a final quarter-turn.
6. Install End Caps And Locks
Most racks have end caps to protect the bars from water and dirt. Some have locks for security. Install these according to the instructions.
7. Double-check Everything
Walk around your car and check:
- All fasteners are tight
- Bars are straight and secure
- Nothing is rubbing on glass or paint
- End caps and locks are in place
If possible, have a friend help lift and shake the rack gently to test strength.
Common Mistakes To Avoid
Even careful DIYers make errors. Here are some frequent slip-ups and how to avoid them:
- Skipping the instructions: Every car and rack is different. Don’t assume you know the steps.
- Ignoring weight limits: Overloading can damage your car or cause an accident.
- Not protecting the paint: Always use the supplied pads or strips to avoid scratches.
- Wrong placement: Poor alignment can cause wind noise, leaks, or poor handling.
- Over-tightening or under-tightening: Both can lead to rack failure.
Paying attention to these details can save hours of frustration (and expensive repairs).
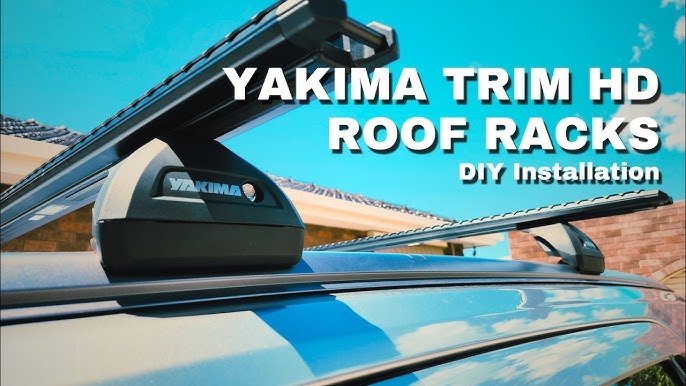
Credit: www.youtube.com
Tips For Safe And Effective Use
A roof rack changes how your car handles and how you drive. Here’s how to stay safe and get the most from your rack:
- Check the rack regularly. Tighten bolts every few months, especially after long trips or rough roads.
- Mind the height. With bikes or boxes on top, your car may not fit in garages or drive-throughs.
- Watch your load. Distribute weight evenly and tie everything down securely.
- Drive slower. A loaded rack creates wind resistance and affects handling.
- Remove when not needed. An empty rack creates drag and reduces fuel efficiency by up to 15%.
Many people don’t realize that a loose or empty rack can whistle loudly at high speed. If you hear new noises after installation, check that all parts are secure.
Real-world Example: Installing A Roof Rack On A Sedan
Suppose you drive a 2018 Toyota Camry with a bare roof. You want to carry two bikes for weekend trips. You select a well-known aftermarket rack system rated for 150 lbs (68 kg).
- Clean the roof and dry it thoroughly.
- Assemble the foot packs with rubber pads.
- Mark the bar positions 28 inches (71 cm) apart.
- Attach the feet to the door frames, tighten lightly.
- Slide in the crossbars, adjust width, and center them.
- Tighten all bolts, install locks and end caps.
- Test with a gentle shake—everything feels solid.
This process took less than 45 minutes, with no special tools. The rack feels sturdy, and you’re ready for adventure.
Cost And Value: Diy Vs. Professional Installation
Many people wonder if it’s better to pay a shop to install a roof rack. Here’s a quick comparison:
| Option | Average Cost | Time Required | Pros | Cons |
|---|---|---|---|---|
| DIY | $0-$50 (tools only) | 30-90 mins | Save money, learn skill | Possible mistakes, time |
| Professional | $75-$200 | 1-2 hours | Guaranteed fit, warranty | Higher cost, less flexible |
For most people, DIY is the better value—if you follow the instructions carefully.
Advanced Tips: Things Beginners Often Miss
- Check local laws. In some places, loads must not extend past the sides of your car by more than a certain amount. There are also rules about securing loads.
- Weatherproofing. Apply a thin layer of silicone grease or wax to the rack’s feet to help protect your car’s paint and prevent rust.
- Noise reduction. If your rack whistles, try shifting the bars slightly or adding a fairing (wind deflector).
Many beginners miss these advanced details, which can make a big difference in long-term use and comfort.
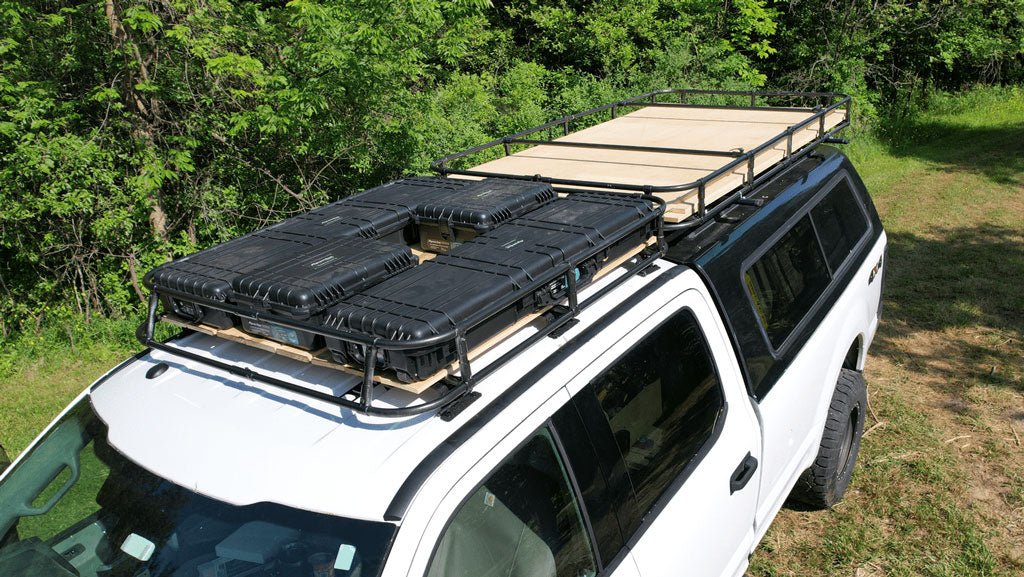
Credit: makerpipe.com
When To Remove Or Adjust Your Roof Rack
Leaving a roof rack on your car year-round is convenient, but not always best. Remove it if:
- You won’t use it for several months.
- You want to maximize fuel economy.
- You’re going through an automated car wash (racks can get damaged).
If you notice any movement, rattling, or damage, take the rack off and inspect it before reuse.
Frequently Asked Questions
How Much Weight Can I Safely Carry On My Roof Rack?
Always follow both your car’s and the rack’s maximum load rating. Most passenger cars can safely carry 75-165 lbs (34-75 kg) on the roof, but check your manual. Overloading can cause accidents and void warranties.
Can I Install A Roof Rack On Any Car?
Most cars can have a roof rack, but you need to choose a rack that matches your roof type (bare, rails, fixed points). Some sports cars or convertibles may not be suitable. Always check with the rack manufacturer.
Will A Roof Rack Damage My Car’s Paint?
Not if installed correctly. Use all included rubber pads and protective strips. Clean the roof before installation. Avoid over-tightening, which can dent or scratch the paint.
How Do I Stop Wind Noise From My Roof Rack?
Try shifting the crossbars slightly forward or backward. Adding a wind fairing or deflector can also help. Make sure all parts are tight and end caps are installed.
Where Can I Find More Detailed Instructions For My Specific Car And Rack?
Check the manufacturer’s website or user manual. Some brands offer video tutorials. For more details, you can visit REI’s expert advice page.
Installing a roof rack yourself is a rewarding project that saves money and gives you control over your gear. With the right preparation, careful attention, and these practical tips, you’ll be ready for any journey—whether it’s across town or across the country.
