Installing running boards on your truck can make a huge difference. They not only improve the look of your vehicle but also make it easier to get in and out, especially for kids, elderly, or anyone with mobility issues. Many truck owners pay professionals for this job, but with the right tools and some patience, you can do it yourself—even if you’re not a mechanic.
This guide will walk you through the process step by step, highlight common mistakes, and give you practical tips that even seasoned DIYers sometimes overlook.
Why Install Running Boards Yourself?
Doing the installation yourself has several clear benefits. First, you save money—professional installation can cost anywhere from $100 to $300 on top of the price of the running boards. Second, you get the satisfaction of customizing your own truck. Finally, you gain knowledge about your vehicle’s structure, which can help with future upgrades.
Many people worry that installing running boards is complicated. The truth is, most modern running boards are designed for DIY installation. If you can use basic hand tools and follow instructions, you can do this project in a few hours.
Choosing The Right Running Boards
Before you begin, picking the right running boards is essential. There are three main types:
| Type | Material | Pros | Cons |
|---|---|---|---|
| Cab-Length | Aluminum, Steel, Plastic | Easy to install, lightweight | Less coverage |
| Wheel-to-Wheel | Steel, Aluminum | More coverage, access to bed | Heavier, costlier |
| Electric/Powered | Steel, Aluminum | Retract automatically, stylish | Expensive, complex install |
Think about your truck’s model, your needs, and your budget. For most DIYers, cab-length or wheel-to-wheel boards work well. Electric boards are impressive but usually require wiring and are not beginner-friendly.
Tip: Always check that the running boards you buy are compatible with your truck’s make, model, and year. Most brands list fitment details clearly.
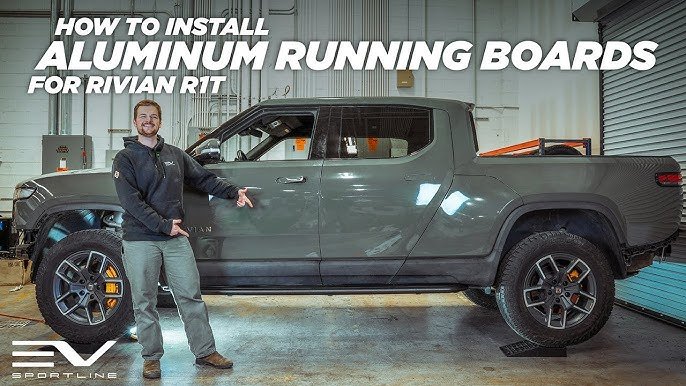
Credit: www.youtube.com
Tools And Materials Needed
You won’t need any special tools for most running board installations. Here’s what you should have ready:
- Socket wrench set (metric and standard sizes)
- Torque wrench
- Screwdrivers
- Measuring tape
- Safety glasses
- Protective gloves
- Step stool or ladder (for taller trucks)
- Jack and jack stands (sometimes helpful but not always required)
- Marker or chalk
Some running boards come with all the necessary bolts, brackets, and hardware. Double-check the box before starting—missing hardware can delay your project.
Preparing Your Truck
Before you start, park your truck on a level surface. Engage the parking brake and turn off the ignition. If your truck is especially tall, you may want to use a jack and jack stands to give yourself more room, but for most installations, this isn’t necessary.
Wipe down the area where you’ll install the running boards. Dirt or mud can make it harder to see mounting holes and could affect the fit.
Insight: Many trucks already have pre-drilled holes or threaded inserts along the frame for running boards. If yours doesn’t, you may need to drill, which adds time and complexity.
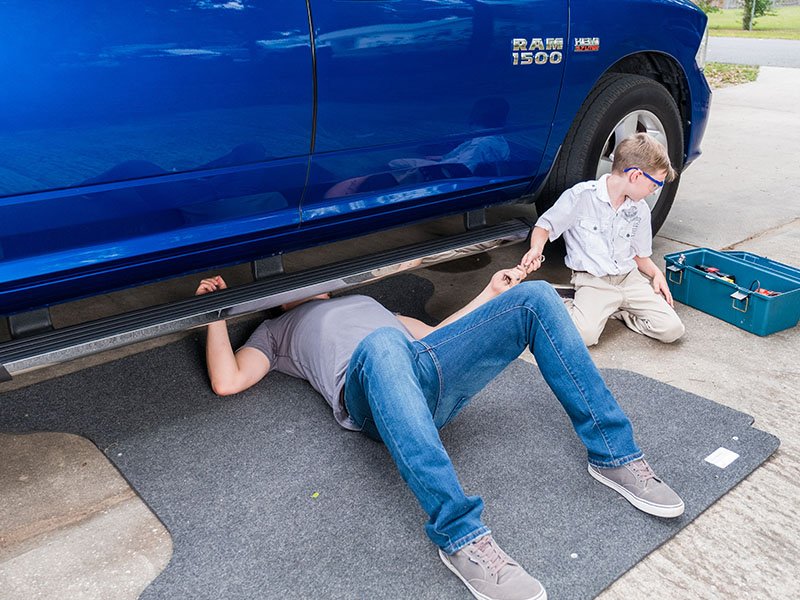
Credit: realtruck.com
Step-by-step Installation Guide
Let’s get into the main steps for installing running boards on your truck. While the exact process can vary based on your truck and the running boards, most installations follow these key steps.
1. Read The Manufacturer’s Instructions
Even if you’ve installed running boards before, always start by reading the specific instructions that come with your kit. Each brand and model can have small differences. Skipping this step is a common mistake that leads to wasted time or damaged parts.
2. Lay Out All Parts And Hardware
Open the box and lay out all the pieces on a clean surface. Check that you have every bracket, bolt, and washer. Compare the items with the parts list in the instructions. Missing a small bracket can stop the whole project.
3. Locate Mounting Points
Most modern trucks have factory-drilled holes under the doors along the frame or rocker panel. Use your measuring tape and marker to identify these points on both sides of the truck.
- If your truck doesn’t have pre-drilled holes, you’ll need to drill them yourself. In this case, measure carefully and double-check your markings before drilling.
4. Attach The Mounting Brackets
Start with the brackets that will hold the running boards to the truck. Typically, you’ll use bolts and washers to secure these brackets to the frame or rocker panel.
- Hand-tighten the bolts first. Do not fully tighten until all brackets are loosely attached. This lets you adjust their position for perfect alignment.
- Make sure each bracket is facing the correct way, as shown in your instructions.
Practical Tip: Some trucks have a plastic cover or undercoating at the mounting point. You may need to cut or trim a small section for a flush fit.
5. Position The Running Boards
With the help of a friend (or a floor jack), hold the running board up to the brackets. Use the bolts provided to attach the board to the brackets.
- Check that the board is level and extends evenly on both sides.
- Adjust the position as needed before tightening the bolts.
6. Secure And Tighten All Bolts
Once you’re happy with the alignment, use your torque wrench to tighten all bolts to the specified torque setting (usually listed in your instructions). Over-tightening can strip threads, while under-tightening can lead to loose boards.
- Start at one end and work your way to the other.
- Double-check each bolt for security.
7. Repeat For The Other Side
Move to the other side of your truck and repeat the process. It’s common for the first side to take longer as you learn, but the second will go faster.
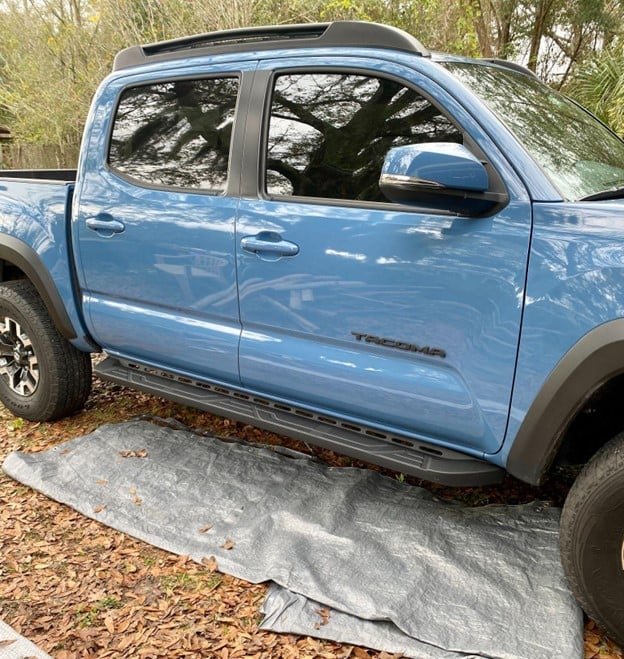
8. Final Checks And Clean Up
Step on each running board to test stability. There should be no movement or creaking. If you feel any flex, re-check your bolts and bracket positions.
Wipe down the running boards and the area around them. Remove any tools or debris from under the truck.
Example: Most installations take 1.5 to 3 hours for both sides, depending on experience and whether drilling is needed.
Comparing Diy Vs. Professional Installation
Many truck owners wonder whether DIY is really worth it. Here’s a simple comparison.
| Aspect | DIY Installation | Professional Installation |
|---|---|---|
| Cost | $0 (if you have tools) | $100–$300 |
| Time | 2–3 hours | 1–2 hours |
| Skill Needed | Basic hand tools | None |
| Flexibility | Install any time | Schedule appointment |
| Warranty | May void if not installed correctly | Usually included |
DIY is best if you enjoy hands-on work and want to save money. If you’re worried about warranties or lack confidence, professional installation might be the better choice.
Credit: www.extremeterrain.com
Common Mistakes And How To Avoid Them
Even experienced DIYers can make errors. Watch out for these:
- Skipping the instructions: Every set of running boards is a bit different. Always read the manual.
- Not checking compatibility: Make sure the running boards fit your exact truck model and year.
- Missing hardware: Double-check all parts before you start.
- Over-tightening bolts: This can strip threads and weaken the mount.
- Poor alignment: Step back and check the look before final tightening.
- Ignoring weight limits: Most running boards support up to 300–500 lbs, but check your model’s rating.
Insight: Some truck owners forget to clean the mounting surface. Dirt or rust can cause hardware to loosen over time.
Maintenance Tips For Running Boards
After installation, running boards need regular care to stay strong and attractive.
- Wash running boards with car soap during routine cleaning.
- Inspect bolts every few months, especially after off-roading or winter driving.
- Apply rust protection to any exposed metal if you live in a snowy or coastal area.
- For powered running boards, lubricate moving parts and check electronics.
Tip: Avoid using harsh chemicals or abrasive pads—these can scratch or dull the surface.
Upgrading To Powered Running Boards
Manual running boards are common, but powered (electric) versions are growing in popularity. They extend when you open the door and retract when closed. If you want to upgrade in the future, plan ahead:
- Make sure your truck has space for the motor and wiring.
- You may need to tap into the door’s electrical system, which is more advanced than a standard install.
- Most DIYers can handle manual boards, but powered boards might need a professional.
For more technical details, you can check resources such as Wikipedia.
Troubleshooting: When Things Go Wrong
If you run into issues, stay calm. Here’s how to address common problems:
- Bracket doesn’t line up: Double-check the instructions and verify you have the right bracket for each mounting point.
- Loose feeling after install: Make sure all bolts are tightened to the recommended torque.
- Missing hardware: Contact the manufacturer or visit an auto parts store—don’t improvise with random bolts.
- Rusty or seized bolts: Use penetrating oil and let it soak before trying again.
Real-world Example
Mark owns a 2016 Ford F-150. He bought a set of aluminum cab-length running boards online for $220. Following the included instructions, he installed them in just under three hours using only a socket set and a torque wrench. He saved about $150 compared to a professional install and now helps friends with their trucks.
Frequently Asked Questions
How Long Does It Take To Install Running Boards On A Truck?
Most DIY installations take 2 to 3 hours for both sides. If you have experience or a friend to help, it can go faster. If you need to drill holes, expect to spend extra time.
Can I Install Running Boards Without Professional Tools?
Yes, you can use basic hand tools like a socket wrench, screwdriver, and torque wrench. No special equipment is needed for most installations.
Will Installing Running Boards Void My Truck’s Warranty?
Usually, installing running boards does not void your warranty, especially if you use bolt-on boards that fit factory mounting points. However, drilling holes or modifying the frame could impact coverage—check your owner’s manual.
How Much Weight Can Running Boards Hold?
Most running boards support 300–500 lbs per side. Always check the manufacturer’s rating and avoid jumping or bouncing on the boards.
Are Powered Running Boards Worth It?
Powered running boards offer convenience and a sleek look, but they cost more and are harder to install. If you want automatic steps and don’t mind the extra work (or paying for professional help), they can be a great upgrade.
Installing running boards on your truck is a rewarding DIY project. With careful preparation and the right tools, you can give your truck a new look and make it more accessible for everyone. Take your time, follow the steps, and enjoy the results for years to come.
