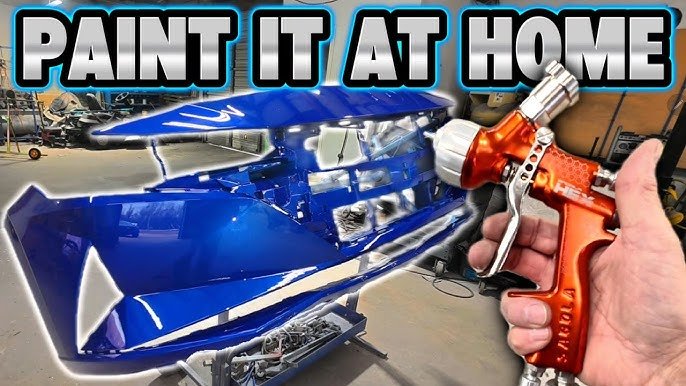
Painting a car bumper at home may sound difficult, but with the right guidance, anyone can achieve professional-looking results without visiting an auto body shop. Whether your bumper has scratches, faded paint, or you just want a new look, this guide will walk you through each step.
Many car owners are surprised at how much money they can save by doing this themselves. But the real secret? The quality of your finish depends more on your preparation and process than on expensive tools.
Before you start, it’s important to understand that patience is key. Rushing can lead to drips, uneven color, or even having to redo everything. With clear steps, some basic equipment, and attention to detail, you can restore or refresh your car’s bumper so it looks almost new.
What You Need To Paint A Car Bumper At Home
Gathering the right tools and materials is the first step toward a successful paint job. You don’t need professional equipment, but skipping essential items can ruin your results.
Tools and materials:
- Sandpaper: 320, 600, 1000, and 2000 grit
- Plastic cleaner and degreaser
- Plastic adhesion promoter
- Primer for plastic
- Automotive spray paint (matched to your car’s color code)
- Clear coat spray
- Masking tape and paper (or plastic sheeting)
- Clean microfiber cloths
- Rubbing alcohol
- Gloves and a dust mask
- Bucket with water
- Polishing compound and wax (for finishing)
Pro tip: Always use paint designed for automotive plastics. Household paints won’t adhere well and can peel or crack.
Step 1: Prepare The Work Area
Painting a bumper at home requires a clean, dust-free area. Dust or insects can land on wet paint, causing imperfections.
- Choose a well-ventilated space, like a garage with the door open.
- Sweep and mop the floor to reduce dust.
- Hang plastic sheets to protect walls and nearby objects.
- Make sure the temperature is between 60°F and 80°F (16°C–27°C). Extreme cold or heat can affect paint quality.
Non-obvious insight: Humidity also impacts drying. Aim for less than 60% humidity if possible.
Credit: www.youtube.com
Step 2: Remove The Bumper (if Possible)
While you can paint a bumper still attached to the car, removing it makes sanding and spraying much easier.
- Open the hood and locate the bolts or clips holding the bumper. Most are under the hood, inside the wheel wells, and underneath.
- Use a screwdriver or socket wrench to remove fasteners.
- Gently pull the bumper away. Be careful with any sensors or fog lights—disconnect these first.
If you can’t remove the bumper, mask off surrounding areas carefully.
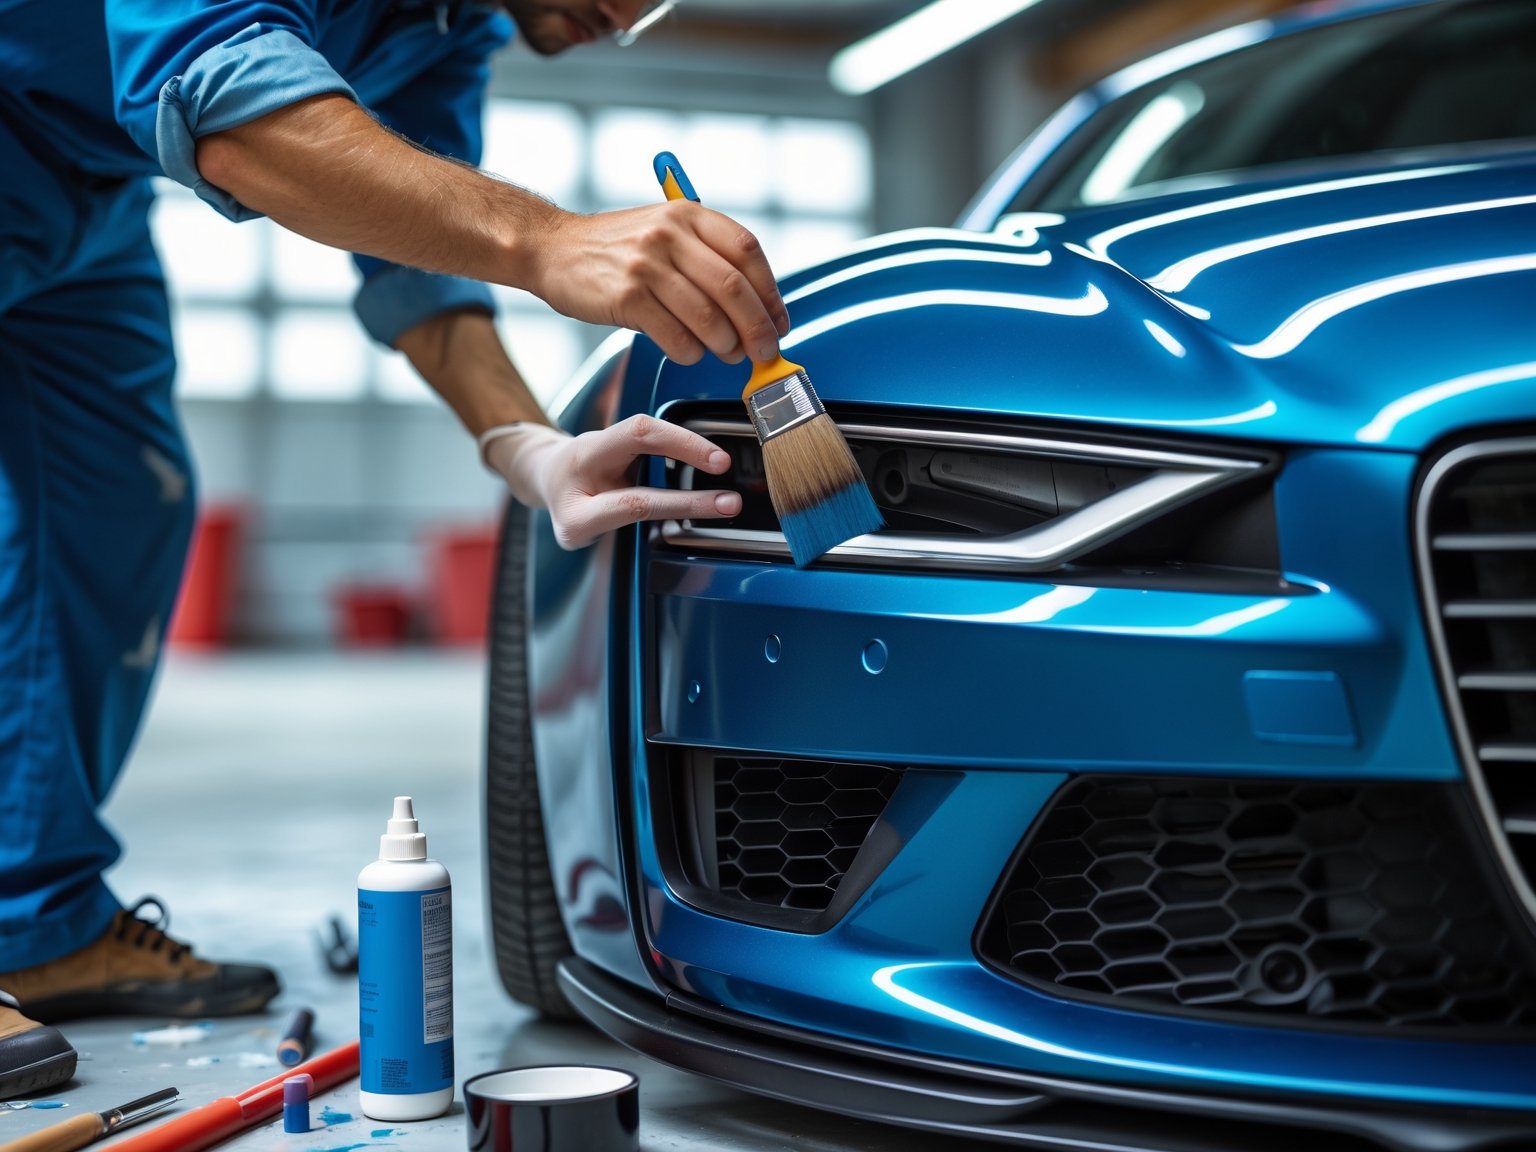
Step 3: Clean The Bumper Thoroughly
Paint sticks best to a surface free of dirt, oil, and wax.
- Wash with car soap and water. Dry with a clean towel.
- Wipe the bumper with plastic cleaner or degreaser to remove stubborn grime.
- Finish with a wipe-down using rubbing alcohol and a microfiber cloth. This removes any remaining oil.
Non-obvious insight: Even fingerprints can cause paint to lift later—always wear gloves after cleaning.
Step 4: Sand The Surface
Sanding smooths out scratches and helps the new paint grip the plastic.
- Start with 320-grit sandpaper to remove old paint, chips, or surface scratches.
- Use a sanding block for flat areas and fold the paper for curves.
- For deeper scratches, keep sanding until the area feels smooth.
- Move to 600-grit sandpaper and sand the entire bumper. This creates a uniform surface for the primer.
- Rinse with water and dry completely.
Example: If you see shiny spots, these are unsanded and could cause peeling. Sand again until the surface is dull and even.
Step 5: Mask Off Surrounding Areas
If the bumper is still on the car, you must protect other panels, headlights, and trim from overspray.
- Cover nearby paintwork with masking tape and paper or plastic sheeting.
- Tuck tape into gaps so no paint sneaks underneath.
- Remove or mask badges and emblems.
Take your time here—paint mistakes are harder to fix than extra masking.
Step 6: Apply Plastic Adhesion Promoter
Plastic bumpers are tricky because paint doesn’t stick easily to most plastics.
- Shake the adhesion promoter can well.
- Hold the can about 6–8 inches from the surface.
- Spray a light, even coat over the entire bumper.
- Wait 10–15 minutes for it to dry.
This step is easy to skip but makes a huge difference in how long your paint lasts.
Step 7: Prime The Bumper
Primer helps paint stick and covers any small scratches.
- Use a primer made for plastic parts.
- Shake the can for at least 2 minutes.
- Spray 2–3 light coats, holding the can 6–8 inches from the surface.
- Let each coat dry for 10–15 minutes.
- Check for drips—wipe them gently with a clean cloth if you see any.
Tip: Thick coats can run or take too long to dry. Always use thin, even layers.
Step 8: Sand The Primer
A smooth primer coat is the key to a smooth final finish.
- Wait at least 1 hour for the primer to dry completely.
- Wet-sand with 1000-grit sandpaper. Dip the paper in water and sand gently.
- Wipe away residue with a damp cloth.
- If you see bare plastic, spray another thin primer coat and repeat.
This step removes dust particles and small bumps from the primer.
Step 9: Spray The Base Coat
Now it’s time for color.
- Shake your automotive spray paint for at least 2 minutes.
- Spray 3–4 thin coats, 6–8 inches away from the surface.
- Wait 10–15 minutes between coats.
- Move your hand smoothly, starting before the bumper and ending after, to avoid drips.
Example: If you see uneven color, add another thin coat after the last one dries.
Step 10: Apply The Clear Coat
Clear coat protects the paint and gives it a shiny, professional look.
- Shake the clear coat can well.
- Spray 2–3 thin coats, waiting 10–15 minutes between each.
- Don’t touch the bumper while it’s drying—fingerprints can ruin the finish.
Pro tip: The first clear coat might look dull. Shine appears after the final coat.
Step 11: Allow Proper Drying And Curing
The paint will feel dry to the touch after a few hours, but it needs more time to cure.
- Let the bumper dry in a dust-free area for at least 24 hours.
- Avoid washing, waxing, or touching the bumper for 5–7 days for full curing.
- If you must drive the car, avoid gravel roads or rain during this time.
Step 12: Polish For A Glossy Finish
Once the paint is fully cured, you can enhance the shine.
- Apply a small amount of polishing compound with a microfiber towel.
- Rub in gentle, circular motions.
- Wipe away residue and finish with a coat of car wax for added protection.
This step is optional but gives your bumper a deep, showroom-like gloss.
Comparing Diy Vs. Professional Paint Job
Here’s how home painting stacks up against professional work.
| Factor | DIY at Home | Professional Shop |
|---|---|---|
| Cost | $50–$150 (supplies only) | $300–$600 |
| Time Needed | 1–2 days | 1–3 days |
| Finish Quality | Good (with care) | Excellent |
| Learning Required | Yes | No |
| Customization | High | Medium |
Common Mistakes When Painting A Car Bumper
Many first-time painters make errors that can easily be avoided:
- Skipping surface preparation: Not cleaning or sanding enough leads to peeling paint.
- Using wrong paint: Household or metal paints crack and flake on plastic.
- Applying thick coats: Causes drips, runs, or uneven color.
- Not allowing enough drying time: Touching or waxing too soon can ruin the finish.
- Ignoring humidity and temperature: Both can cause dullness or slow drying.
Pro tip: Test your spray pattern on cardboard before spraying the bumper.
Extra Tips For Best Results
- Always wear a mask and gloves to protect your lungs and skin.
- Work in small sections if your bumper is large.
- Shake all cans longer than you think—most problems come from poorly mixed paint.
- Store leftover paint and clear coat in a cool, dry place for future touch-ups.
Credit: www.amazon.com
Realistic Expectations: What Can And Can’t Be Fixed
Painting at home works well for faded paint, minor scratches, and small cracks. If your bumper is badly dented or torn, repair or replacement is a better choice.
| Problem Type | Can DIY Paint Fix? |
|---|---|
| Minor Scratches | Yes |
| Faded Paint | Yes |
| Small Cracks | Sometimes (with filler) |
| Deep Dents or Holes | No (needs repair) |
| Peeling Old Paint | Yes (if removed and prepped) |
Where To Find The Right Paint Color
Matching your car’s paint is important for a seamless look. Check inside the driver’s door or under the hood for a paint code label. Many auto parts stores can mix spray paint to match your code. Online sites like Dupli-Color let you order exact-match cans.
Pro tip: Bring your paint code to the store, not just the car’s model name.
Credit: theautoclinique.com
Frequently Asked Questions
How Long Does It Take To Paint A Car Bumper At Home?
The process takes about 1–2 days, including drying time between coats. Full curing may take up to a week before the bumper is ready for waxing or heavy cleaning.
Is It Necessary To Remove The Bumper Before Painting?
No, but removing the bumper gives better access and reduces the risk of overspray on other panels. If you keep it on, careful masking is essential.
What Kind Of Paint Should I Use For A Plastic Bumper?
Always use automotive spray paint and clear coat made for plastics. Regular household paints will not stick properly and may peel.
Can I Fix Deep Scratches Or Cracks With Paint?
Paint can cover small scratches. For deep scratches or cracks, use a plastic filler before painting. Severe damage may require replacement or professional repair.
How Do I Prevent Paint Drips And Runs?
Apply several thin coats instead of one thick coat. Keep the spray can moving steadily and wait for each coat to dry before adding the next.
Painting your car’s bumper at home is a rewarding project that saves money and boosts your skills. With careful preparation and patience, you can achieve results that look impressive and last. Remember, the key is in the details—don’t rush, and enjoy the process of making your car look fresh again!
