Painting in a garage can be very rewarding, but many people overlook one of the most important factors for getting professional results: proper lighting. Without the right lighting, you might miss spots, create uneven finishes, or notice flaws only after the paint dries. Good lighting helps you see true colors and spot imperfections before they become permanent. Whether you are painting a car, furniture, or walls, setting up the right light in your garage makes a huge difference.
This guide will show you how to properly light a garage for painting. You will learn about different types of lights, how to position them, and what mistakes to avoid. If you want your painting project to look its best, start by making your garage as bright and clear as possible.
Why Lighting Matters When Painting In A Garage
Lighting is not just about seeing what you are doing. Correct lighting helps you:
- Notice every detail, crack, or dust spot before painting
- See the real color of your paint, not a distorted version
- Achieve an even finish without streaks or missed areas
- Reduce eye strain and work more comfortably
Many garages have only a single bulb or a few small fixtures. This is far from enough for painting. Paint colors, especially whites, grays, and pastels, can look completely different under poor light. Shadows can hide flaws or cause you to apply paint unevenly.
Types Of Lighting For Painting Projects
Not every light works well for painting. Some lights are too yellow, some too dim, and others cast harsh shadows. Here are the main types of lighting you should consider for your garage painting setup:
Overhead Fluorescent Lights
Fluorescent lights are popular in workshops and garages because they give off a lot of light and spread it widely. They are also energy-efficient and easy to mount on ceilings. Look for fixtures that use T8 or T5 bulbs, as they are brighter and give better color rendering than older T12 types.
Led Shop Lights
LED shop lights are now the most recommended option for garage painting. They use less energy than fluorescents, last longer, and produce little heat. Modern LED panels or tube lights provide a bright, even glow, making it easy to spot flaws. Many have a color temperature close to daylight, which is ideal for seeing true paint colors.
Portable Work Lights
Portable work lights can help you target specific areas, like corners or under cabinets. Choose LED or halogen models with adjustable heads. Place them at different heights for the best coverage. However, halogen lights can get very hot, so use them with caution.
Natural Lighting
Natural light from windows or open garage doors is always useful. It shows the most accurate color. But since daylight changes throughout the day, it is best to combine it with artificial lights for consistent results.
Specialty Color-corrected Lights
Professional painters sometimes use color-corrected bulbs with a high Color Rendering Index (CRI), usually above 90. These bulbs show colors very accurately, similar to natural sunlight. They are more expensive but can be worth it for high-quality paint jobs.
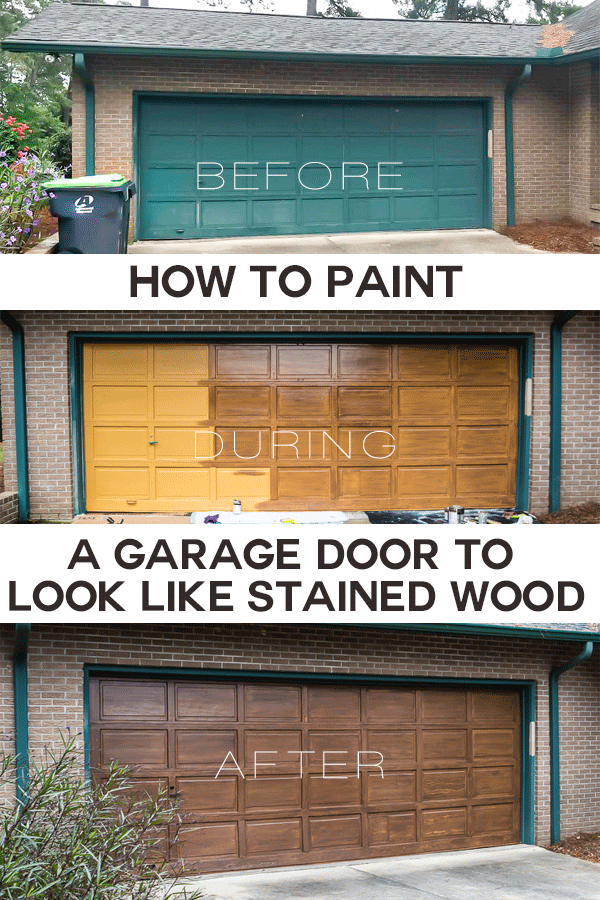
Credit: inmyownstyle.com
Key Lighting Factors To Consider
When planning your garage lighting for painting, keep these important factors in mind:
Brightness (lumens)
Brightness is measured in lumens. The more lumens, the brighter the light. For painting, aim for at least 2000-4000 lumens per 100 square feet. For a standard two-car garage (about 400 sq ft), you will need a total of 8000–16,000 lumens.
Color Temperature (kelvin)
Color temperature affects how warm or cool the light looks. For painting, choose bulbs in the 5000–6500 Kelvin (K) range, which is close to daylight. This makes it easier to see true colors.
Color Rendering Index (cri)
The CRI measures how accurately a light shows color. A CRI of 80 is good, but above 90 is best for painting. High CRI bulbs reduce the risk of color mistakes.
Light Placement
Even the best lights will not help if they are in the wrong spot. Place lights to minimize shadows and cover every area you will paint. Use a mix of overhead and side lighting for best results.
Heat And Safety
Some lights, like halogen, get very hot. In a small garage, this can be uncomfortable or even dangerous. LEDs are safer because they stay cool.
How To Plan Your Garage Lighting Layout
A well-lit garage uses layered lighting. This means mixing different types of lights and placing them at various heights and angles.
Here’s how you can plan your lighting:
- Start with overhead lights: Mount several LED or fluorescent fixtures in parallel rows on the ceiling. Space them evenly to avoid dark spots.
- Add side lights: Attach lights to the walls or use portable stands. This helps reduce shadows created by overhead fixtures.
- Use task lights: For detailed work, bring in adjustable portable lights and aim them at the surface you are painting.
- Take advantage of daylight: If your garage has windows, clean them to let in as much light as possible. Keep the garage door open when possible.
- Test before you start: Turn on all your lights and look for dark corners or glare. Adjust the positions as needed.
Example Garage Lighting Layout
Here is a sample setup for a standard two-car garage (20×20 feet):
| Light Type | Number Needed | Placement | Purpose |
|---|---|---|---|
| LED Overhead Panels | 4-6 | Ceiling, spaced evenly | General illumination |
| Portable LED Work Lights | 2-4 | Moveable, near work surface | Spot lighting/detail work |
| Wall-Mounted Strip Lights | 2-3 | Walls, chest height | Reduce shadows |
| Natural Light | As available | Windows/door | Color accuracy |
Step-by-step: Setting Up Lighting For Painting
To ensure great results, follow these steps when setting up your garage lighting for painting:
- Clean the area. Dust and dirt in the garage can affect how well your lights work and can settle into fresh paint. Wipe down fixtures and sweep the floors.
- Measure your garage. Know the square footage so you can calculate how many lights and lumens you need.
- Choose your lights. Pick high-CRI, daylight-balanced bulbs (5000–6500K). LEDs are best for most people.
- Install overhead fixtures. Mount them on the ceiling first, ensuring even coverage.
- Add side and task lights. Place additional lights on walls or on stands to fill in shadows.
- Test the setup. Turn on all lights. Walk around and check for any dim areas or glare.
- Adjust as needed. Move portable lights or add more bulbs if you spot any problems.
- Check color accuracy. Place a sample of your paint under the lights to see if it looks right. Adjust lighting if the color seems off.
Lighting Placement Example
Suppose you are painting a car in your garage. Overhead lights illuminate the roof and hood, but the sides may be in shadow. By placing two portable lights on either side of the car, aimed slightly upward, you remove these shadows and see every surface clearly.
Common Mistakes When Lighting A Garage For Painting
Even with the best intentions, it’s easy to make mistakes that hurt your results. Here are some errors to avoid:
- Using only one type of light. Relying on a single bulb or fixture leaves shadows and uneven areas.
- Ignoring color temperature. Warm (yellowish) bulbs can distort paint colors, leading to surprises later.
- Not enough lumens. Dim lighting makes it hard to see flaws and leads to missed spots.
- Bad placement. Lights aimed directly at your eyes cause glare, while lights too far from the work area leave shadows.
- Forgetting about safety. Overheating from halogen lights or overloading outlets can be a fire risk.
- Neglecting the ceiling and walls. Dark ceilings and walls absorb light. Painting them white or light gray helps bounce light around the garage, making everything brighter.
How To Calculate The Right Amount Of Light
Here is a simple way to estimate how many lights you need:
- Find your garage’s square footage (length x width).
- Multiply by 50 for general tasks, or by 75–100 for painting.
- The result is the total lumens you need.
For example, for a 400 sq ft garage:
400 X 75 = 30,000 Lumens (target For Painting)
If each LED fixture gives you 4000 lumens:
30,000 ÷ 4000 = 7.5 fixtures (round up to 8 fixtures for full coverage)
This ensures you have enough light for detailed work.
Choosing The Right Bulbs: Cri And Color Temperature
Not all bulbs are equal. Here’s a quick comparison:
| Bulb Type | CRI | Color Temp (Kelvin) | Energy Use |
|---|---|---|---|
| Standard LED | 80-90 | 4000–6500 | Low |
| High-CRI LED | 90-98 | 5000–6500 | Low |
| Fluorescent | 70-85 | 3500–6500 | Medium |
| Halogen | 95-100 | 3200 | High |
For painting, high-CRI LEDs at 5000–6500K are usually the best choice. They are bright, cool, and show colors accurately.
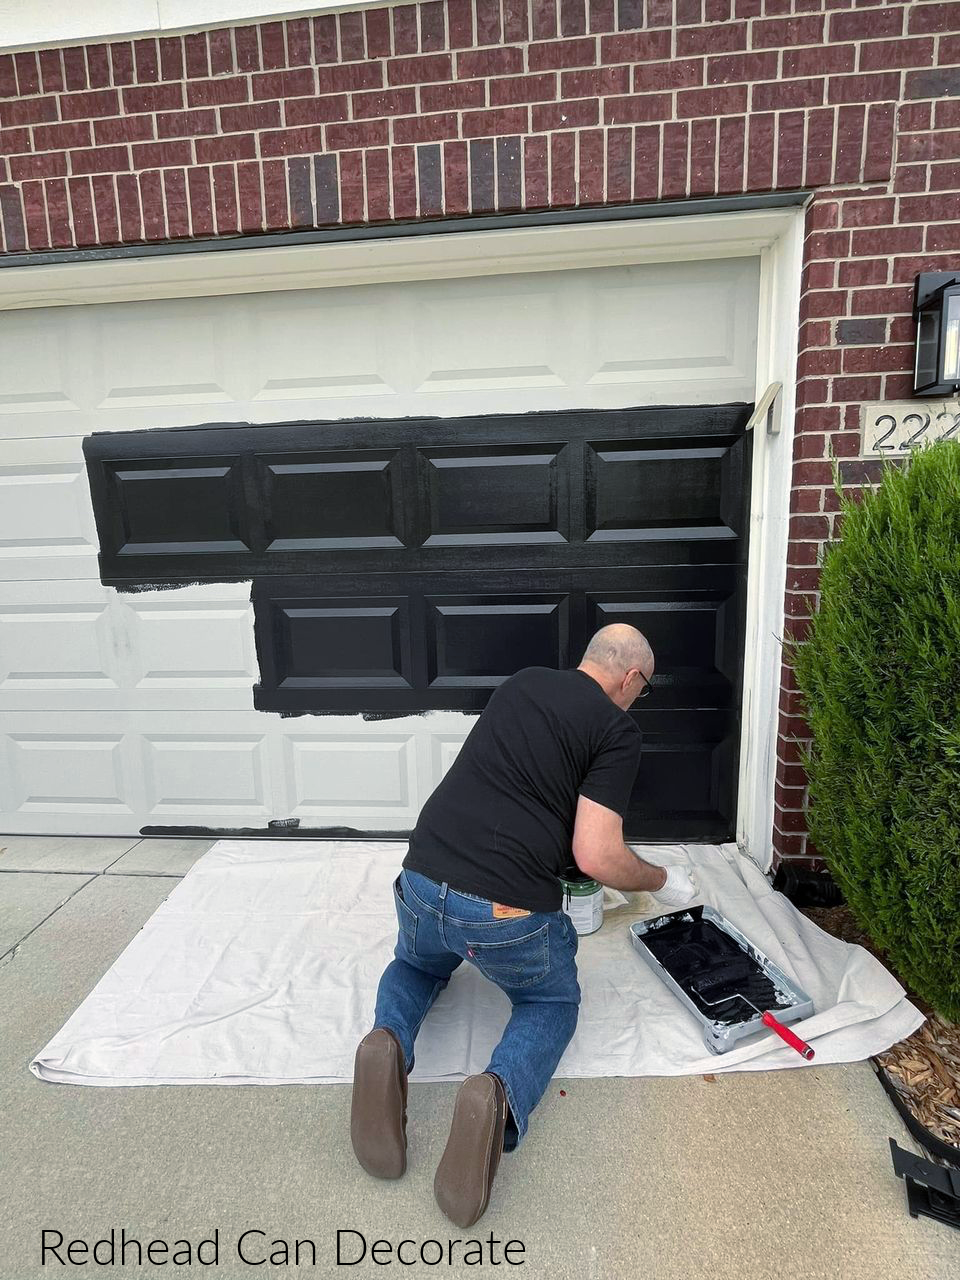
Credit: redheadcandecorate.com
Lighting Tips For Special Painting Projects
Painting Cars
Lighting must reach all sides and undercarriage. Use portable work lights on stands, move them as you work, and combine with overhead panels.
Painting Walls Or Cabinets
Aim for even wall-to-wall lighting. Place extra fixtures at both ends of the garage to avoid shadows in corners.
Fine Detail Painting
If you are painting artwork or furniture, use an extra lamp with a high-CRI bulb and an adjustable arm for close-up work.
The Hidden Benefits Of Good Garage Lighting
Proper lighting does more than just help with painting. It also:
- Makes your garage safer by reducing tripping and tool accidents
- Helps you clean up better by spotting spills and dust
- Allows you to use your garage for other detailed work, like repairs or crafts
Many people only realize these benefits after upgrading their garage lighting.
Real-world Example
A 2020 survey by the American Lighting Association found that over 70% of homeowners with upgraded garage lighting reported better painting results and fewer mistakes. After switching to LEDs, users saw fewer missed spots and less color mismatch compared to those using only basic ceiling bulbs.
Where To Buy Good Lights
Quality lighting is available at hardware stores, lighting specialists, and online retailers. Look for products rated for workshops or garages, and check the CRI and lumen ratings before buying. For more details on lighting types and installation, you can visit this Energy.gov Lighting Guide.
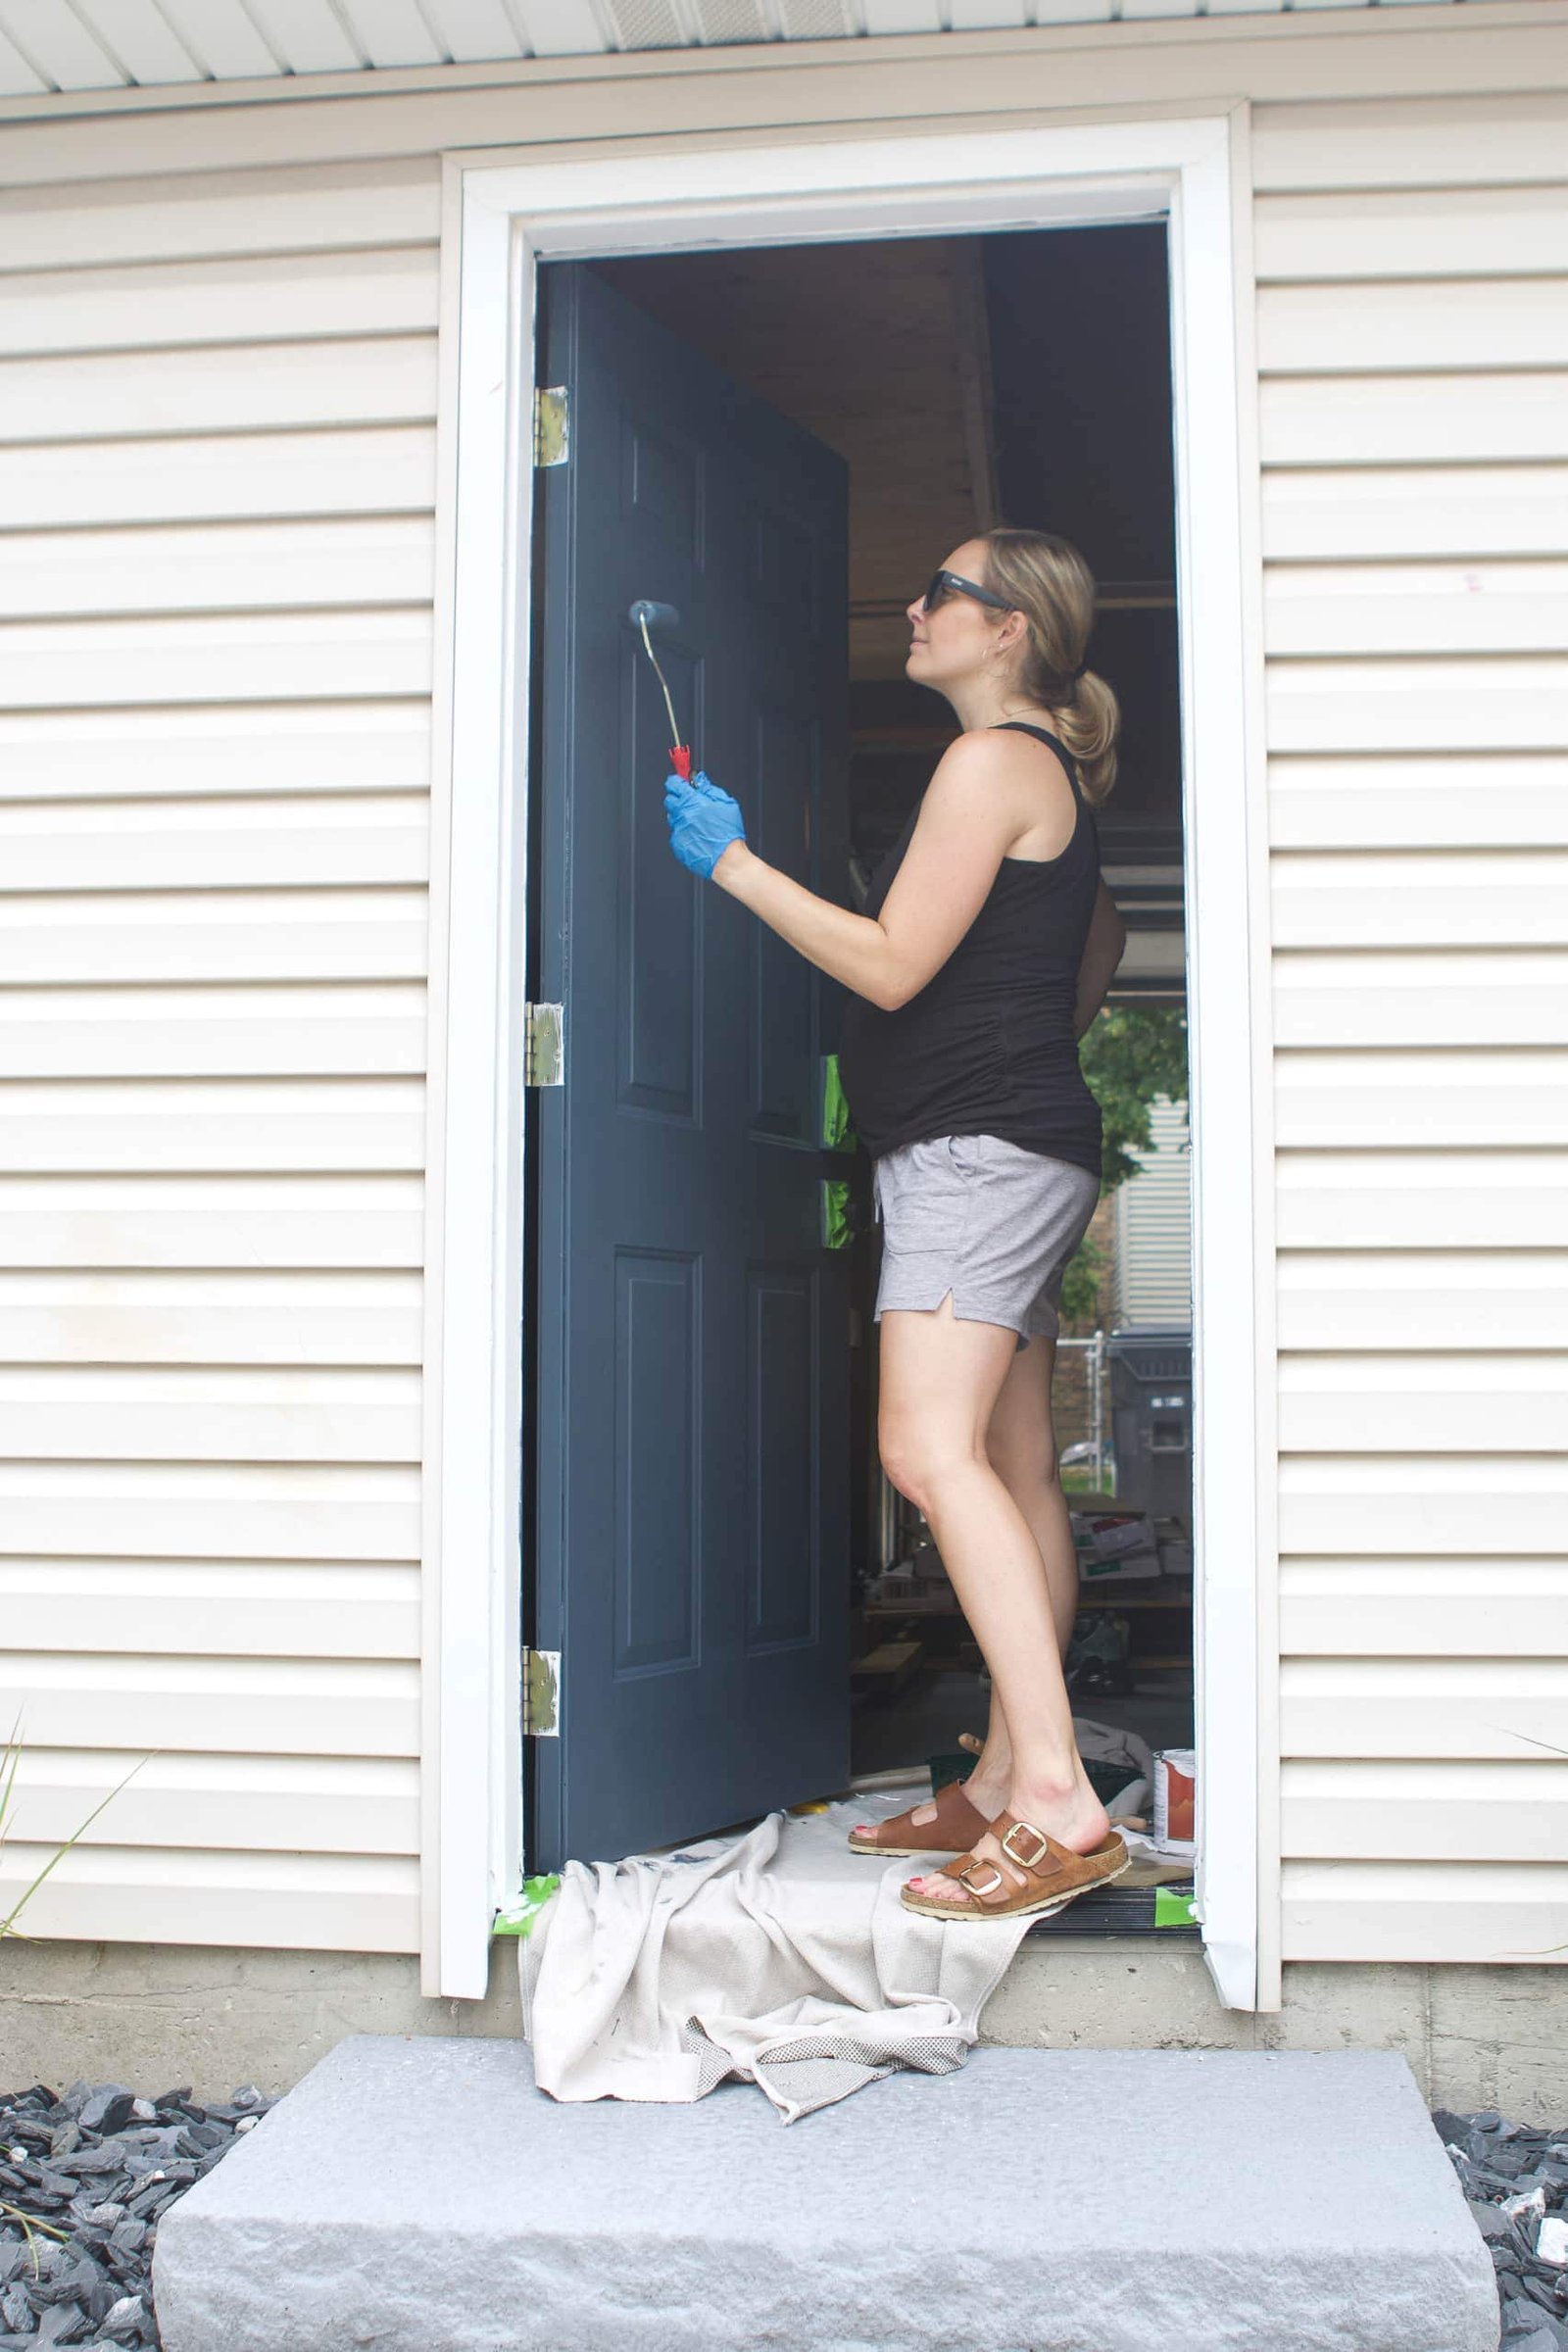
Credit: thediyplaybook.com
Frequently Asked Questions
How Many Lumens Do I Need To Paint In My Garage?
For painting, aim for 75–100 lumens per square foot. For a 400 sq ft garage, that means 30,000–40,000 lumens in total.
What Color Temperature Is Best For Garage Painting?
Use lights in the 5000–6500 Kelvin range, which is similar to daylight. This helps you see true paint colors and spot flaws.
Can I Use Regular Bulbs For Painting Projects?
Regular bulbs are often too dim and have a low CRI, which can make colors look wrong. For painting, use high-CRI, daylight-balanced LEDs or fluorescents.
Should I Paint My Garage Walls A Certain Color To Help With Lighting?
Yes, painting walls and ceilings white or light gray helps reflect light, making the whole space much brighter and reducing shadows.
Is It Safe To Use Halogen Work Lights In A Garage?
Halogen lights are very bright but get hot quickly. They can be a fire risk, especially near paint fumes. LEDs are safer and are now bright enough for most garage painting needs.
Painting in your garage can be satisfying and fun when you can see every detail clearly. By investing time in setting up the right lighting, you will get better results and enjoy your projects more. Good lighting is the secret behind every professional-looking paint job—don’t skip this step.
