Removing a car emblem can transform the look of your vehicle. Maybe you want a cleaner style, need to replace a damaged badge, or are preparing for a full repaint. Many car owners worry about damaging the paint or leaving ugly marks behind. The good news: with the right tools, patience, and a careful approach, you can remove car emblems without harming your car’s finish. This guide explains every step in detail, including common mistakes, pro tips, and answers to questions you probably haven’t thought about.
Understanding Car Emblems And Adhesives
Before you start, it’s helpful to know how car emblems are attached. Most modern badges stick on with strong double-sided foam tape or adhesive. Some older or specialty models use pins that go through the bodywork, held by clips or nuts inside the panel.
Adhesive-backed emblems are the easiest to remove without damage. Emblems with pins need extra care, as removing them often leaves small holes. Always check your car’s make and model online, or gently feel behind the badge for pins if possible.
Why People Remove Car Emblems
There are several reasons you might want to remove a car emblem:
- Aesthetic preference: Many people prefer the “clean” look without badges.
- Rebadging or restoration: Swapping old or faded emblems for new ones.
- Paint protection or repair: Removing emblems before repainting or fixing scratches.
- Debranding: Some owners want to hide the make or model for privacy or style.
Whatever your reason, following the right steps is essential to keep your paint safe.
Tools And Materials You’ll Need
Gathering the proper tools makes the process safer and faster. Here’s what you should have ready:
- Hair dryer or heat gun
- Dental floss or fishing line
- Adhesive remover (like Goo Gone or 3M Adhesive Remover)
- Plastic trim tool or old credit card
- Microfiber towels
- Car-safe soap and water
- Masking tape (optional, for marking the area)
- Polishing compound (for final touch-up)
Always use soft, non-metallic tools. Metal tools scratch paint easily—even a small slip can leave a permanent mark.
Step-by-step Guide To Removing Car Emblems
Let’s break down the process into clear, manageable steps. Don’t rush—taking your time is the best way to avoid damage.
1. Clean The Area
Wash the area around the emblem with car-safe soap and water. Dry it with a microfiber towel. Dirt or grit can scratch the paint if you rub or scrape later.
2. Soften The Adhesive
Use a hair dryer or heat gun on its lowest setting. Hold it 4–6 inches from the emblem and move it in circles for 2–3 minutes. The goal is to warm the adhesive behind the emblem, making it more flexible. Avoid overheating—excessive heat can damage paint or plastic trim.
Pro tip: If you don’t have a hair dryer, parking in direct sunlight for an hour can help soften adhesive, though not as effectively.
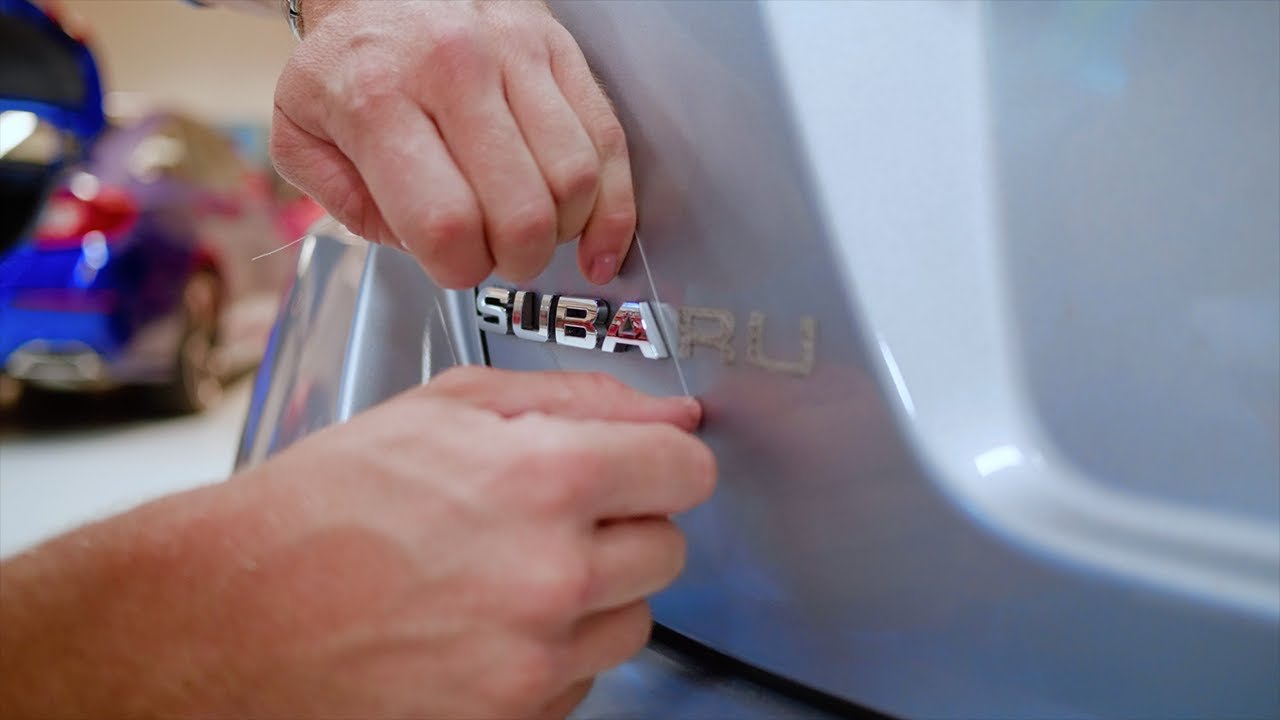
3. Slice Through The Adhesive
Take a long piece of dental floss or fishing line. Wrap the ends around your fingers for grip. Gently slide the floss behind the emblem, using a sawing motion. Work slowly from one side to the other. The floss will cut through the foam tape or adhesive.
- If you hit strong resistance, apply more heat and try again.
- Avoid using metal wire—it will scratch the paint.
4. Remove Leftover Adhesive
Most emblems leave behind a sticky outline or foam residue. Spray a small amount of adhesive remover on a microfiber towel and gently rub the area. For stubborn spots, let the remover sit for 30 seconds, then wipe again. Never use harsh chemicals like acetone, which can strip paint.
5. Polish The Area
After all adhesive is gone, the paint might look dull or “shadowed.” Use a small amount of car polishing compound and buff with a clean microfiber towel. This restores shine and blends the area with the rest of your car.
6. Wash And Inspect
Rinse the area with water and dry. Check closely from different angles. If you see any missed adhesive or faint marks, repeat the adhesive remover and polish steps.
7. (optional) Apply Wax
For extra protection, apply a layer of car wax to the area. This helps seal the paint and makes it more resistant to dirt or water spots.
Special Cases: Emblems With Pins Or Holes
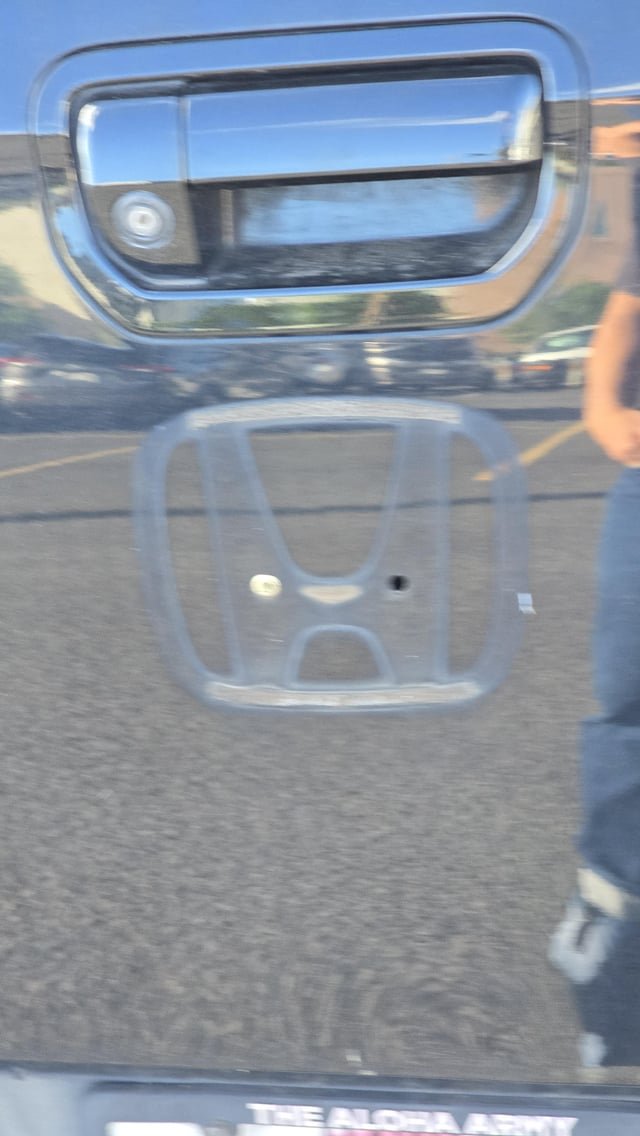
Some car emblems use pins that go through the body panel. If your emblem feels very solid or you can see nuts or clips inside the trunk/hood, you likely have this type.
- Removing these emblems will leave small holes in the metal or plastic.
- After removal, you’ll need to fill the holes with body filler, touch-up paint, or plastic plugs.
- For a perfect finish, professional bodywork is often needed.
- If you’re not comfortable with this, it’s better to leave these emblems in place or ask a body shop for help.
Comparing Methods: Floss Vs. Trim Tools
Different tools can help remove emblems, but not all are equally safe. Here’s a quick comparison:
| Method | Risk of Paint Damage | Ease of Use | Cost |
|---|---|---|---|
| Dental Floss/Fishing Line | Very Low | Easy | Very Low |
| Plastic Trim Tool | Low | Medium | Low |
| Metal Blade | High | Difficult | Low |
Dental floss is safest for most people. Plastic trim tools work for larger emblems, but always check for sharp edges.
Credit: www.reddit.com
Common Mistakes To Avoid
People often make small mistakes that lead to big problems. Here’s what to watch out for:
- Using metal tools: Even a butter knife can scratch or gouge paint.
- Pulling too hard: Forcing the emblem can pull up paint or bend body panels.
- Skipping the heat step: Cold adhesive is much harder to remove and more likely to damage paint.
- Using strong chemicals: Solvents like acetone or paint thinner can permanently stain or soften your car’s finish.
- Not removing all residue: Leftover adhesive can attract dirt and look unsightly.
How Long Does It Take?
Most car emblems take 20–40 minutes to remove if you follow every step. Larger or older badges may take longer, especially if the adhesive is very strong or there’s paint buildup.
Cost Comparison: Diy Vs. Professional
Is it worth doing this job yourself? Here’s a comparison:
| Option | Average Cost (USD) | Time Required | Result |
|---|---|---|---|
| DIY (at home) | $10–$30 (for supplies) | 20–60 minutes | Excellent (if careful) |
| Professional Detailer | $50–$150 | 1–2 hours (appointment) | Perfect finish |
Most people can achieve a great result at home. If you have an expensive car, rare paint, or don’t feel confident, a professional service is a safe choice.
Aftercare: Protecting The Paint
Once the emblem is gone, the paint underneath may look slightly different from the rest of the car. This is normal, especially on older vehicles. The paint under the emblem hasn’t been exposed to sun, rain, or pollution as much as the rest of the bodywork.
- Over time, UV exposure blends the area naturally.
- Regular washing and waxing help keep the finish even.
- If the color difference bothers you, a professional detailer can polish the area for a seamless look.
Credit: www.youtube.com
Non-obvious Tips Most People Miss
Many guides skip these advanced tips, but they can make your results even better:
- Test a small area first: Try your adhesive remover on a hidden spot to check for any reaction with your paint.
- Work slowly: Many people rush, especially with heat or floss. A slow, steady pace prevents stretching the paint or snapping the floss, which can hit the car and leave a mark.
- Save the emblem: If you ever want to sell your car, keeping the badge intact lets you restore the original look easily.
When Not To Remove Emblems
There are situations where leaving the badge is best:
- Leased vehicles: Removing emblems may violate your lease agreement.
- Classic cars: Original emblems can be valuable for collectors.
- Uncertain attachment type: If you’re unsure about pins or clips, get advice before proceeding.
Sustainability: What To Do With Old Emblems
Don’t just throw your old emblems away. Many can be reused, sold, or recycled.
- Sell online: Car enthusiasts often look for original badges.
- Upcycle: Turn old emblems into keychains, wall art, or memorabilia.
- Recycle: Most badges are metal or plastic and can go in standard recycling if clean.
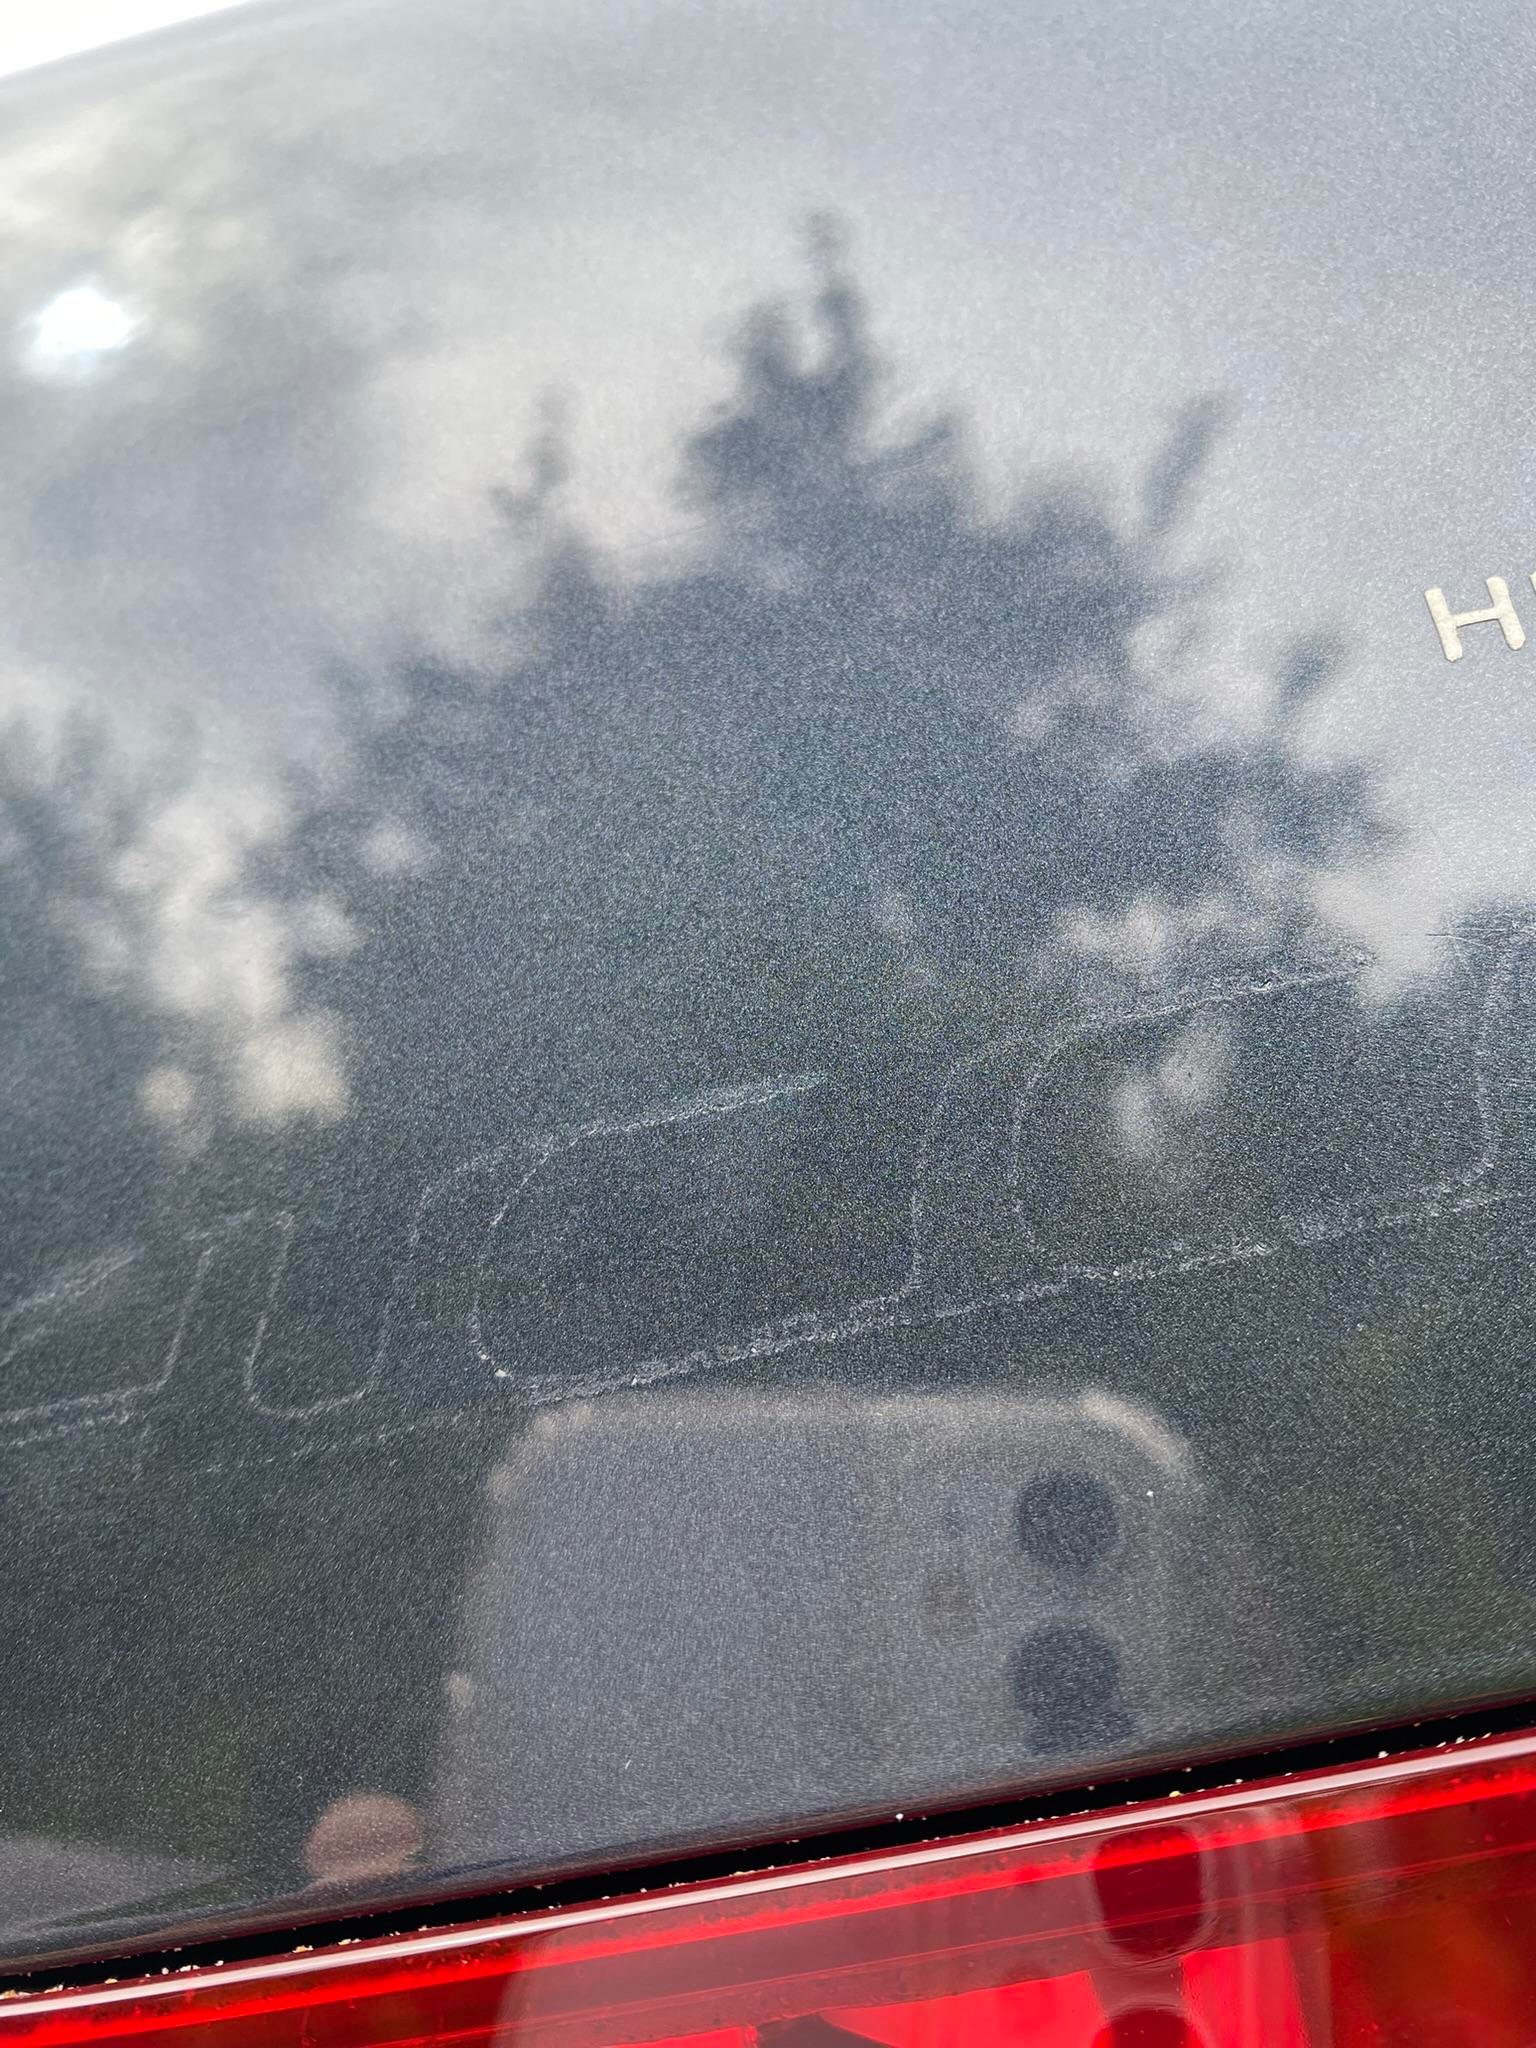
Dealing With Adhesive Shadows
Sometimes, even after careful cleaning, a faint outline called a “ghost shadow” remains. This is more common on older paint or with badges that have been in place for years.
- Use a high-quality polishing compound and a foam pad to gently buff the area.
- For stubborn shadows, a professional detailer can use a machine polisher to blend the finish.
Credit: www.reddit.com
Frequently Asked Questions
How Can I Tell If My Car Emblem Has Pins Or Just Adhesive?
Most modern cars use adhesive, but you can check by gently feeling behind the badge (if possible) or searching your car’s make and model online. If you see nuts or clips inside the trunk or hood, it likely uses pins.
Will Removing My Car Emblem Void The Warranty?
Removing an exterior badge typically does not affect your warranty, unless you damage the paint or bodywork in the process. Always check your vehicle’s warranty booklet or ask your dealer to be sure.
Can I Put The Emblem Back On After Removal?
If you removed it carefully, you can reattach it using new automotive double-sided tape. Clean both the emblem and car surface with alcohol before applying new tape for the best hold.
What Is The Safest Adhesive Remover For Car Paint?
Products like Goo Gone Automotive or 3M Adhesive Remover are designed for cars and safe for clear coat paint. Always test a small area first.
Where Can I Find More Advice Or See Videos Of The Process?
You can find step-by-step videos and expert guides on reputable auto forums or resources like DetailingWiki for further learning.
Car emblems are a small detail, but removing them the right way can have a big impact on your car’s style. With patience and the right technique, you can achieve a flawless result that looks like it came from the factory—no scratches, no damage, and no regrets.
