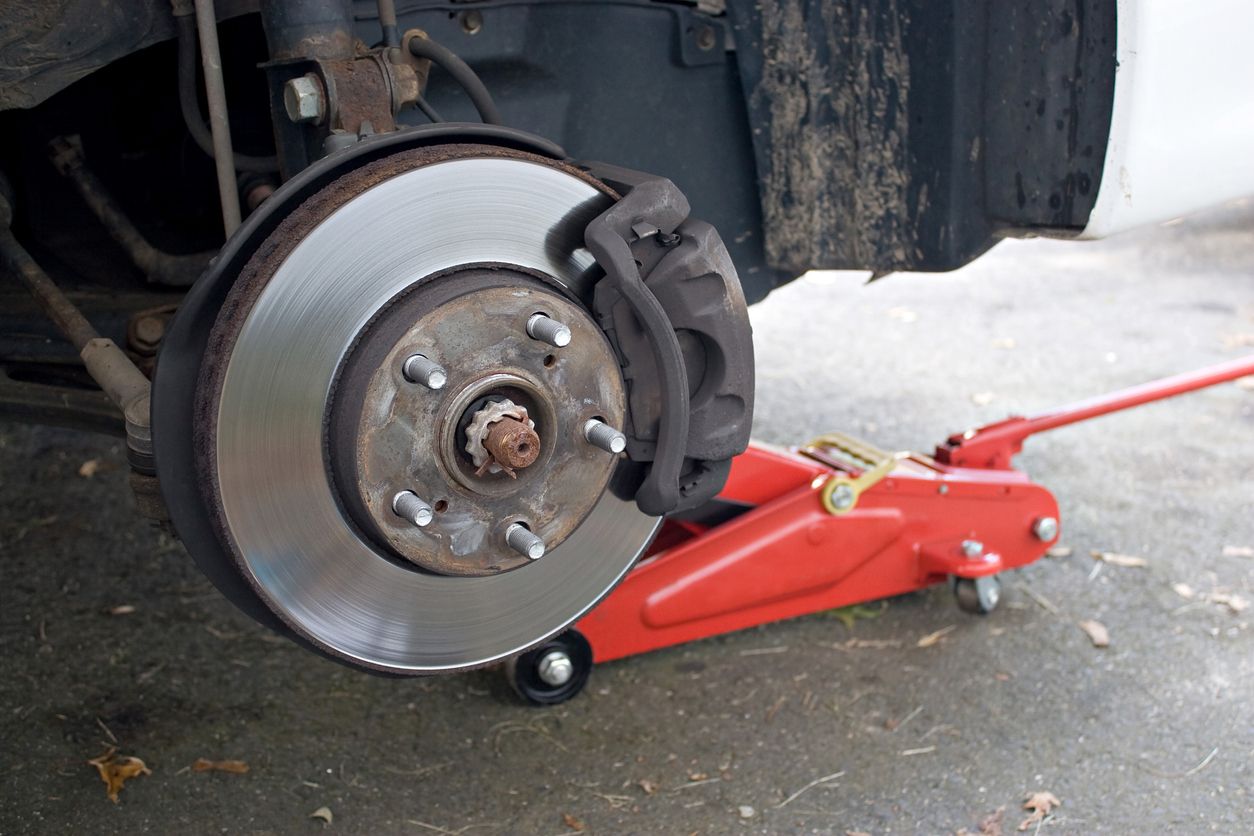
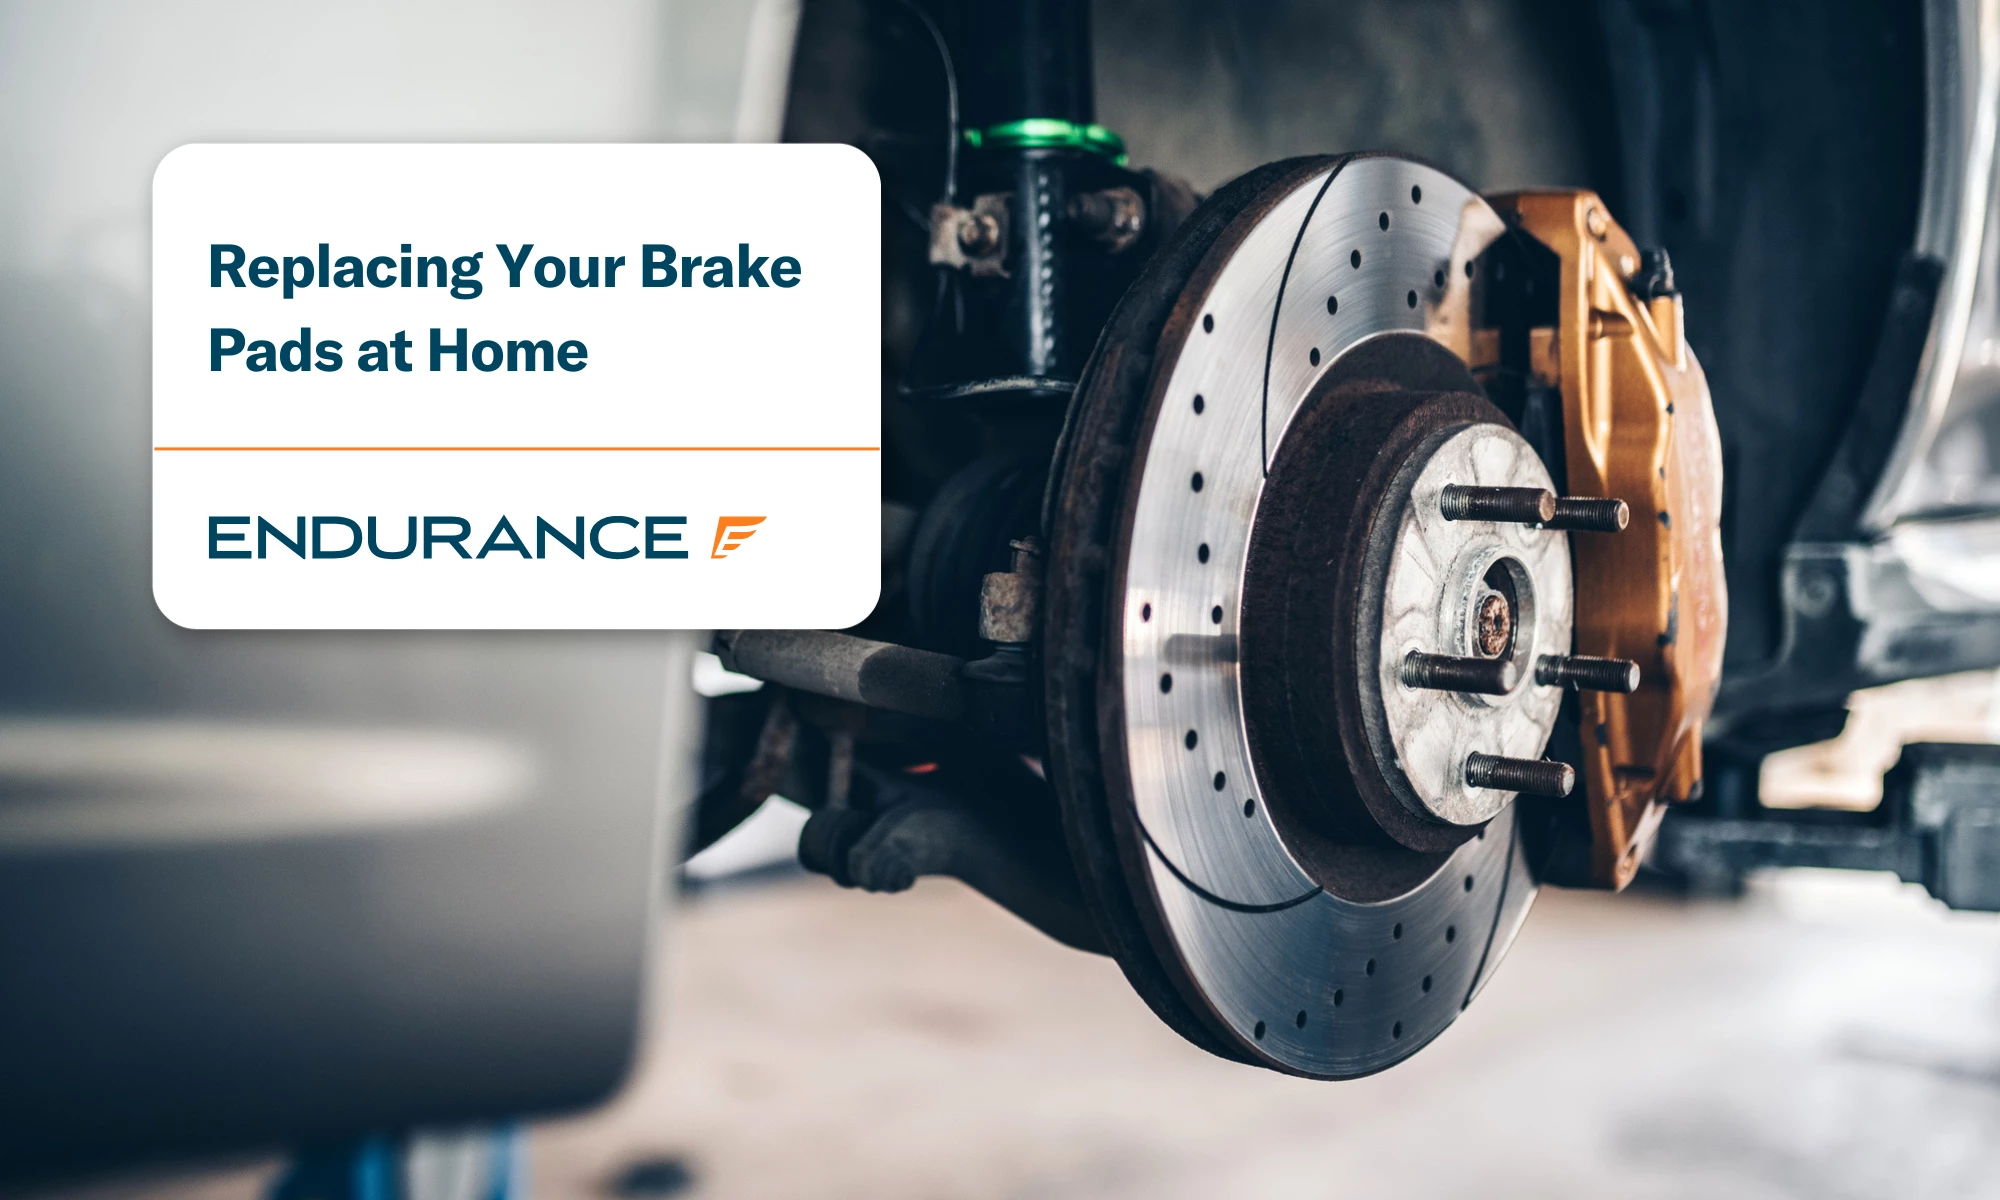
Replacing your car’s brake pads and rotors at home might sound challenging, but with the right guidance, it’s a job you can accomplish safely and save a lot of money. Many car owners pay hundreds of dollars at auto shops for this service, but doing it yourself means you’ll not only save cash but also understand your vehicle better. If you’re comfortable with basic tools and you want to keep your car’s braking system in top condition, this guide will walk you through every step.
You’ll learn about the tools you need, safety tips, step-by-step instructions, and some insights most beginners don’t know. Whether you drive a small sedan or a large SUV, the basics are similar. Let’s dive in and help you become more confident about maintaining one of the most important safety systems in your car.
Why Change Brake Pads And Rotors Yourself?
Brakes are essential for safety. When pads or rotors are worn out, stopping distances increase, and you risk damaging other parts. Replacing them at home offers several benefits:
- Cost savings: Shops charge for labor, but you only pay for parts if you DIY.
- Learning: Understanding your brakes helps you spot other issues early.
- Convenience: No need to wait for appointments or rides.
However, DIY isn’t right for everyone. If you’re unsure, ask a friend with experience or consult a mechanic.
Knowing When To Replace Pads And Rotors
Don’t wait for total failure. Modern vehicles have warning signs. Here are the main indicators:
- Squealing or grinding noises: High-pitched sounds mean the wear indicator is touching the rotor.
- Longer stopping distances: Worn pads reduce performance.
- Vibration when braking: Warped rotors make the pedal shake.
- Thin brake pads: Less than 3mm means it’s time to replace.
- Dashboard warning lights: Some cars have brake wear sensors.
A visual check every 10,000 miles or at oil changes is a smart habit.
Tools And Parts You’ll Need
Gather everything before you start. Missing tools can delay or even ruin the job.
Essential tools:
- Jack and jack stands (never use just the jack)
- Lug wrench or impact wrench
- Socket set (metric and/or SAE, depending on your car)
- C-clamp or brake caliper tool
- Flathead screwdriver
- Brake cleaner
- Torque wrench
- Bungee cord or wire
- Work gloves and eye protection
Parts:
- New brake pads (front, rear, or both)
- New rotors (matched to your vehicle)
- Brake grease (for pad backing and caliper pins)
Some vehicles require special tools for the rear brakes, especially if they have an electric parking brake.
Preparing Your Workspace And Vehicle
A safe, clean space makes the job easier and safer. Here’s how to prepare:
- Park on a flat surface: Sloped driveways are dangerous.
- Chock the wheels: Prevents rolling.
- Loosen lug nuts before lifting: Never loosen when the car is in the air.
- Lift the car and support with jack stands: Place stands under the recommended points.
- Remove the wheels: Set them aside where they won’t roll away.
Check that you have enough light and that pets or kids can’t enter your work area.
Step-by-step: How To Replace Brake Pads And Rotors
Let’s break down the process. Follow carefully for safe, lasting results.
1. Remove The Brake Caliper
- Locate the caliper bolts behind the wheel hub.
- Use the correct socket to remove the bolts.
- Carefully slide the caliper off the rotor. Do not let it hang by the brake hose. Use a bungee cord to support it from the suspension.
2. Remove Old Brake Pads
- Take out the worn pads. They may slide out or require a little prying with a screwdriver.
- Notice any anti-rattle clips or shims. Save or replace as needed.
3. Remove The Caliper Bracket
- The bracket holds the caliper and pads in place.
- Remove bolts and slide off the bracket.
4. Remove And Replace The Rotor
- Some rotors are held by small screws. Remove these if present.
- If the rotor is stuck, lightly tap it with a rubber mallet.
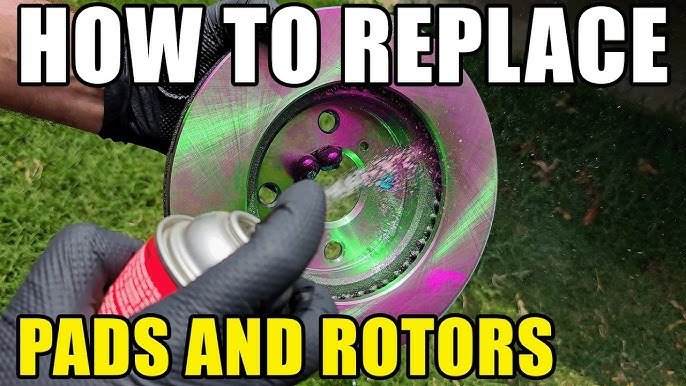
- Clean the new rotor with brake cleaner to remove oil or protective coating.
- Slide the new rotor onto the hub. Secure with screws if needed.
5. Install Caliper Bracket And New Pads
- Reinstall the caliper bracket. Torque bolts to the manufacturer’s specs.
- Apply a thin layer of brake grease to the back of pads and contact points.
- Insert new pads. Make sure they sit flush and secure.
6. Retract The Caliper Piston
- Old pads are thinner, so the piston will be extended.
- Use a C-clamp or caliper tool to gently push the piston back into the caliper.
- Go slow to avoid damaging the seal.
7. Reinstall The Caliper
- Slide the caliper over the new pads and rotor.
- Insert and tighten caliper bolts to the recommended torque.
8. Reinstall The Wheel
- Put the wheel back on.
- Hand-tighten lug nuts before lowering the car.
- Lower the car and torque lug nuts to specifications.
Repeat for each wheel needing service.
Comparison: Pads And Rotors Types
Choosing the right parts is important. Here’s a quick look at the main options:
| Type | Pros | Cons | Typical Use |
|---|---|---|---|
| Ceramic Pads | Quiet, low dust, long life | Costly, not for heavy towing | Daily driving, city cars |
| Semi-Metallic Pads | Great stopping, durable | More dust, can be noisy | Performance, heavy vehicles |
| Organic Pads | Cheap, quiet, gentle on rotors | Shorter life, fade with heat | Light cars, low-speed |
| Standard Rotors | Affordable, reliable | Average heat dissipation | General use |
| Drilled/Slotted Rotors | Better cooling, less fade | Noisier, can wear faster | Sporty or heavy use |
Most daily drivers do well with ceramic pads and standard rotors. For towing or spirited driving, semi-metallic pads and slotted rotors may be better.
Credit: www.firestonecompleteautocare.com
Mistakes To Avoid
Some errors can make your brakes less effective or even dangerous. Here are common pitfalls:
- Not cleaning new rotors: Always use brake cleaner to remove factory oil.
- Forgetting to lubricate: No grease on pad contact points leads to noise.
- Over-tightening bolts: This can snap bolts or strip threads. Use a torque wrench.
- Not retracting the caliper piston fully: The caliper may not fit over thick new pads.
- Letting the caliper hang: This strains the brake hose and can cause leaks.
- Mixing pad types: Use the same type on both sides for even braking.
Bleeding The Brakes (if Needed)
Changing pads and rotors usually doesn’t require bleeding the brakes unless you open the hydraulic system. But if the pedal feels spongy afterward, air might be in the lines.
Here’s a quick overview:
- Attach a clear hose to the bleed valve.
- Have a helper press the brake pedal.
- Open the valve, let fluid and air escape, then close.
- Repeat until only clear fluid comes out.
Always use fresh brake fluid and don’t let the reservoir run dry.
Credit: www.endurancewarranty.com
How Long Does It Take?
For first-timers, expect about 2-3 hours for all four wheels. With experience, it can take less than 1 hour per axle.
Here’s a general time breakdown:
| Task | Beginner Time | Experienced Time |
|---|---|---|
| Remove wheels | 20 min | 10 min |
| Replace pads & rotors (per axle) | 60 min | 30 min |
| Reinstall & cleanup | 30 min | 15 min |
Take your time. Rushing increases the risk of mistakes.
After The Job: Bedding In New Brakes
New pads and rotors need to be bedded in. This process matches the surfaces and ensures strong, quiet braking. Here’s how:
- Find a safe, empty road.
- Make 5-6 stops from 35 mph down to 5 mph using moderate pressure.
- Drive to cool the brakes for a few minutes.
- Repeat a few more stops if needed.
Avoid hard or emergency stops for the first 200 miles.
Credit: www.youtube.com
Two Insights Beginners Miss
- Brake fluid can absorb moisture: This lowers boiling point and reduces performance. If your fluid is dark or hasn’t been changed in 2+ years, consider replacing it during your brake job.
- Caliper slide pins need attention: If these pins are dry or dirty, your brakes may wear unevenly or stick. Always clean and grease them.
Safety Tips You Can’t Ignore
- Always double-check that the car is secure on jack stands.
- Never work under a car supported only by a jack.
- Wear gloves and eye protection, as brake dust is hazardous.
- Test brakes at low speed before normal driving.
For more detailed instructions, you can check official guides from car manufacturers or trusted automotive sites like AAA.
Frequently Asked Questions
How Do I Know If My Rotors Are Bad?
Look for grooves, cracks, or a blue tint (from overheating). If you feel vibration or hear scraping sounds, your rotors might be warped or too thin.
Can I Just Change Brake Pads And Not Rotors?
Sometimes, yes. If the rotors are smooth and thick enough, you can change only pads. But if rotors are worn, replacing both is best for safety and performance.
What Happens If I Don’t Grease The Brake Parts?
Lack of grease leads to squeaking, uneven wear, and sometimes sticking brakes. Always apply brake grease to contact points and slide pins.
Do I Need To Bleed The Brakes After Pad And Rotor Replacement?
Usually not, unless you open the brake line or the pedal feels soft afterward. If in doubt, bleed to remove any trapped air.
How Tight Should I Make The Caliper And Wheel Bolts?
Always use a torque wrench and follow your car’s specifications. Overtightening can damage parts; undertightening is unsafe.
Replacing brake pads and rotors at home is a rewarding project that improves your car’s performance and safety. With patience, the right tools, and careful attention to detail, you can achieve professional results and gain valuable skills for future car maintenance.
