Replacing the front strut assembly on your car may sound complicated, but with the right tools, clear steps, and a bit of patience, many car owners can handle this important maintenance task themselves. Understanding how to change the strut assembly not only saves money on labor but also helps you keep your car’s suspension in top condition for a smoother, safer ride.
The strut assembly is more than just a shock absorber. It supports the vehicle’s weight, keeps your tires on the road, and plays a key role in steering. Worn or damaged struts can lead to poor handling, increased stopping distance, and faster tire wear.
Replacing them before they fail completely is critical for safe driving.
This guide will walk you through everything you need to know to replace your car’s front strut assembly, from preparation to finishing touches. Even if you’re new to car repairs, you’ll find clear explanations, practical advice, and insights that most beginners miss.
Let’s get your hands dirty and your car riding like new.
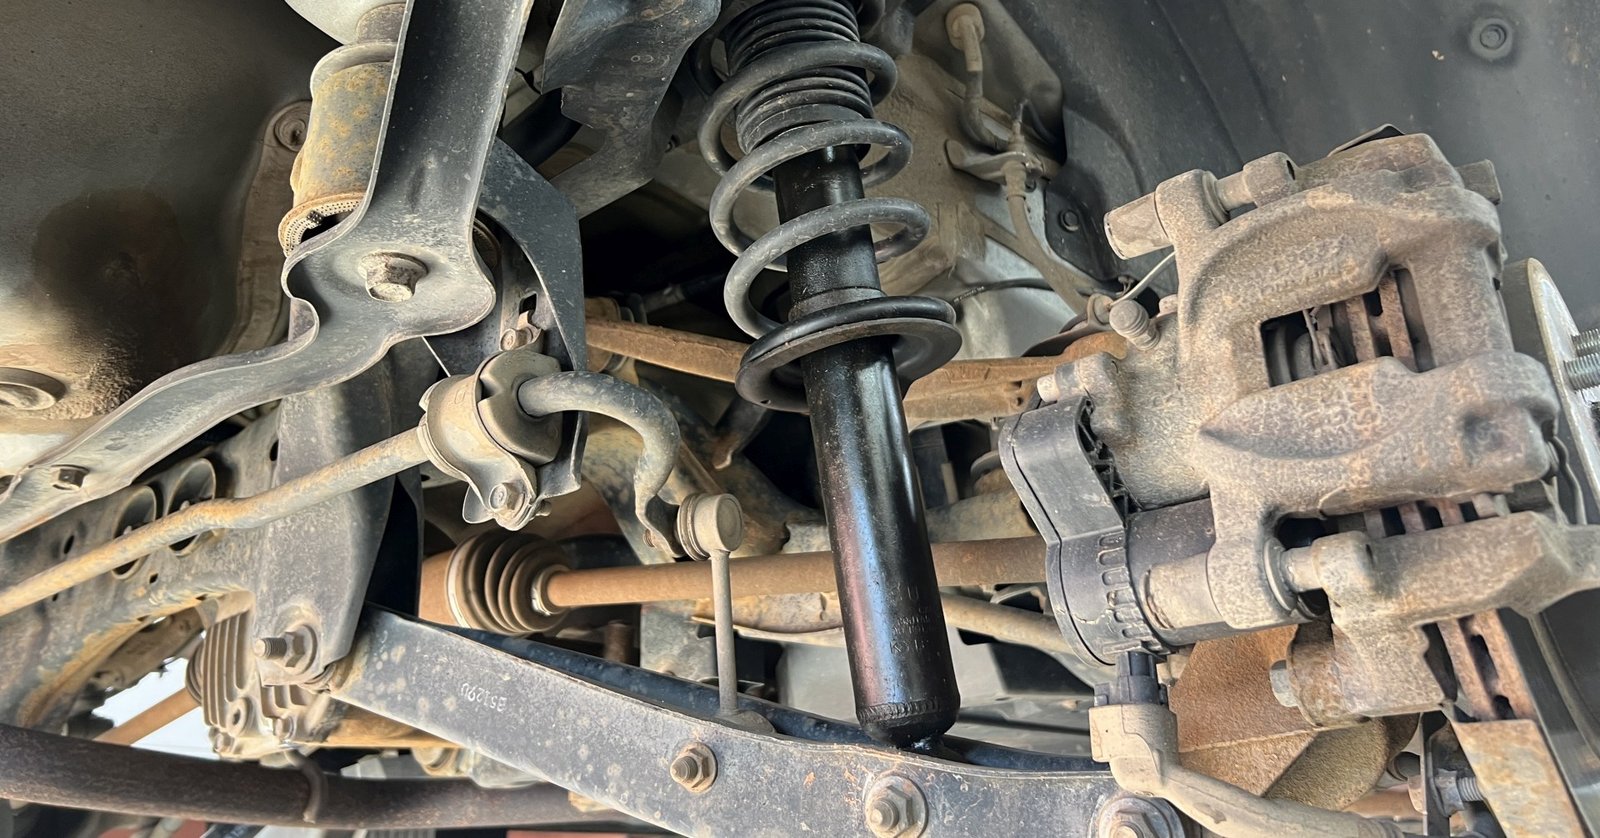
What Is A Front Strut Assembly?
A front strut assembly is a structural part of your car’s suspension system. Unlike simple shock absorbers, struts combine a coil spring and a shock absorber into one unit. They support the vehicle’s weight, absorb bumps, and help maintain alignment.
Most modern cars, especially front-wheel-drive models, use strut assemblies on the front wheels. Signs your struts need replacing include:
- Clunking or knocking noises when driving over bumps
- Excessive bouncing after hitting a pothole
- Uneven tire wear
- Steering feels loose or unstable
- Vehicle “nose dives” when braking
Tools And Materials You’ll Need
Before starting, gather all the necessary tools and parts. Having everything ready saves time and prevents frustration.
| Essential Tools | Purpose |
|---|---|
| Socket and ratchet set | Removing bolts/nuts on strut and suspension |
| Breaker bar | Loosening tight fasteners |
| Torque wrench | Correctly tightening bolts to spec |
| Jack and jack stands | Safely lifting and supporting the car |
| Spring compressor (if replacing only the strut) | Compressing the coil spring safely |
| Pry bar | Separating strut from knuckle |
| Pliers and screwdrivers | Removing clips and small parts |
| Penetrating oil | Loosening rusted bolts |
| Front strut assembly (new) | Replacement part |
Pro tip: Buy a complete strut assembly (also called “quick strut”) if possible. It comes pre-assembled with the spring, top mount, and bearing, making installation much easier and safer.

Credit: www.youtube.com
Preparing Your Car For Strut Replacement
Preparation is key for a smooth, safe job. Here’s how to set up before you start removing anything.
- Choose a flat, stable surface. A garage or driveway is best.
- Engage the parking brake and chock the rear wheels.
- Loosen the lug nuts on the front wheels slightly while the car is on the ground. Don’t remove them yet.
- Lift the car with a jack and support it securely on jack stands. Never rely only on the jack.
- Remove the front wheels to expose the strut assemblies.
Non-obvious insight: Take a few photos of the area around the strut before you start. They’ll help you remember how everything fits together—especially the brake line and ABS wire routing.
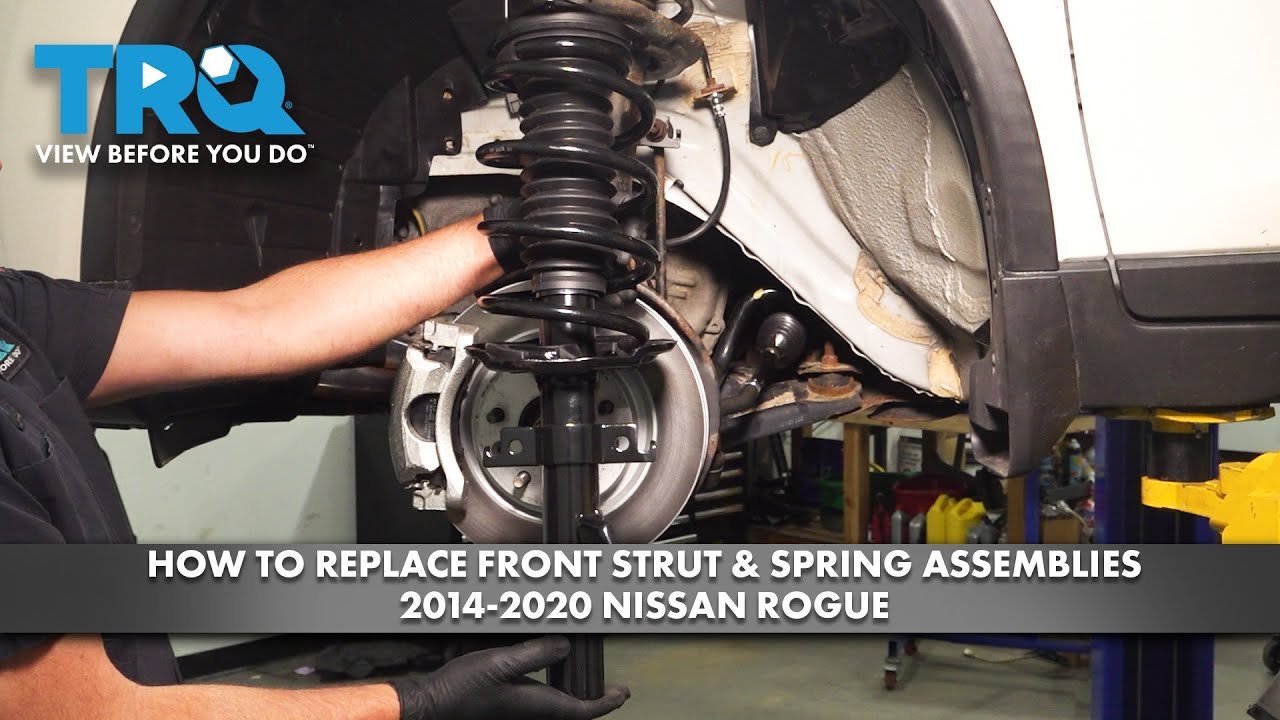
Step-by-step: How To Replace The Front Strut Assembly
Follow these steps carefully, and don’t rush. Take your time and stay organized.
1. Remove Components Attached To The Strut
Modern struts often have brake lines, ABS sensor wires, or sway bar links attached. These must be removed first.
- Use pliers or a screwdriver to gently detach any clips or brackets.
- If there’s a sway bar link connected to the strut, use a wrench to remove its nut.
- Set all small parts aside in a tray or cup to avoid losing them.
2. Loosen (but Don’t Remove) The Strut Mount Bolts
At the top of the strut (under the hood), you’ll see three or four bolts holding the strut mount to the strut tower.
- Carefully loosen these bolts with a socket, but don’t remove them yet. They’re keeping the strut from falling out.
- Leave one or two threads engaged for safety.
3. Disconnect The Strut From The Steering Knuckle
At the bottom of the strut, two large bolts connect it to the steering knuckle.
- Spray penetrating oil on the bolts and nuts. Let it soak for a few minutes—rust or corrosion is common here.
- Use a breaker bar and correct-sized socket to break these bolts free.
- Remove the nuts and bolts completely.
- You may need to gently tap the bolts out with a hammer.
Caution: The knuckle can move freely after the bolts are out. Support it with a jack or bungee cord to prevent stress on the brake hose or CV axle.
4. Remove The Strut Assembly
- With the bottom bolts out and the top bolts loosened, support the strut with one hand.
- Finish removing the top mount nuts.
- Carefully lower the strut assembly out through the wheel well.
5. Compare Old And New Strut Assemblies
Lay the old and new strut assemblies side by side.
| Check | What to Look For |
|---|---|
| Overall length | Should be nearly identical |
| Spring diameter & position | Matches old strut |
| Mounting holes | Line up exactly |
| Bracket locations | For brake lines, wires, etc. |
If anything is different, double-check your part number and consult the supplier before installing.
6. Install The New Strut Assembly
- Slide the new strut assembly into position from below, aligning the top studs with the holes in the strut tower.
- Hand-tighten the top nuts to hold it in place.
- Line up the bottom of the strut with the steering knuckle and insert the bolts. You may need to wiggle the knuckle slightly.
- Thread on the nuts and tighten them evenly.
7. Torque All Bolts To Specification
Use a torque wrench to tighten all bolts to the manufacturer’s specifications. Over-tightening or under-tightening can cause problems.
- Top mount nuts: Usually 30–40 ft-lbs, but check your car’s service manual.
- Lower strut-to-knuckle bolts: Often 100–150 ft-lbs.
- Sway bar link nuts (if removed): 40–60 ft-lbs.
If you don’t have specs, look them up on a reliable site or ask at an auto parts store.
8. Reattach All Components
- Secure any brake line brackets, ABS sensor wires, and sway bar links.
- Double-check that everything is routed and attached exactly as before.
Non-obvious insight: If your car has camber bolts (used for wheel alignment) in the lower mounting holes, mark their position before removing them. This helps you keep the alignment close until you get a professional alignment.
9. Reinstall The Wheel And Lower The Car
- Mount the wheel and hand-tighten the lug nuts.
- Remove the jack stands and carefully lower the car to the ground.
- Torque the lug nuts to spec in a star pattern.
10. Repeat On The Other Side
Always replace struts in pairs (both front or both rear). This keeps ride height and handling even. Repeat the steps for the other side.
11. Test Drive And Final Checks
- Take a short test drive at low speed. Listen for any odd noises or vibrations.
- Recheck all bolts and lug nuts after the drive.
- Schedule a four-wheel alignment as soon as possible. New struts can change your alignment, causing uneven tire wear or poor handling.
Credit: artsautomotive.com
Common Mistakes And How To Avoid Them
Even careful DIYers make mistakes. Here’s how to avoid the most common ones:
- Skipping the alignment – New struts can throw off your wheel angles. Always get an alignment afterward.
- Forgetting to torque bolts – Guessing “tight enough” isn’t safe. Use a torque wrench for every bolt.
- Not supporting the steering knuckle – Letting it hang can stretch or break the brake hose or axle.
- Mixing up small parts – Keep all nuts, bolts, and clips organized. Take photos before disassembly.
- Using a worn spring compressor – If you must use a compressor, inspect it for damage. A broken compressor can be deadly.
When To Replace Only The Strut Vs. The Complete Assembly
You might wonder if you can just change the strut cartridge instead of the whole assembly. Here’s a quick comparison:
| Option | Pros | Cons |
|---|---|---|
| Replace only strut cartridge | Lower part cost | Must use spring compressor, more labor, risk of damaging worn mounts or springs |
| Replace complete assembly | Faster, safer, all new parts (mount, bearing, spring) | Higher part cost, but less total labor |
For most DIYers, the complete assembly is the safer and better value choice.
How Long Does It Take To Replace Front Struts?
For a first-timer, expect about 2–3 hours per side. With experience, you can finish both sides in under 3 hours total. Plan extra time for stuck bolts or unexpected issues.
Safety Tips You Should Never Ignore
- Always use jack stands—never work under a car supported only by a jack.
- Wear safety glasses. Rust, dirt, and spring fragments can cause eye injuries.
- If you’re not sure about something, ask for help or consult a repair manual.
- Never use a spring compressor that looks damaged or is missing parts.
Credit: www.youtube.com
Final Checks After Strut Replacement
- Inspect all your work for missed fasteners or loose parts.
- Check for any fluid leaks, especially near the brake lines.
- Test drive slowly at first, listening for odd noises.
- Book a four-wheel alignment promptly. New struts mean your wheels may not point perfectly straight.
Frequently Asked Questions
How Do I Know If My Front Struts Need To Be Replaced?
Common signs include clunking noises, excessive bouncing, uneven tire wear, poor handling, or a vehicle that “dives” when braking. If your car feels less stable than before, have the suspension checked.
Can I Drive My Car If A Strut Is Bad?
While you can drive for a short distance, it’s not safe to delay repairs. Bad struts can affect stopping distance, steering, and tire wear, increasing your risk of an accident.
Do I Need An Alignment After Replacing Front Struts?
Yes, always get a professional alignment after changing struts. The process can change wheel angles (camber and toe), causing uneven tire wear and poor handling.
Is It Better To Replace One Strut Or Both?
Always replace struts in pairs (both fronts or both rears). Replacing only one can lead to uneven ride height, handling problems, and faster wear on the new part.
Where Can I Find Torque Specs For My Car’s Strut Bolts?
Your vehicle’s service manual is the best source. Many specs are also available online or from your dealer. For reliable info, check sites like Haynes Manuals.
Replacing your car’s front strut assembly is a rewarding DIY project that restores your car’s ride and safety. With good preparation, careful work, and attention to detail, you’ll gain both new skills and a smoother drive. Don’t forget the alignment, and enjoy the confidence of a job well done!
