Replacing a car’s wheel bearing can sound intimidating, but with patience and careful steps, many car owners can do it at home. Wheel bearings are small but critical parts that let your wheels spin smoothly. When a wheel bearing fails, you might hear grinding noises, feel vibrations, or notice uneven tire wear.
Ignoring these signs is risky—bad bearings can damage your car and even lead to accidents.
Tackling this job yourself can save a lot of money. Mechanics often charge $300–$700 for wheel bearing replacement. Doing it at home costs much less, but you’ll need some tools, time, and a methodical approach. This guide will walk you through everything: what tools to use, how to spot a bad bearing, every step of the replacement, and key tips that beginners often miss.
Why Wheel Bearings Matter
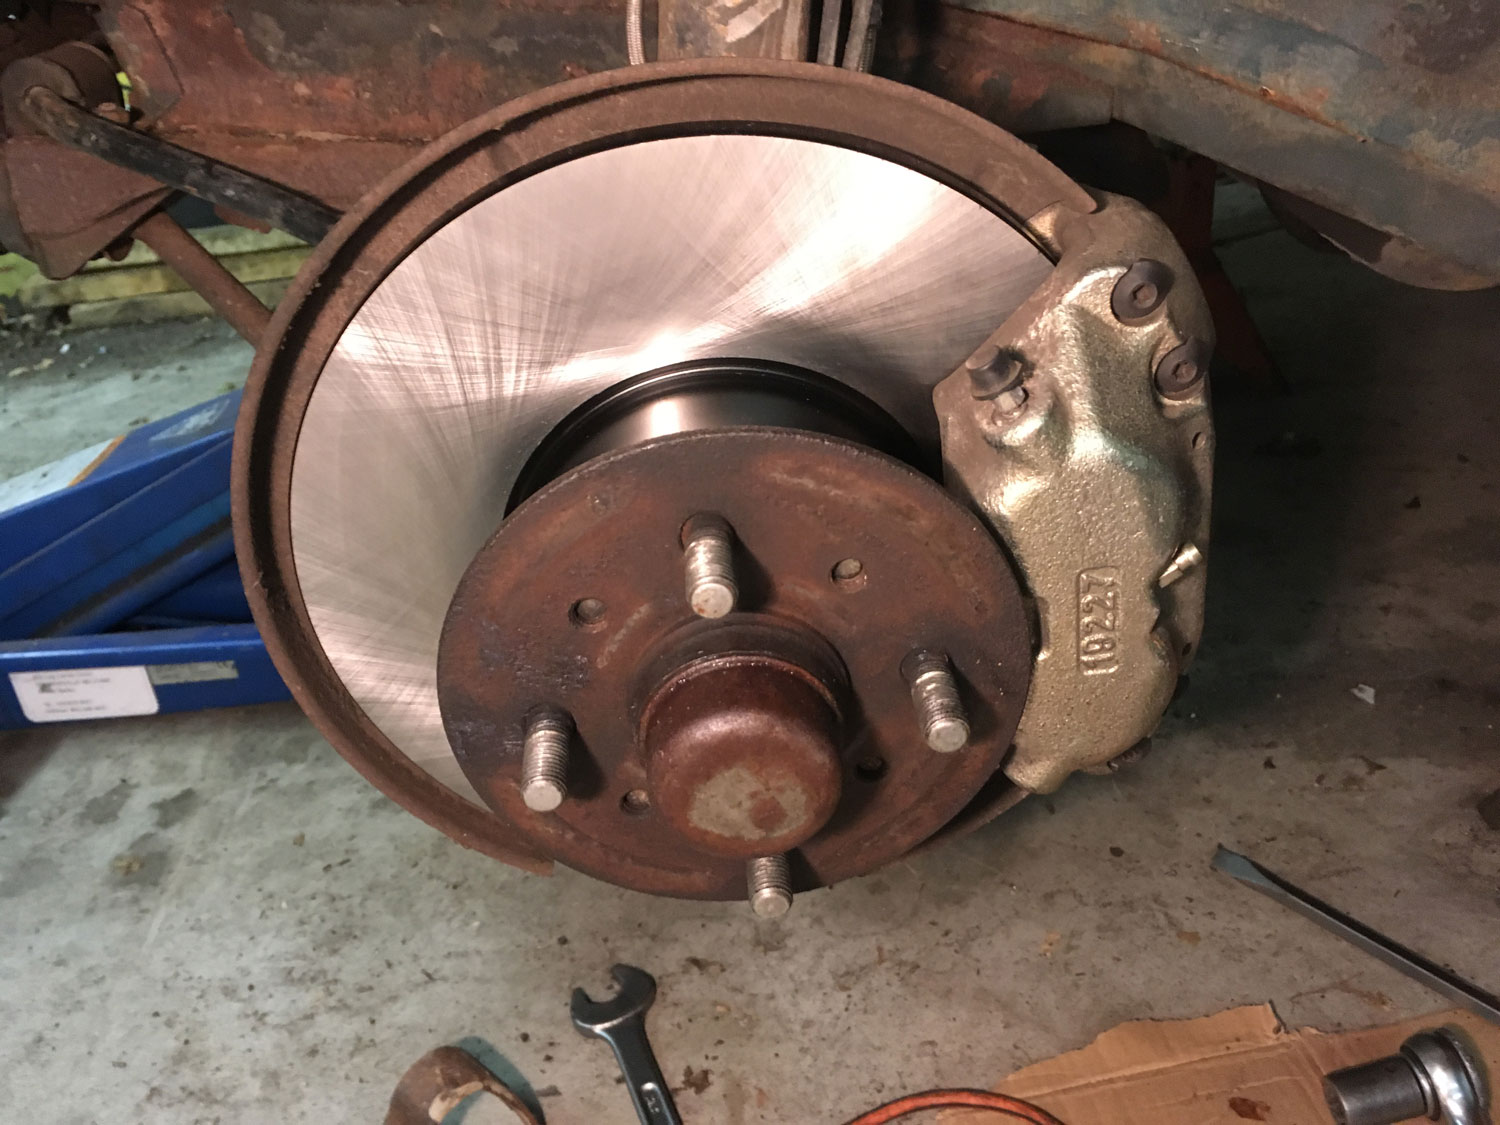
Wheel bearings support the weight of your car and keep your wheels turning freely. Each wheel has its own bearing, usually pressed inside the hub. When bearings wear out, friction increases, and parts heat up. This can make your wheel wobble or even seize, putting you and others in danger.
A good bearing should last 85,000–100,000 miles, but potholes, rough roads, or heavy loads can shorten their life. Replacing a failing bearing quickly helps prevent damage to the hub, brake, and suspension.
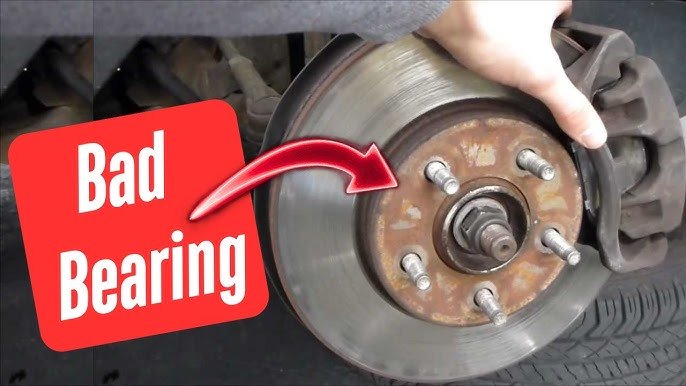
Warning Signs Of A Bad Wheel Bearing
Not sure if your wheel bearing needs replacing? Watch for these signs:
- Grinding or humming noise from the wheel area, especially when turning.
- Steering wheel vibration that gets worse with speed.
- Loose or wobbly wheel when the car is lifted.
- Uneven tire wear on a single wheel.
- ABS light (sometimes, if the sensor is built into the bearing).
A simple test: lift the car, grab the wheel at 12 and 6 o’clock, and rock it. Excessive play usually means a bad bearing.
Credit: www.hagerty.com
Tools And Parts You’ll Need
Before starting, gather these items:
- New wheel bearing (check your car’s year, make, and model)
- Jack and jack stands (never trust just a jack)
- Lug wrench
- Socket set (metric or SAE, as needed)
- Breaker bar (for stubborn bolts)
- Torque wrench (crucial for safety)
- Screwdrivers
- Pry bar
- Hammer and punch
- Pliers
- Allen wrenches (if your brakes use them)
- Hub puller or bearing press (many bearings are press-fit)
- Shop rags and gloves
- Anti-seize lubricant
- Wheel chocks
Some cars need special tools for the hub or bearing, so check your repair manual first. Renting a bearing press from an auto parts store is common.
Step-by-step Guide To Replacing A Wheel Bearing
Follow these steps closely for a safe and effective repair. This guide covers most common front-wheel bearings, but always check your vehicle’s manual for special notes.
1. Park Safely And Prepare
- Park on a flat surface.
- Put the car in gear (or “Park” for automatics) and set the handbrake.
- Place wheel chocks behind the other tires.
- Loosen the lug nuts on the wheel you’re working on—do this before lifting the car.
2. Lift The Car And Remove The Wheel
- Use the jack to lift the car and secure it with jack stands.
- Remove the lug nuts and take off the wheel.
3. Remove The Brake Caliper And Rotor
- Find the bolts holding the brake caliper. Remove them and hang the caliper with a bungee cord or wire (never let it dangle by the hose).
- Slide off the brake rotor. If it’s stuck, tap gently with a hammer.
4. Remove The Hub Nut And Other Hardware
- Remove the hub nut (often very tight; use a breaker bar).
- Take off any dust caps, cotter pins, or retaining clips.
- Some cars have an ABS sensor—unplug it if needed.
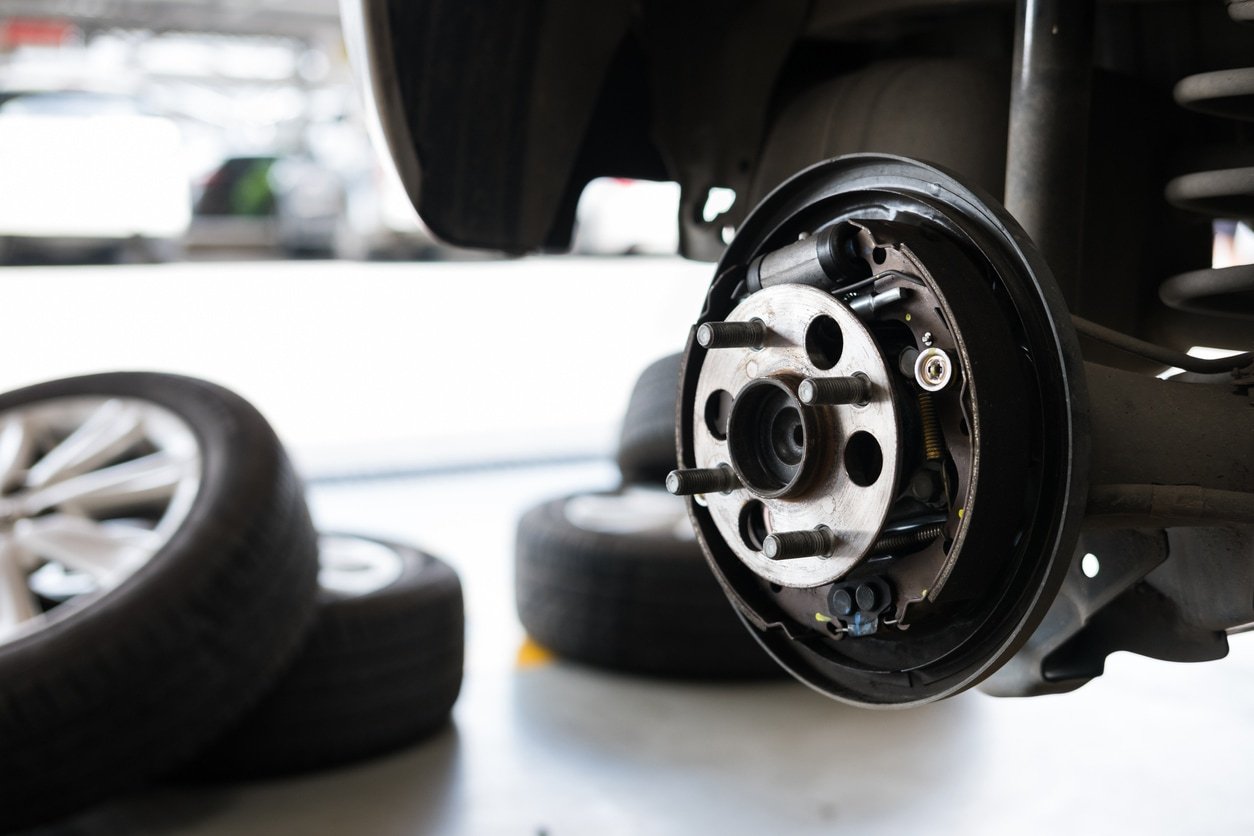
5. Remove The Wheel Hub
- Unbolt the hub assembly from the steering knuckle.
- If it’s stuck, use a hub puller or tap with a hammer and punch.
- Keep track of all spacers and washers.
6. Remove The Old Bearing
- Some bearings slide out, but most are pressed in.
- Use a bearing press or have an auto parts store press it out for you.
- Clean the hub and knuckle with a rag.
7. Install The New Bearing
- Line up the new bearing in the hub or knuckle.
- Press it in slowly and evenly. Never hammer a bearing directly.
- Reinstall all washers, spacers, and clips in the correct order.
8. Reassemble The Hub
- Bolt the hub assembly back onto the knuckle.
- Reconnect the ABS sensor if you unplugged it.
- Tighten the hub nut by hand for now.
9. Reinstall The Brake Rotor And Caliper
- Slide the rotor back on.
- Reinstall the brake caliper and tighten its bolts to the correct torque.
10. Reinstall The Wheel And Lower The Car
- Put the wheel back on and hand-tighten the lug nuts.
- Lower the car carefully.
- Torque the lug nuts to factory specs (usually 80–100 ft-lbs).
11. Tighten The Hub Nut To Spec
- With the car on the ground, use a torque wrench to fully tighten the hub nut (often 150–200 ft-lbs; check your manual).
- Reinstall any dust caps or cotter pins.
12. Test Drive
- Before driving, pump the brake pedal a few times to restore pressure.
- Test drive at low speed. Listen for noise and check handling.
- If you hear clicking, grinding, or feel wobbling, recheck your work.
Credit: www.youtube.com
Common Mistakes To Avoid
Many beginners make small errors that can cause big problems later:
- Skipping torque specs: Overtightening or under-tightening can damage the new bearing or cause it to fail early.
- Hammering the bearing: Direct impact ruins bearings. Always use a press or the correct installer tool.
- Forgetting clips or spacers: Missing hardware can cause unsafe wheel play.
- Letting the brake caliper hang: This can damage the brake hose.
- Not cleaning parts: Dirt and rust can ruin a new bearing quickly.
- Ignoring ABS sensors: Damaged sensors will trigger warning lights and affect braking.
Helpful Tips For A Smooth Repair
- Take photos at each step, so you remember how parts fit together.
- Mark bolts and their positions if they’re different sizes.
- If the hub is very stuck, spray with penetrating oil and let it soak.
- Always check that the new bearing matches the old one before installing.
- If you feel unsure, ask a friend for help or watch a detailed video for your car model.
Estimated Time And Cost
Replacing a wheel bearing usually takes 2–4 hours for a first-timer. If you get stuck, don’t rush—forcing parts can lead to expensive damage.
Here’s a comparison of costs:
| Item | DIY Cost | Shop Cost |
|---|---|---|
| Wheel Bearing (each) | $30–$100 | Included |
| Labor | Free | $200–$500 |
| Special Tool Rental | $0–$40 | Included |
| Total | $30–$140 | $230–$600 |
When To Do It Yourself Vs. Visit A Mechanic
Not every car is simple to work on. Here’s a quick comparison:
| DIY Replacement | Mechanic Replacement |
|---|---|
| Basic tools needed | Advanced tools available |
| Cheaper, but takes time | Faster, more expensive |
| Good for learning | Less risk of mistakes |
| Not suitable for all cars | Handles complex jobs |
If your car has a pressed-in bearing or integrated hub, the job is harder and may require a shop press. Some modern cars have sealed units that are easier to swap.
Real-world Example
Consider a 2012 Honda Civic: the front wheel bearing is press-fit. You’ll need to remove the hub and use a bearing press. The job can take 3–4 hours, and a shop might charge $400. Doing it yourself with rented tools can save $300.
For a 2010 Ford F-150, the front bearing is a bolt-on unit. Removing a few bolts lets you swap the whole assembly in about 1–2 hours.
Non-obvious Insights
- Wheel alignment may change: After bearing replacement, your wheel alignment could shift. It’s a good idea to check alignment to prevent uneven tire wear.
- Noise can come from other parts: Not all wheel noises mean a bad bearing. Worn tires, brakes, or CV joints can sound similar. Always diagnose carefully before replacing parts.
- Aftermarket bearings vary in quality: Cheaper bearings may not last as long. If possible, use an OEM or high-quality brand.
Safety Reminders
- Never work under a car supported only by a jack.
- Double-check all bolts for correct tightness.
- If something feels wrong, stop and review each step.
Where To Learn More
For official specifications and diagrams, check your car’s service manual or visit reputable sources like Haynes Manuals.
Credit: www.autozone.com
Frequently Asked Questions
What Happens If I Drive With A Bad Wheel Bearing?
A bad wheel bearing can cause the wheel to wobble or even come off. It also damages the hub and suspension, leading to expensive repairs. Driving with a bad bearing is unsafe and not recommended.
Can I Replace Just One Wheel Bearing?
Yes, you can replace only the bad bearing. It’s not necessary to change both sides unless both are worn. However, if one failed due to high mileage, the other may not be far behind.
Do I Need A Wheel Alignment After Replacing A Bearing?
Sometimes, yes. If you removed the steering knuckle or disturbed suspension parts, alignment can shift. It’s wise to have the alignment checked to avoid uneven tire wear.
How Long Does A Replacement Bearing Last?
A new, quality bearing should last between 85,000 and 100,000 miles. Life depends on road conditions, bearing quality, and installation. Cheap bearings may not last as long.
Is This Job Too Hard For A Beginner?
It depends on your comfort with tools and your car’s design. For bolt-on hub units, it’s a moderate DIY job. For press-fit bearings, it’s harder and may need special tools or help from a shop.
Replacing a wheel bearing yourself can be rewarding and save you money. Follow each step carefully, use the right tools, and never skip safety precautions. With patience, even beginners can succeed and keep their car rolling smoothly.
