Replacing a car’s intake manifold gasket may sound challenging, but with the right tools and clear steps, many car owners can handle this repair themselves. If your car is running rough, leaking coolant, or triggering the check engine light, a failing intake manifold gasket could be the reason.
Learning how to replace this part not only saves you money but also helps you understand your vehicle better. Let’s walk through the process, avoid common mistakes, and make sure you finish the job with confidence.
What Is An Intake Manifold Gasket And Why Replace It?
The intake manifold gasket seals the connection between your car’s intake manifold and the engine. This gasket prevents air, coolant, and vacuum leaks, keeping the engine running smoothly. Over time, heat and pressure cause the gasket material to break down, leading to leaks. Symptoms of a bad gasket include engine misfires, coolant loss, rough idling, reduced fuel efficiency, and sometimes a strong smell of coolant.
Replacing a faulty gasket quickly is important. Ignoring the problem can lead to engine overheating, internal damage, and expensive repairs. Some drivers ignore early signs, but this can result in warped parts or even a cracked engine block.
Tools And Materials You Need
Having the right tools makes this job much easier and prevents frustration. Gather all tools and materials before you start:
- Socket set (metric and standard sizes)
- Wrenches (including a torque wrench for proper tightening)
- Screwdrivers (flat and Phillips)
- Pliers
- Gasket scraper or razor blade
- Shop rags
- Engine degreaser
- Coolant (correct type for your car)
- Replacement intake manifold gasket
- Gasket sealant (if required by the manufacturer)
- Plastic bags and marker (for labeling bolts and parts)
- Drain pan
- Gloves and safety glasses
- Service manual for your vehicle
A service manual is essential for torque specs, tightening sequences, and part locations. Don’t skip this—guesswork leads to mistakes.
Preparation Steps Before You Begin
Start with a cold engine. Working on a hot engine can cause burns, and parts may warp as they cool. Park your car on a level surface, engage the parking brake, and disconnect the negative battery cable to avoid electrical shorts.
Before removing any part, take photos with your phone. These images make reassembly much easier, especially for hoses and wiring connections. Label each bolt and part with plastic bags and a marker.
Draining The Coolant
Most intake manifolds are connected to the coolant system. Place a drain pan under the radiator, open the drain plug, and let the coolant flow out. Dispose of old coolant safely—it’s toxic for pets and the environment.
Relieving Fuel Pressure
If your intake manifold covers part of the fuel system, you’ll need to relieve fuel pressure. Locate the fuel pump fuse, remove it, and start the engine until it stalls. This step prevents fuel spray when disconnecting lines.
Removing The Intake Manifold
This is the most involved part of the process. Follow these steps carefully:
- Remove the air intake assembly—this includes the air filter housing, intake tube, and any sensors attached.
- Disconnect vacuum lines and electrical connectors. Take your time and label each one.
- Remove throttle and cruise control cables if present.
- Disconnect fuel lines using special tools if needed. Be careful—fuel may spill.
- Remove the ignition coils and spark plug wires if they block access.
- Loosen and remove bolts holding the intake manifold. Follow the sequence shown in your service manual to avoid warping.
- Lift the intake manifold off. If it sticks, tap gently with a rubber mallet. Do not pry with metal tools—you can damage the surface.
Be careful not to drop anything into the engine ports. Stuff clean rags into the ports to prevent debris from falling in.
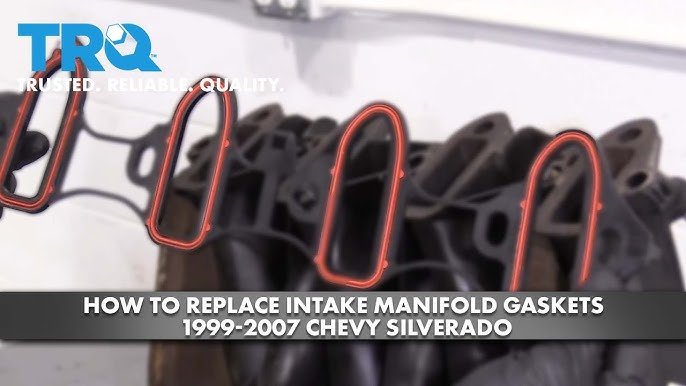
Credit: www.youtube.com
Cleaning And Preparing The Surface
Proper cleaning is critical for a good seal. Even small bits of old gasket or dirt can cause leaks.
- Use a gasket scraper or razor blade to remove all old gasket material.
- Do not gouge or scratch the metal surfaces.
- Clean the surface with engine degreaser and a lint-free rag.
- Use a flashlight to check for any remaining debris.
If the mating surfaces are scratched or warped, the new gasket may not seal properly. In this case, consult a machine shop or replace the part.
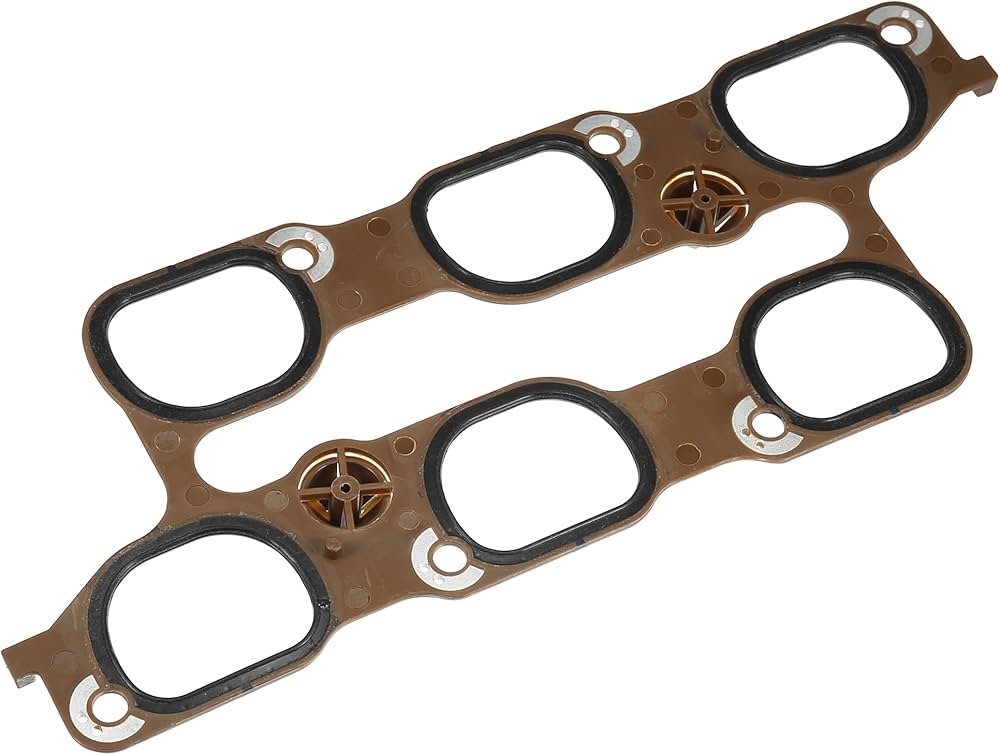
Installing The New Intake Manifold Gasket
Lay the new intake manifold gasket in place. Some gaskets require a small amount of gasket sealant—check your service manual. Most modern gaskets are installed dry.
- Align all holes perfectly.
- If the gasket slips, use a small dab of sealant to hold it in position.
- Double-check the orientation before proceeding.
Reinstalling The Intake Manifold
Carefully lower the intake manifold onto the gasket. Do not slide or drag it into place, as this can shift the gasket or damage the seal.
- Hand-tighten all bolts first to ensure proper alignment.
- Use a torque wrench to tighten bolts in the correct sequence and to the specified torque. Over-tightening can crush the gasket, while under-tightening can cause leaks.
Here’s a comparison of common torque specs (always check your manual):
| Engine Type | Torque Spec (ft-lb) | Bolt Sequence |
|---|---|---|
| 4-cylinder | 15-18 | Inside to outside |
| V6 | 22-25 | Center outwards |
| V8 | 25-28 | Center outwards |
Following the bolt sequence is not just a detail—it prevents leaks and keeps the manifold flat.
Reconnecting All Components
Reinstall every part in the reverse order you removed them:
- Attach vacuum lines, connectors, and sensors.
- Reinstall fuel lines, throttle cables, and ignition parts.
- Replace the air intake assembly.
Reconnect the negative battery cable. Check all connections twice. Missing a vacuum hose or connector is a common mistake that causes rough idling or error codes.

Credit: repairpal.com
Refilling Coolant And Checking For Leaks
Pour new coolant into the radiator and overflow tank. Start the engine and let it reach normal temperature with the radiator cap off. Watch for air bubbles—this is “burping” the system to remove trapped air. Add coolant as the level drops.
Check for leaks at the intake manifold, coolant hoses, and fuel lines. Use a flashlight to look for wet spots. Tighten any clamps or bolts if needed.
Here’s a quick comparison of coolant types:
| Coolant Type | Color | Typical Service Life |
|---|---|---|
| Conventional (Green) | Green | 2 years / 30,000 miles |
| Extended Life (Orange/Red) | Orange/Red | 5 years / 100,000 miles |
| HOAT (Yellow) | Yellow | 5 years / 150,000 miles |
Use the type recommended for your car—mixing types can cause sludge or reduce cooling performance.
Testing The Repair
Let the engine idle for several minutes. Watch the temperature gauge and check for leaks. Listen for unusual sounds—whistling or hissing may signal a vacuum leak.
After the engine cools, recheck all fluid levels. Some air pockets take a few heat cycles to disappear. Top off coolant if needed.
If your car has a check engine light, use an OBD-II scanner to clear codes. If any trouble codes return, recheck your work for loose connectors or hoses.
Common Mistakes And How To Avoid Them
Many DIYers make simple errors. Here’s how to avoid the most frequent problems:
- Not cleaning the mating surfaces fully—even a little old gasket can cause leaks.
- Forgetting the bolt tightening sequence—random tightening leads to warping.
- Dropping debris into engine ports—always use rags to block openings.
- Mixing up hoses and connectors—label everything before removal.
- Skipping the coolant burping step—trapped air can cause overheating.
If you take your time and follow instructions, you’ll avoid these problems.
When To Call A Professional
Some intake manifolds are hard to reach or require special tools. If your car has direct fuel injection or complex emissions systems, a professional mechanic may be the safer choice. If you don’t feel confident, a reputable shop can handle the repair.
How Much Time And Money Does It Take?
Replacing an intake manifold gasket usually takes 3-6 hours for a first-timer, depending on engine type and experience. The gasket itself costs $20–$50, but you may spend $80–$150 for premium sets. Add the cost of coolant and any special tools.
A professional repair can cost $400–$900, depending on the vehicle. Doing it yourself can save hundreds, but only if you work carefully.
Pro Tips For A Smoother Job
- Take clear photos at every step—especially before unplugging anything.
- Lay bolts and parts in order on a clean surface.
- Replace any cracked or brittle hoses while you have access.
- Clean the throttle body and intake ports for better performance.
- Wear gloves—old gasket material can be sharp and greasy.
These practical steps save time and prevent headaches later.
Credit: www.amazon.ae
Frequently Asked Questions
How Do I Know If My Intake Manifold Gasket Is Bad?
You might notice coolant leaks, rough idling, engine misfires, poor fuel economy, or a check engine light. Sometimes there’s a strong smell of coolant, or white smoke from the exhaust if coolant enters the cylinders.
Can I Drive With A Leaking Intake Manifold Gasket?
It’s not safe to drive for long with a leaking gasket. Small leaks can quickly turn into big problems, like engine overheating or internal damage. Replace the gasket as soon as possible.
Do I Need Sealant For The New Gasket?
Most modern gaskets are designed to be installed dry, but some engines require a small amount of sealant in specific areas. Always check your service manual for the correct method.
What Happens If I Over-tighten The Intake Manifold Bolts?
Over-tightening can crush the gasket or crack the manifold, causing leaks. Always use a torque wrench and follow the recommended specs.
Where Can I Find Step-by-step Guides For My Specific Vehicle?
You can find reliable vehicle-specific guides and diagrams in the service manual or on trusted sites like Haynes Manuals.
Replacing your car’s intake manifold gasket is a valuable skill that can save you money and keep your engine running strong. With patience, good preparation, and careful attention to detail, you’ll complete the job successfully. Remember—if you’re ever in doubt, don’t hesitate to ask for help or consult a professional.
