Replacing a car thermostat yourself can seem difficult at first, but with the right preparation, it is a task you can complete at home. A faulty thermostat can cause your engine to overheat, underheat, or run inefficiently. Fixing this problem quickly saves you money and keeps your vehicle running smoothly.
This guide will take you step by step through the entire process of replacing a car thermostat, from understanding the signs of failure to reassembling everything with confidence. Even if you are not an expert mechanic, this article will give you the clear instructions and practical tips you need.
Why The Thermostat Matters
The car thermostat is a small but vital part of your engine’s cooling system. Its main job is to regulate the flow of coolant between the engine and radiator. When your engine is cold, the thermostat stays closed, letting the engine heat up faster. Once the engine reaches the right temperature, the thermostat opens and allows coolant to flow, preventing overheating.
A malfunctioning thermostat can lead to several issues:
- Overheating: The thermostat stays closed, and coolant cannot flow to the radiator.
- Poor fuel economy: The thermostat is stuck open, so the engine runs too cool.
- Engine wear: Running too hot or too cold can damage engine parts over time.
Signs Your Thermostat Needs Replacement
Before starting, you need to be sure your thermostat is the problem. Here are common signs that point to a bad thermostat:
- Engine temperature changes rapidly: The temperature gauge moves up and down quickly.
- Overheating: The car overheats even during short drives.
- Cold engine warning: The engine takes a long time to warm up, or never does.
- Heater issues: The car heater blows cold air when it should be hot.
- Coolant leaks: You see coolant around the thermostat housing.
Many beginners miss that a failing thermostat can cause both overheating and underheating symptoms, depending on how it fails. Always check your car’s temperature gauge regularly, especially if you notice any of these problems.
Credit: www.autozone.com
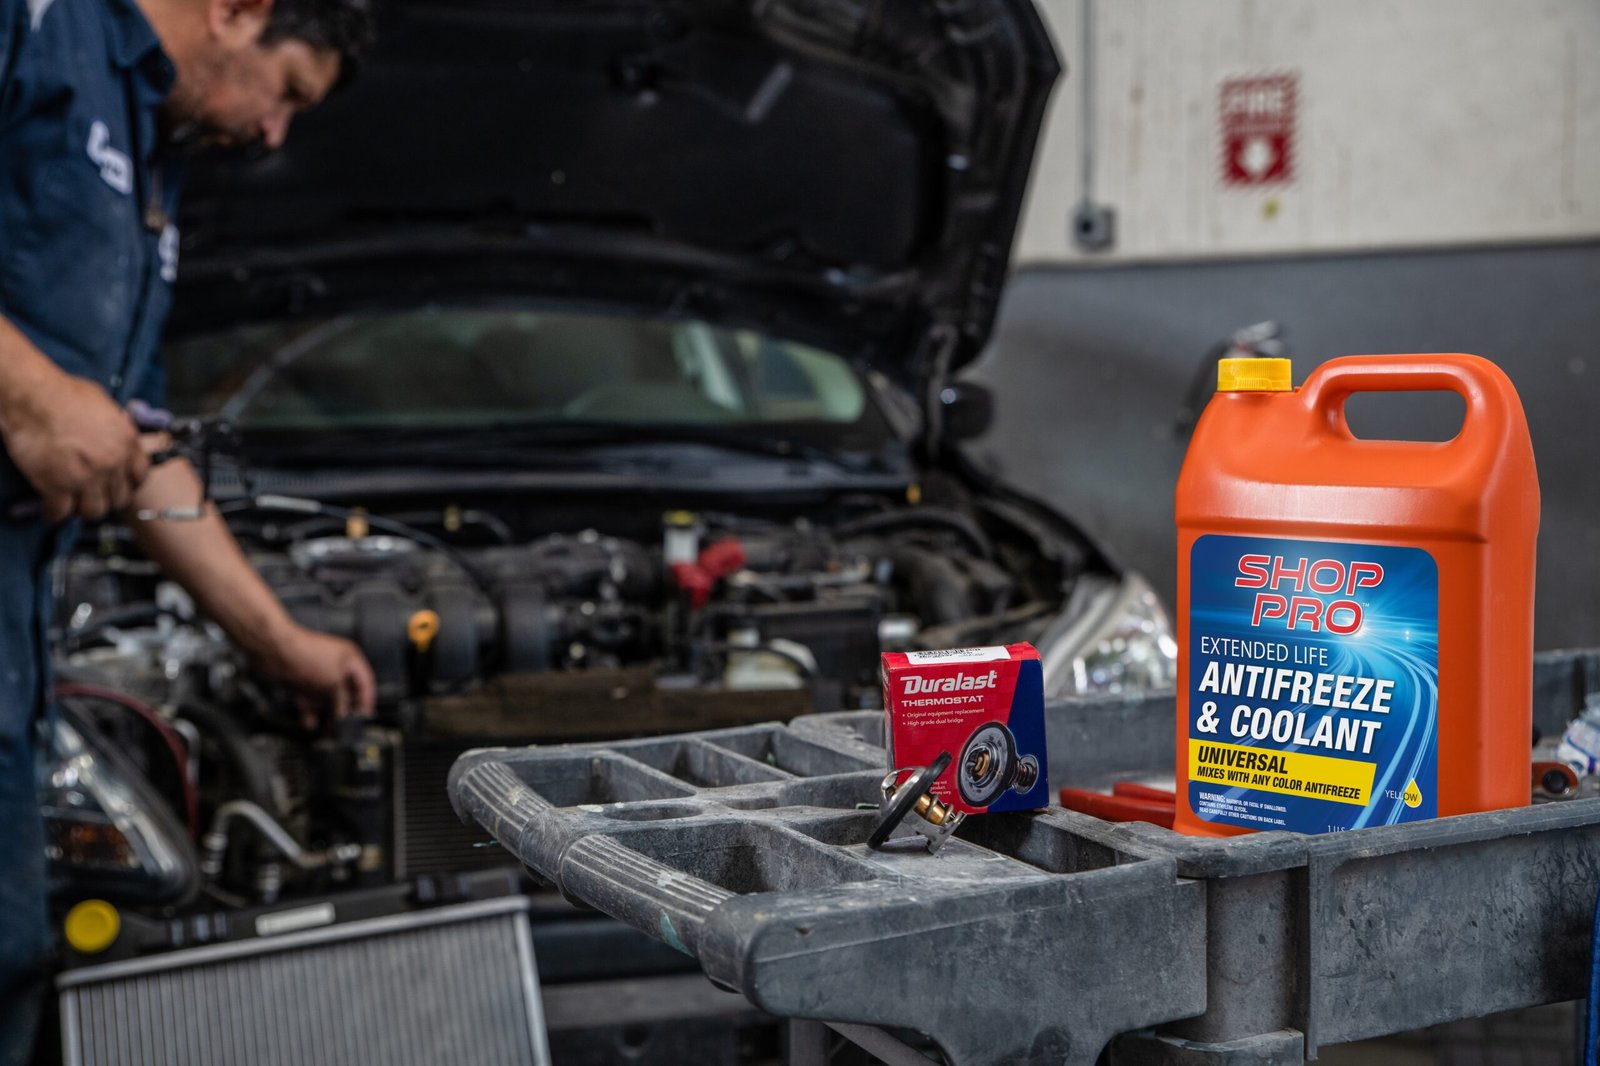
Tools And Supplies You Will Need
Replacing your thermostat requires some basic tools and new parts. Gather everything before you start, so you do not have to stop halfway.
- New thermostat (matched to your car’s make and model)
- Thermostat gasket or seal (usually comes with the thermostat)
- Socket wrench set
- Screwdrivers (flathead and Phillips)
- Coolant (check your owner’s manual for the correct type)
- Drain pan
- Pliers
- Rags or shop towels
- Gasket scraper or razor blade (for cleaning surfaces)
- Torque wrench (for correct bolt tightness)
- Gloves and safety glasses
If your car uses special fasteners or has a unique setup, you may need extra tools. Some cars also require you to remove other parts, like the air intake or hoses, to reach the thermostat. Always read your vehicle’s service manual before you begin.
Preparation And Safety Steps
Working on your car’s cooling system can be dangerous if you are not careful. Hot coolant can burn your skin, and spilled coolant is toxic to pets and the environment. Follow these steps to stay safe:
- Allow the engine to cool: Never open the cooling system when the engine is hot. Wait at least an hour after driving.
- Disconnect the battery: This prevents accidental shorts or electrical issues.
- Work in a well-ventilated area: Coolant fumes can be harmful in closed spaces.
- Wear gloves and safety glasses: Protect your hands and eyes from spills and splashes.
- Collect and dispose of old coolant properly: Never pour coolant down the drain. Use a proper recycling center.
One key insight many beginners miss is the importance of working on a cold engine. Even if the radiator cap feels cool, coolant inside may still be under pressure. Always double-check before opening anything.
Step-by-step Guide To Replacing Your Car Thermostat
Now, let’s get into the main process. These steps are general and will fit most vehicles, but always check your car’s manual for specific details.
1. Locate The Thermostat
The thermostat is usually found where the upper radiator hose meets the engine. Trace the thick hose from the radiator back to the engine block. The point where it connects is the thermostat housing.
Tip: Some cars have the thermostat on the lower hose or in a different location. Consult your manual or look up your car’s engine diagram if unsure.
2. Drain The Coolant
Place a drain pan under the radiator. Open the radiator drain valve (petcock) or remove the lower radiator hose to let coolant out. Drain until the level is below the thermostat housing.
Non-obvious insight: You do not need to drain all the coolant—just enough to avoid spills when removing the thermostat housing.
3. Remove The Thermostat Housing
Use your socket wrench to remove the bolts from the thermostat housing. You may need to remove other parts first, such as air ducts or sensor wires. Gently lift off the housing.
- If the housing is stuck, tap it lightly with a rubber mallet.
- Be careful not to damage the gasket surface.
4. Remove The Old Thermostat
Note how the old thermostat is installed—the orientation matters. Remove the thermostat and the gasket or seal.
- Clean the mating surfaces with a gasket scraper or razor blade.
- Make sure no old gasket material remains, or leaks can happen.
5. Install The New Thermostat
Place the new thermostat in the same direction as the old one. Usually, the spring side goes toward the engine.
- Install a new gasket or seal. Some gaskets need a thin layer of gasket sealant; check your manual.
- Align the housing and reinstall the bolts.
Common mistake: Over-tightening the bolts can crack the housing. Use a torque wrench if possible and follow the correct specifications.
6. Refill The Cooling System
Close the drain valve or reattach the lower hose. Slowly fill the radiator with new coolant. Use a 50/50 mix of coolant and distilled water, unless your coolant is pre-mixed.
- Fill the reservoir to the correct level.
- Check for any leaks around the thermostat housing.
7. Bleed The Cooling System
Air trapped in the cooling system can cause overheating. Many cars have a bleed screw on the thermostat housing or radiator. Open it while the engine runs (and warms up) to let air escape.
- Watch for bubbles coming out.
- Add more coolant as needed.
8. Reassemble And Test
Reconnect any parts you removed. Reconnect the battery. Start the engine and let it reach normal temperature. Monitor the temperature gauge and check for leaks.
- If the gauge stays normal and there are no leaks, you have succeeded.
- If the engine overheats or leaks, shut off the engine and check your work.
Comparing Thermostat Types
Not all thermostats are the same. Here is a simple comparison between common types you might find for your car:
| Type | Opening Temperature | Best For | Cost Range |
|---|---|---|---|
| Standard Wax Pellet | 180°F – 195°F (82°C – 90°C) | Daily driving, most cars | $10 – $30 |
| High-Performance | 160°F – 180°F (71°C – 82°C) | Sports cars, racing | $20 – $50 |
| Fail-Safe | Similar to standard | Extra safety, old engines | $15 – $40 |
Key insight: Using a lower temperature thermostat in a standard car may cause poor fuel economy and extra engine wear. Always use the type and temperature recommended for your vehicle.
Practical Tips For A Smooth Replacement
- Take photos as you go: Use your phone to record each step. This helps with reassembly.
- Label bolts and parts: Put small parts in labeled bags.
- Inspect hoses and clamps: If they are old or cracked, replace them now.
- Work patiently: Rushing leads to mistakes or broken parts.
- Dispose of old coolant safely: Many auto parts stores take used coolant for recycling.
How Long Does It Take?
For most cars, replacing the thermostat takes about 1–2 hours. Some models with hard-to-reach thermostats may take longer. If you are new to car repairs, plan extra time and do not rush.

Credit: www.amazon.com
Common Mistakes To Avoid
Many beginners make these errors during their first thermostat replacement:
- Forgetting the gasket: Always use a new gasket or seal.
- Mixing up thermostat orientation: Install the thermostat in the correct direction.
- Over-tightening bolts: This can crack the housing or strip threads.
- Not bleeding air: Skipping this step can cause overheating right away.
- Using the wrong coolant: Check your manual for the right type and mix.
Cost Comparison: Diy Vs. Mechanic
Doing this job yourself saves money. Here’s a quick cost comparison:
| Option | Parts Cost | Labor Cost | Total Cost |
|---|---|---|---|
| DIY | $15 – $50 | $0 | $15 – $50 |
| Mechanic | $15 – $50 | $75 – $150 | $90 – $200 |
As you can see, doing it yourself can save you over $100. However, if you are not comfortable or if your car is very complex, paying for a mechanic may be the better choice.
When To Call A Professional
While most people can replace a thermostat with patience and the right tools, some situations need a professional:
- Thermostat is hard to reach: Some cars require removing many parts.
- Broken or stuck bolts: If bolts snap, special tools may be needed.
- Unusual engine problems: If your new thermostat does not solve the issue, deeper diagnostics may be needed.
If you are unsure, seek help from a trusted mechanic or check reliable sources like Wikipedia for more details.
Frequently Asked Questions
How Do I Know If My Thermostat Is Installed Correctly?
Check that the thermostat orientation matches the old one, usually with the spring side facing the engine. After installation, the engine should reach normal temperature without overheating or staying cold.
Can I Drive My Car Without A Thermostat?
Driving without a thermostat is not recommended. The engine will run too cool, leading to poor fuel economy and more engine wear. In winter, the heater may also not work well.
How Often Should A Car Thermostat Be Replaced?
Most thermostats last 5 to 10 years or about 50,000 to 100,000 miles. Replace it if you notice symptoms or during major cooling system service.
What Happens If I Use The Wrong Thermostat Temperature?
A thermostat that opens too early or too late can cause overheating, poor performance, or engine damage. Always use the temperature rating specified in your owner’s manual.
Is It Necessary To Change The Coolant When Replacing The Thermostat?
If the coolant is old or dirty, replace it. If the coolant is still fresh, you can reuse it after draining and filtering, but topping up with new coolant is always safer.
Replacing a car thermostat is a satisfying DIY project that can save you money and help you better understand your vehicle. With clear steps, attention to safety, and the right tools, you can handle this repair confidently and keep your car running at its best.

Credit: www.youtube.com
